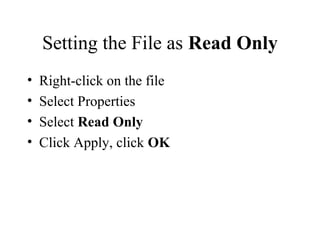
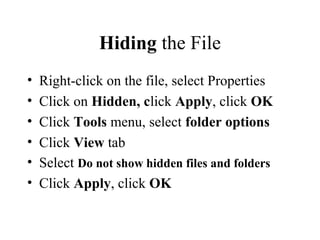
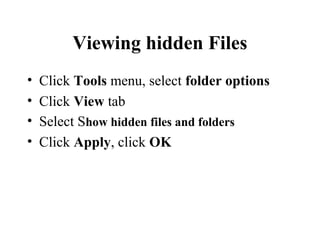
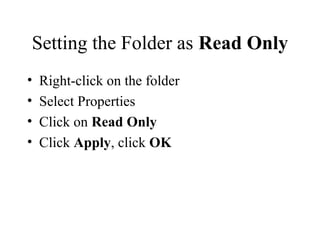
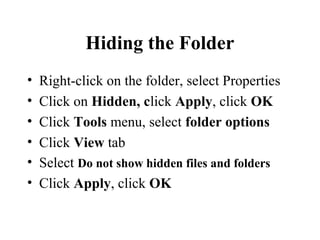
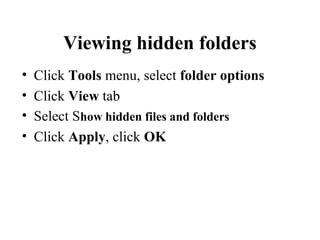
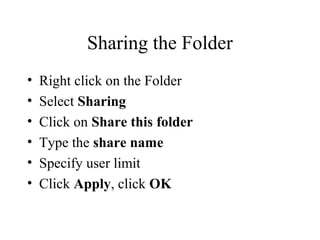
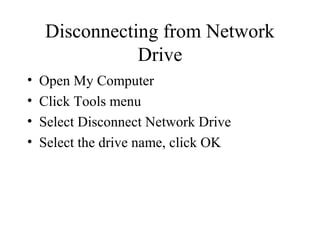
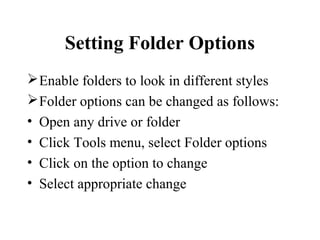
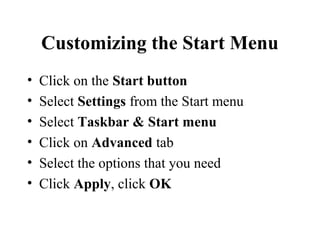
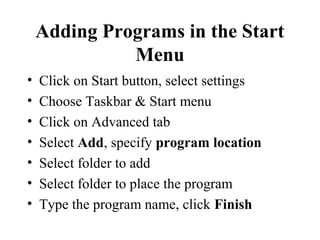
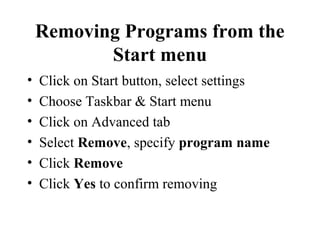
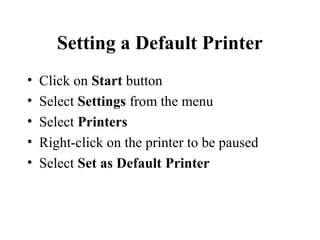
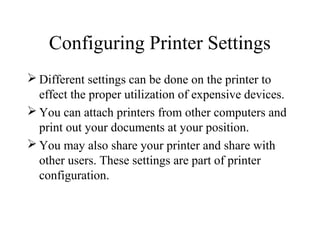
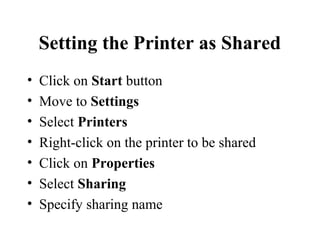
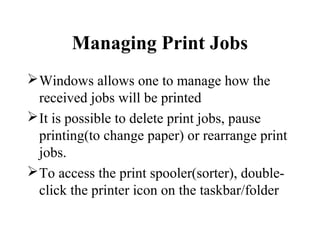
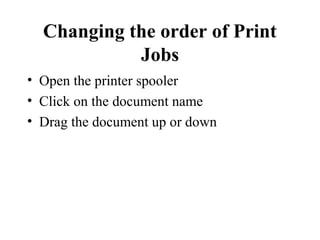
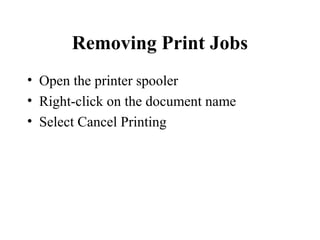
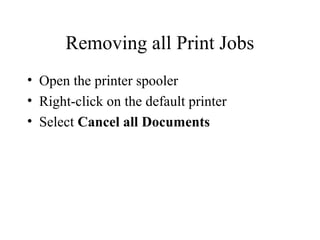
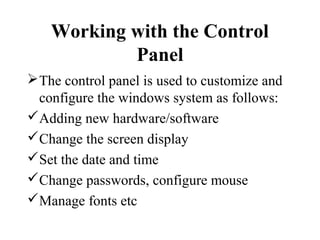
Advanced Windows
• Changing Properties
• Working with Networks
• Setting Folder Options
• The Recycle Bin
• Creating Shortcuts
• Customizing the Start Menu
• Printers
• The Control Panel
• The Desktop
Changing Properties
• Modifying File Properties
• Modifying Folder Properties
• Disk drive Properties
Modifying File Properties
• Setting the File as Read Only
• Hiding the File
• Unhiding the File
Setting the File as Read Only
• Right-click on the file
• Select Properties
• Select Read Only
• Click Apply, click OK
Hiding the File
• Right-click on the file, select Properties
• Click on Hidden, click Apply, click OK
• Click Tools menu, select folder options
• Click View tab
• Select Do not show hidden files and folders
• Click Apply, click OK
Viewing hidden Files
• Click Tools menu, select folder options
• Click View tab
• Select Show hidden files and folders
• Click Apply, click OK
Modifying Folder Properties
• Setting the Folder as Read Only
• Hiding the Folder
• Unhiding the Folder
• Sharing the folder
Setting the Folder as Read Only
• Right-click on the folder
• Select Properties
• Click on Read Only
• Click Apply, click OK
Hiding the Folder
• Right-click on the folder, select Properties
• Click on Hidden, click Apply, click OK
• Click Tools menu, select folder options
• Click View tab
• Select Do not show hidden files and folders
• Click Apply, click OK
Viewing hidden folders
• Click Tools menu, select folder options
• Click View tab
• Select Show hidden files and folders
• Click Apply, click OK
Sharing the Folder
• Right click on the Folder
• Select Sharing
• Click on Share this folder
• Type the share name
• Specify user limit
• Click Apply, click OK
Disk Drive Properties
Provides information about the label, type
and capacity of the disk
It give the opportunity to remove unwanted
files and create more space by disk cleanup
It allows checking the disk for errors
It also allows to share the disk in the
network
Working with Networks
• Connecting to a Network
• Mapping to a Network Drive
• Disconnecting from Network Drive
Connecting to a Network
• Right click My Computer on the desktop
• Select Properties
• Click on Network Identification
• Click on Properties
• Type the computer name
• Specify workgroup, click OK
• Restart the computer
Mapping to a Network Drive
• Open My Computer
• Click Tools menu
• Select Map Network Drive
• Specify the drive letter
• Specify the folder location in the network
• Click Finish
Disconnecting from Network
Drive
• Open My Computer
• Click Tools menu
• Select Disconnect Network Drive
• Select the drive name, click OK
Setting Folder Options
Enable folders to look in different styles
Folder options can be changed as follows:
• Open any drive or folder
• Click Tools menu, select Folder options
• Click on the option to change
• Select appropriate change
The Recycle Bin
Recycle Bin is used to store all deleted files
It works like the dust bin for the computer
Restoring a Deleted Item
• Open the Recycle Bin
• Right click on the file/folder
• Select Restore
Emptying the Recycle Bin
• Right click the Recycle Bin on the desktop
• Select Empty Recycle Bin
• Click Yes to confirm files removal
Working with Shortcuts
Shortcuts are icons that provide a quick
means to open a file/folder
They can be added on the desktop, start
menu or toolbar
Placing a Shortcut on the
Desktop
• Select the object you want to set as shortcut
• Click the right mouse button
• Select Send to
• Choose Desktop(create shortcut)
Placing a Shortcut in the Start
Menu
• Select the object you want to set as shortcut
• Drag the object to the start button
• Drag the object the menu that appears
• A horizontal line indicates the new position
of object
• Release the mouse at the desired location
Placing a shortcut on the
Taskbar
• Select the object you want to set as shortcut
• Drag the object to the taskbar at the bottom
• Release the mouse at the desired position
Moving a Shortcut
A shortcut can be moved to the taskbar,
start menu or the desktop as follows:
• Select the object to move
• Drag the object to the new location
• Release the mouse at the desired position
Deleting Shortcuts
• Right click on the Shortcut to be removed
• Select Delete from the menu
• If asked to confirm shortcut removal, click
Yes
Undeleting Shortcuts
• Open the Recycle Bin
• Right-click on the shortcut to be recovered
• Select Restore
Customizing the Start Menu
Start menu is always visible at the bottom
of the screen
It is used to open programs and files/folders
The Taskbar can be adjusted to show more
than one line of icons
Customizing the Start Menu
• Click on the Start button
• Select Settings from the Start menu
• Select Taskbar & Start menu
• Click on Advanced tab
• Select the options that you need
• Click Apply, click OK
Viewing more than one line of
icons
• Point the top edge of the taskbar
• Wait to see double-sided arrow
• Drag the taskbar upward until you see two
lines
Adding Programs in the Start
Menu
• Click on Start button, select settings
• Choose Taskbar & Start menu
• Click on Advanced tab
• Select Add, specify program location
• Select folder to add
• Select folder to place the program
• Type the program name, click Finish
Removing Programs from the
Start menu
• Click on Start button, select settings
• Choose Taskbar & Start menu
• Click on Advanced tab
• Select Remove, specify program name
• Click Remove
• Click Yes to confirm removing
Working with Printers
• Printers receive information or data from
the computer and converts them into hard
copy on pieces of paper.
• Each printer can be installed(connected );
disconnected(removed) or changed the
settings depending on the computer used.
Installing(Adding) a new
Printer
• Click on Start button
• Select Settings from the menu
• Select Printers
• Select Add Printers
• Follow the steps to the end of installation
Removing a Printer
• Click on Start button
• Move to Settings
• Select Printers
• Right-click on the printer to be removed
• Select Delete
Pausing a Printer
• Click on Start button
• Select Settings from the menu
• Select Printers
• Right-click on the printer to be paused
• Select Pausing Printing
Setting a Default Printer
• Click on Start button
• Select Settings from the menu
• Select Printers
• Right-click on the printer to be paused
• Select Set as Default Printer
Configuring Printer Settings
 Different settings can be done on the printer to
effect the proper utilization of expensive devices.
 You can attach printers from other computers and
print out your documents at your position.
 You may also share your printer and share with
other users. These settings are part of printer
configuration.
Setting the Printer as Shared
• Click on Start button
• Move to Settings
• Select Printers
• Right-click on the printer to be shared
• Click on Properties
• Select Sharing
• Specify sharing name
Managing Print Jobs
Windows allows one to manage how the
received jobs will be printed
It is possible to delete print jobs, pause
printing(to change paper) or rearrange print
jobs.
To access the print spooler(sorter), double-
click the printer icon on the taskbar/folder
Changing the order of Print
Jobs
• Open the printer spooler
• Click on the document name
• Drag the document up or down
Removing Print Jobs
• Open the printer spooler
• Right-click on the document name
• Select Cancel Printing
Removing all Print Jobs
• Open the printer spooler
• Right-click on the default printer
• Select Cancel all Documents
Working with the Control
Panel
The control panel is used to customize and
configure the windows system as follows:
Adding new hardware/software
Change the screen display
Set the date and time
Change passwords, configure mouse
Manage fonts etc
Accessing the control Panel
• Click on the Start button
• Select Settings from the menu
• Select Control Panel
Setting Date & Time
• Open the Control Panel menu
• Double-click on the Date&Time icon
• Set the correct Day, Month and Year
• Set the correct hour and minutes for time
Mouse Configuration
The mouse can be configured in the
different ways as follows:
Button configuration
Pointer configuration
Motion configuration
Hardware configuration
Configuring the mouse
• Open the Control Panel menu
• Double-click on the mouse icon
• Click buttons, pointers, motion or
hardware tabs to make appropriate changes
• Click Apply, click OK
Changing Keyboard Settings
 Enables one to set how fast the buttons repeat
when pressed down
 The keyboard settings include :-
Character repeat delay time
Character repeat rate
Cursor blink rate
Setting turn off capital letter’s button
Input language
Hardware location
Configuring the Keyboard
• Open the Control Panel menu
• Double-click on the Keyboard
• Make appropriate changes
• Click Apply, click OK
Sound attachment
Windows allows setting certain events of
the computer to be accompanied by sound
These events include starting the computer,
shutting the computer, opening a program,
closing a program etc.
Setting Sound Event
• Open the Control Panel
• Double-click on Sounds and Multimedia
• Select an Event from the list
Assigning Passwords(win2000)
 Some users may be restricted from opening your
files, folders and printers by giving them
passwords
 The passwords can be assigned as follows:
• Open the Control Panel
• Double-click on Users and Passwords
• Select Users tab
• Select a small box to assign password to users
Changing a Password
• Press Alt-Ctrl-Del
• Select Change Password
• Type old password
• Type new password
• Click OK
Power Management
• Power management is used to set the
system on how power will be utilized
• You can set power scheme according to
how your computer will be used
• Double-click on Power Options on the
Control Panel
Adding New Active Desktop
Items
• Right click on the desktop
• Select Properties, click on Web tab
• Click New option,
• Select the item, click OK
• Click Apply, click OK
Removing Active Desktop
Items
• Right click on the desktop
• Select Properties, click on Web tab
• Select item to remove, click delete
• Click Apply, click OK
Modifying Desktop Items
• Right click on the desktop
• Select Properties, click on Appearance
• Click New option,
• Select the item, click OK
• Click Apply, click OK

Advanced windows

  • 1.
    Advanced Windows • ChangingProperties • Working with Networks • Setting Folder Options • The Recycle Bin • Creating Shortcuts • Customizing the Start Menu • Printers • The Control Panel • The Desktop
  • 2.
    Changing Properties • ModifyingFile Properties • Modifying Folder Properties • Disk drive Properties
  • 3.
    Modifying File Properties •Setting the File as Read Only • Hiding the File • Unhiding the File
  • 4.
    Setting the Fileas Read Only • Right-click on the file • Select Properties • Select Read Only • Click Apply, click OK
  • 5.
    Hiding the File •Right-click on the file, select Properties • Click on Hidden, click Apply, click OK • Click Tools menu, select folder options • Click View tab • Select Do not show hidden files and folders • Click Apply, click OK
  • 6.
    Viewing hidden Files •Click Tools menu, select folder options • Click View tab • Select Show hidden files and folders • Click Apply, click OK
  • 7.
    Modifying Folder Properties •Setting the Folder as Read Only • Hiding the Folder • Unhiding the Folder • Sharing the folder
  • 8.
    Setting the Folderas Read Only • Right-click on the folder • Select Properties • Click on Read Only • Click Apply, click OK
  • 9.
    Hiding the Folder •Right-click on the folder, select Properties • Click on Hidden, click Apply, click OK • Click Tools menu, select folder options • Click View tab • Select Do not show hidden files and folders • Click Apply, click OK
  • 10.
    Viewing hidden folders •Click Tools menu, select folder options • Click View tab • Select Show hidden files and folders • Click Apply, click OK
  • 11.
    Sharing the Folder •Right click on the Folder • Select Sharing • Click on Share this folder • Type the share name • Specify user limit • Click Apply, click OK
  • 12.
    Disk Drive Properties Providesinformation about the label, type and capacity of the disk It give the opportunity to remove unwanted files and create more space by disk cleanup It allows checking the disk for errors It also allows to share the disk in the network
  • 13.
    Working with Networks •Connecting to a Network • Mapping to a Network Drive • Disconnecting from Network Drive
  • 14.
    Connecting to aNetwork • Right click My Computer on the desktop • Select Properties • Click on Network Identification • Click on Properties • Type the computer name • Specify workgroup, click OK • Restart the computer
  • 15.
    Mapping to aNetwork Drive • Open My Computer • Click Tools menu • Select Map Network Drive • Specify the drive letter • Specify the folder location in the network • Click Finish
  • 16.
    Disconnecting from Network Drive •Open My Computer • Click Tools menu • Select Disconnect Network Drive • Select the drive name, click OK
  • 17.
    Setting Folder Options Enablefolders to look in different styles Folder options can be changed as follows: • Open any drive or folder • Click Tools menu, select Folder options • Click on the option to change • Select appropriate change
  • 18.
    The Recycle Bin RecycleBin is used to store all deleted files It works like the dust bin for the computer
  • 19.
    Restoring a DeletedItem • Open the Recycle Bin • Right click on the file/folder • Select Restore
  • 20.
    Emptying the RecycleBin • Right click the Recycle Bin on the desktop • Select Empty Recycle Bin • Click Yes to confirm files removal
  • 21.
    Working with Shortcuts Shortcutsare icons that provide a quick means to open a file/folder They can be added on the desktop, start menu or toolbar
  • 22.
    Placing a Shortcuton the Desktop • Select the object you want to set as shortcut • Click the right mouse button • Select Send to • Choose Desktop(create shortcut)
  • 23.
    Placing a Shortcutin the Start Menu • Select the object you want to set as shortcut • Drag the object to the start button • Drag the object the menu that appears • A horizontal line indicates the new position of object • Release the mouse at the desired location
  • 24.
    Placing a shortcuton the Taskbar • Select the object you want to set as shortcut • Drag the object to the taskbar at the bottom • Release the mouse at the desired position
  • 25.
    Moving a Shortcut Ashortcut can be moved to the taskbar, start menu or the desktop as follows: • Select the object to move • Drag the object to the new location • Release the mouse at the desired position
  • 26.
    Deleting Shortcuts • Rightclick on the Shortcut to be removed • Select Delete from the menu • If asked to confirm shortcut removal, click Yes
  • 27.
    Undeleting Shortcuts • Openthe Recycle Bin • Right-click on the shortcut to be recovered • Select Restore
  • 28.
    Customizing the StartMenu Start menu is always visible at the bottom of the screen It is used to open programs and files/folders The Taskbar can be adjusted to show more than one line of icons
  • 29.
    Customizing the StartMenu • Click on the Start button • Select Settings from the Start menu • Select Taskbar & Start menu • Click on Advanced tab • Select the options that you need • Click Apply, click OK
  • 30.
    Viewing more thanone line of icons • Point the top edge of the taskbar • Wait to see double-sided arrow • Drag the taskbar upward until you see two lines
  • 31.
    Adding Programs inthe Start Menu • Click on Start button, select settings • Choose Taskbar & Start menu • Click on Advanced tab • Select Add, specify program location • Select folder to add • Select folder to place the program • Type the program name, click Finish
  • 32.
    Removing Programs fromthe Start menu • Click on Start button, select settings • Choose Taskbar & Start menu • Click on Advanced tab • Select Remove, specify program name • Click Remove • Click Yes to confirm removing
  • 33.
    Working with Printers •Printers receive information or data from the computer and converts them into hard copy on pieces of paper. • Each printer can be installed(connected ); disconnected(removed) or changed the settings depending on the computer used.
  • 34.
    Installing(Adding) a new Printer •Click on Start button • Select Settings from the menu • Select Printers • Select Add Printers • Follow the steps to the end of installation
  • 35.
    Removing a Printer •Click on Start button • Move to Settings • Select Printers • Right-click on the printer to be removed • Select Delete
  • 36.
    Pausing a Printer •Click on Start button • Select Settings from the menu • Select Printers • Right-click on the printer to be paused • Select Pausing Printing
  • 37.
    Setting a DefaultPrinter • Click on Start button • Select Settings from the menu • Select Printers • Right-click on the printer to be paused • Select Set as Default Printer
  • 38.
    Configuring Printer Settings Different settings can be done on the printer to effect the proper utilization of expensive devices.  You can attach printers from other computers and print out your documents at your position.  You may also share your printer and share with other users. These settings are part of printer configuration.
  • 39.
    Setting the Printeras Shared • Click on Start button • Move to Settings • Select Printers • Right-click on the printer to be shared • Click on Properties • Select Sharing • Specify sharing name
  • 40.
    Managing Print Jobs Windowsallows one to manage how the received jobs will be printed It is possible to delete print jobs, pause printing(to change paper) or rearrange print jobs. To access the print spooler(sorter), double- click the printer icon on the taskbar/folder
  • 41.
    Changing the orderof Print Jobs • Open the printer spooler • Click on the document name • Drag the document up or down
  • 42.
    Removing Print Jobs •Open the printer spooler • Right-click on the document name • Select Cancel Printing
  • 43.
    Removing all PrintJobs • Open the printer spooler • Right-click on the default printer • Select Cancel all Documents
  • 44.
    Working with theControl Panel The control panel is used to customize and configure the windows system as follows: Adding new hardware/software Change the screen display Set the date and time Change passwords, configure mouse Manage fonts etc
  • 45.
    Accessing the controlPanel • Click on the Start button • Select Settings from the menu • Select Control Panel
  • 46.
    Setting Date &Time • Open the Control Panel menu • Double-click on the Date&Time icon • Set the correct Day, Month and Year • Set the correct hour and minutes for time
  • 47.
    Mouse Configuration The mousecan be configured in the different ways as follows: Button configuration Pointer configuration Motion configuration Hardware configuration
  • 48.
    Configuring the mouse •Open the Control Panel menu • Double-click on the mouse icon • Click buttons, pointers, motion or hardware tabs to make appropriate changes • Click Apply, click OK
  • 49.
    Changing Keyboard Settings Enables one to set how fast the buttons repeat when pressed down  The keyboard settings include :- Character repeat delay time Character repeat rate Cursor blink rate Setting turn off capital letter’s button Input language Hardware location
  • 50.
    Configuring the Keyboard •Open the Control Panel menu • Double-click on the Keyboard • Make appropriate changes • Click Apply, click OK
  • 51.
    Sound attachment Windows allowssetting certain events of the computer to be accompanied by sound These events include starting the computer, shutting the computer, opening a program, closing a program etc.
  • 52.
    Setting Sound Event •Open the Control Panel • Double-click on Sounds and Multimedia • Select an Event from the list
  • 53.
    Assigning Passwords(win2000)  Someusers may be restricted from opening your files, folders and printers by giving them passwords  The passwords can be assigned as follows: • Open the Control Panel • Double-click on Users and Passwords • Select Users tab • Select a small box to assign password to users
  • 54.
    Changing a Password •Press Alt-Ctrl-Del • Select Change Password • Type old password • Type new password • Click OK
  • 55.
    Power Management • Powermanagement is used to set the system on how power will be utilized • You can set power scheme according to how your computer will be used • Double-click on Power Options on the Control Panel
  • 56.
    Adding New ActiveDesktop Items • Right click on the desktop • Select Properties, click on Web tab • Click New option, • Select the item, click OK • Click Apply, click OK
  • 57.
    Removing Active Desktop Items •Right click on the desktop • Select Properties, click on Web tab • Select item to remove, click delete • Click Apply, click OK
  • 58.
    Modifying Desktop Items •Right click on the desktop • Select Properties, click on Appearance • Click New option, • Select the item, click OK • Click Apply, click OK