
Downloaded 348 times


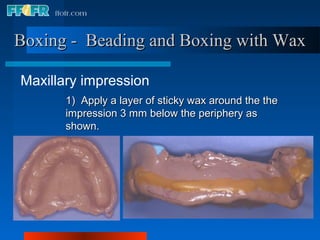
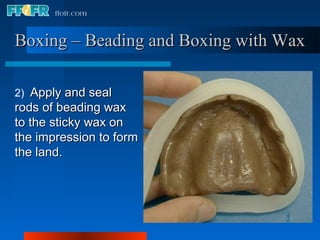
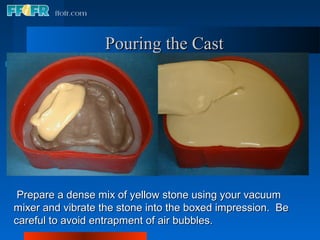
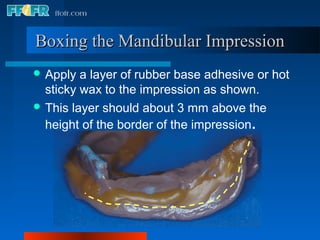

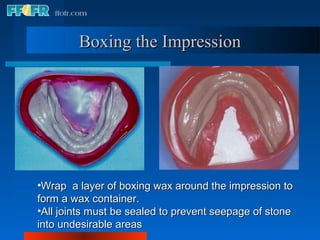
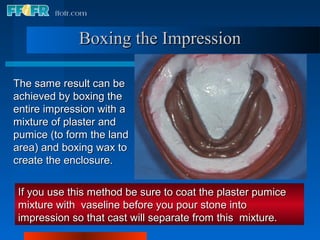
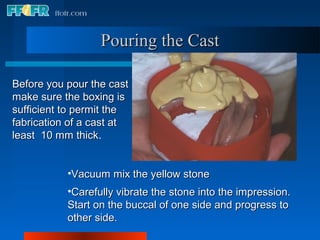
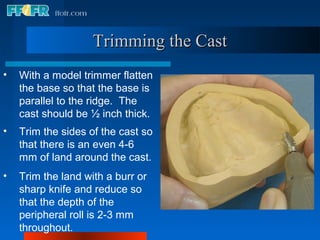
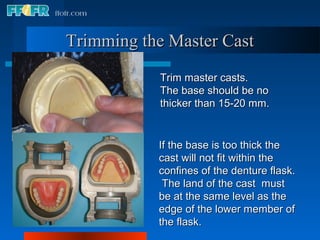
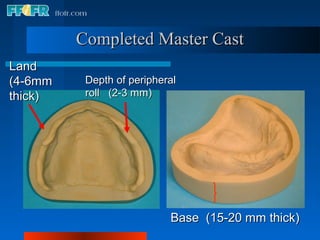
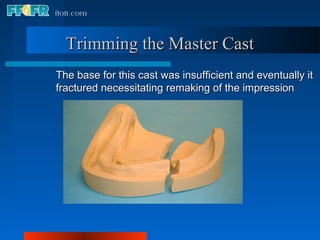
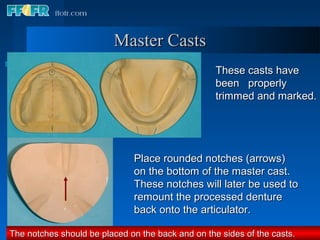
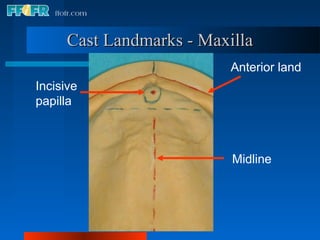


This document discusses procedures for boxing master impressions and making master casts. It describes two methods for boxing maxillary impressions using either pumice and plaster or wax rods and strips. For mandibular impressions, a layer of adhesive or wax is applied to the impression border before adding a wax land and boxing wax enclosure. Master casts are poured in stone, trimmed with a 4-6mm peripheral roll and notches added for remounting. Landmarks like the incisive papilla and retromolar pad midpoint are marked on casts.


