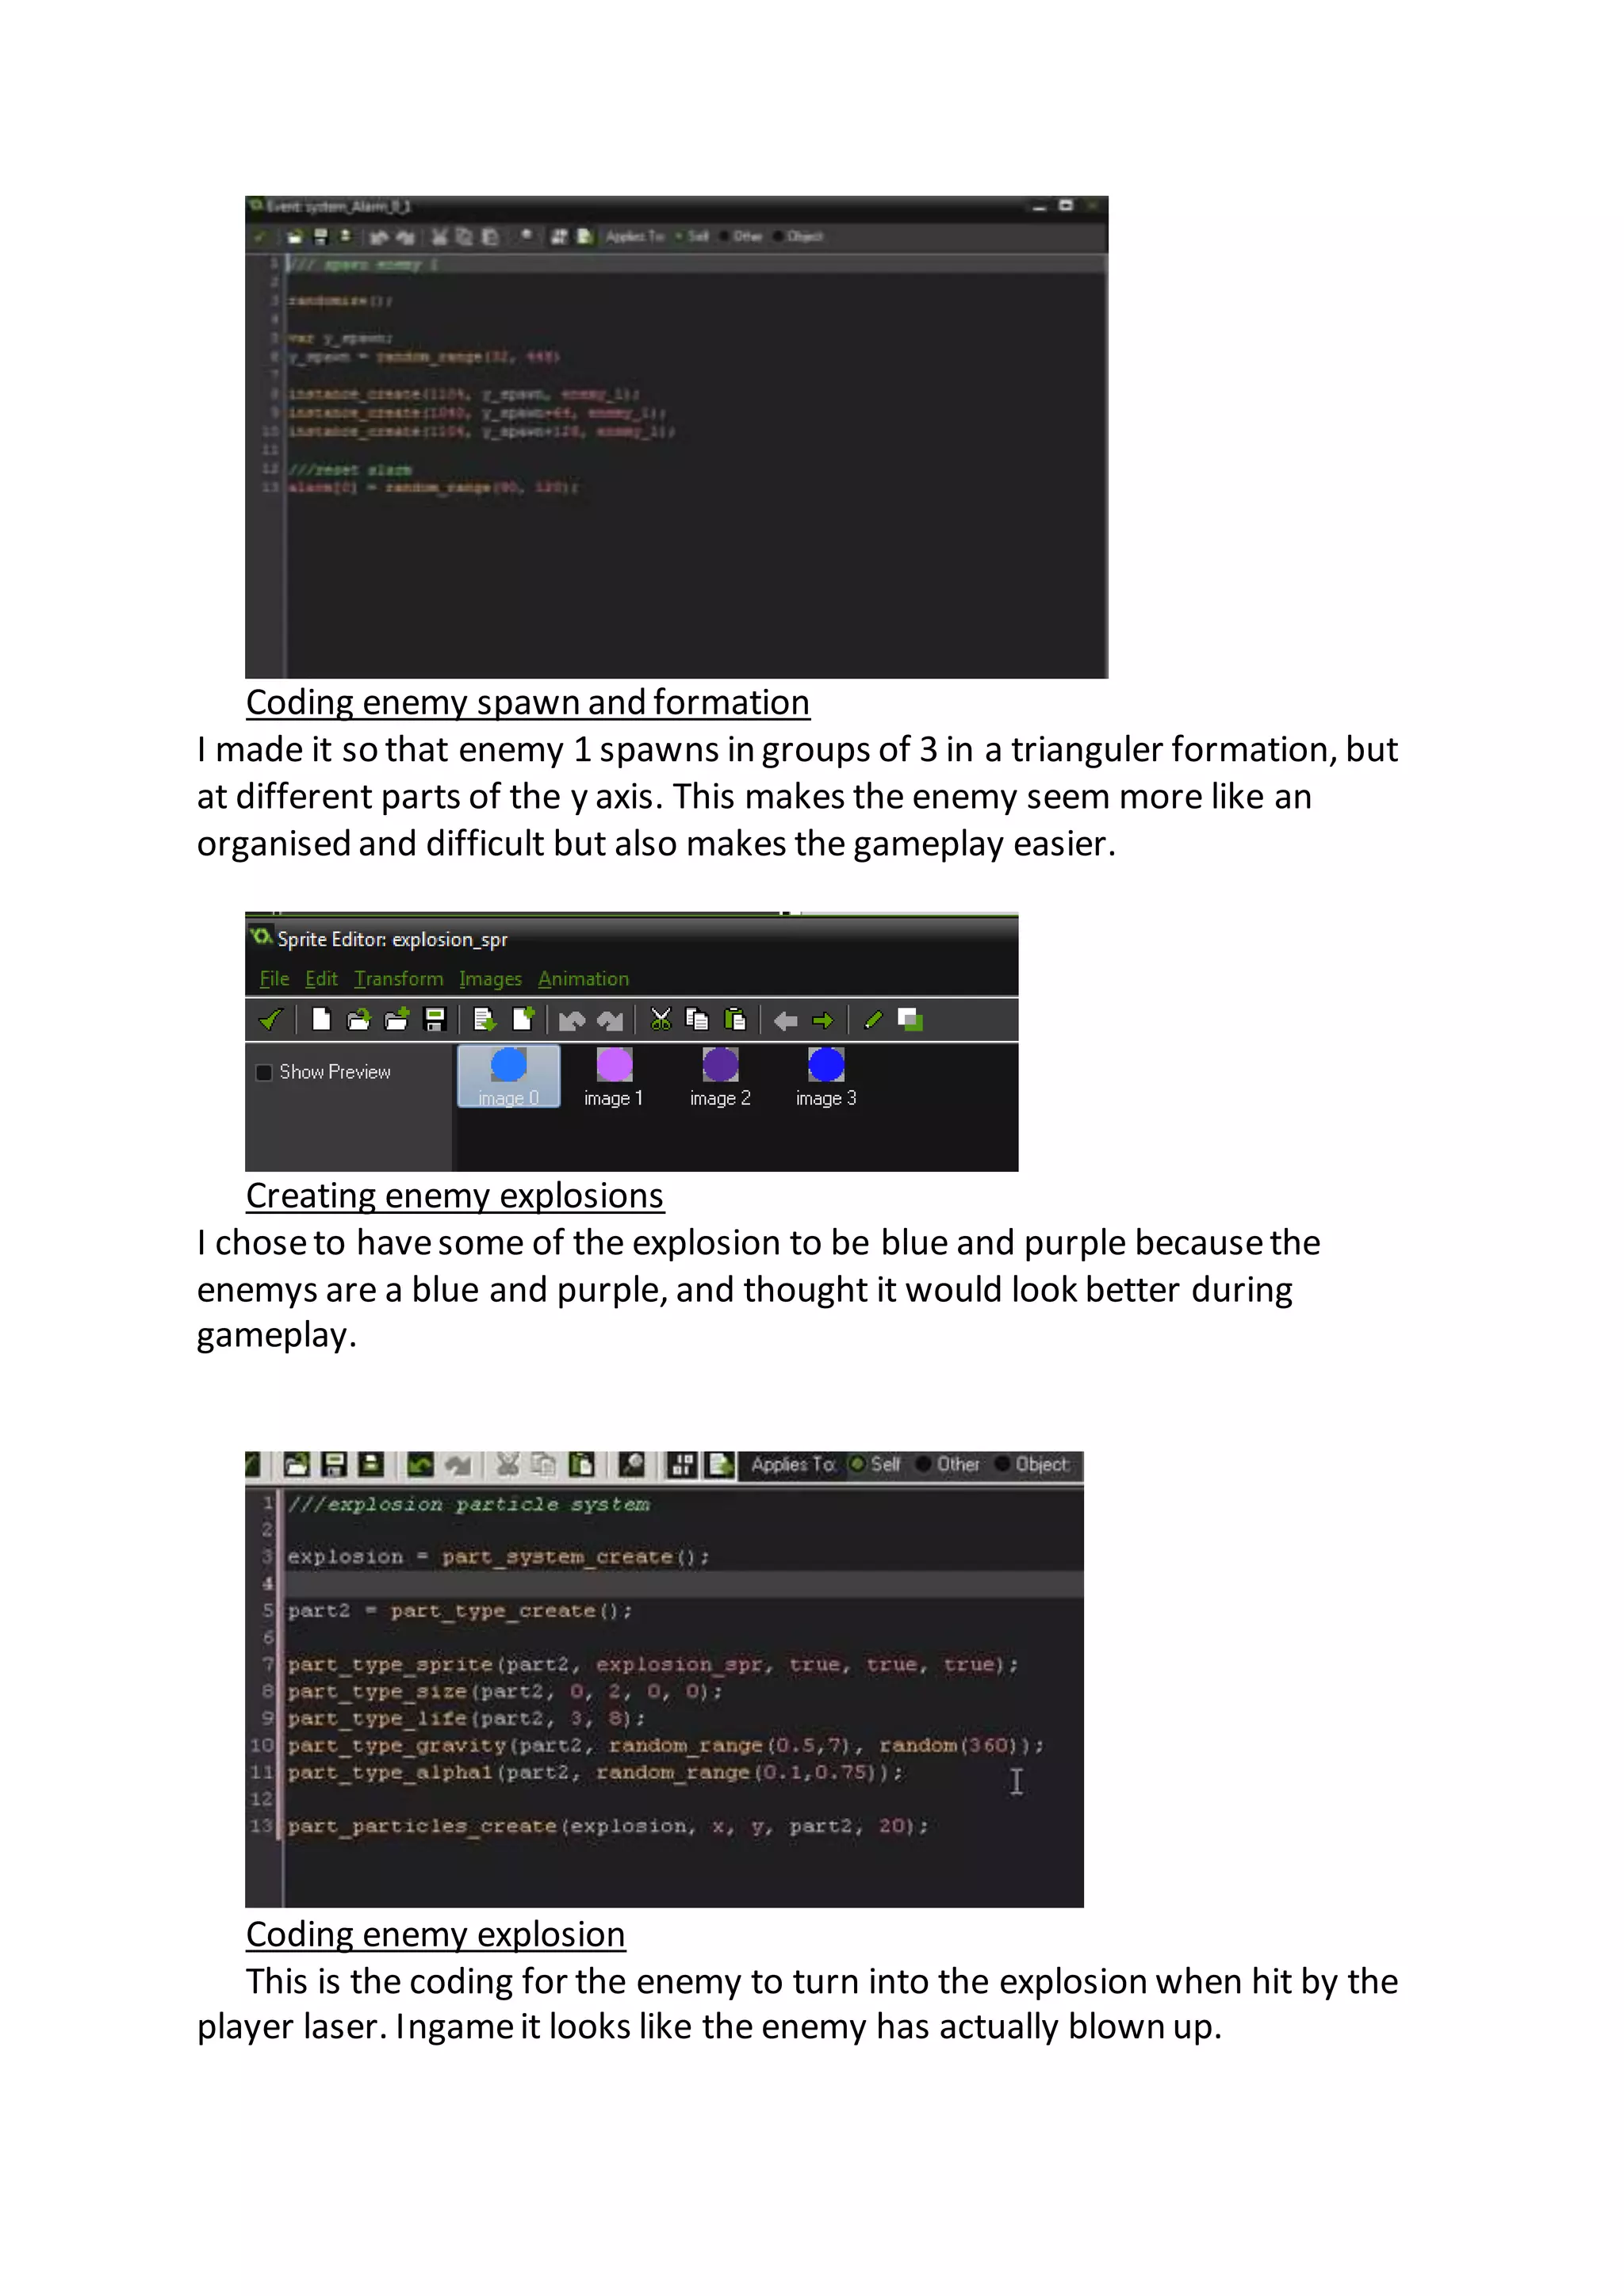
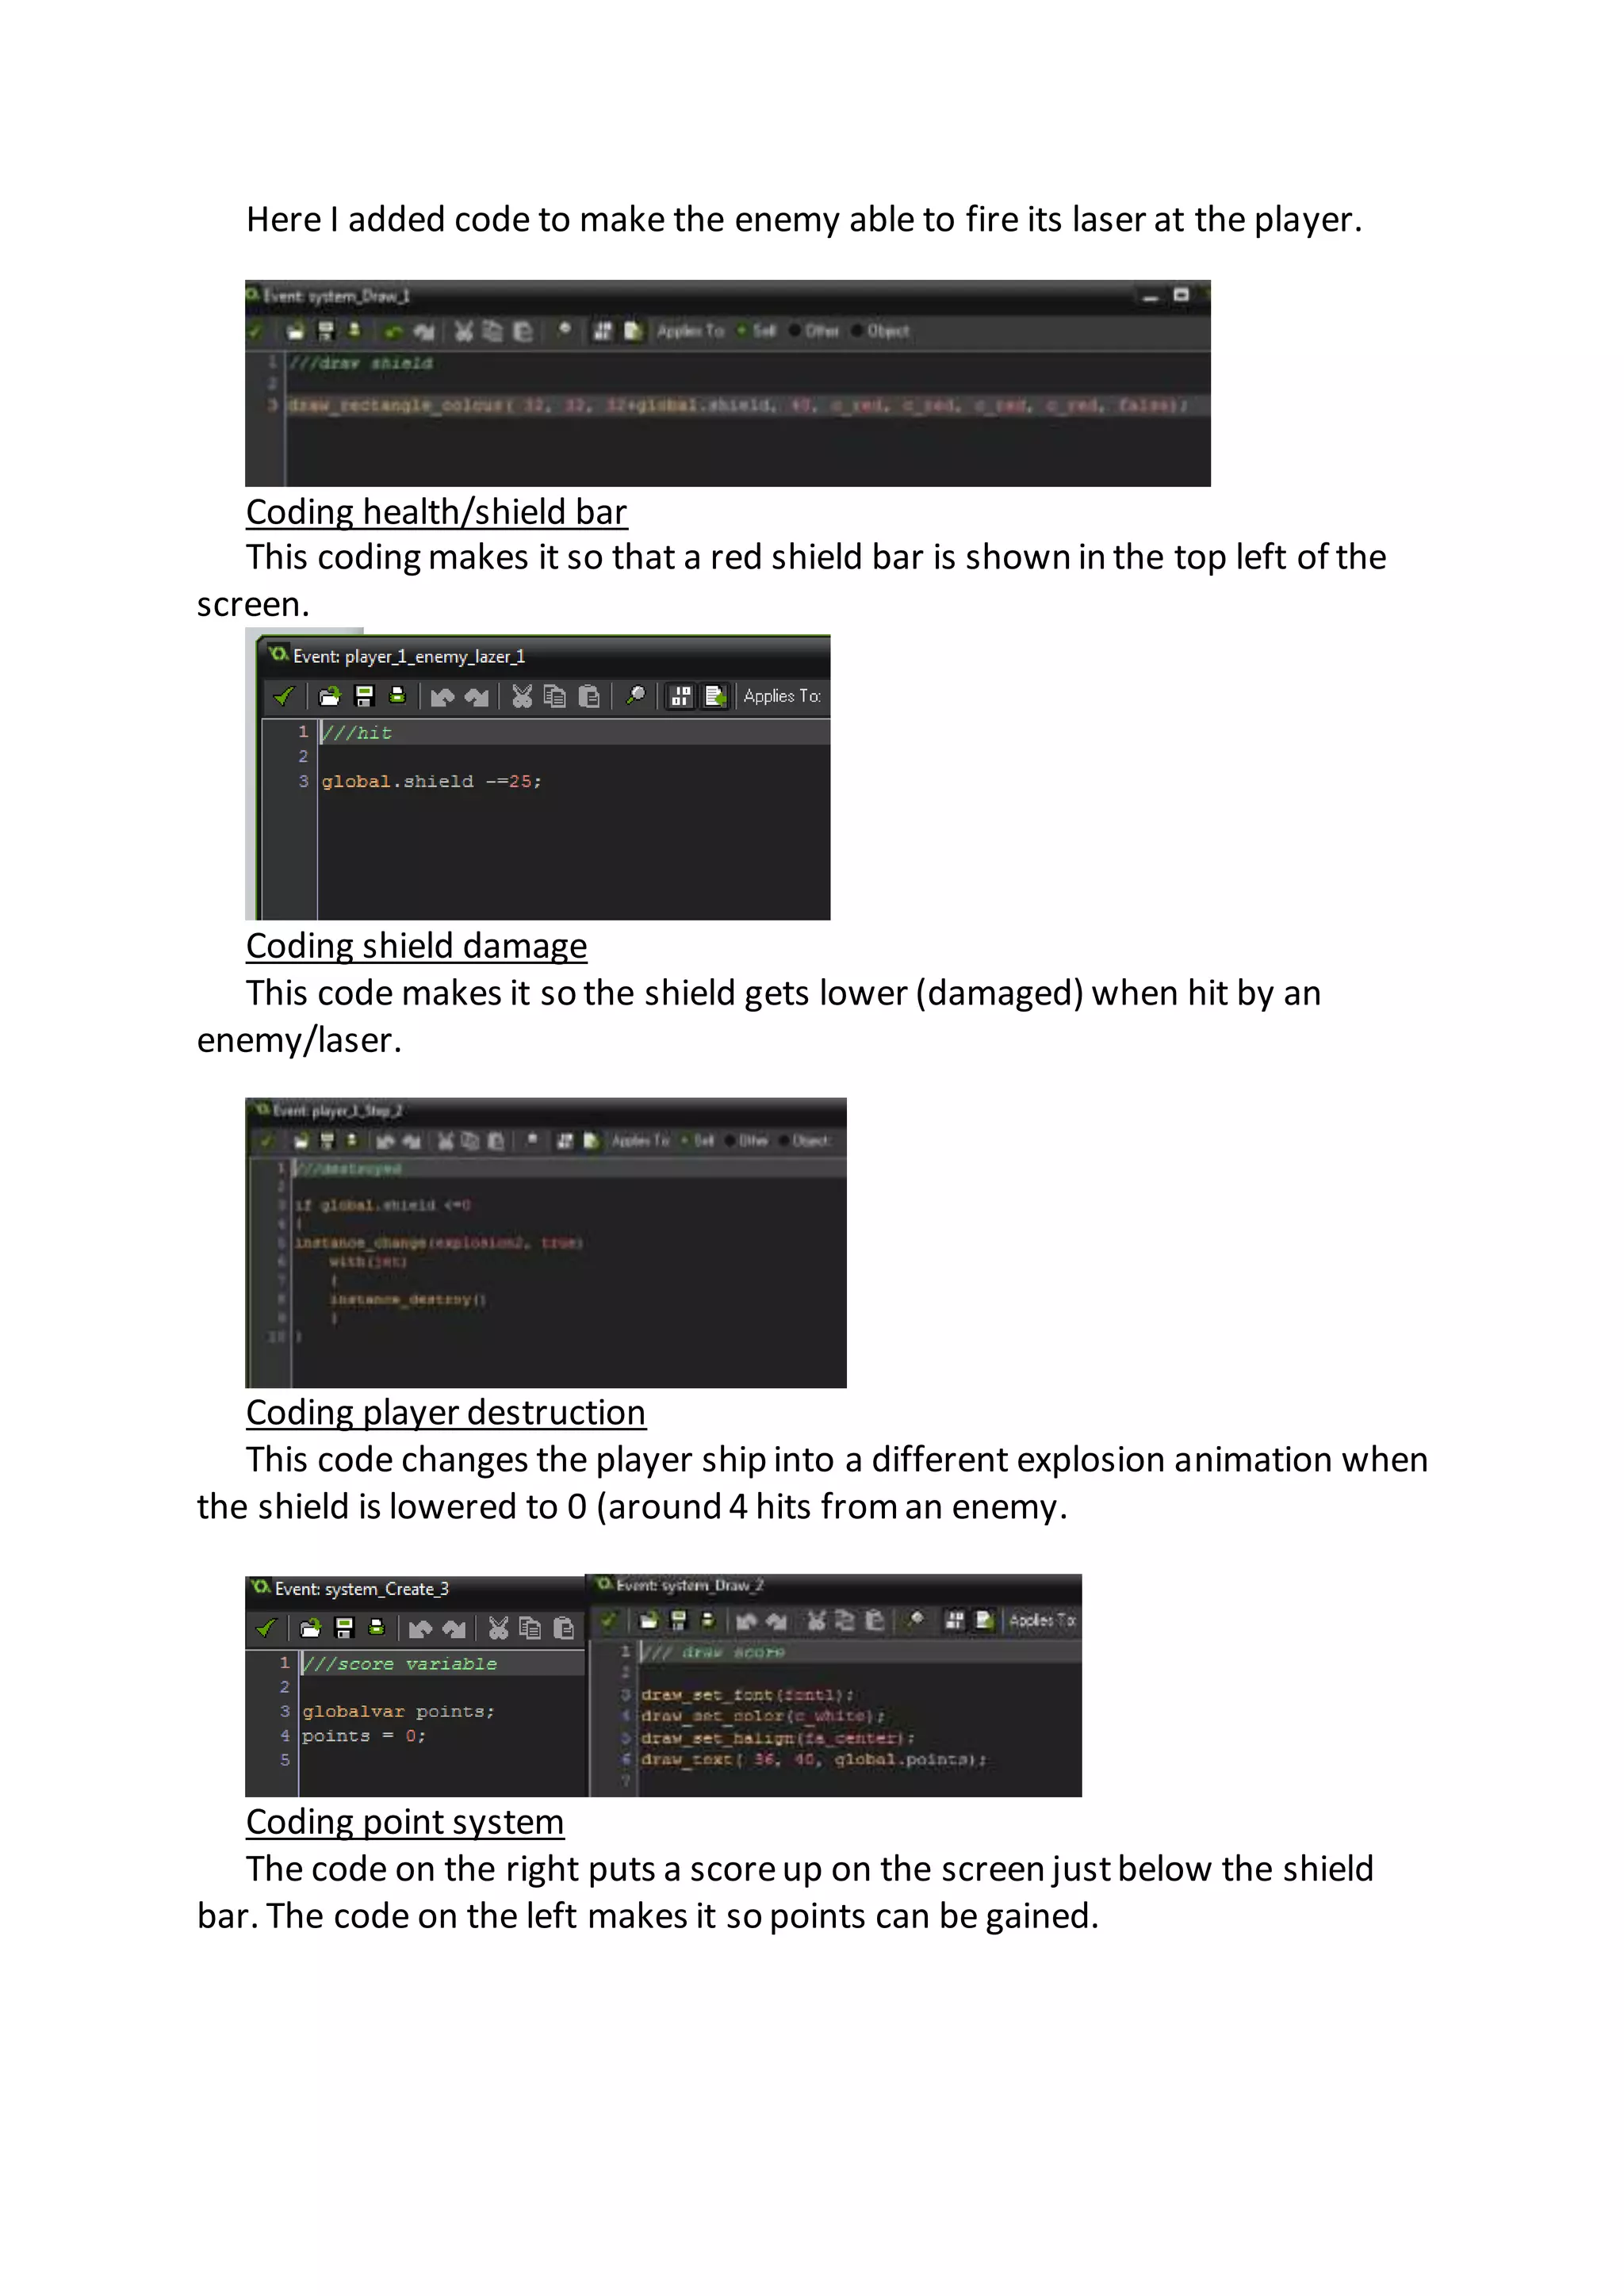
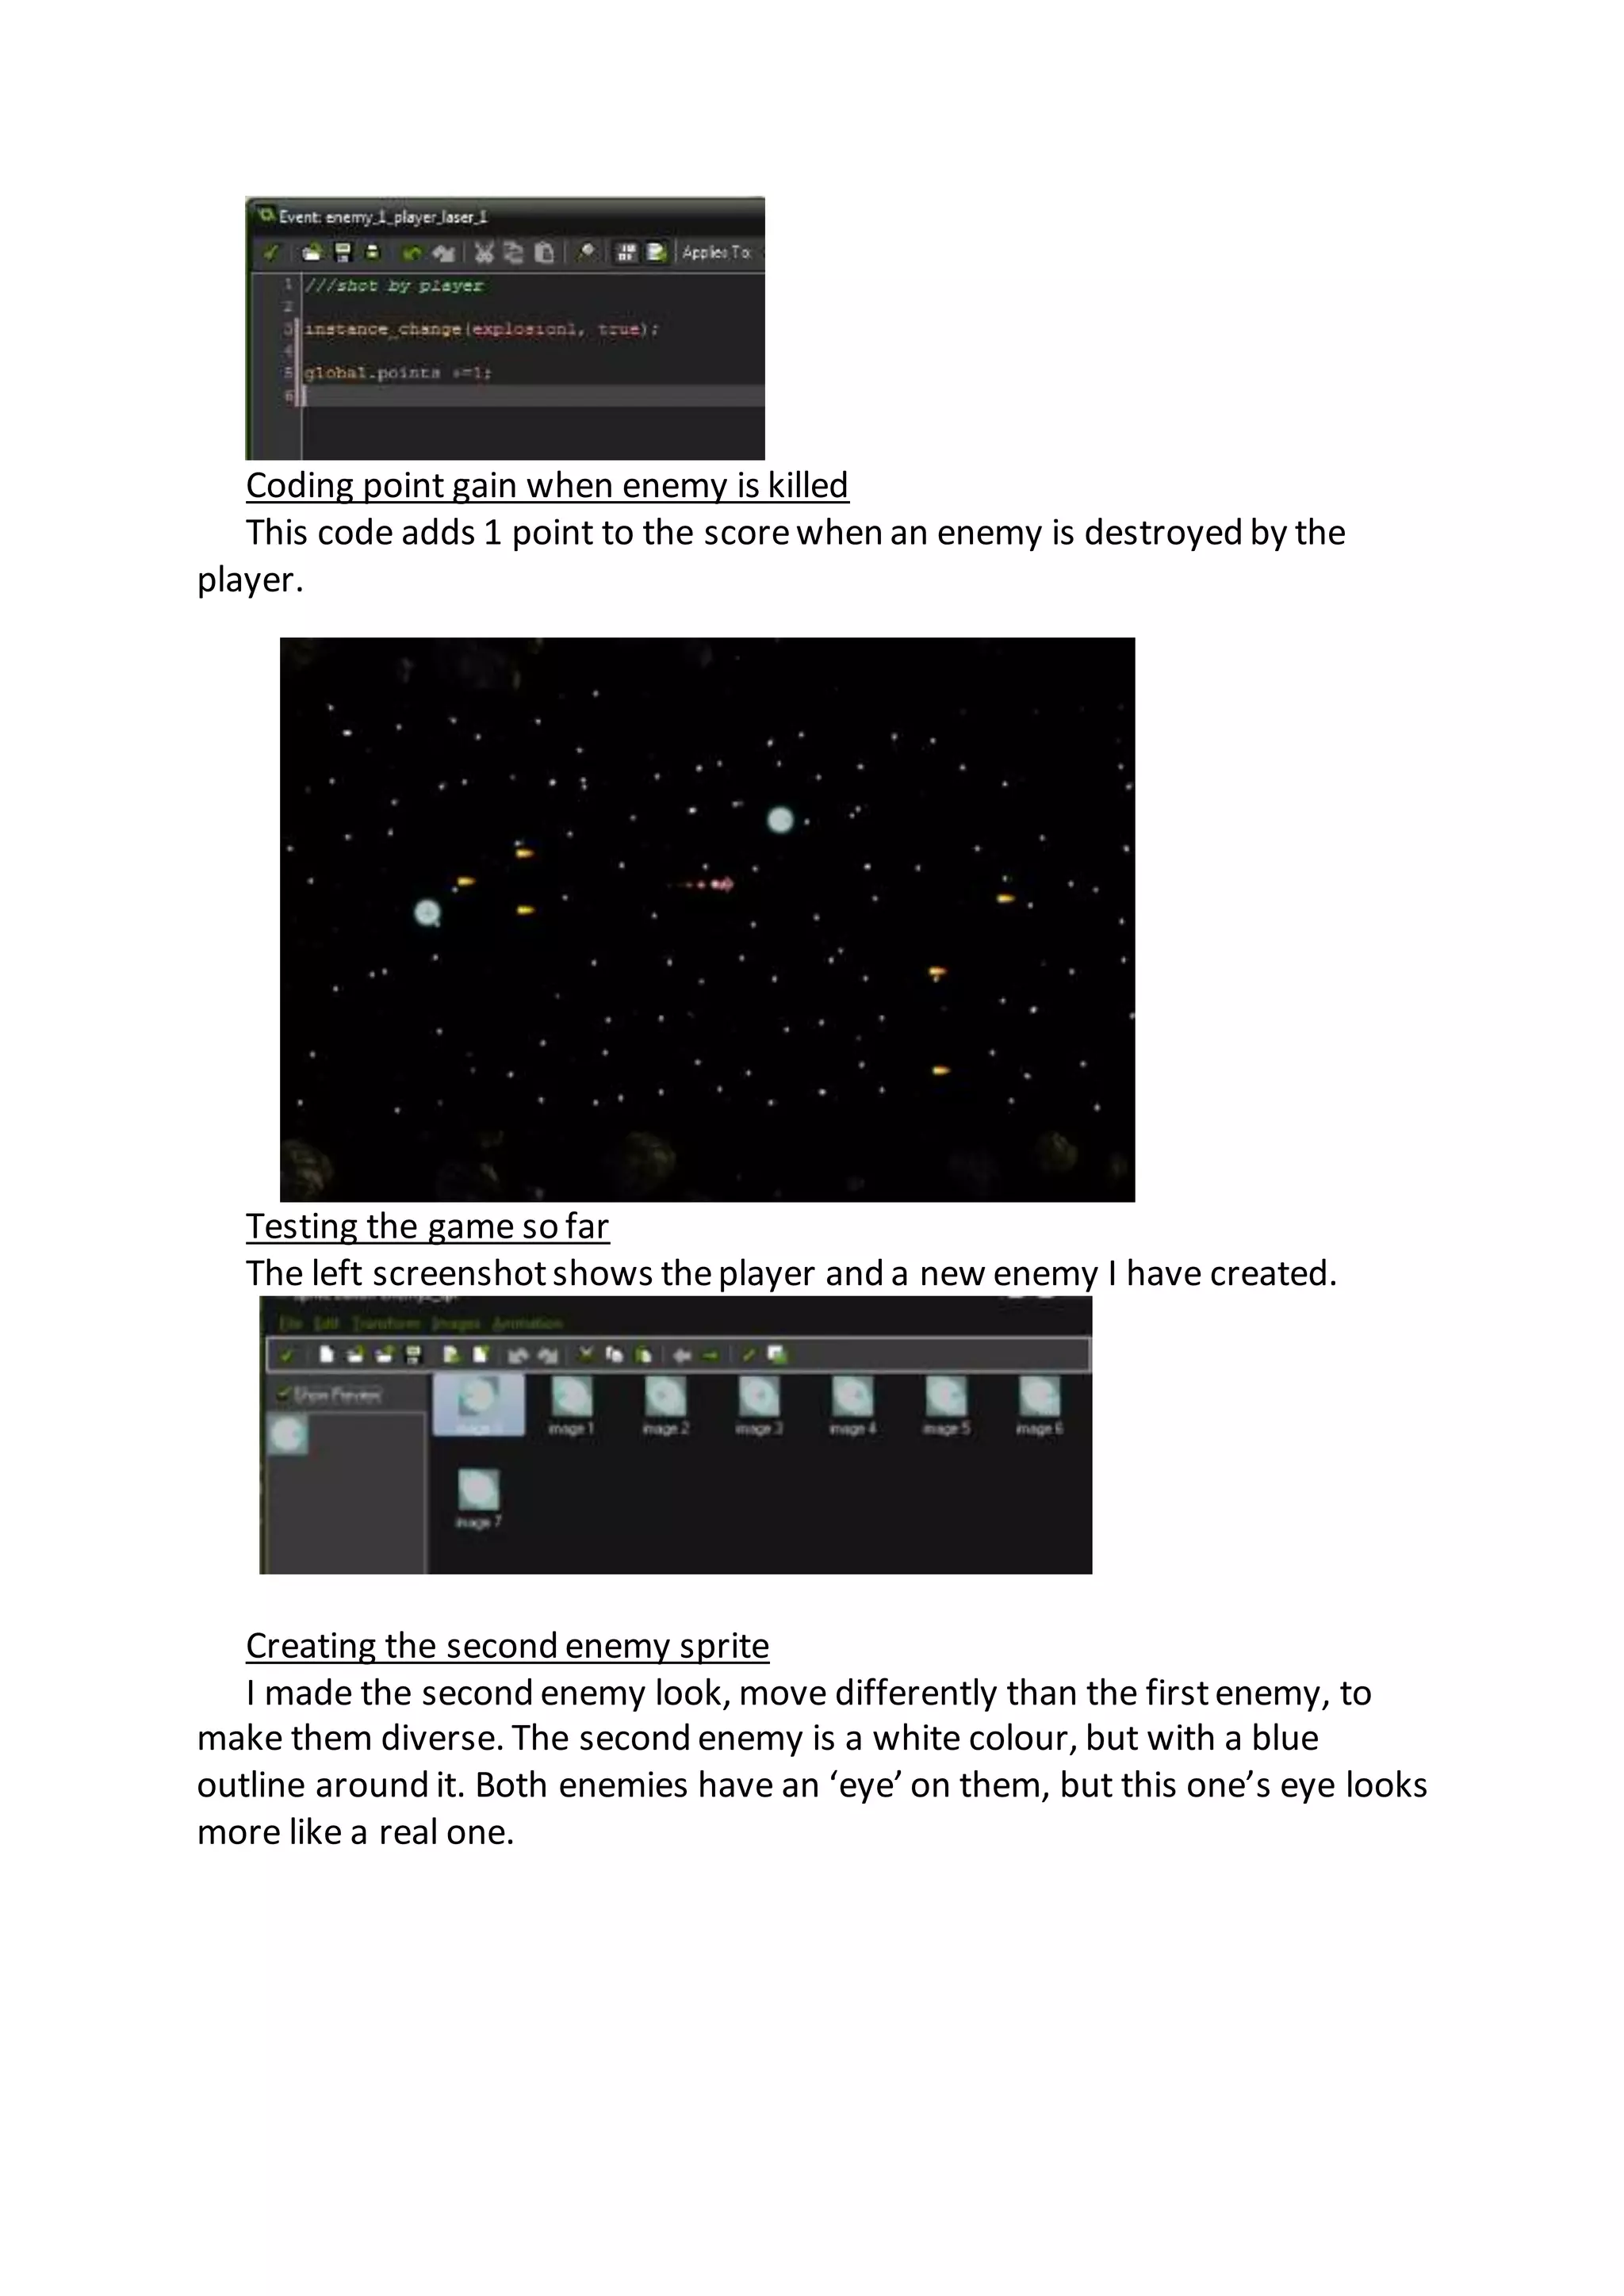
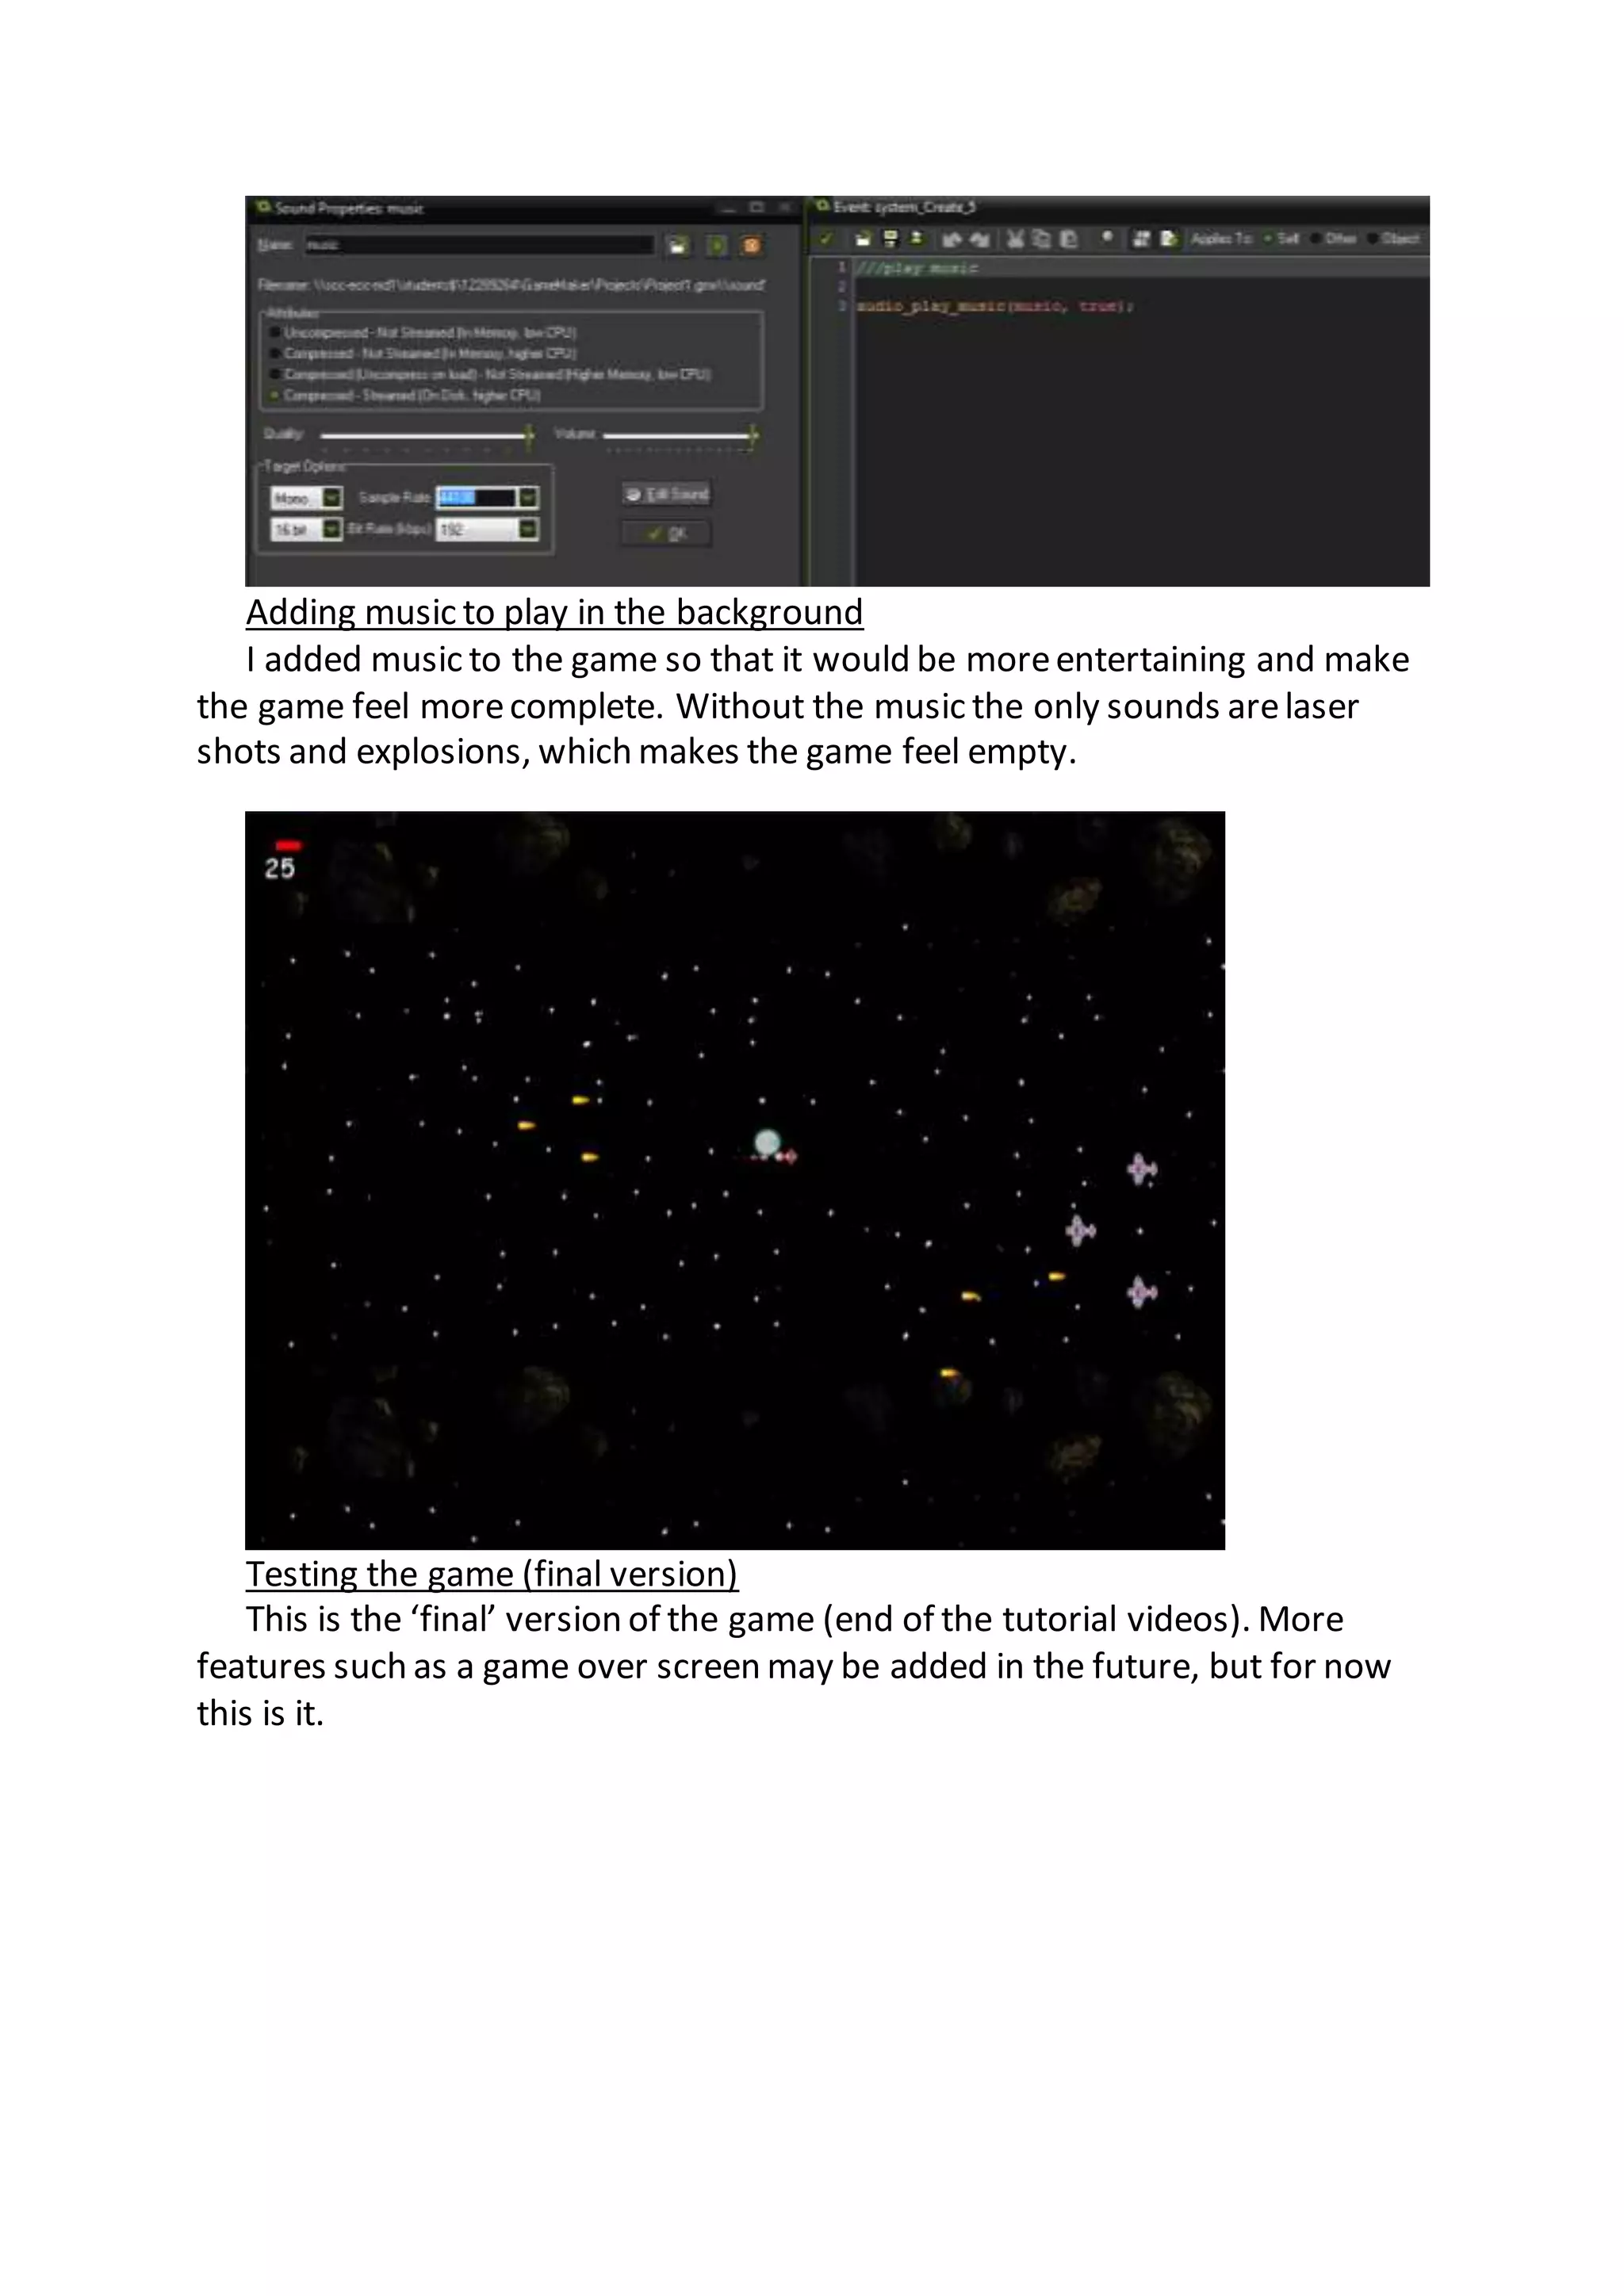
1. Christopher Lucas
2D Game Workflow
Player 1 sprite
This is the player sprite. I made the main colour of the ship white so that it
would stand out in the black space background. The “arms” near the front
were supposed to be the weapons, but are difficult to see during gameplay, (I
have made a few changes since this image was taken). I also had 2 engines at
the back but the particle system was coded to be in between them. I change it
since it didn’t look right.
Coding keyboard controls
I chose the W, A, S and D keys for moving the player because they are the
standard movement controls for PC games.
2. Level limit coding
I created a level limit, so that the player is always within the room and can’t fly
offscreen.
Background designing
I made a black background to be space, and all of the white dots are distant
stars. It made the background like this to suit the rest of the game.
3. I also have a second background of only white dots and asteroids that move at
a different speed than the first one, so that the game has a better effect of
movement.
Jet sprite and coding particle system
I created the particle system to make the ship look more alive, and not just an
image sliding around on the screen. I coded it so the jet sprite appears at the
back of the ship, then gets smaller as it moves away, and then repeat.
Creating Player Ptrojectile
This projectile is used to damage and destroy enemy sprites, during the
gameplay.
4. Coding player projectile movement and removing once off the screen
I made it so that the player laser is removed from the game once it leaves the
screen. This is because if I didn’t do that, and enough lasers continue to exist, it
may eventually crash the game.
Adding code to make the player able to fire the projectile
I added code so that the player laser can actually be fired. I decided to make
the “enter” button into the fire button.
Creating Audio and Audio Coding
I added a audio sound to my player projectile and then coded it so the sound
would not loop
5. Testing my game so far
Creating my enemy sprite
The propellor of my enemy sprite will be able to spin in a loop
6. Coding enemy spawn and formation
I made it so that enemy 1 spawns in groups of 3 in a trianguler formation, but
at different parts of the y axis. This makes the enemy seem more like an
organised and difficult but also makes the gameplay easier.
Creating enemy explosions
I chose to have some of the explosion to be blue and purple because the
enemys are a blue and purple, and thought it would look better during
gameplay.
Coding enemy explosion
This is the coding for the enemy to turn into the explosion when hit by the
player laser. Ingame it looks like the enemy has actually blown up.
7. Testing the game so far (screenshot taken from a later version where the
enemy can shoot)
This screenshot shows the player being blown up and an enemy shooting. The
lasers near the player are from a later version of the game.
Creating enemy laser
I made the enemy laser as a glowing orb of energy that moves towards the
player. I chose to make the lasers round to match the shape of the enemy that
shoots them.
Coding enemy shooting the player
8. Here I added code to make the enemy able to fire its laser at the player.
Coding health/shield bar
This coding makes it so that a red shield bar is shown in the top left of the
screen.
Coding shield damage
This code makes it so the shield gets lower (damaged) when hit by an
enemy/laser.
Coding player destruction
This code changes the player ship into a different explosion animation when
the shield is lowered to 0 (around 4 hits from an enemy.
Coding point system
The code on the right puts a score up on the screen just below the shield
bar. The code on the left makes it so points can be gained.
9. Coding point gain when enemy is killed
This code adds 1 point to the score when an enemy is destroyed by the
player.
Testing the game so far
The left screenshot shows the player and a new enemy I have created.
Creating the second enemy sprite
I made the second enemy look, move differently than the first enemy, to
make them diverse. The second enemy is a white colour, but with a blue
outline around it. Both enemies have an ‘eye’ on them, but this one’s eye looks
more like a real one.
10. Coding Enemy
I coded enemy 2 pretty much the same, but I made it to act live mines that
the enemy has to dodge.
.
Coding player and enemy collision (extra damage) and adding shield deflect
sound for enemy and enemy laser
I added code so that when the player and an enemy come into contact with
each other, the enemy blows up and the player takes extra damage.
11. Adding music to play in the background
I added music to the game so that it would be more entertaining and make
the game feel more complete. Without the music the only sounds are laser
shots and explosions, which makes the game feel empty.
Testing the game (final version)
This is the ‘final’ version of the game (end of the tutorial videos). More
features such as a game over screen may be added in the future, but for now
this is it.