Download to read offline


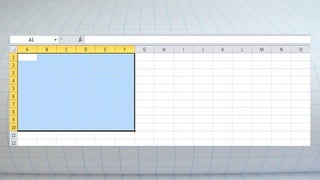
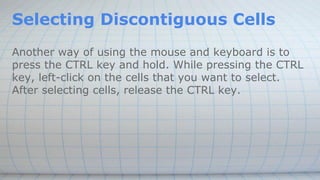
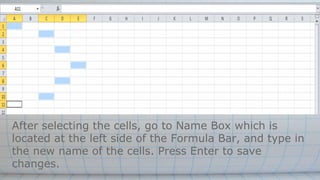
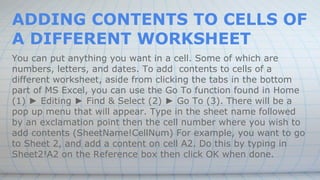

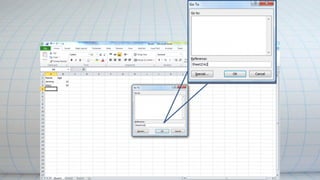

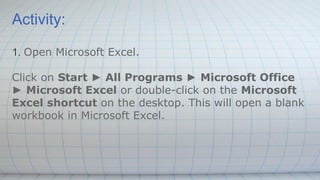
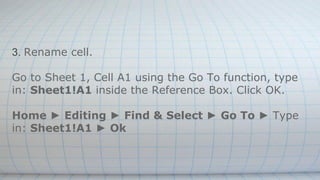
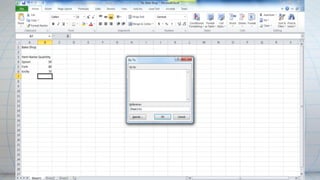
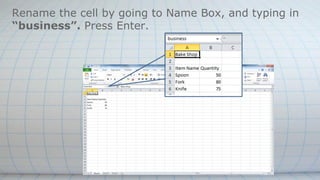
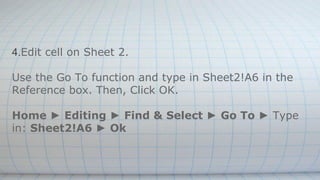
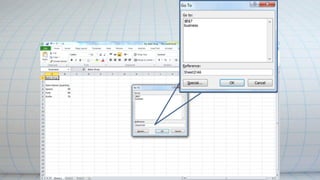
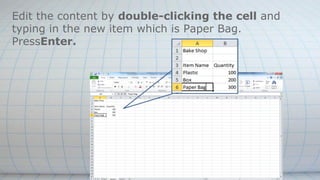
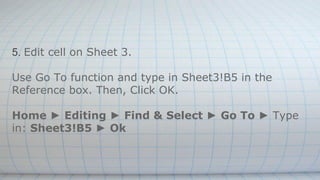

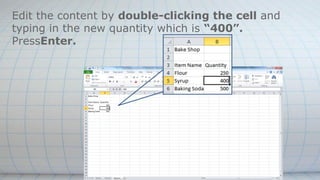

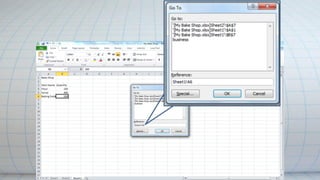

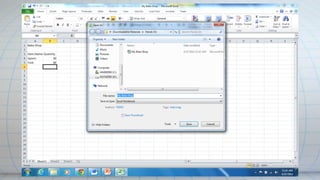

This document provides instructions for performing various tasks in Microsoft Excel, including selecting contiguous and non-contiguous cells using the mouse and keyboard, renaming cells, editing cell contents on different worksheets using the Go To function, and saving an Excel file. Activities at the end guide the user through practicing these tasks on a sample file called "MyBakeShop.xls".