Download as PDF, PPTX


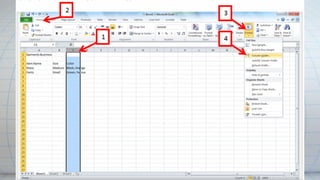
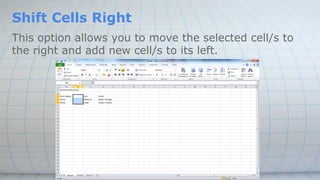
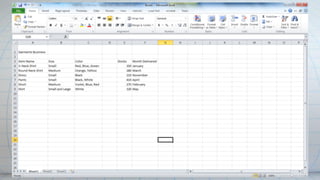
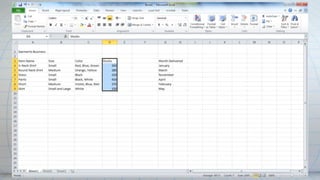
![Second is by using the tool bar.
Click on the column letter that you want to change [1],
then go to Home [2] > Format [3] > Column Width
[4]. A pop up window will appear then type in the
exact width that you want. Then click OK.](https://image.slidesharecdn.com/1stquarter-4thmeeting-spreadsheet-140710021154-phpapp02/85/1st-quarter-4th-meeting-spreadsheet-4-320.jpg)


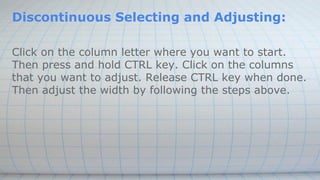
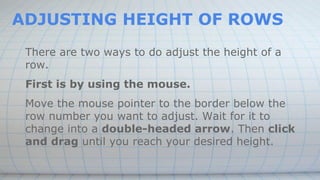
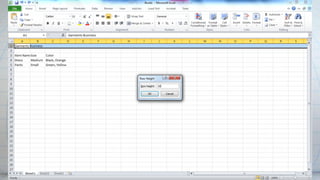
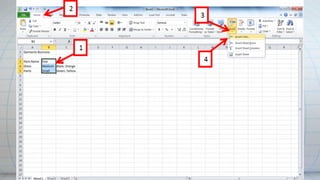
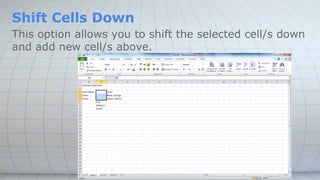
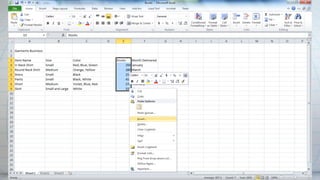
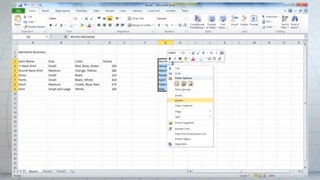
![Second is by using the tool bar.
Click on the row number that you want to change [1],
then go to Home [2] > Format [3] > Row Height [4].
A pop up window will appear then type in the exact
height that you want. Then click OK.](https://image.slidesharecdn.com/1stquarter-4thmeeting-spreadsheet-140710021154-phpapp02/85/1st-quarter-4th-meeting-spreadsheet-14-320.jpg)
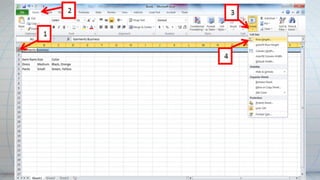


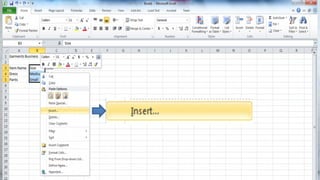
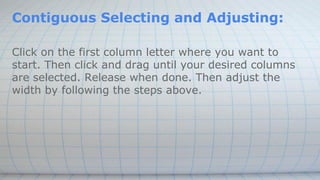
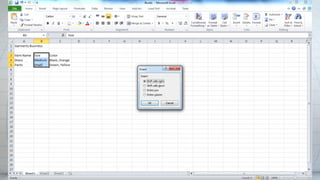
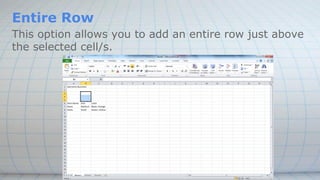
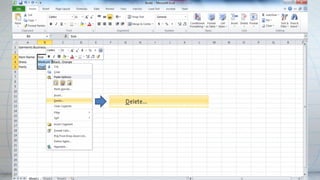
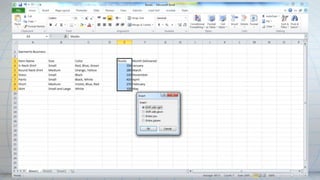
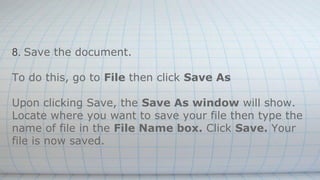
![When using the tool bar, click first where you want to
insert new cell/s [1], then, go to Home [2] > Insert
[3] > Insert Cells [4].](https://image.slidesharecdn.com/1stquarter-4thmeeting-spreadsheet-140710021154-phpapp02/85/1st-quarter-4th-meeting-spreadsheet-24-320.jpg)


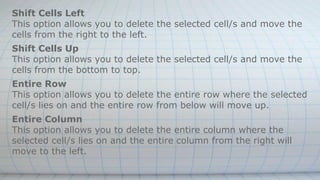
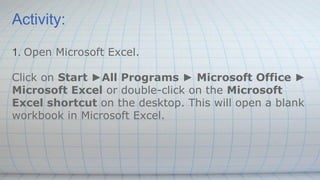


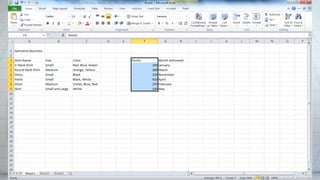


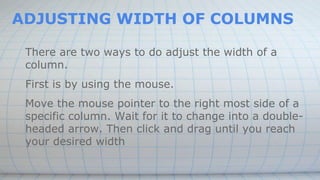
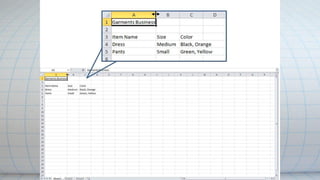
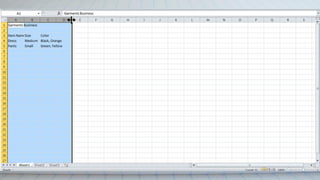
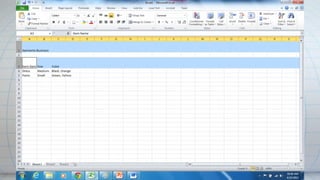
This document provides instructions for adjusting cell widths and row heights, inserting and deleting cells, and moving cells in Microsoft Excel. It describes how to use the mouse or toolbar to adjust sizes, insert cells by right-clicking or using the insert menu, move cells by dragging, and delete cells or columns by right-clicking and selecting delete options. The document concludes by providing step-by-step instructions for practicing these skills by creating a sample worksheet about a garments business.