Downloaded 1,554 times


![NURS 241 Nursing Skills Procedure: Manual 70
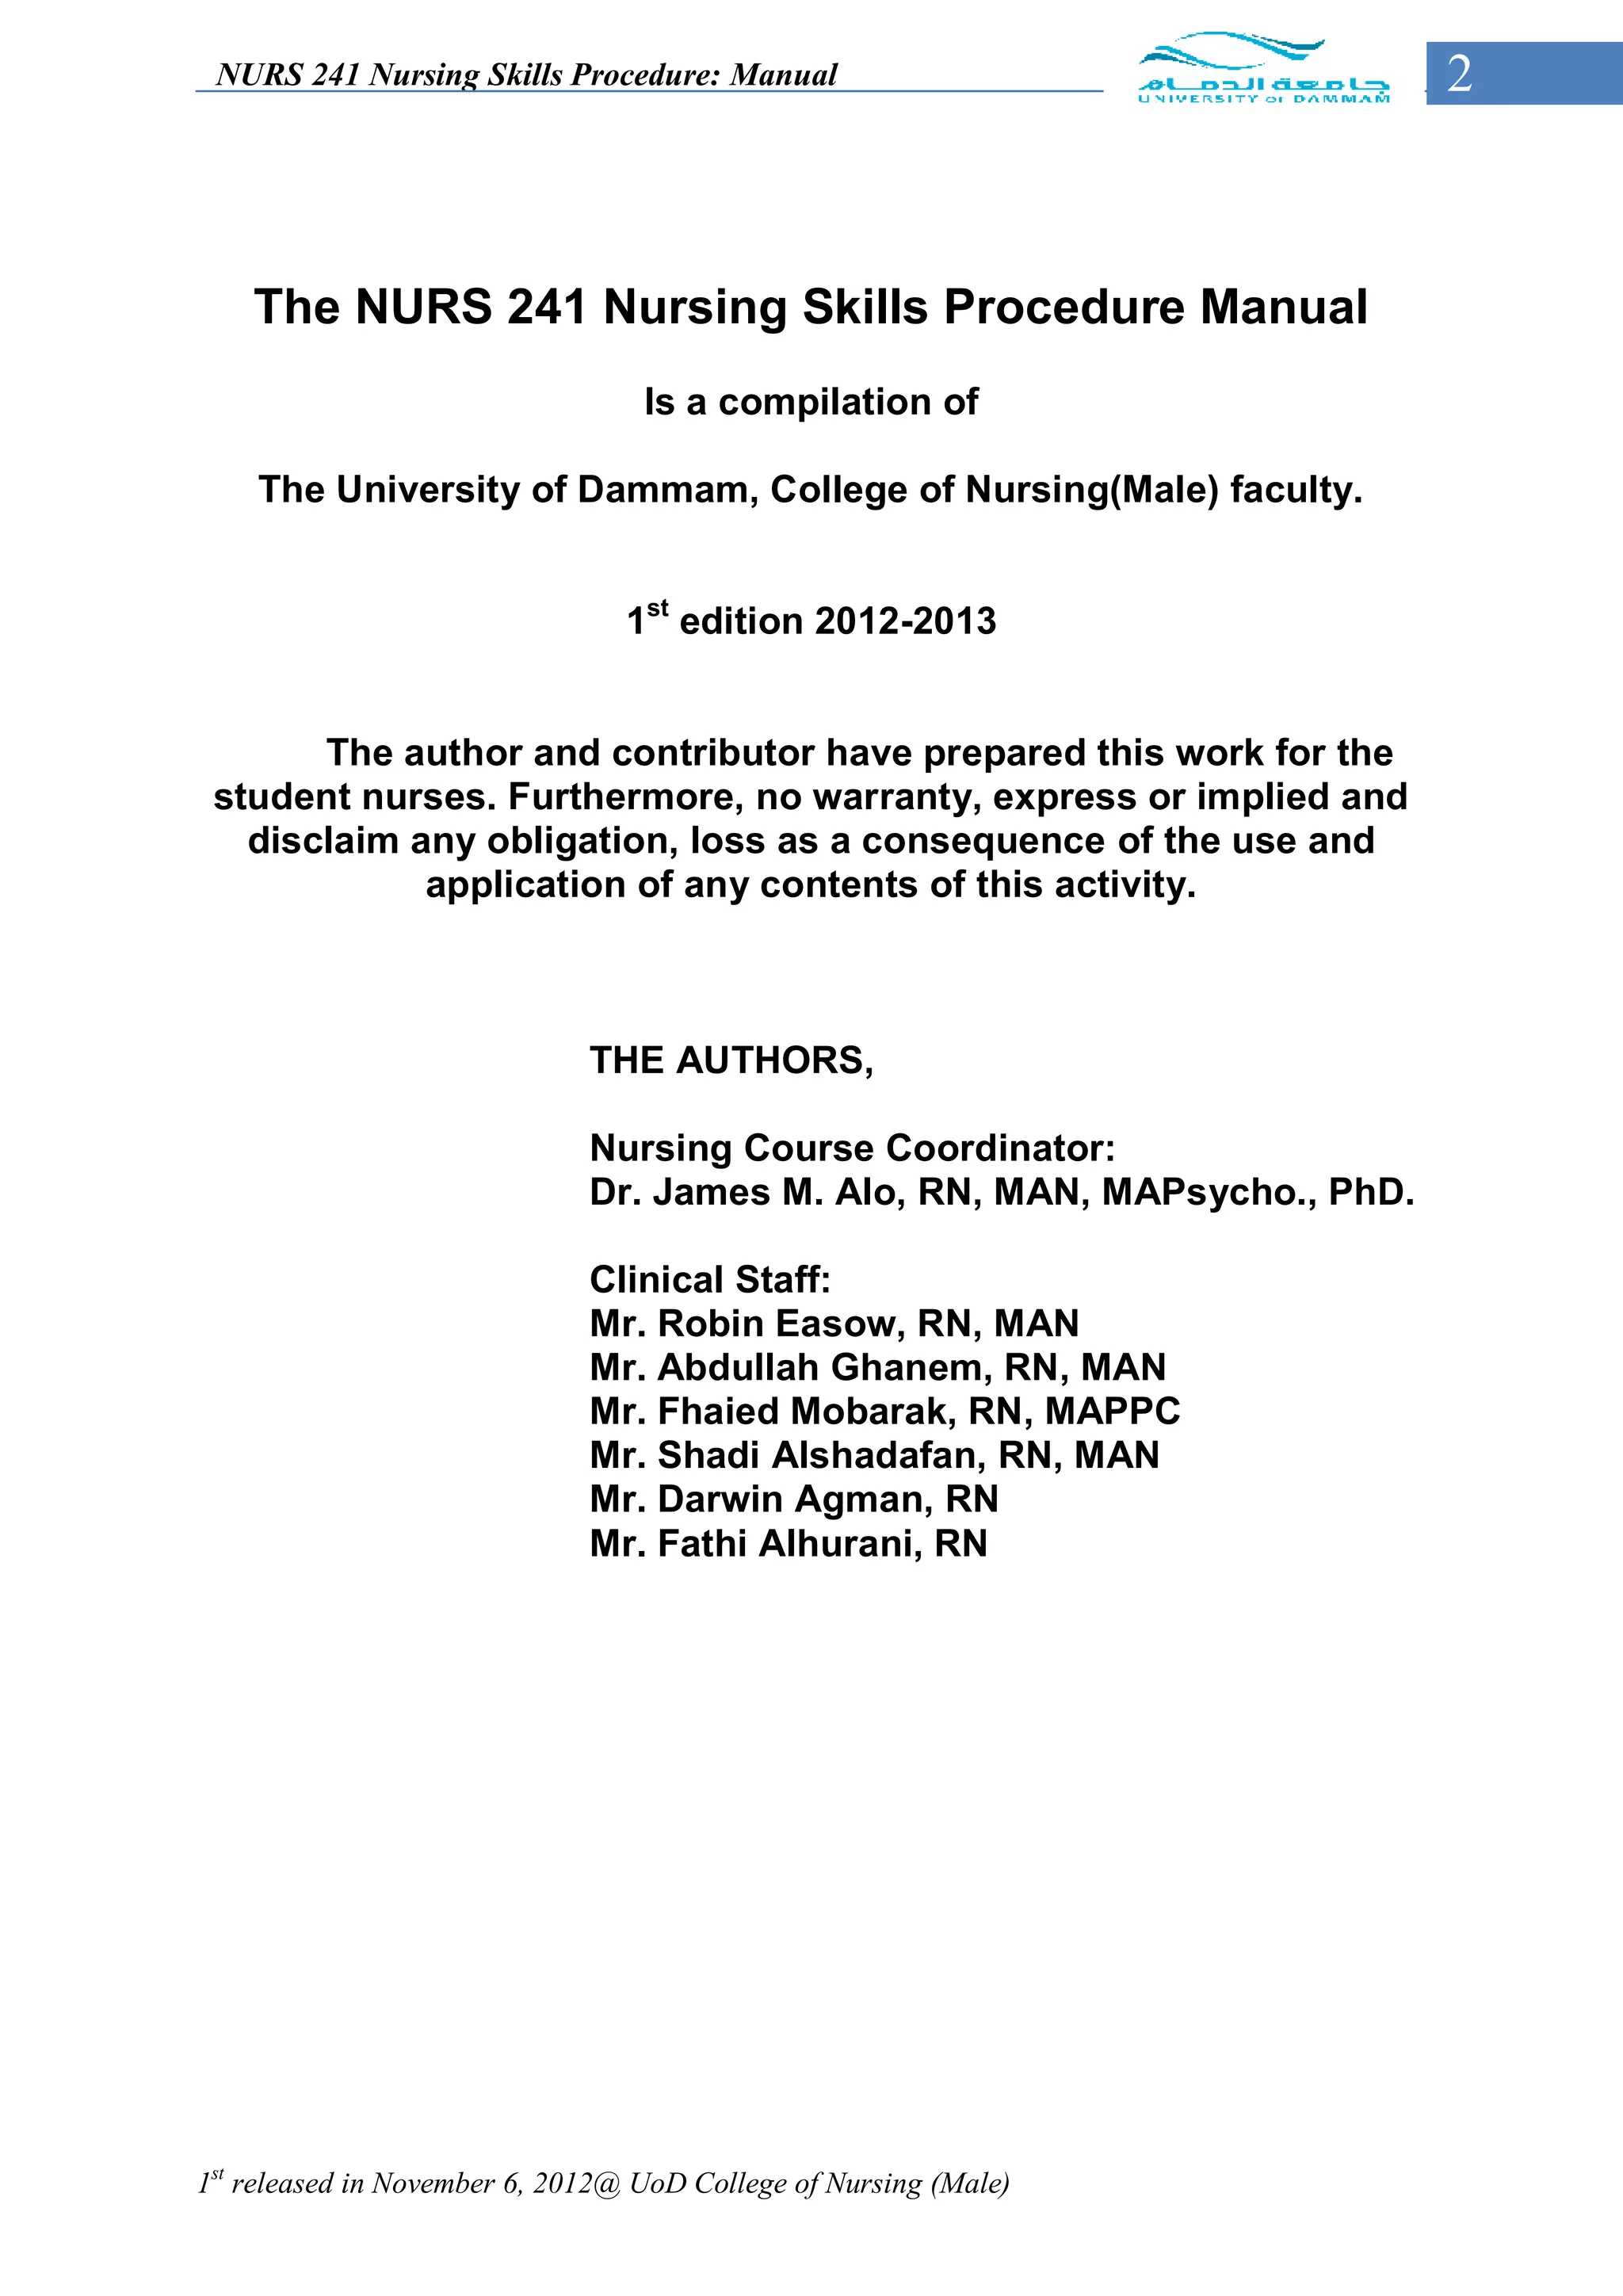
Equipment
Basin or sink with warm water (43 C˚ -46 C˚).
Soap and soap dish.
Linens: bath blanket, two bath towels, washcloth, clean gown or pajamas or clothes
as needed, additional bed linen and towels, if required.
Clean gloves, if appropriate (e.g., presence of body fluids or open lesions).
Personal hygiene articles (e.g., deodorants, powder, lotions).
Shaving equipment.
Laundry bag.
IMPLEMENTATION
Before start bathing your client you must be aware for the following
a. Purpose and type of bathing.
b. Self-care ability of the client.
c. Any position or movement precautions for the client.
d. Coordinate all aspects of health care and prevent unnecessary fatigue. Such as x-
ray or physical therapy…etc.
e. Client comfort level with being bathed by someone else.
f. Presence of all equipment and linens before starting bathing.
STEPS Rational
Prepare the bed and position the
client appropriately
Position the bed at a comfortable This avoids undue reaching and straining
working height. Lower the side rails on and promotes good body mechanics. And
the side close to you. Keep the other ensure patient safety
side rail up. Assist the client to move
near to you.
Place bath blanket over top sheet. The bath blanket provides comfort, warmth
Remove the top sheet from under the and privacy.
bath blanket by starting at client’s
shoulder and moving linen down
toward client’s feet.[ask the client to
grasp and hold the top of bath blanket
while pulling linen to the foot of the
bed].
NOTE: if the bed linen is to be reused,
place it over the bed side chair. If it is
to be changed, place it in the linen
hamper, not on the floor.
Remove client’s gown while keeping
the client covered with bath blanket.
Place gown in linen hamper.
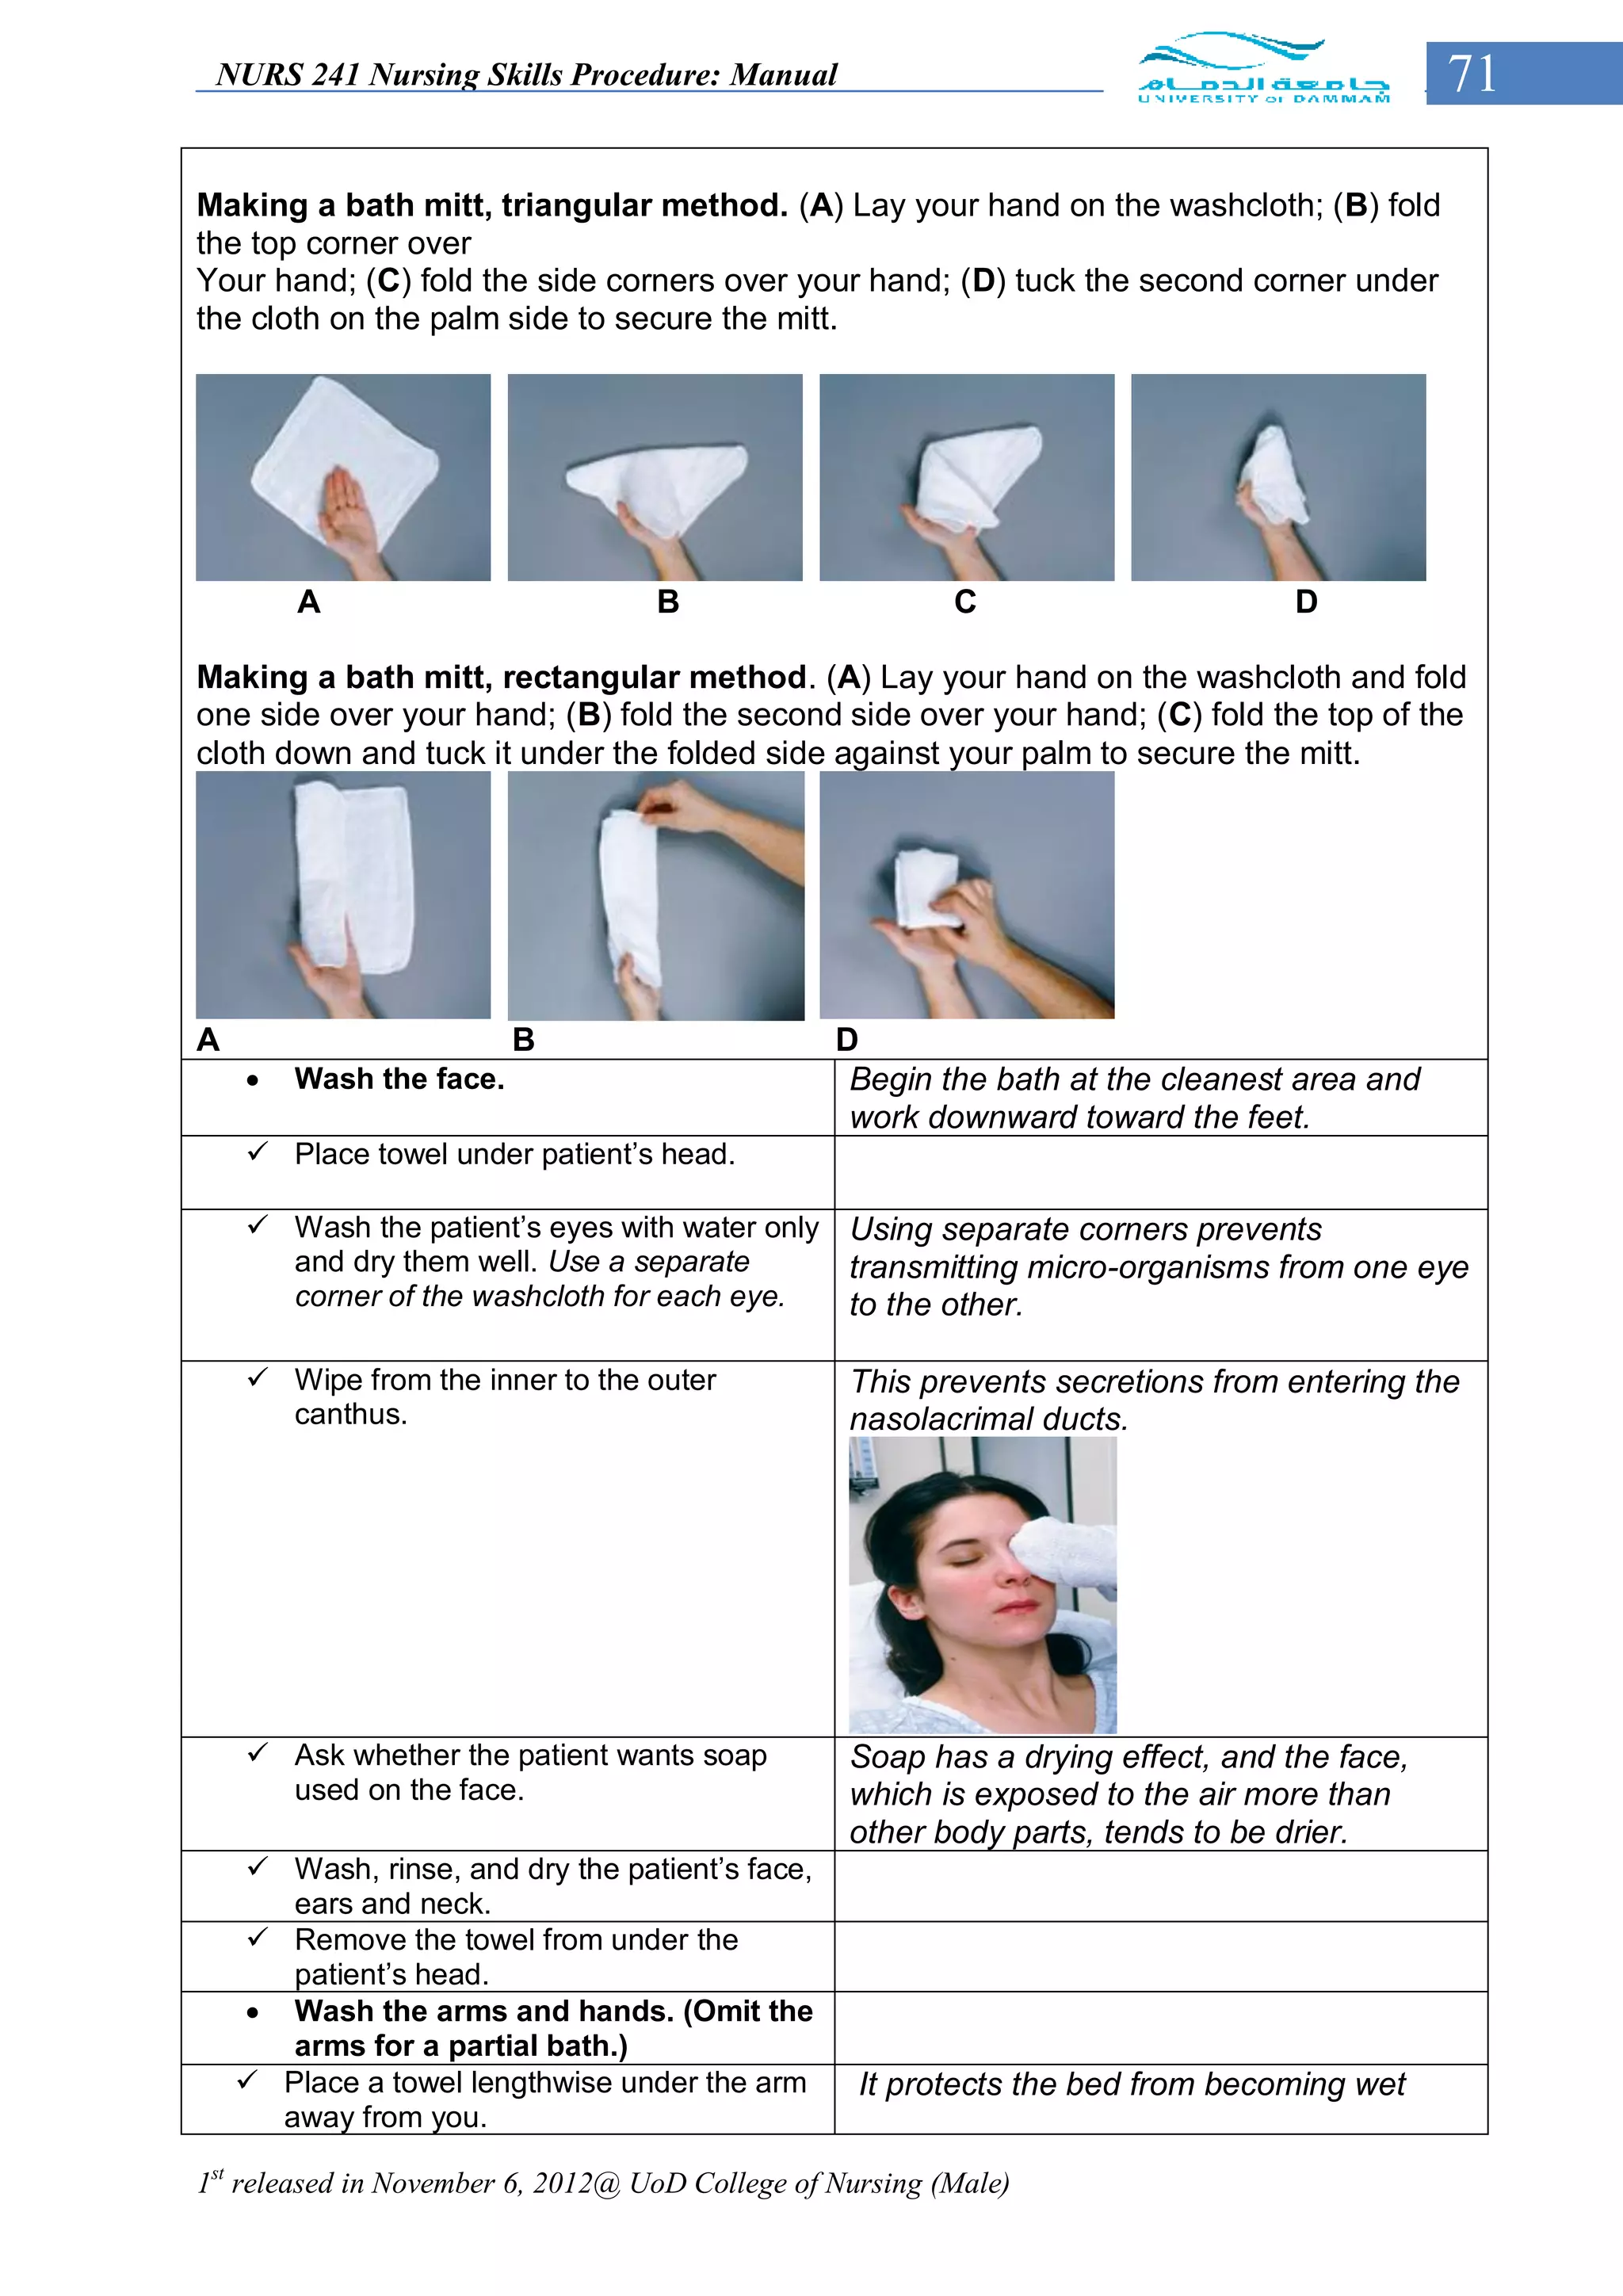
Make a bath mitt with washcloth. A bath mitt retains water and heat better
than cloth loosely held and prevents ends
of washcloth from dragging across the skin
1st released in November 6, 2012@ UoD College of Nursing (Male)](https://image.slidesharecdn.com/nursingskillsproceduremanual-drjma-121111115535-phpapp01/75/Nursing-skills-procedure-manual-drjma-70-2048.jpg)

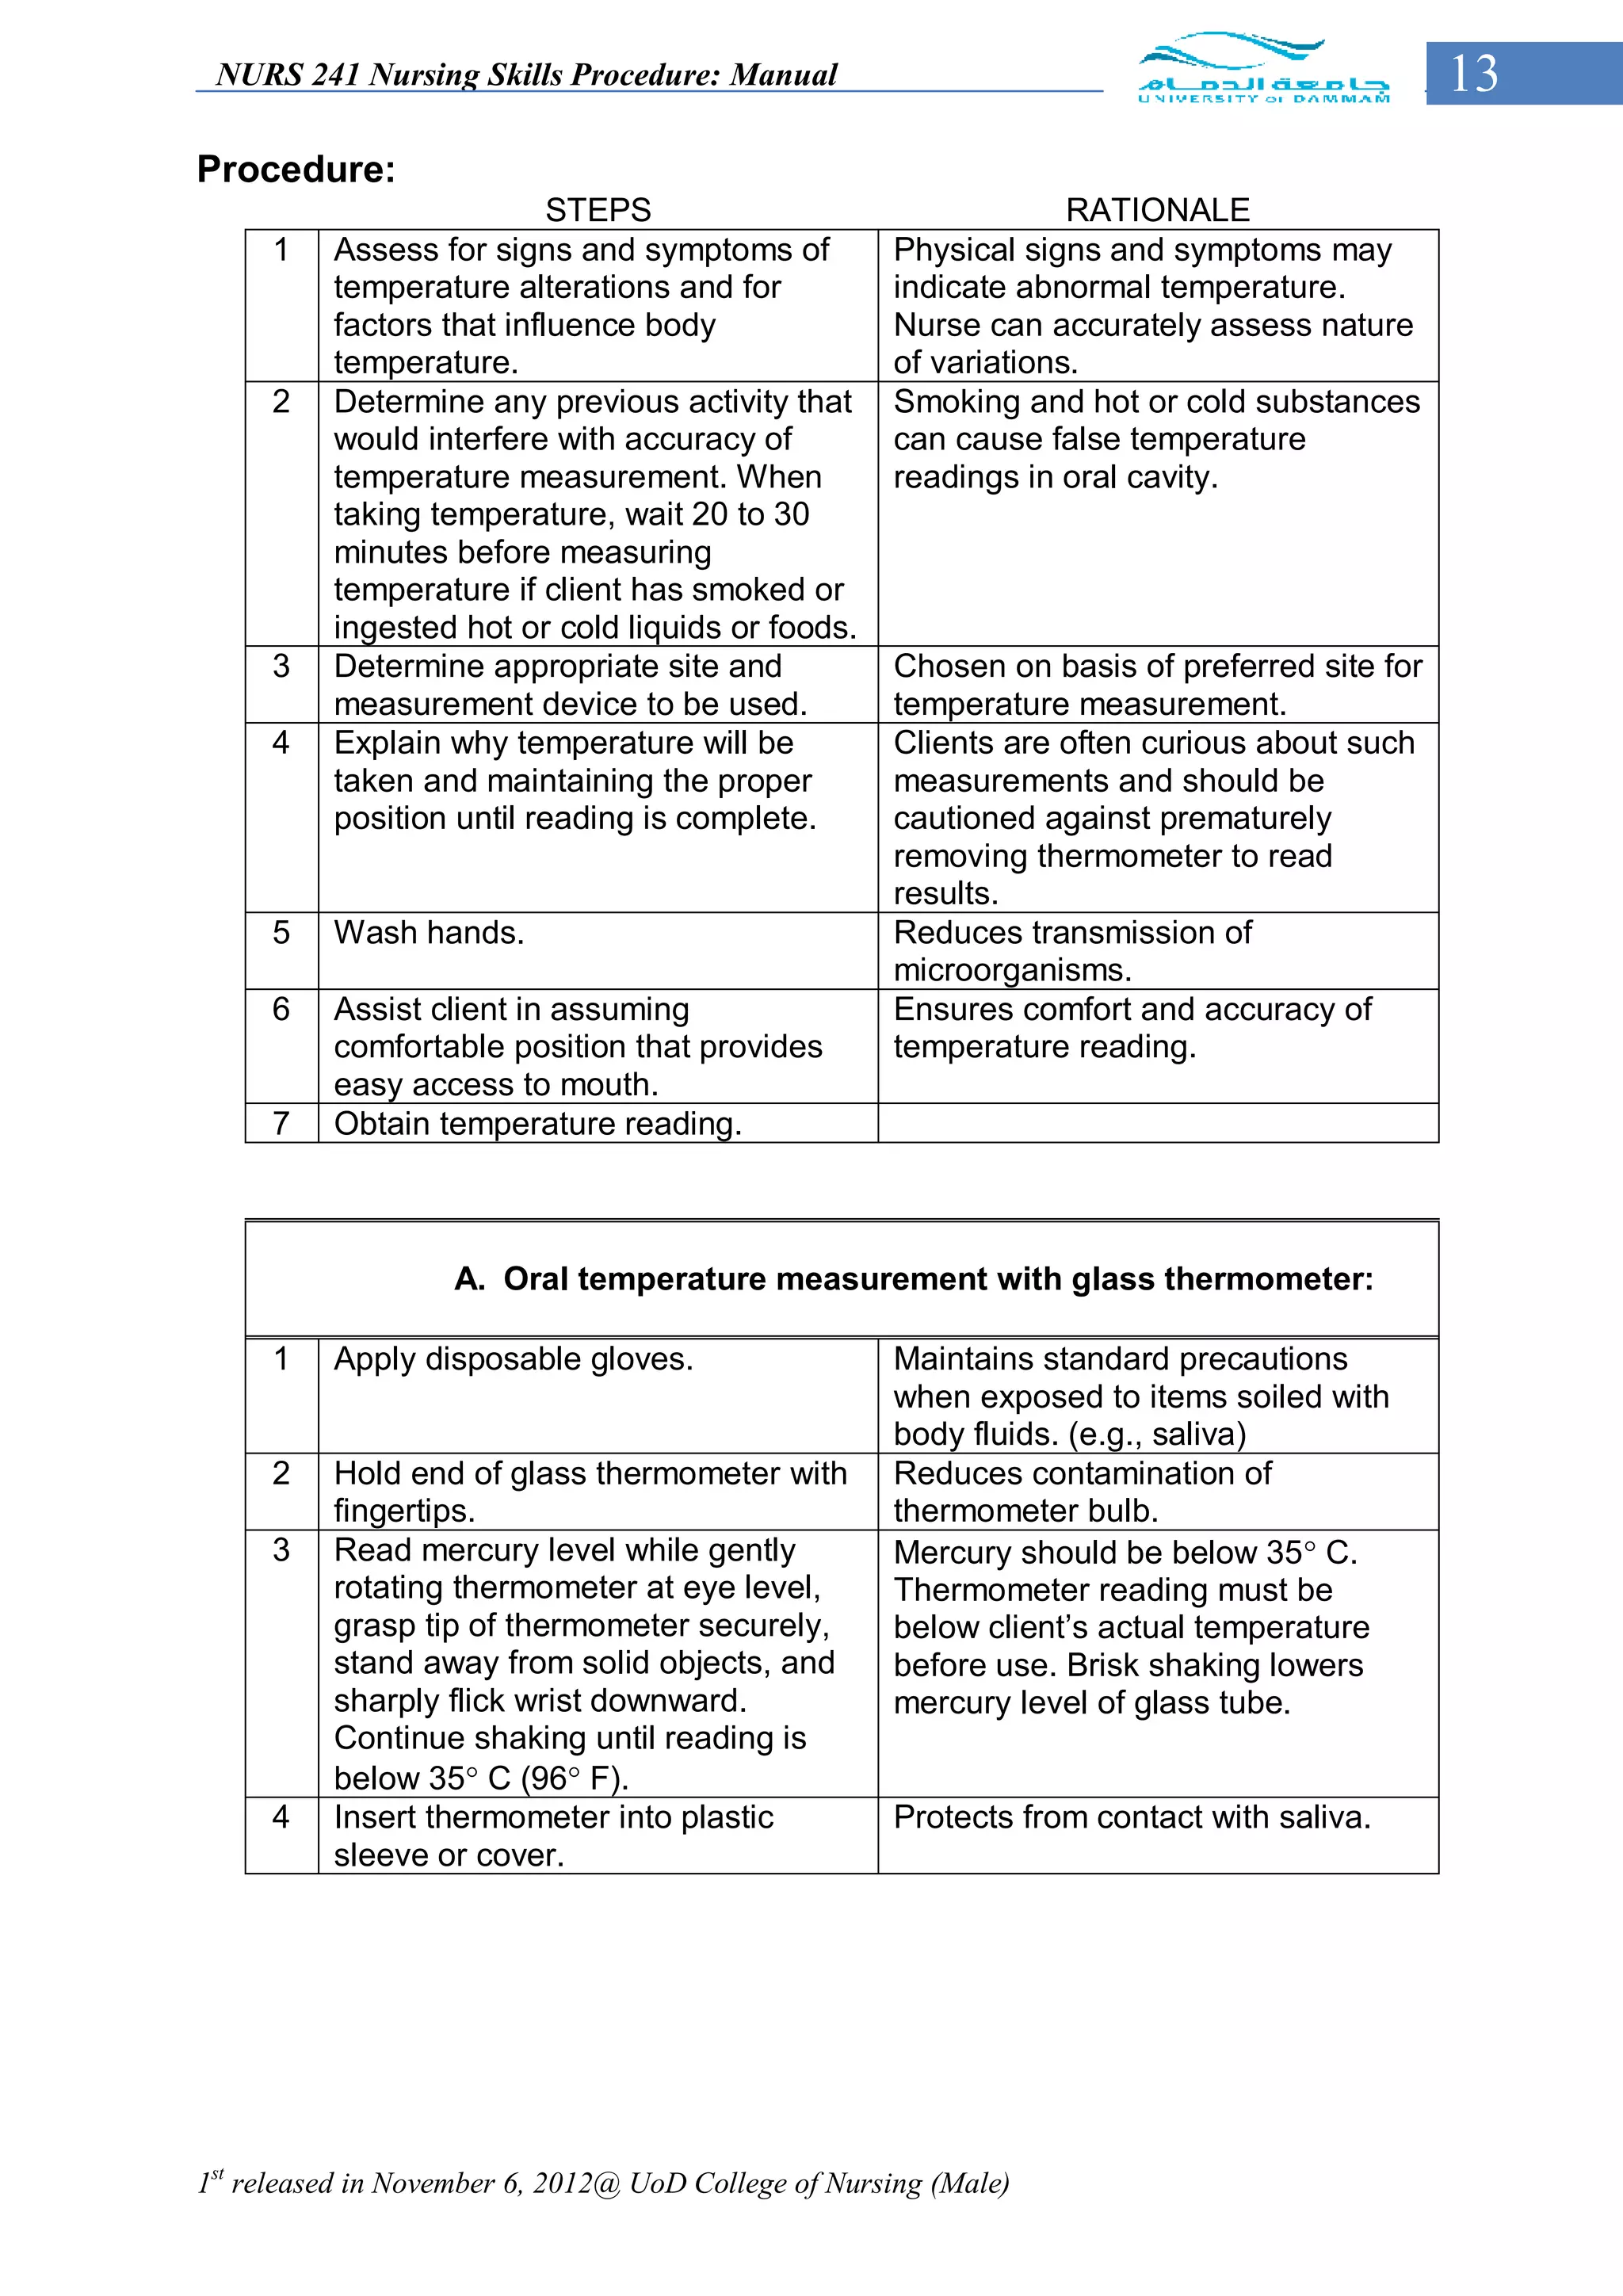
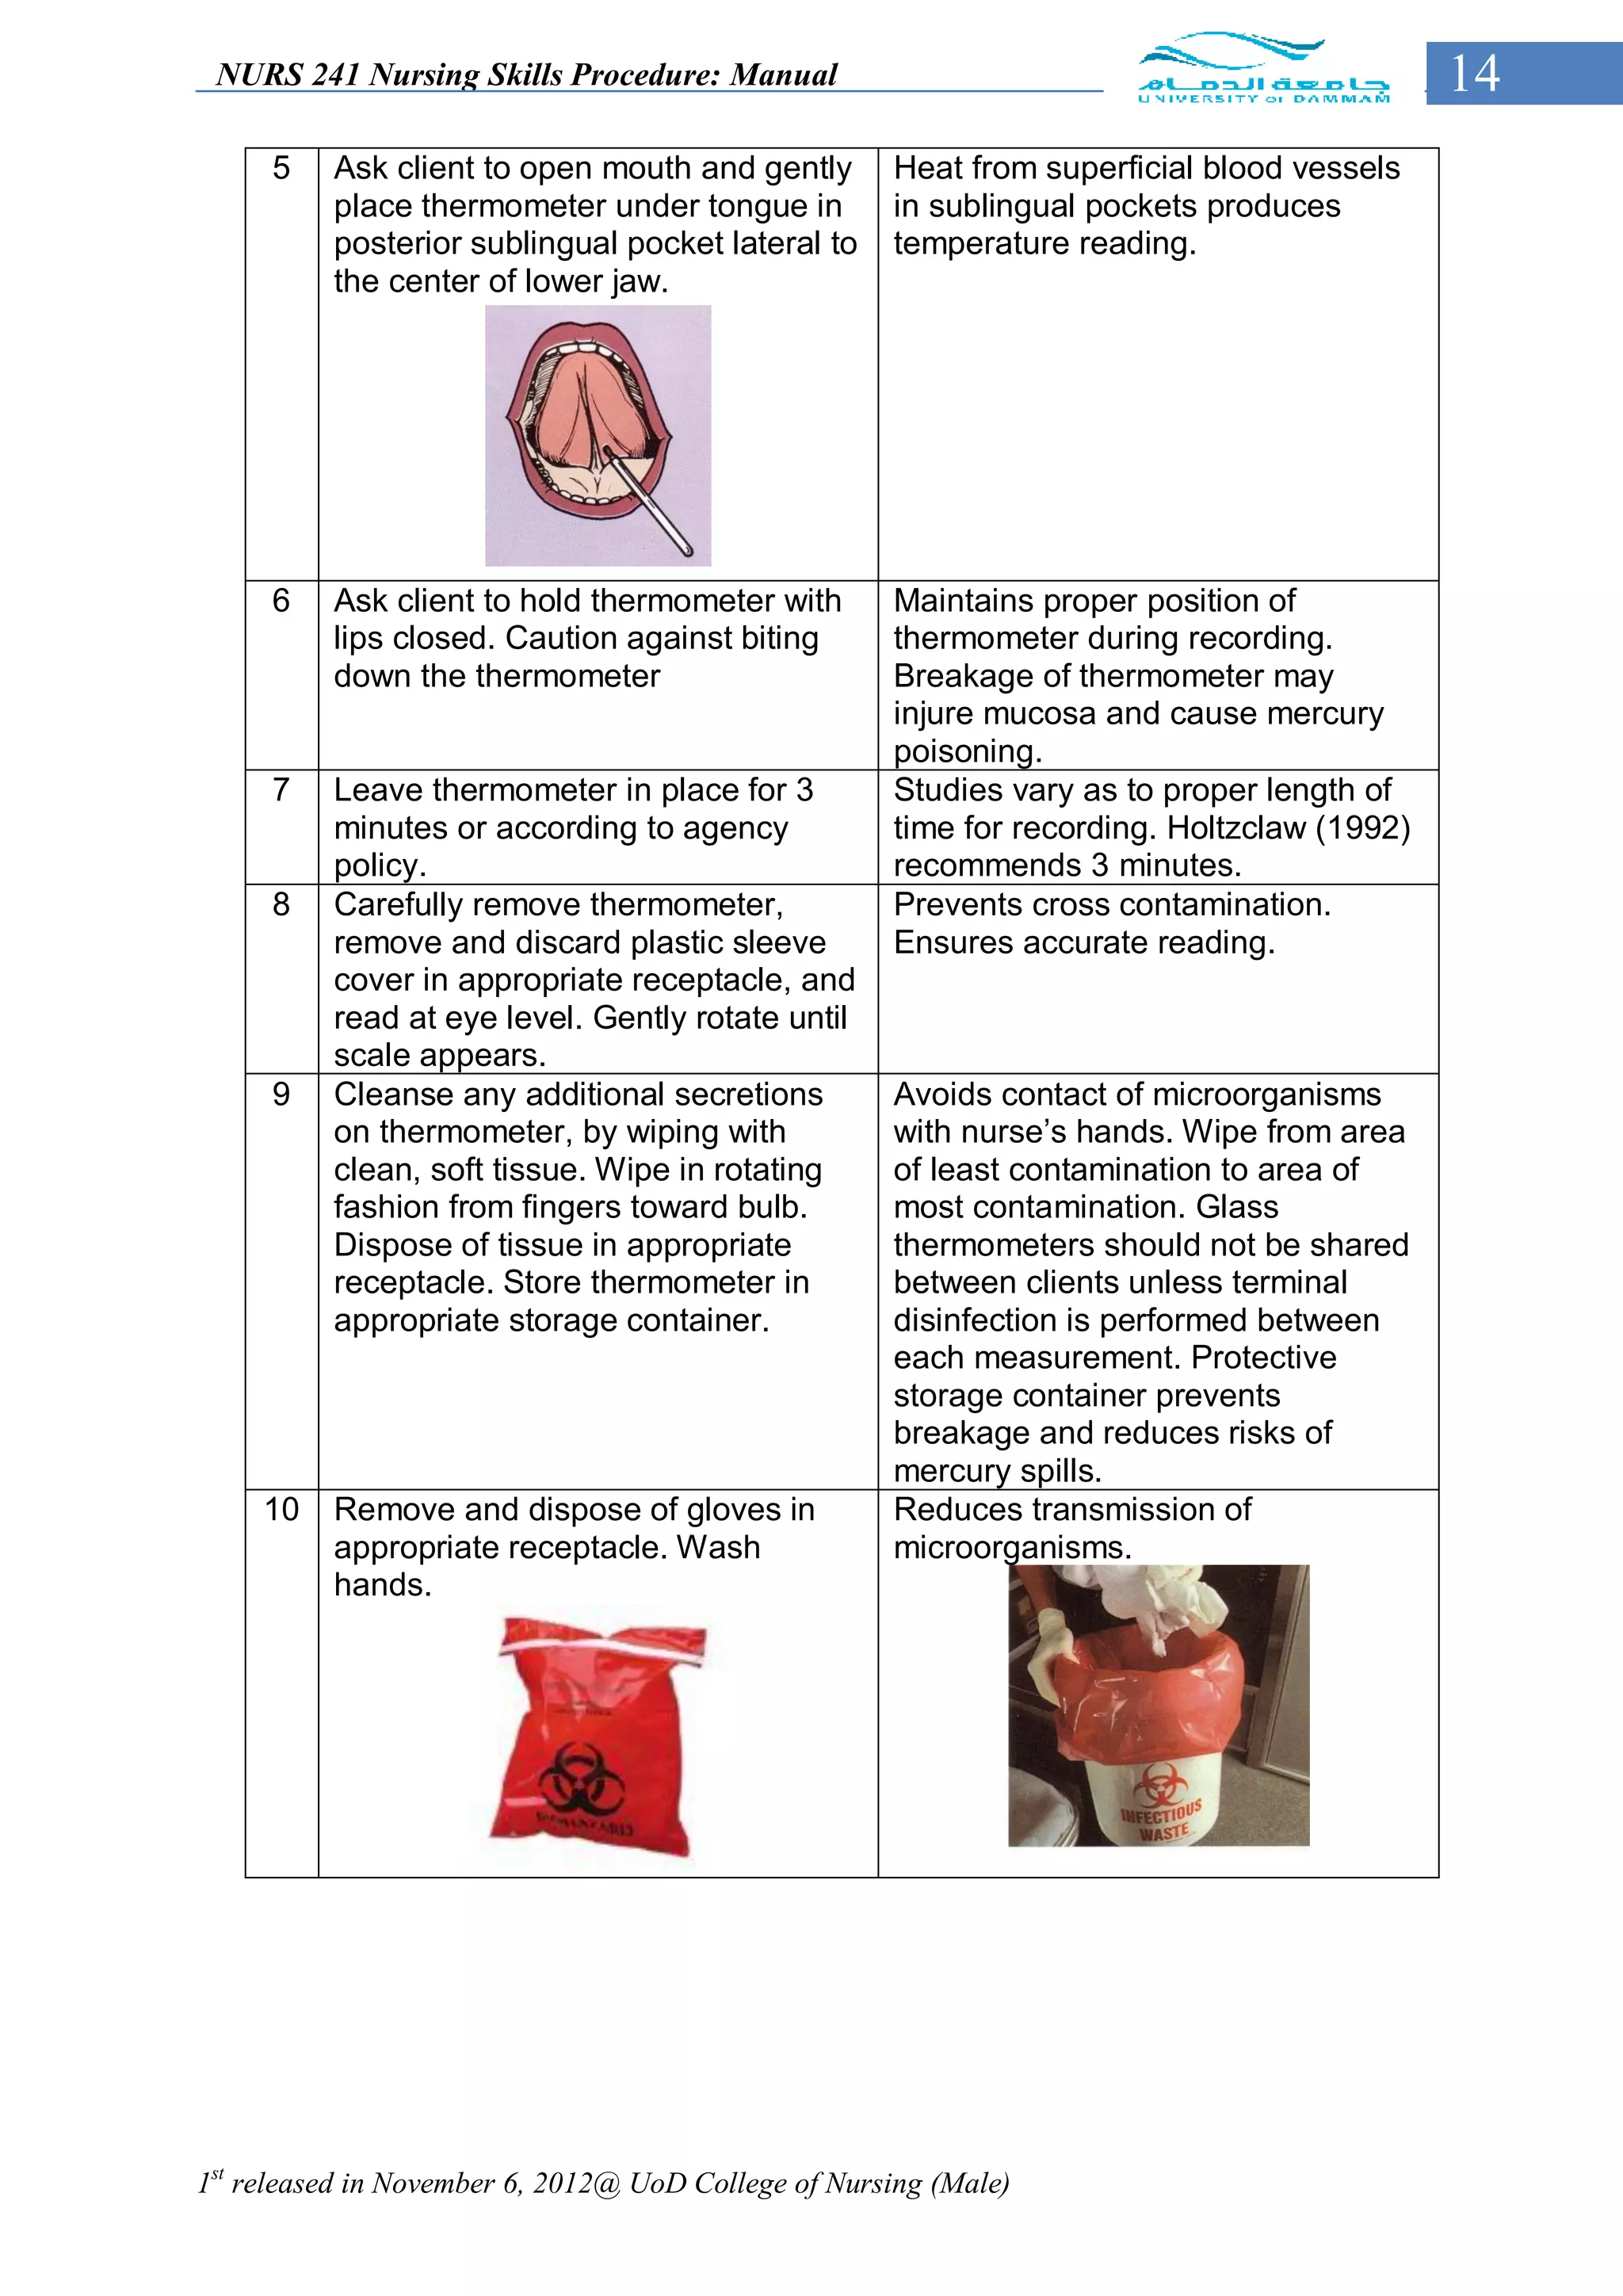
![NURS 241 Nursing Skills Procedure: Manual 81
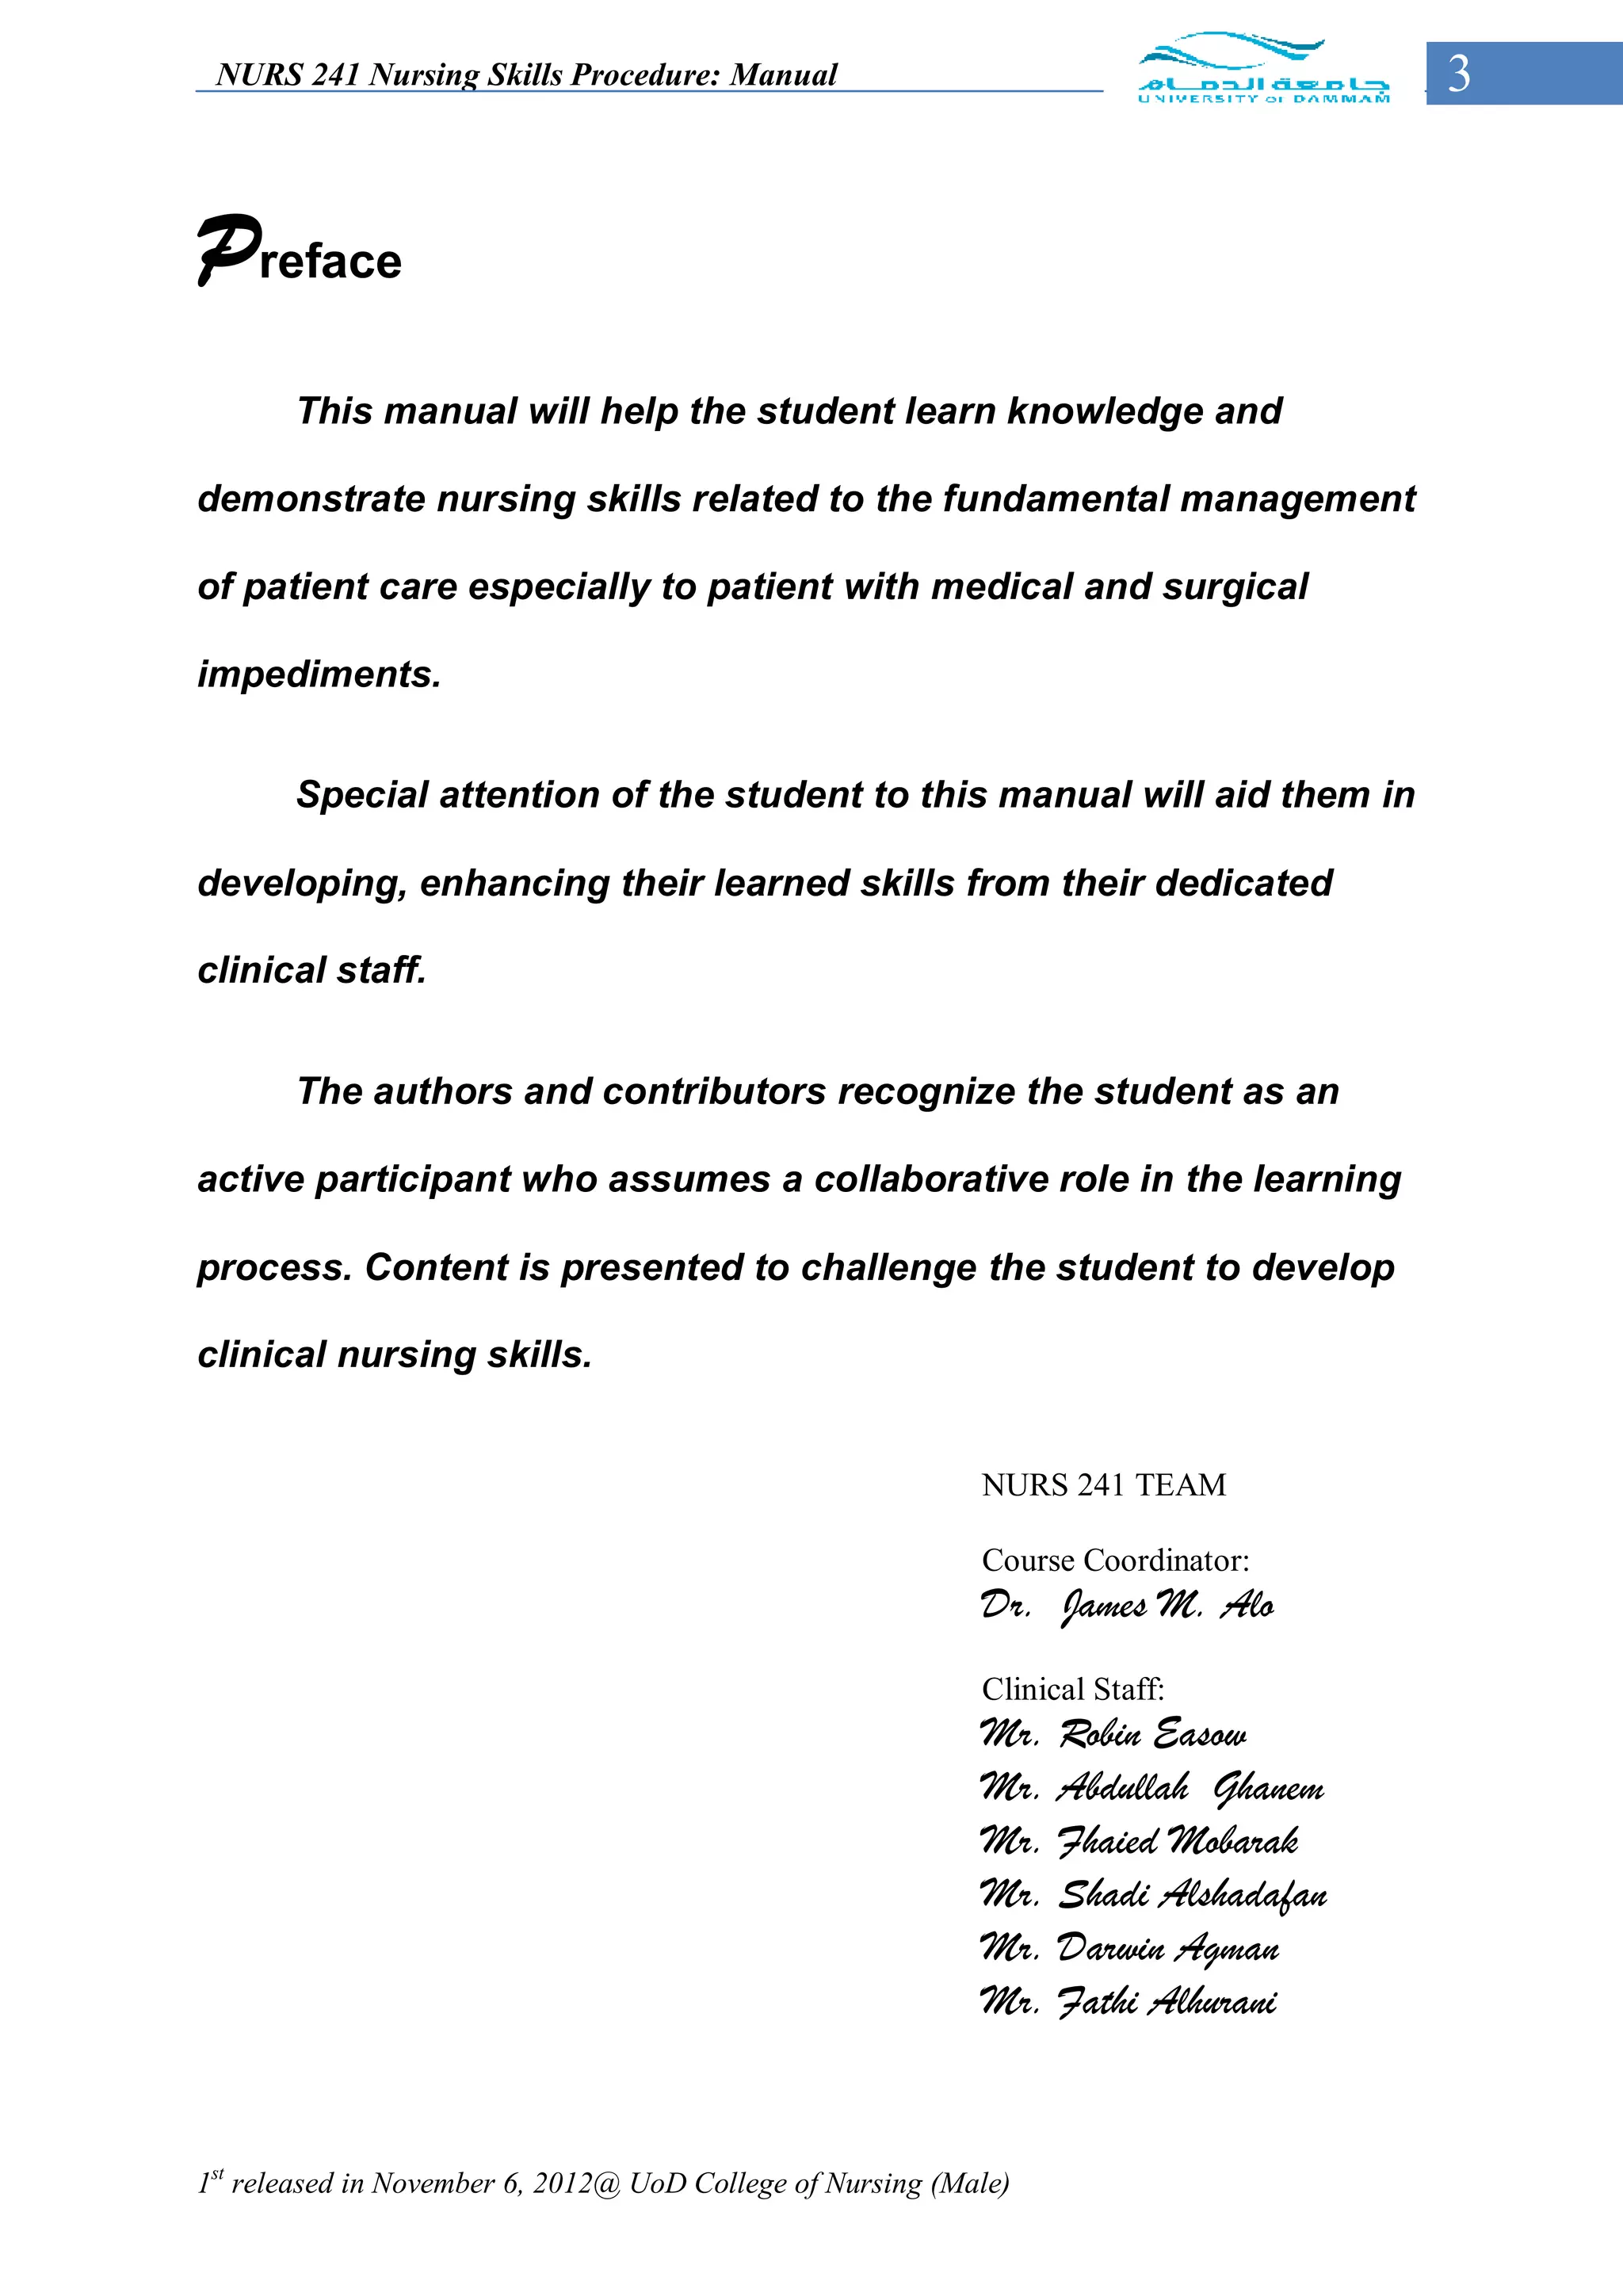
Obtaining a clean urine specimen or random urine specimen:
STEPS Rationale
Collection by the patient:
1 Give client the urine container
properly labeled with client’s
identification (name, medical
record number, sex, age) [date
and time of urine collection will
be written after collection].
2 Instruct the patient on how to Provides the client with the information
properly collect. needed to collect specimen.
3 Send the urine to the laboratory Ensures accurate testing and
immediately or within 2 hours documentation.
with the properly filled up
laboratory requisition form.
Collection done by the nurse:
1 Wash hands. To prevent spread of microorganisms.
2 Collect needed supplies and To save time, effort and energy.
equipment:
a. Urine container properly
labeled with
Client’s identification.
b. Urinal (male) or bedpan
(female).
c. Toilet tissues.
d. Laboratory requisition form.
3 Explain the purposes(s) and To gain client’s cooperation.
procedure of the test.
4 Put on disposable gloves, place
urinal or bedpan in position.
Instruct client to void.
5 Dry client’s urethral opening Microorganisms thrive in wet areas.
with tissue and after voiding.
6 Remove urinal and bedpan, Ensures client’s comfort.
cover, and take it into the
bathroom or the utility room.
7 Put a designed amount of urine
into the urine container and
cover it tightly. Discard the
remainder.
8 Clear the urinal and bedpan, put Limits transfer of microorganisms.
back to proper place. Discard
gloves and wash hands.
9 Send to the laboratory Ensures accurate testing and
immediately or within 2 hours documentation.
with properly filled up laboratory
form.
1st released in November 6, 2012@ UoD College of Nursing (Male)](https://image.slidesharecdn.com/nursingskillsproceduremanual-drjma-121111115535-phpapp01/75/Nursing-skills-procedure-manual-drjma-81-2048.jpg)


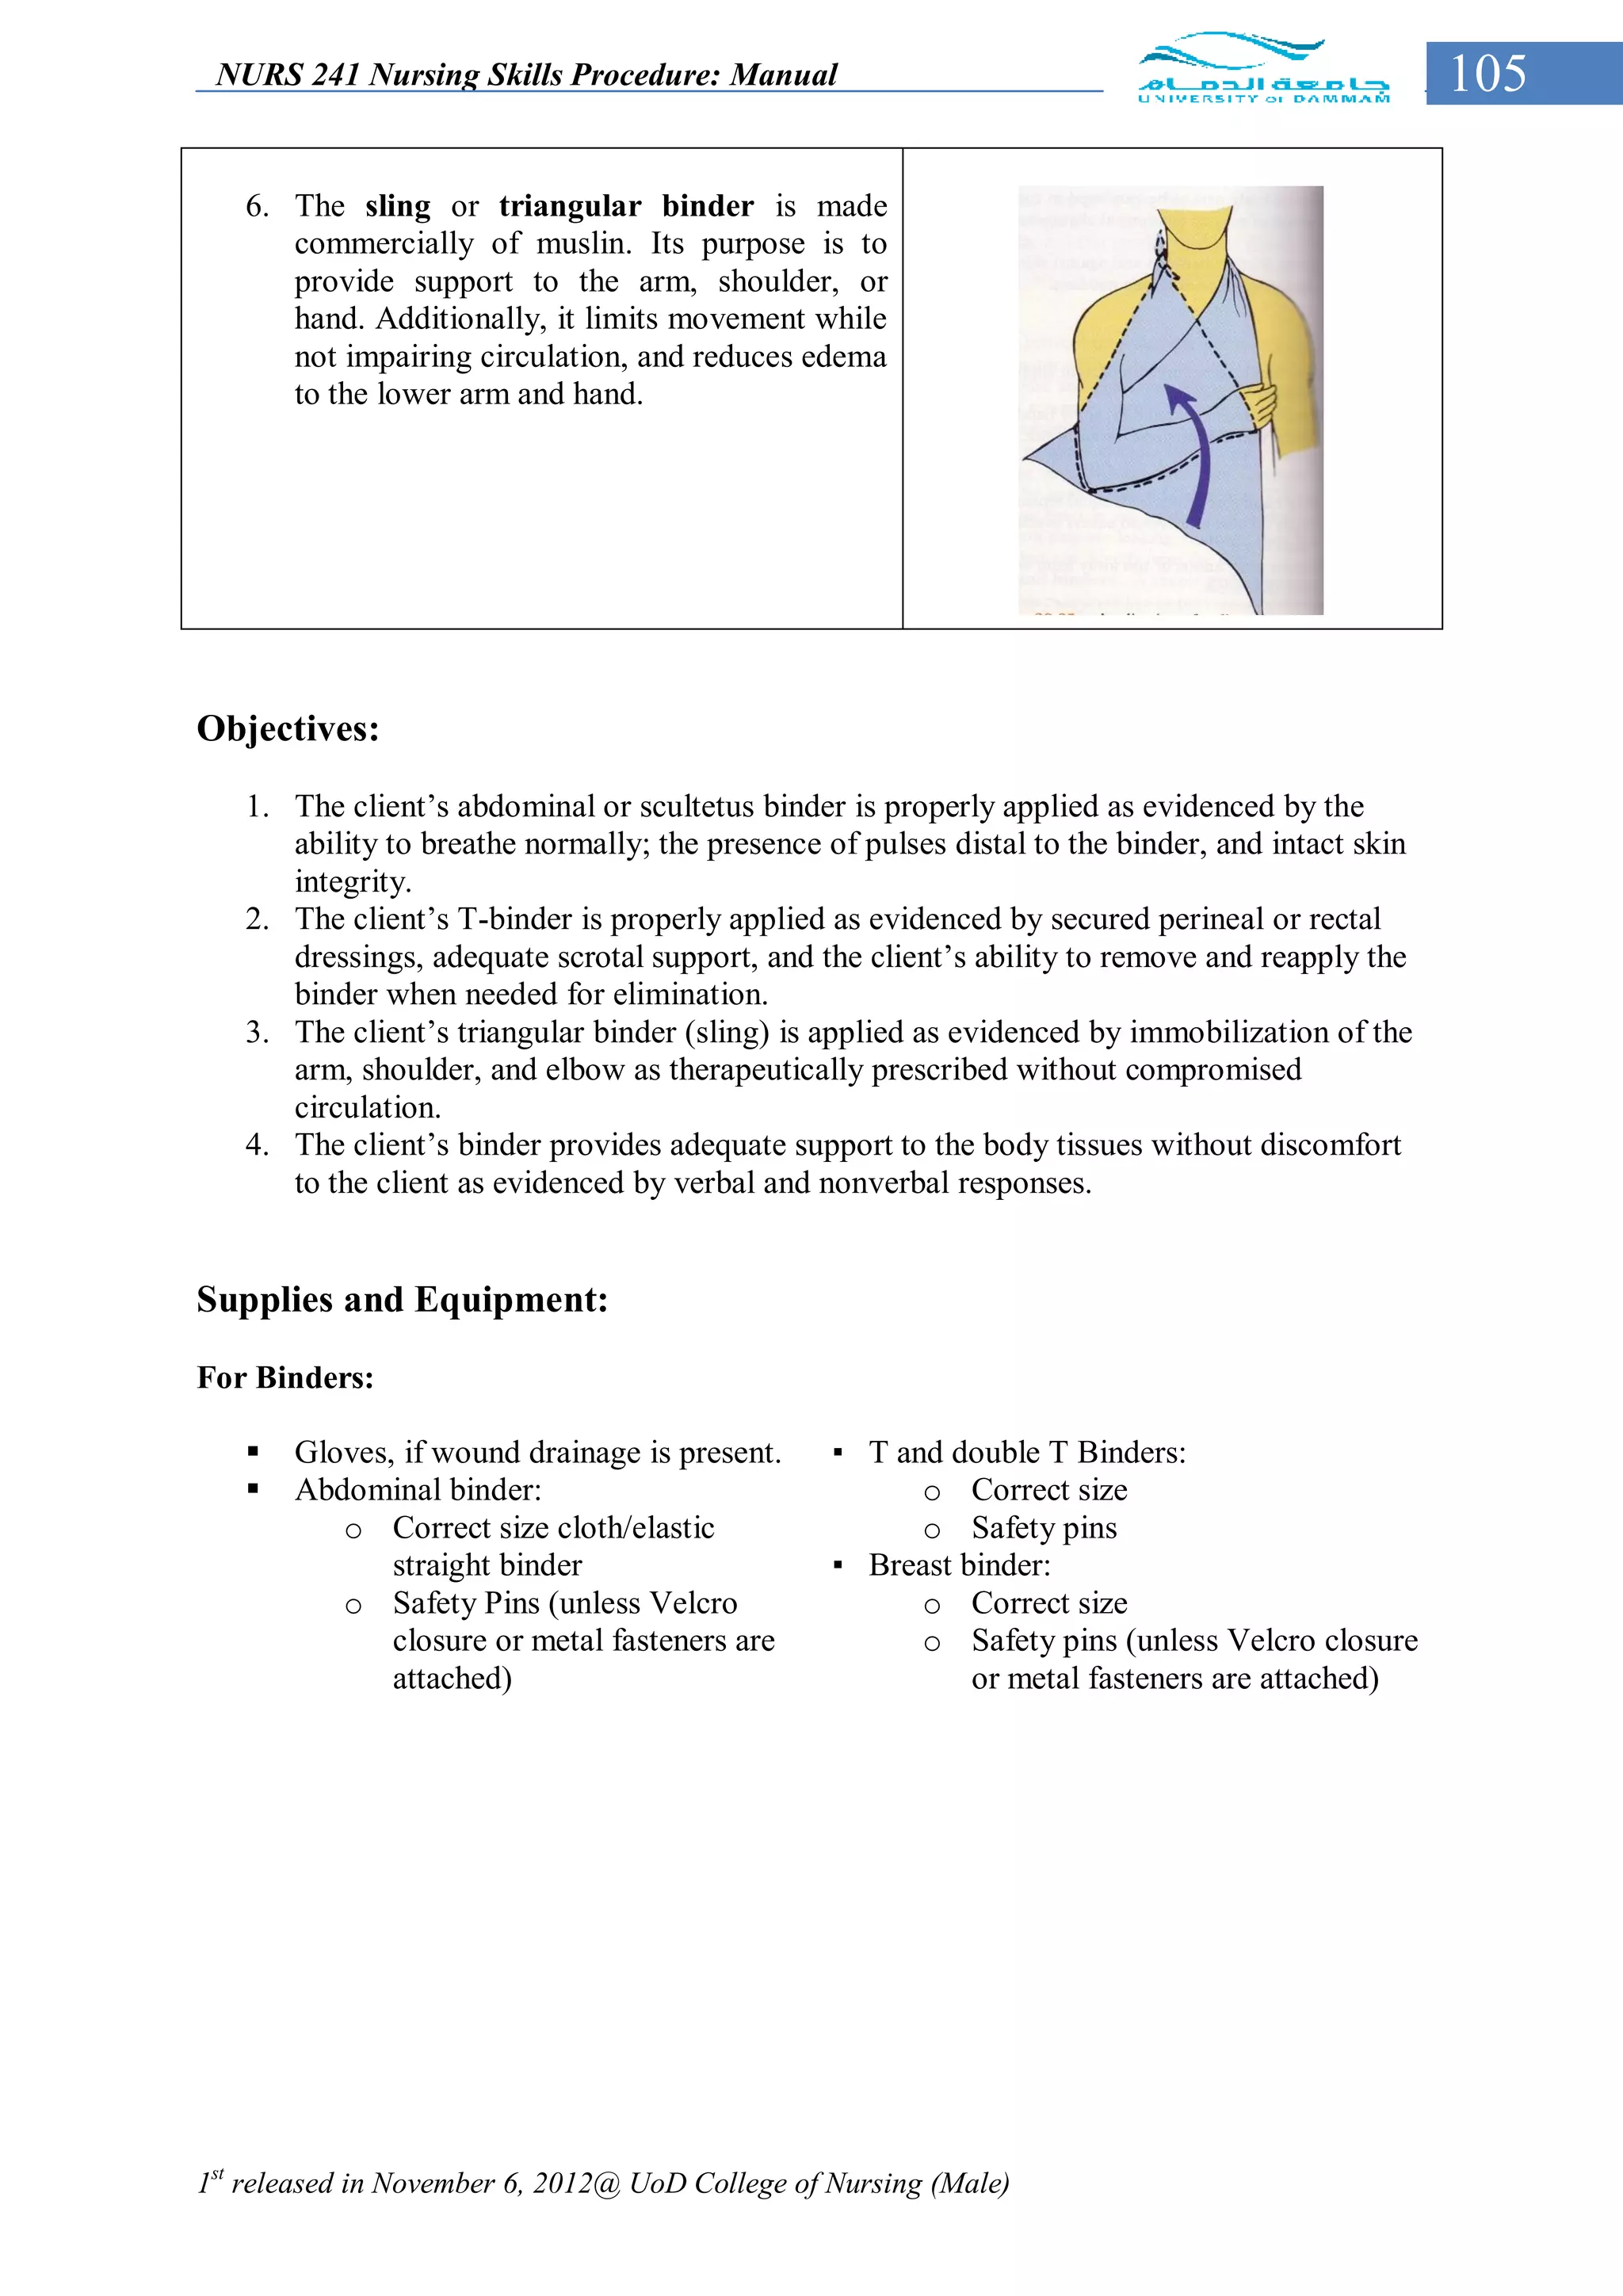


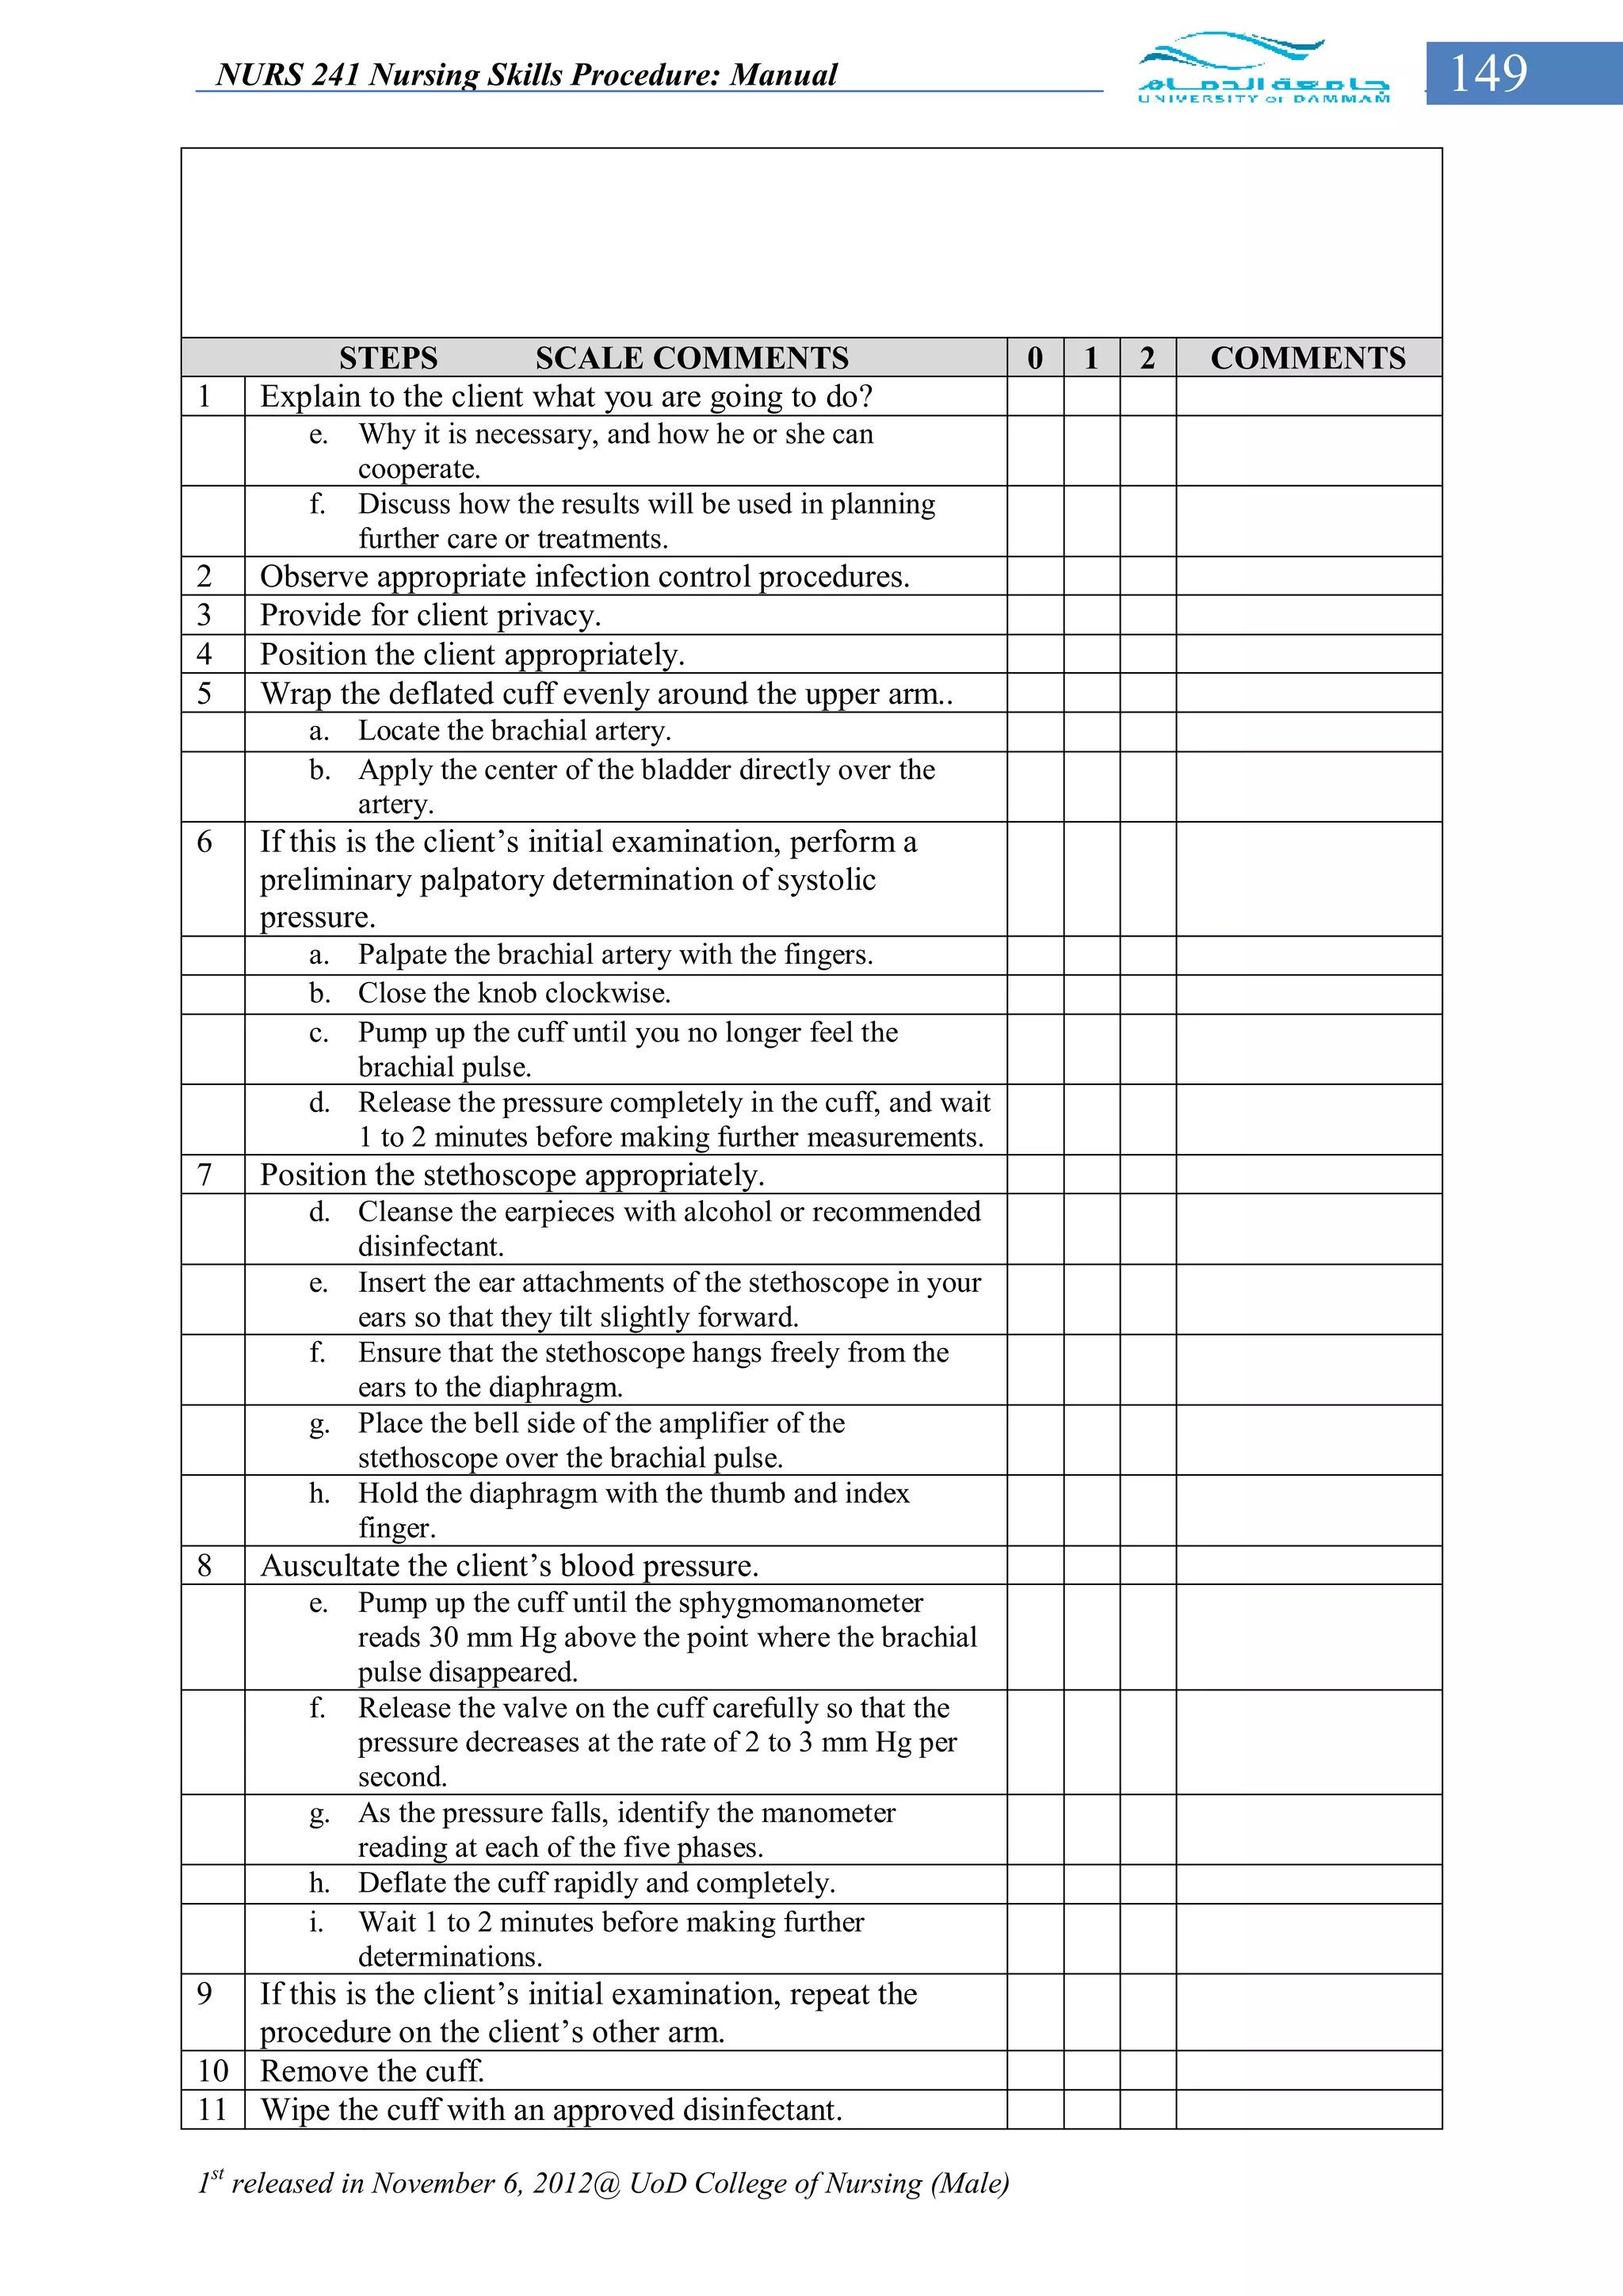

The NURS 241 Nursing Skills Procedure Manual serves as a comprehensive guide for nursing students at the University of Dammam to learn and demonstrate essential nursing skills for patient care. It includes detailed procedures for vital sign measurement, hand hygiene, and various clinical skills, emphasizing the active role of students in the learning process. Authored by the nursing faculty, the manual was first released in November 2012 and is designed to enhance the practical knowledge and competence of nursing students.


![Burns%20 stages phases[1]](https://cdn.slidesharecdn.com/ss_thumbnails/burns20stages-phases1-100430070744-phpapp02-thumbnail.jpg?width=640&height=640&fit=bounds)


