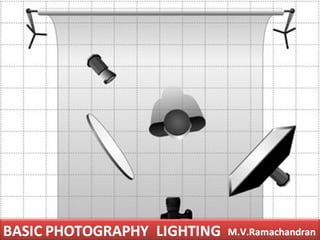
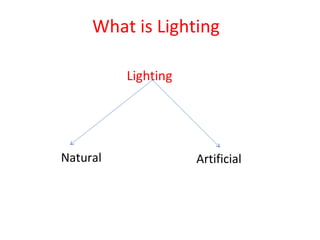
The document discusses different types of lighting techniques used in photography, including:
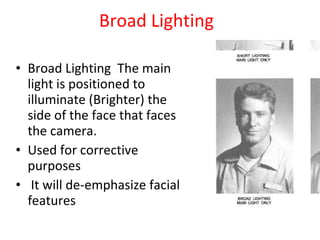
- Broad lighting, short lighting, narrow lighting, butterfly lighting, and Rembrandt lighting. It provides details on the positioning of the main light for each technique.
- Three-point lighting involving a key light, fill light, and back light. The key light is the primary illuminator.
- Indoor flash techniques like bounce flash to reduce red eye and fill flash to reduce shadows.
- Tips for photography in sunlight, like shooting in early morning or late afternoon when the sun is lower and from the side to provide modeling.