Download as PDF, PPTX
![Contd..
If initialization is success you will see OK in the output something like
this
{
"set" : "sample",
"myState" : 1,
"members" : [
{
"name" : "<PRIMARY_HOSTNAME>:27017",
"self" : true
}
],
"ok" : 1
}
You can also check the status on
http://<PRIMARY_NODE>:27017/_replSet
Your Primary node is ready to use now. You can insert/update document
on this node](https://image.slidesharecdn.com/mongdb-ha-ec2-140310042904-phpapp01/75/Configuring-MongoDB-HA-Replica-Set-on-AWS-EC2-7-2048.jpg)
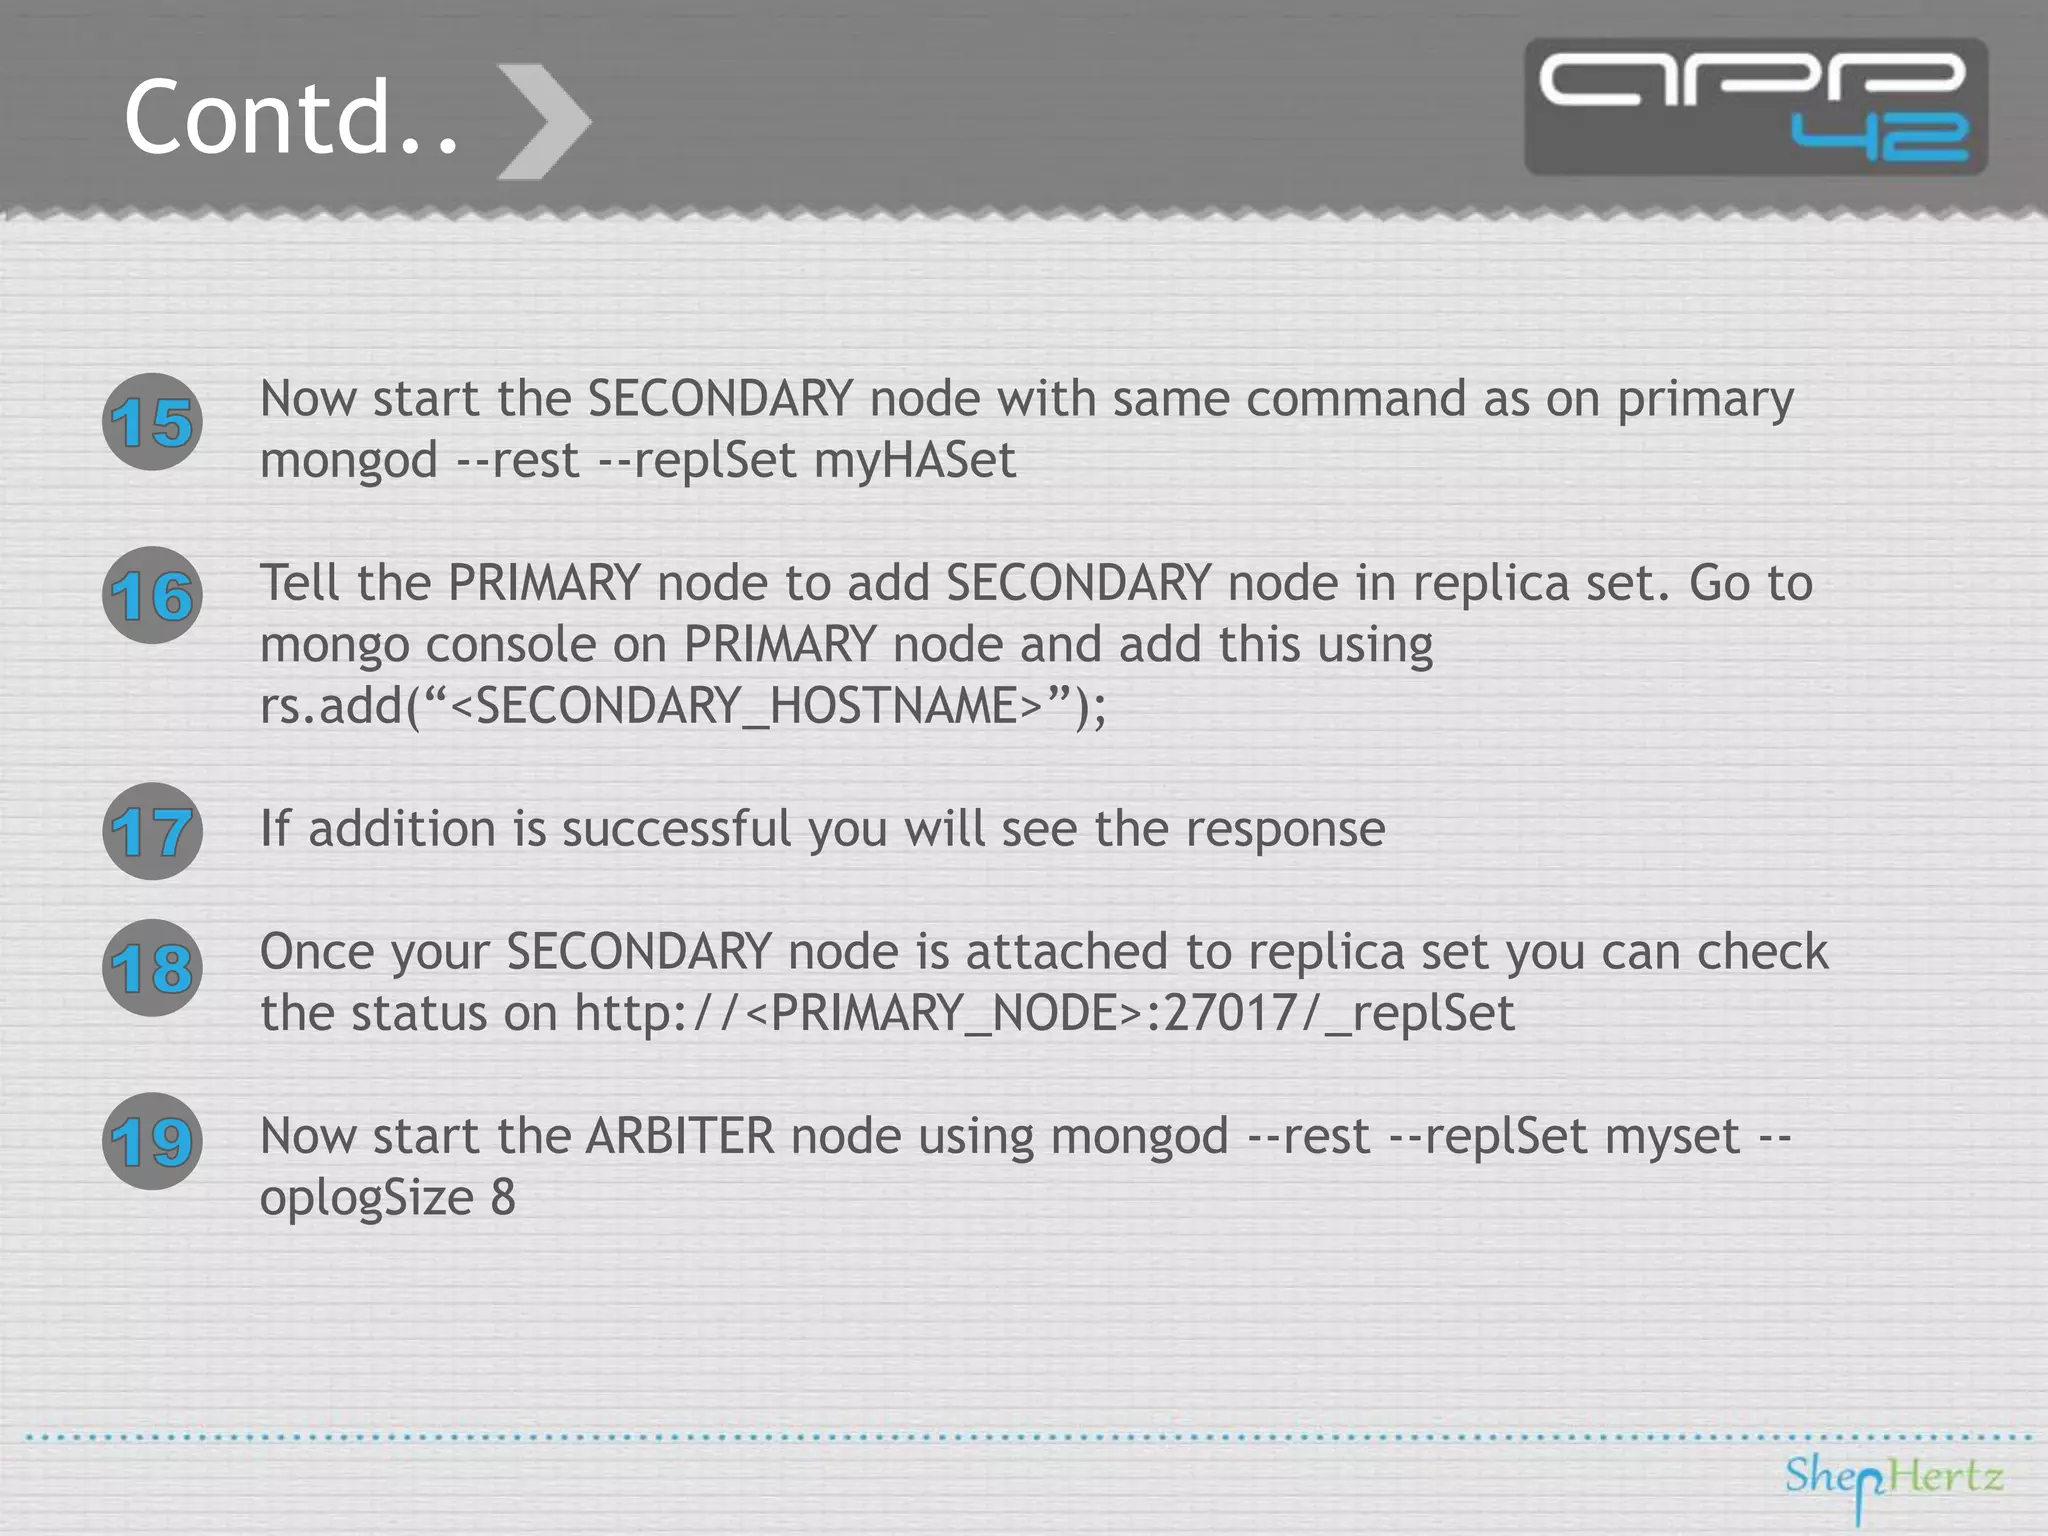
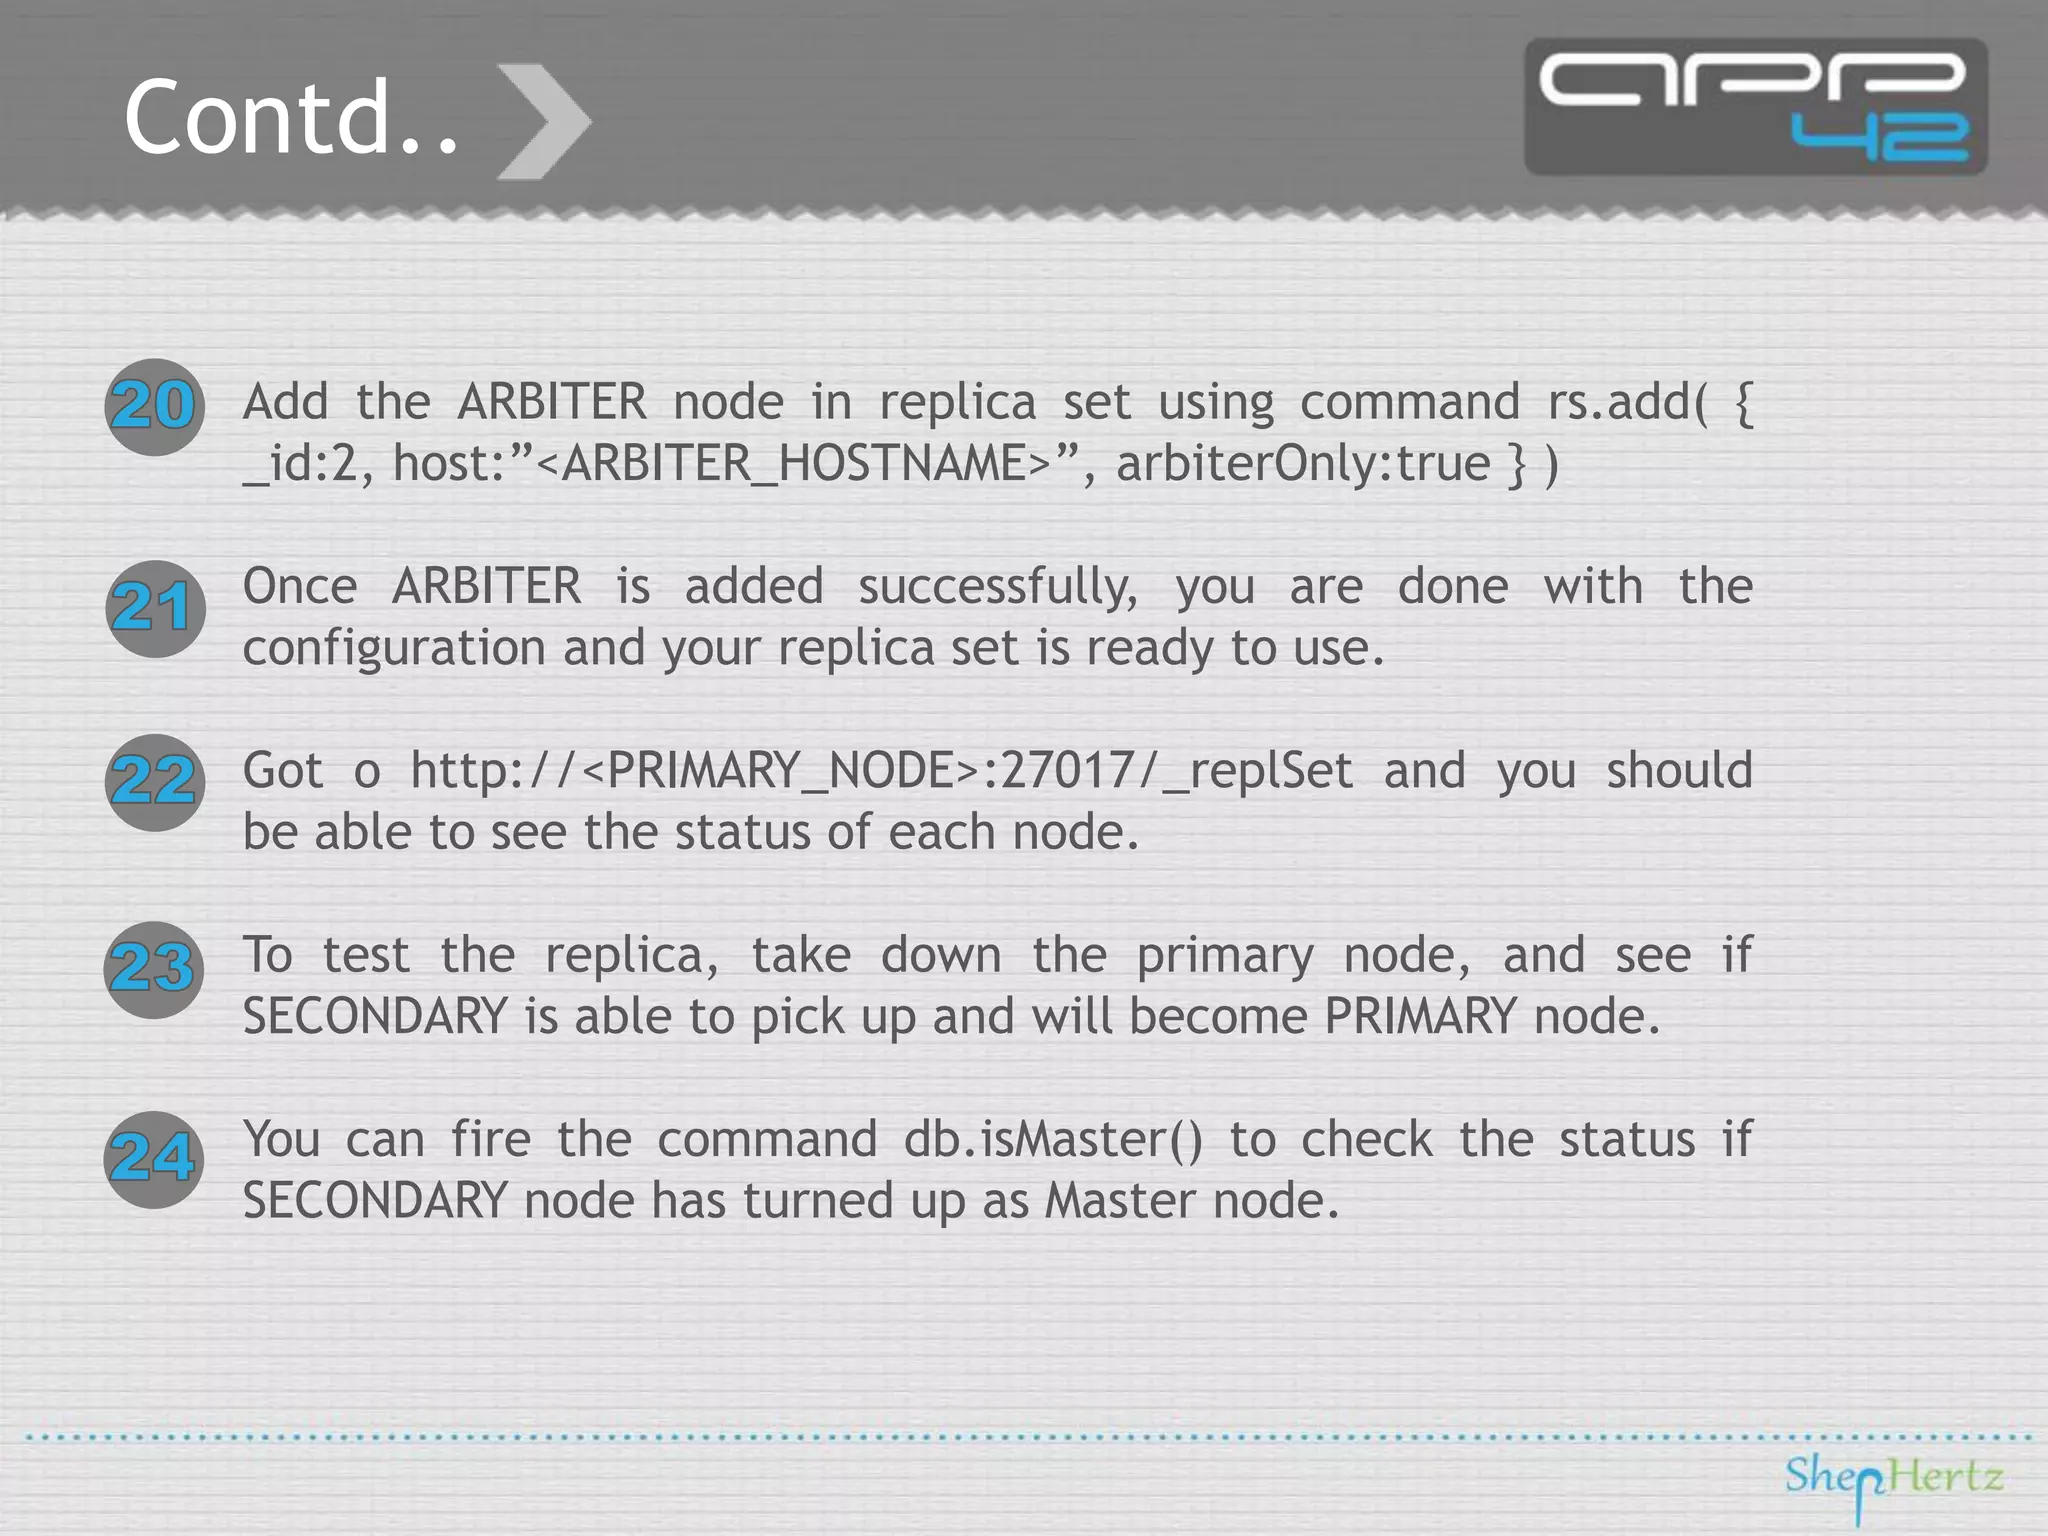
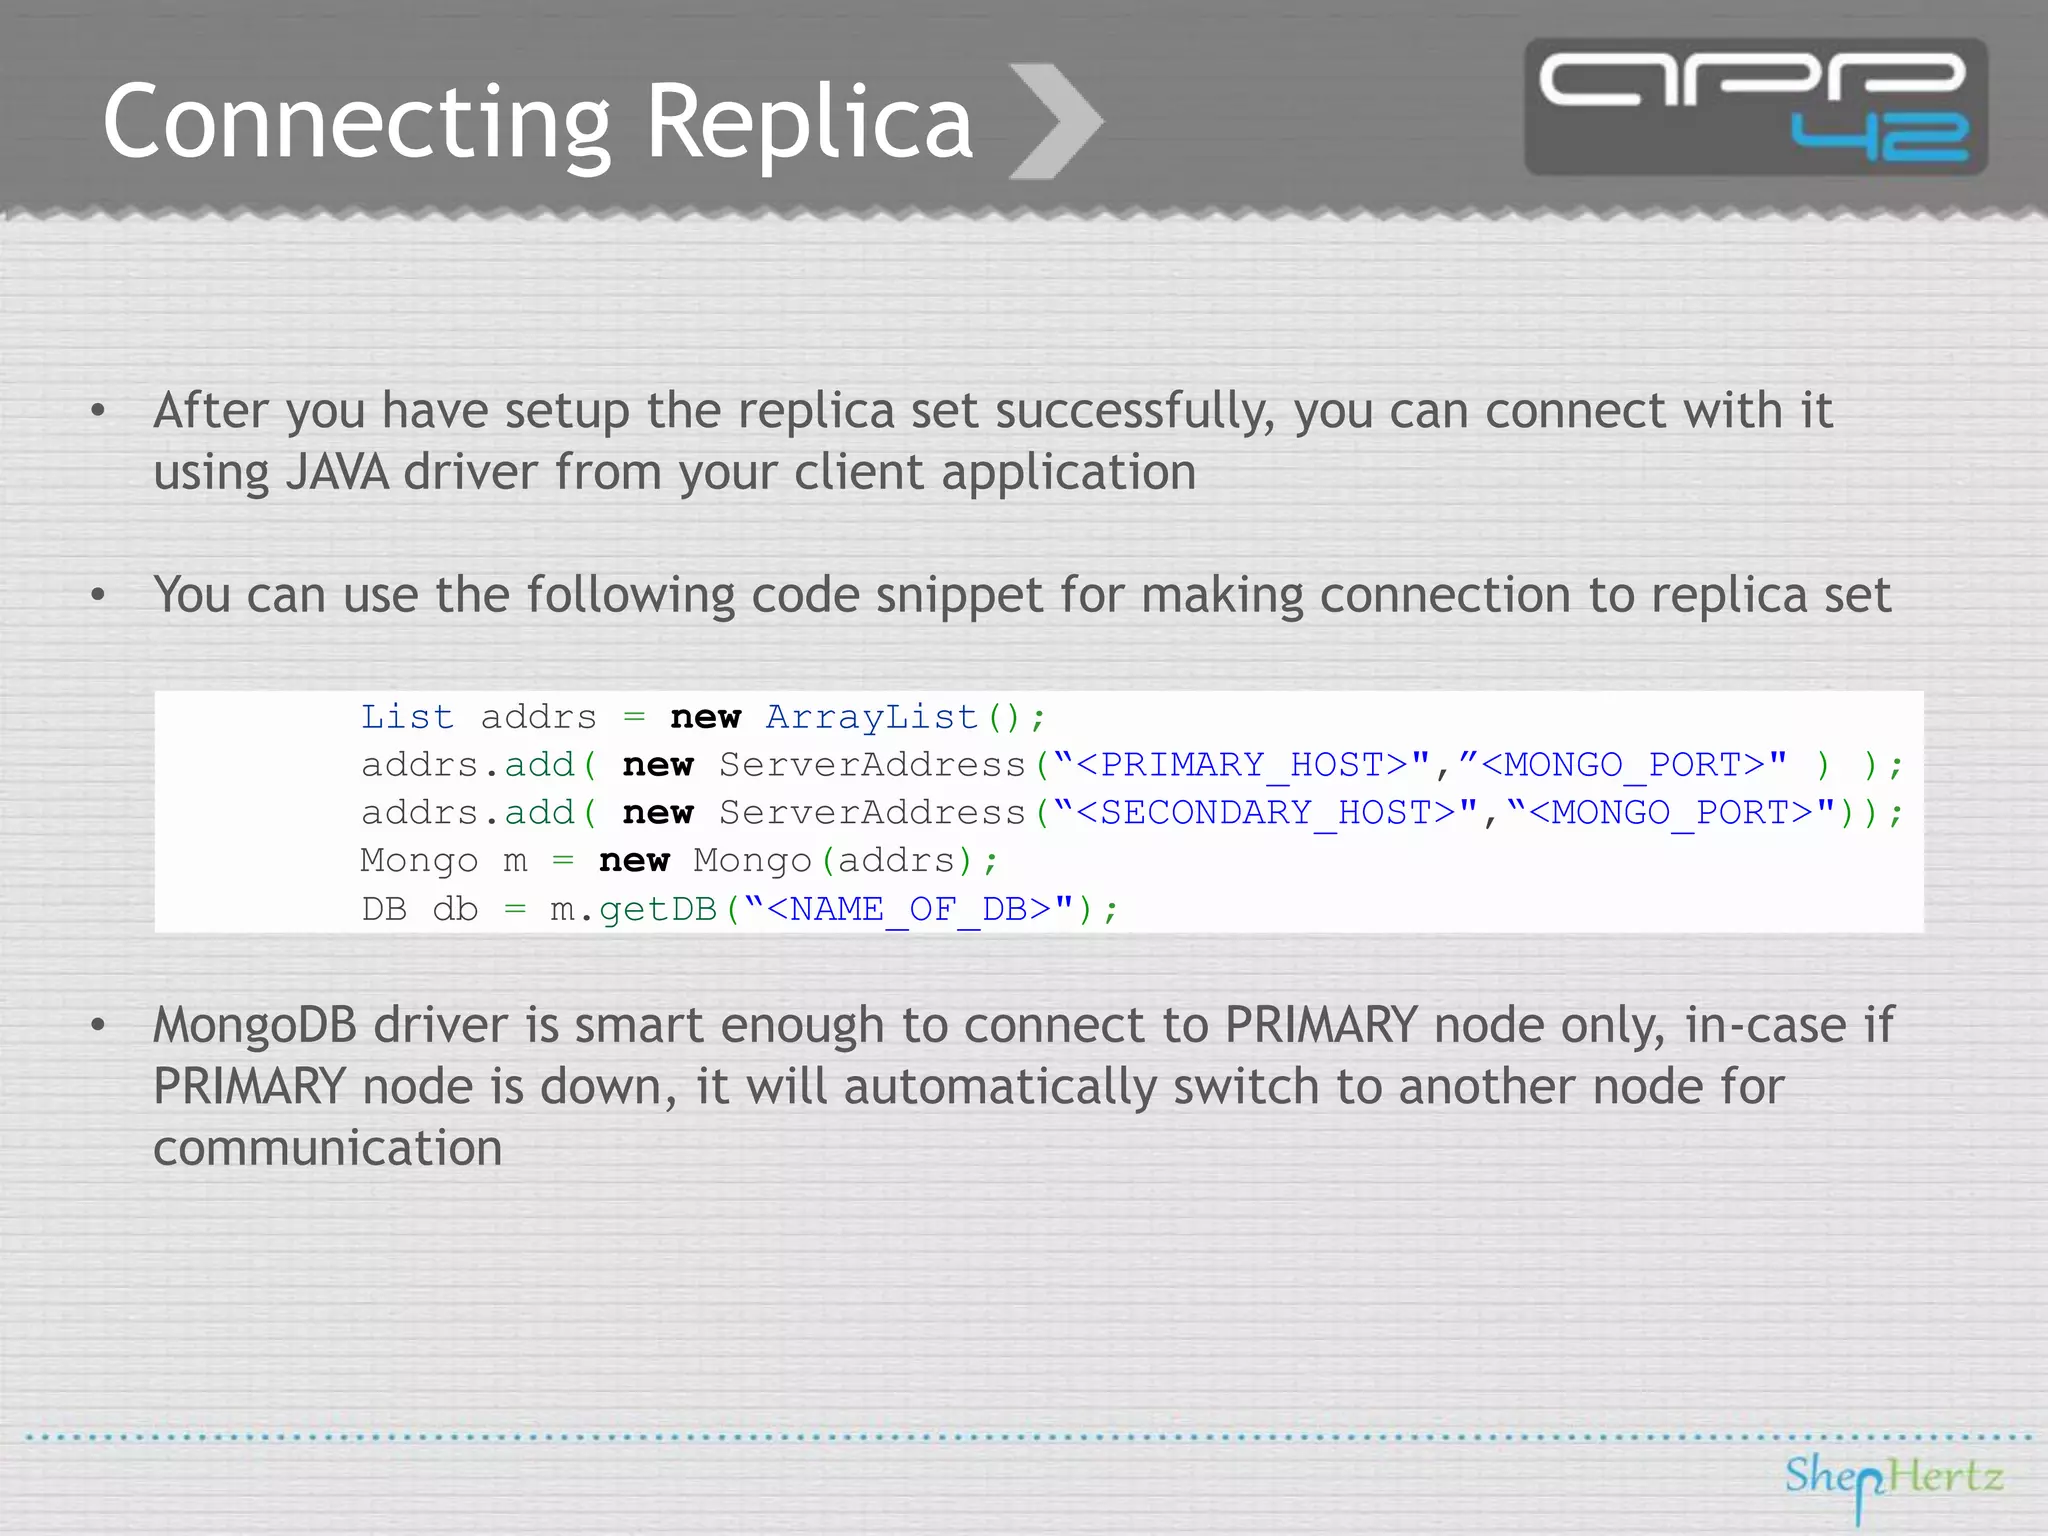
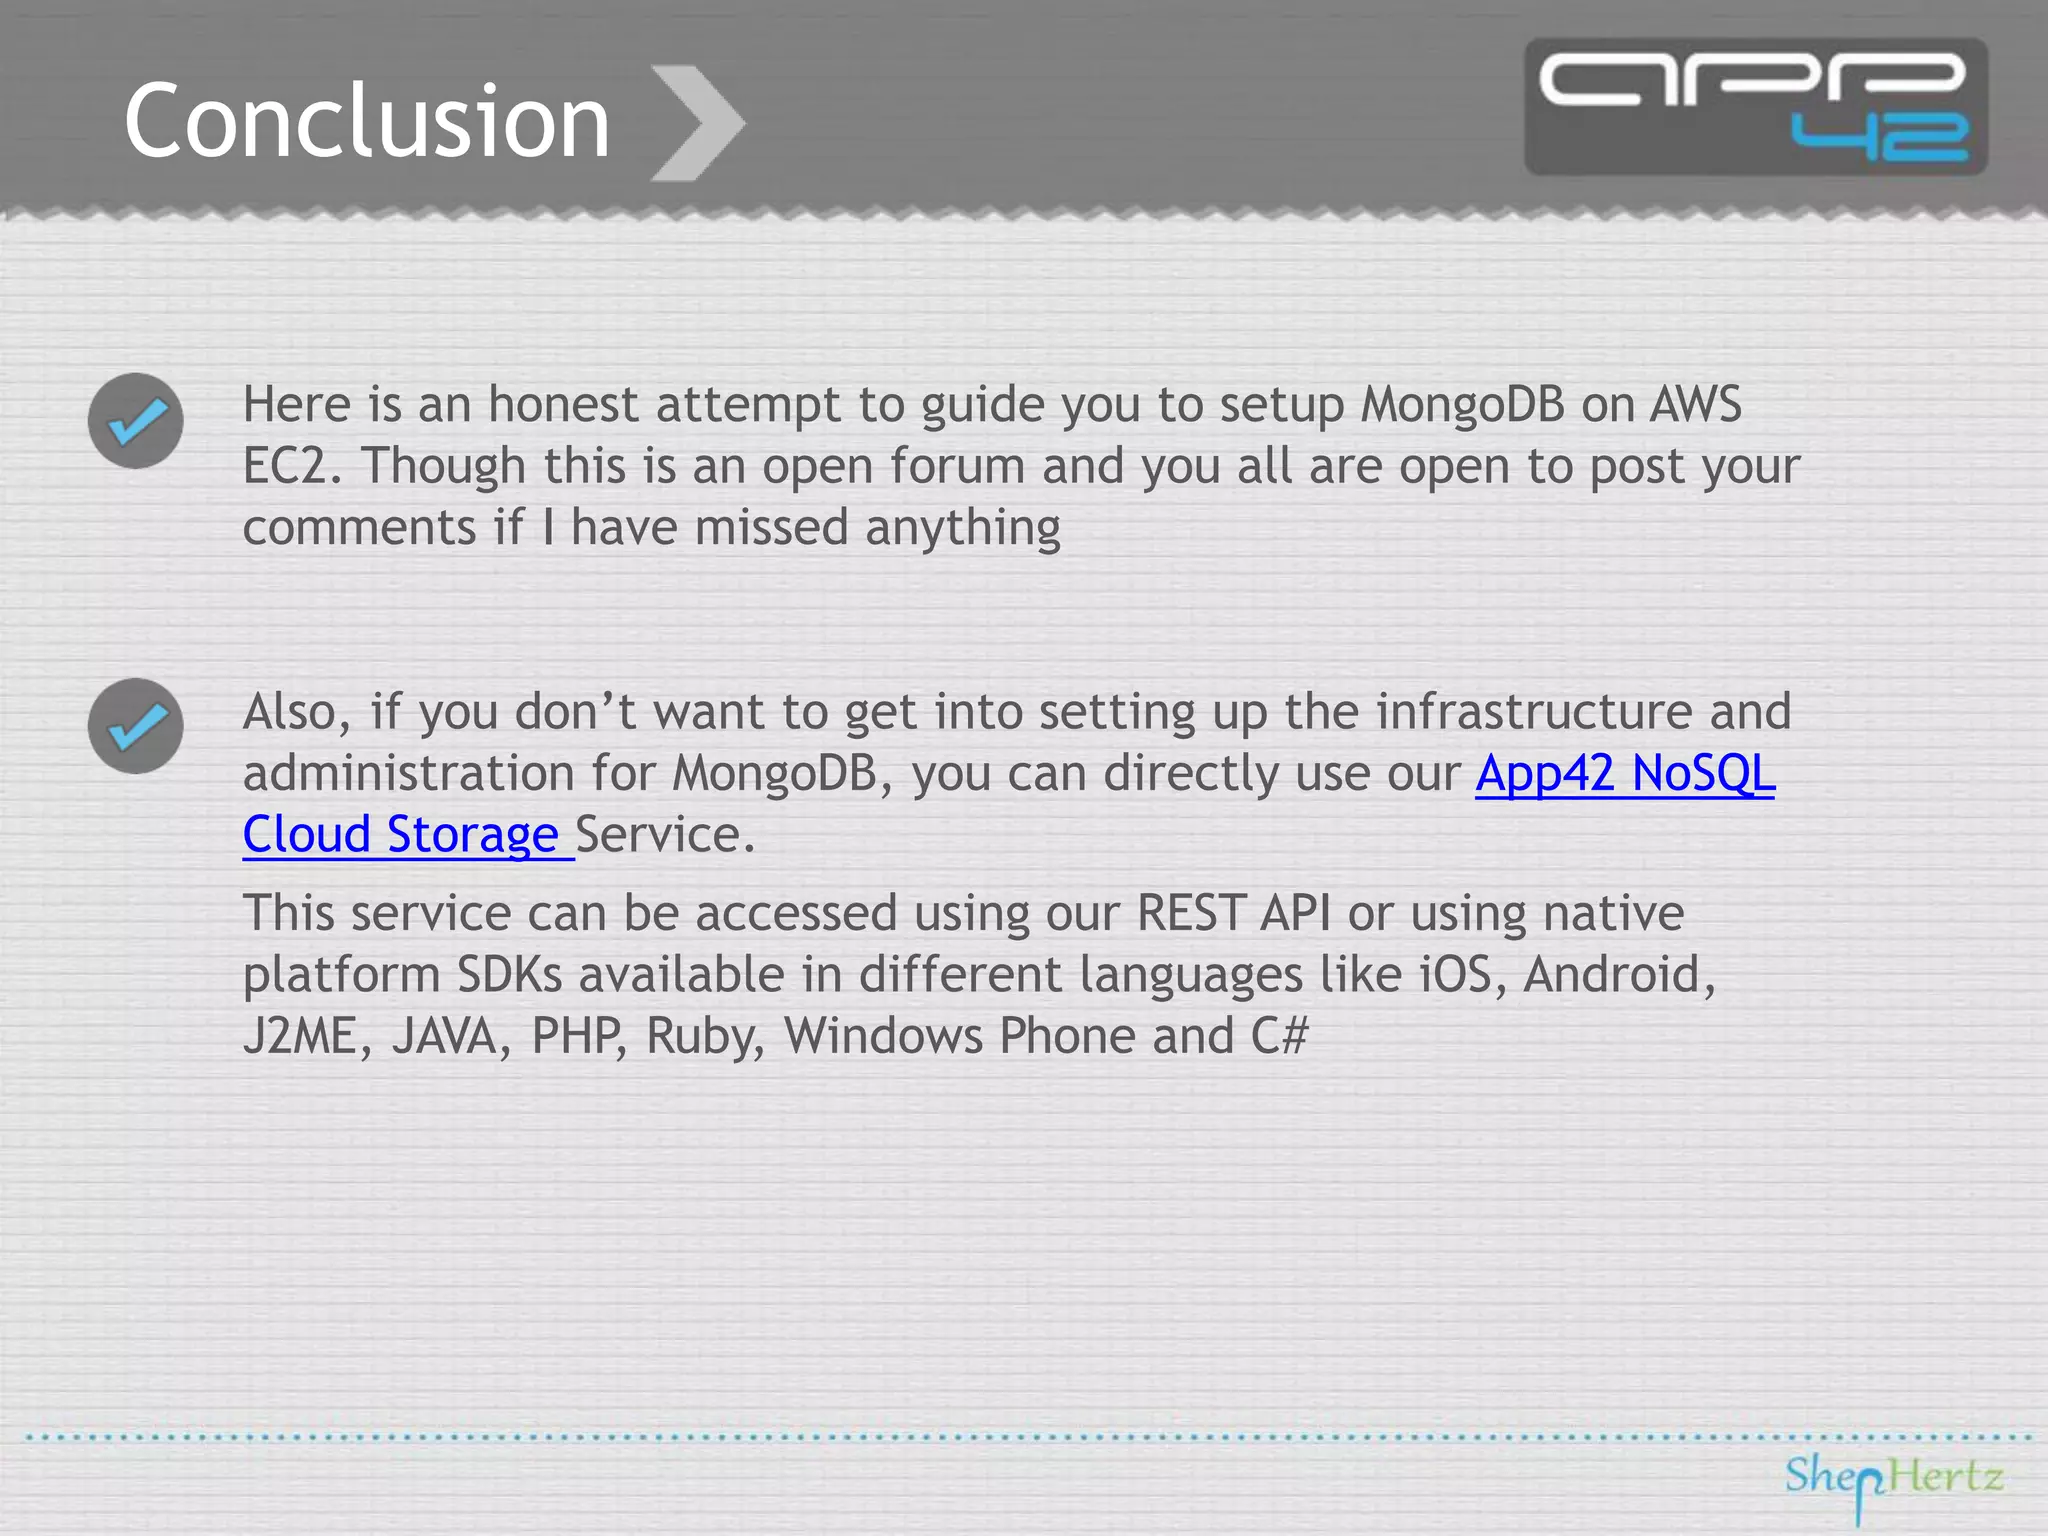

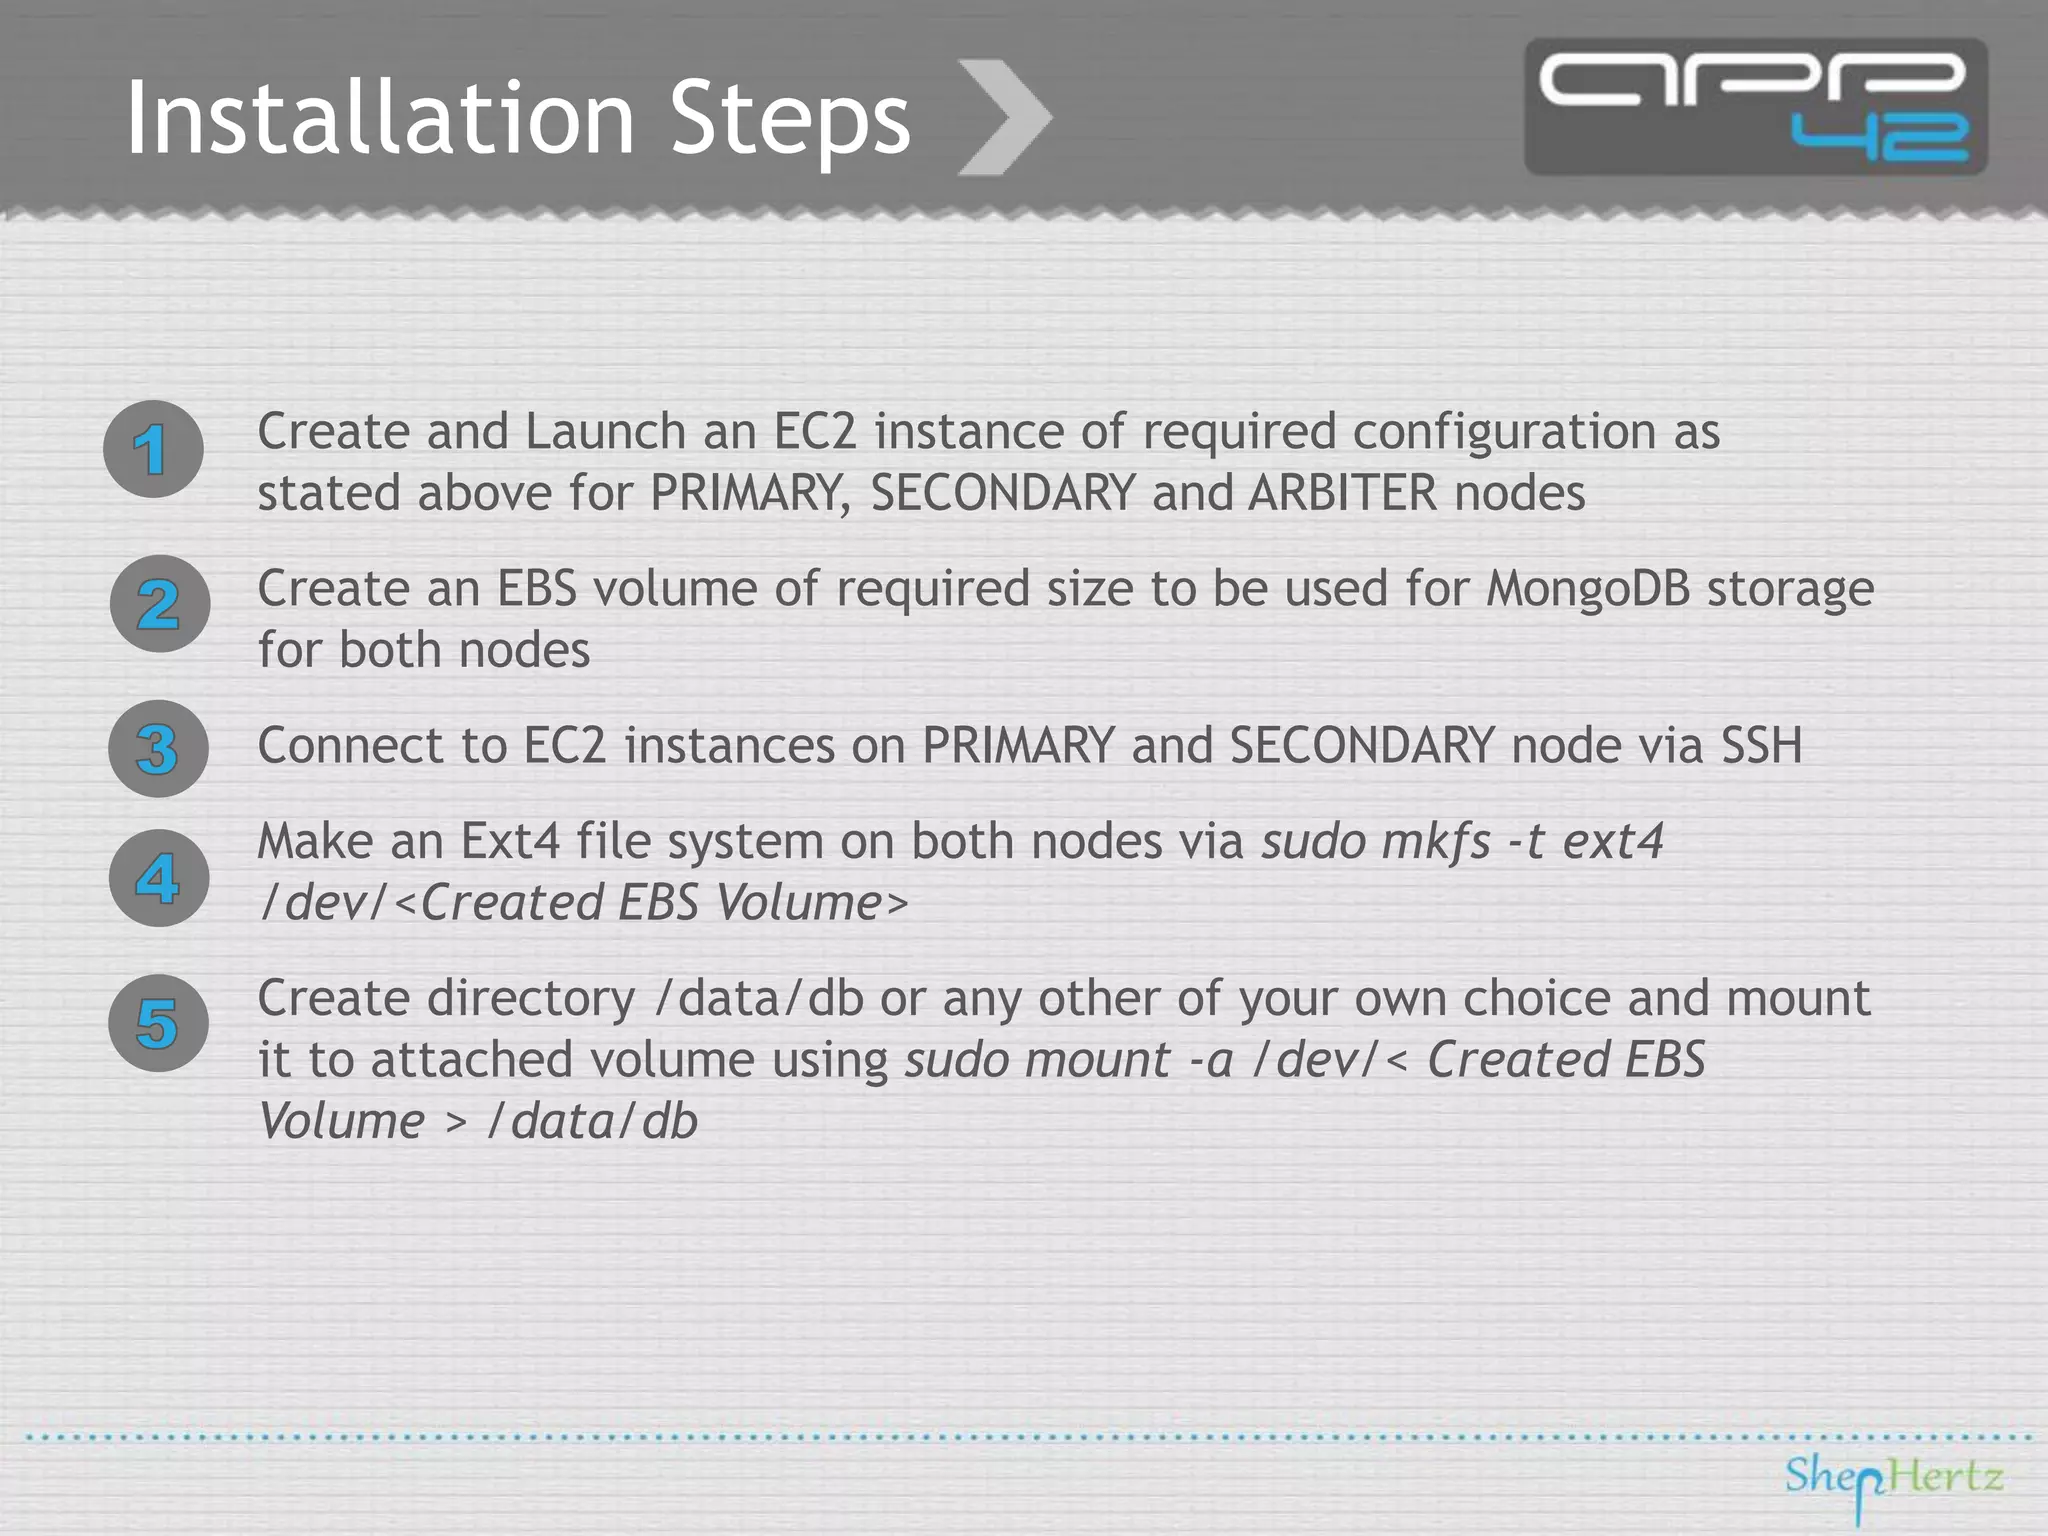
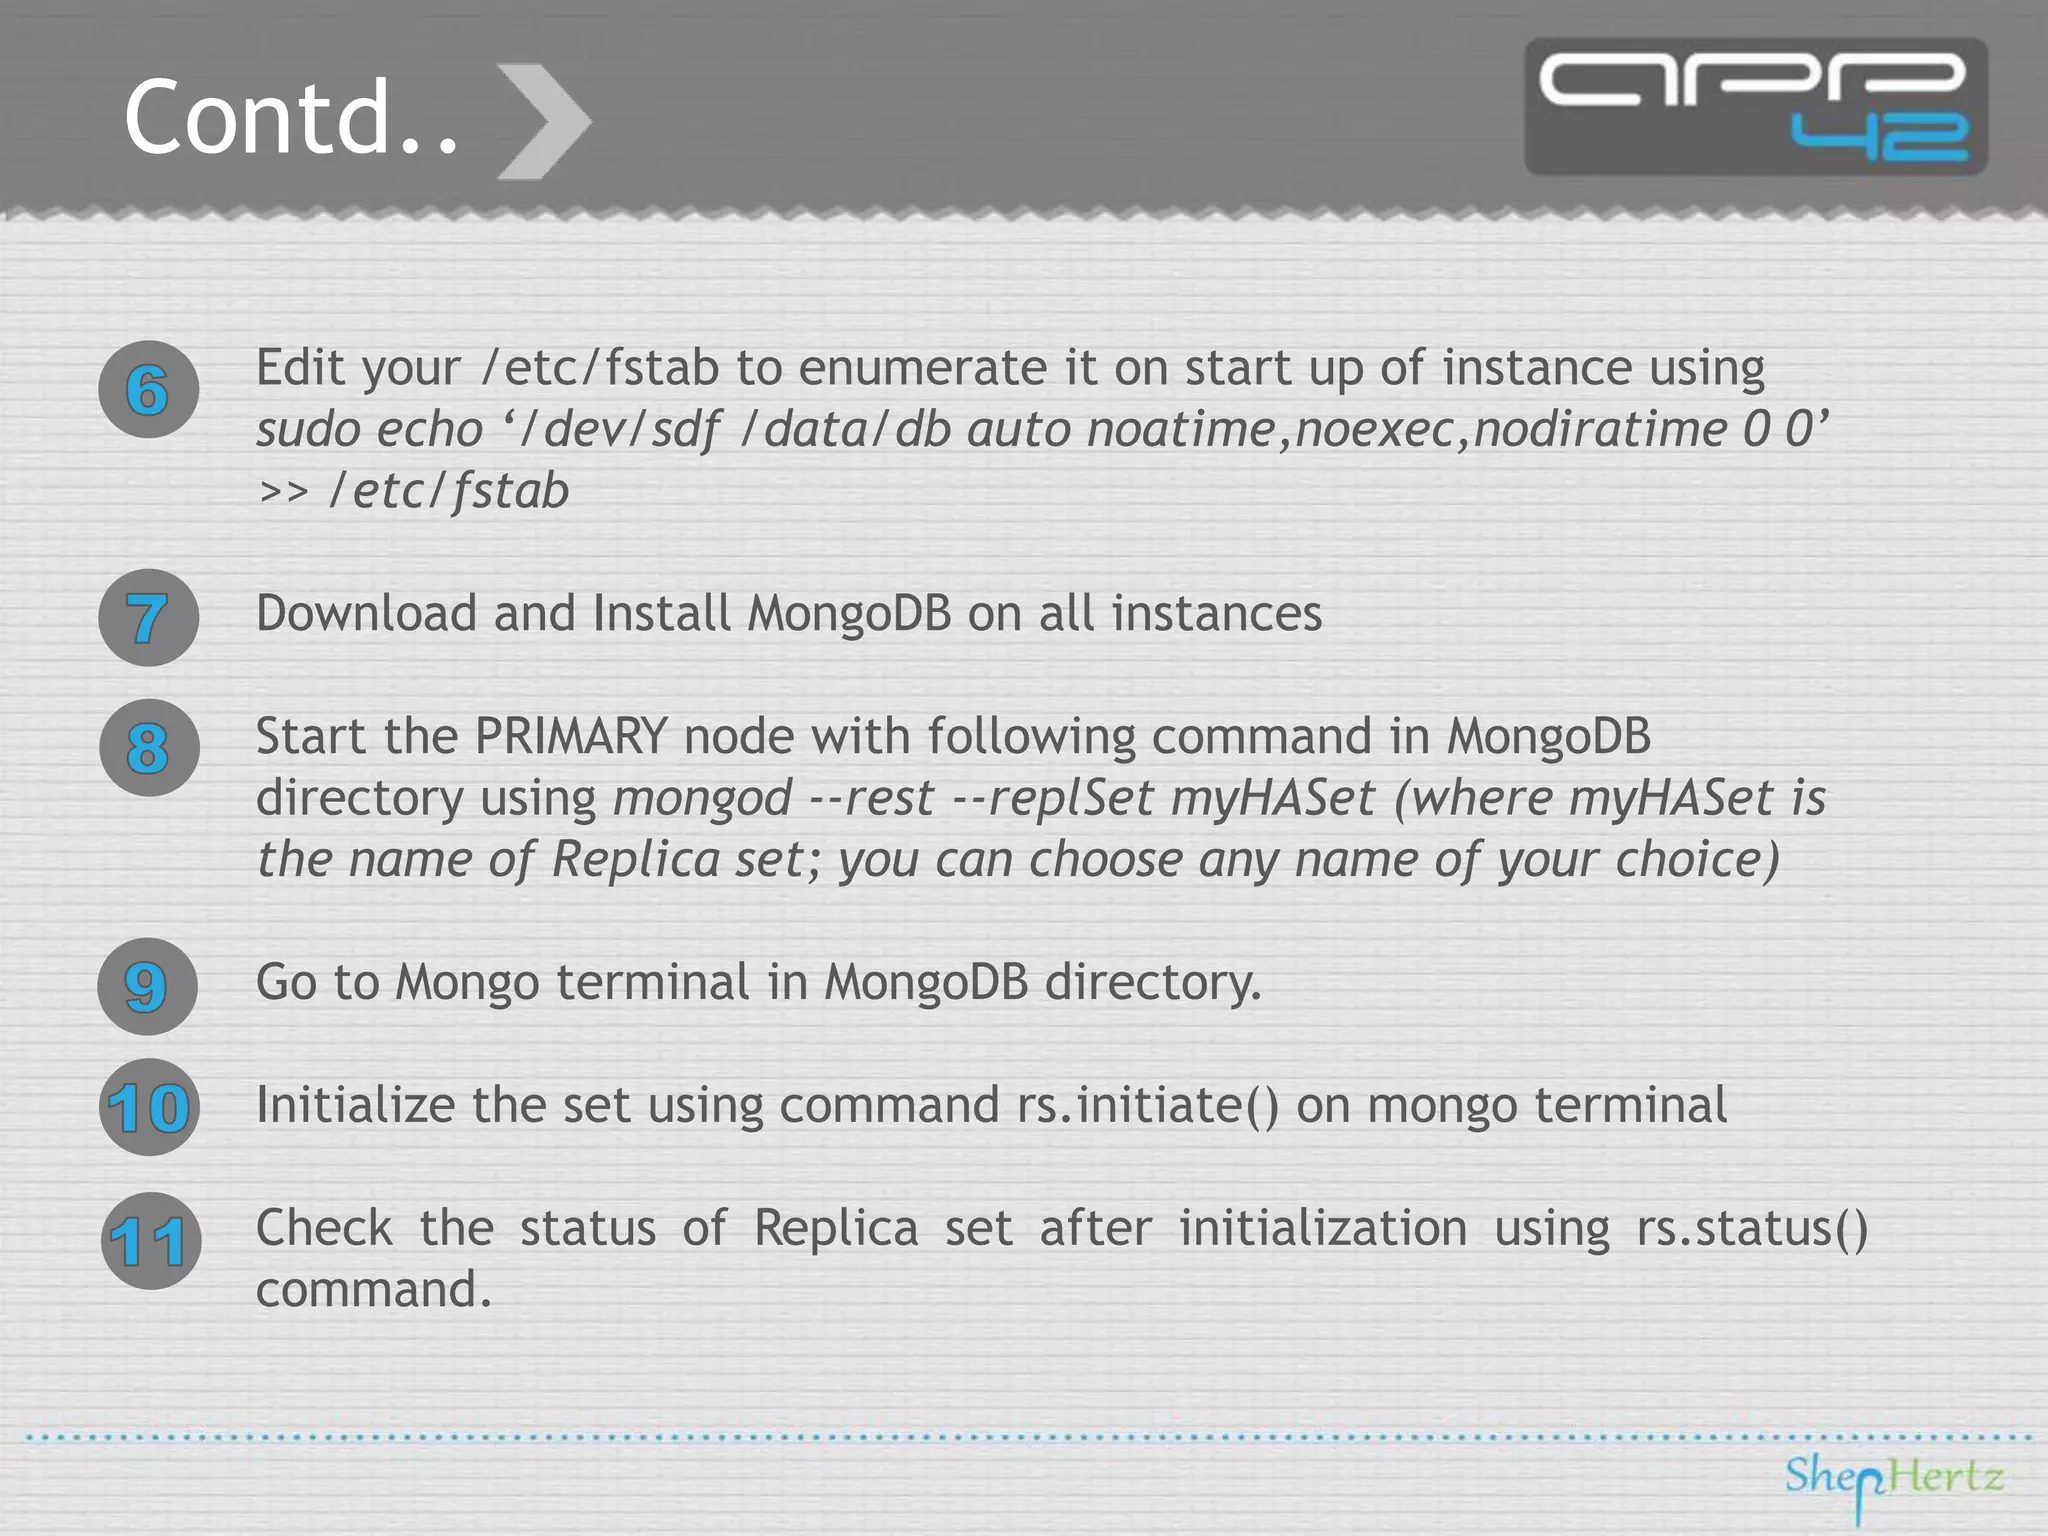
The document provides a comprehensive guide on configuring a MongoDB high availability replica set on AWS EC2, detailing hardware requirements and installation steps. It emphasizes the need for a primary and secondary node along with an optional arbiter, and includes detailed commands for initialization and maintenance of the replica set. Additionally, it offers a brief overview of connecting to the replica set using a Java driver and suggests an alternative to manual setup through a service offered by App42.


![Cloud init and cloud provisioning [openstack summit vancouver]](https://cdn.slidesharecdn.com/ss_thumbnails/cloud-initandcloudprovisioningopenstacksummitvancouverwip-160517225244-thumbnail.jpg?width=640&height=640&fit=bounds)


![Vibe Coding vs. Spec-Driven Development [Free Meetup]](https://cdn.slidesharecdn.com/ss_thumbnails/vibecodingvsspecdrivendevelopment-251209105622-43f455e7-thumbnail.jpg?width=640&height=640&fit=bounds)


