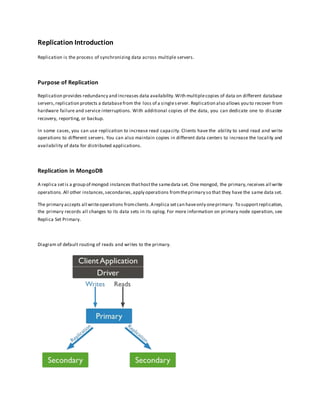
The document provides information on MongoDB replication and sharding. Replication allows for redundancy and increased data availability by synchronizing data across multiple database servers. A replica set consists of a primary node that receives writes and secondary nodes that replicate the primary. Sharding partitions data across multiple machines or shards to improve scalability and allow for larger data sets and higher throughput. Sharded clusters have shards that store data, config servers that store metadata, and query routers that direct operations to shards.

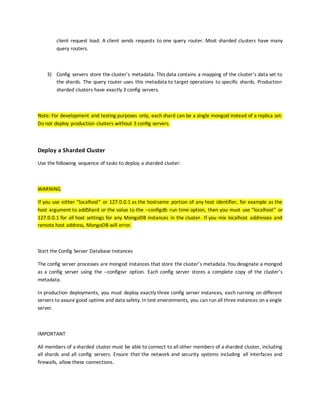
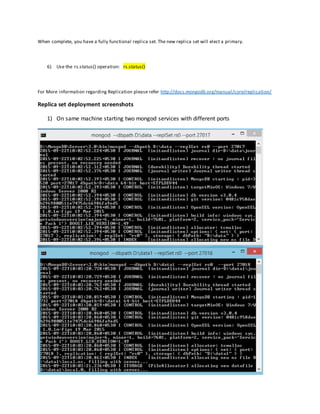
![Deploying a REPLICA set
Procedure
The following procedure outlines the steps to deploy a replica set when access control is disabled.
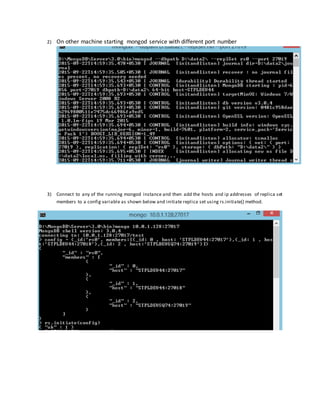
1) Start each member of the replica set with the appropriate options.
For each member, start a mongod and specify the replica set name through the replSet option. Specify any other
parameters specific to your deployment. If your application connects to more than one replica set, each set should
have a distinct name. Some drivers group replica set connections by replica set name.
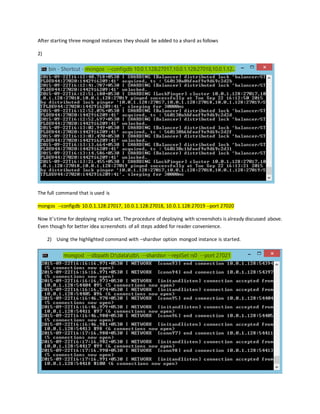
The following example specifies the replica set name through the --replSet command-line option:
mongod --replSet "rs0"
mongod --dbpath D:data --replSet rs0 --port 27017
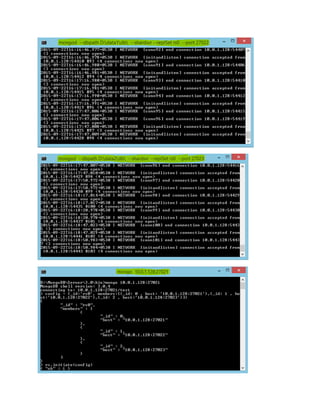
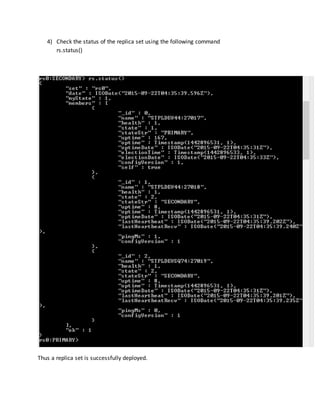
2) Connect a mongo shell to a replica set member.For example, to connect to a mongod runningon localhost
on the default port of 27017, simply issue: mongo
3) Initiate the replica set. Use rs.initiate() on the replica set member:
MongoDB initiates a set that consists of the current member and that uses the default replica set configuration.
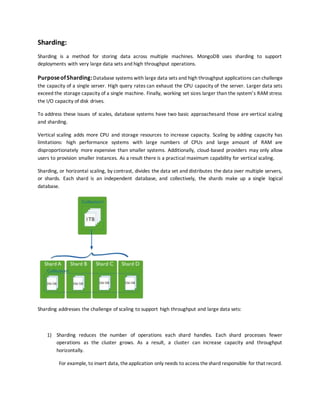
4) Verify the initial replica set configuration.
Use rs.conf() to display the replica set configuration object: rs.conf()
The replica set configuration object resembles the following:
{ "_id" : "rs0", "version" : 1, "members" : [ {"_id" : 1 , "host" : "mongodb0.example.net:27017" } ] }
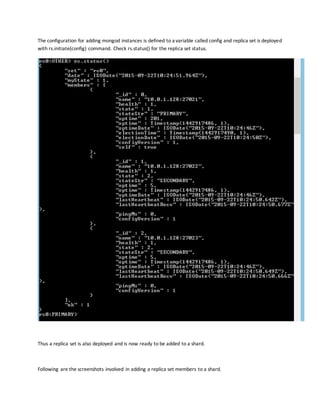
5) Add the remaining members to the replica set.
Add the remaining members with the rs.add() method. The following example adds two members:
rs.add("localhost:27017")
rs.add("10.0.1.128:27017")](https://image.slidesharecdn.com/ebf42d57-a6ea-4006-a10a-85fd8f7eb2be-160329202047/85/MongoDB-Replication-and-Sharding-5-320.jpg)
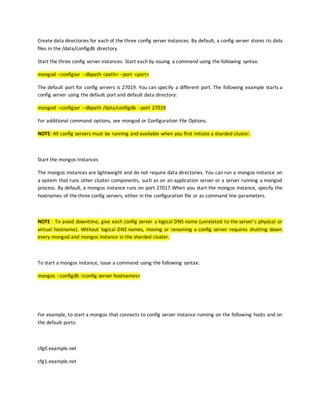
![2) Sharding reduces the amount of data that each server needs to store. Each shard stores less data as
the cluster grows.
For example, if a database has a 1 terabyte data set, and there are 4 shards, then each shard might
hold only 256GB of data. If there are 40 shards, then each shard might hold only 25GB of data.
Sharding in MongoDB
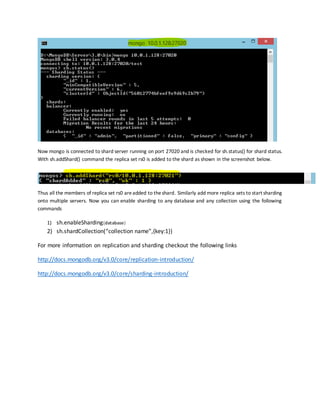
MongoDB supports sharding through the configuration of a sharded clusters.
Diagram of a sample sharded cluster for production purposes. Contains exactly 3 config servers, 2 or more
``mongos`` query routers, and at least 2 shards. The shards are replica sets.
Sharded cluster has the following components: shards, query routers and config servers.
1) Shards store the data. To provide high availability and data consistency, in a production sharded
cluster, each shard is a replica set [1]. For more information on replica sets, see Replica Sets.
2) Query Routers, or mongos instances, interface with client applications and direct operations to the
appropriate shard or shards. The query router processes and targets operations to shards and then
returns results to the clients. A sharded cluster can contain more than one query router to divide the](https://image.slidesharecdn.com/ebf42d57-a6ea-4006-a10a-85fd8f7eb2be-160329202047/85/MongoDB-Replication-and-Sharding-10-320.jpg)