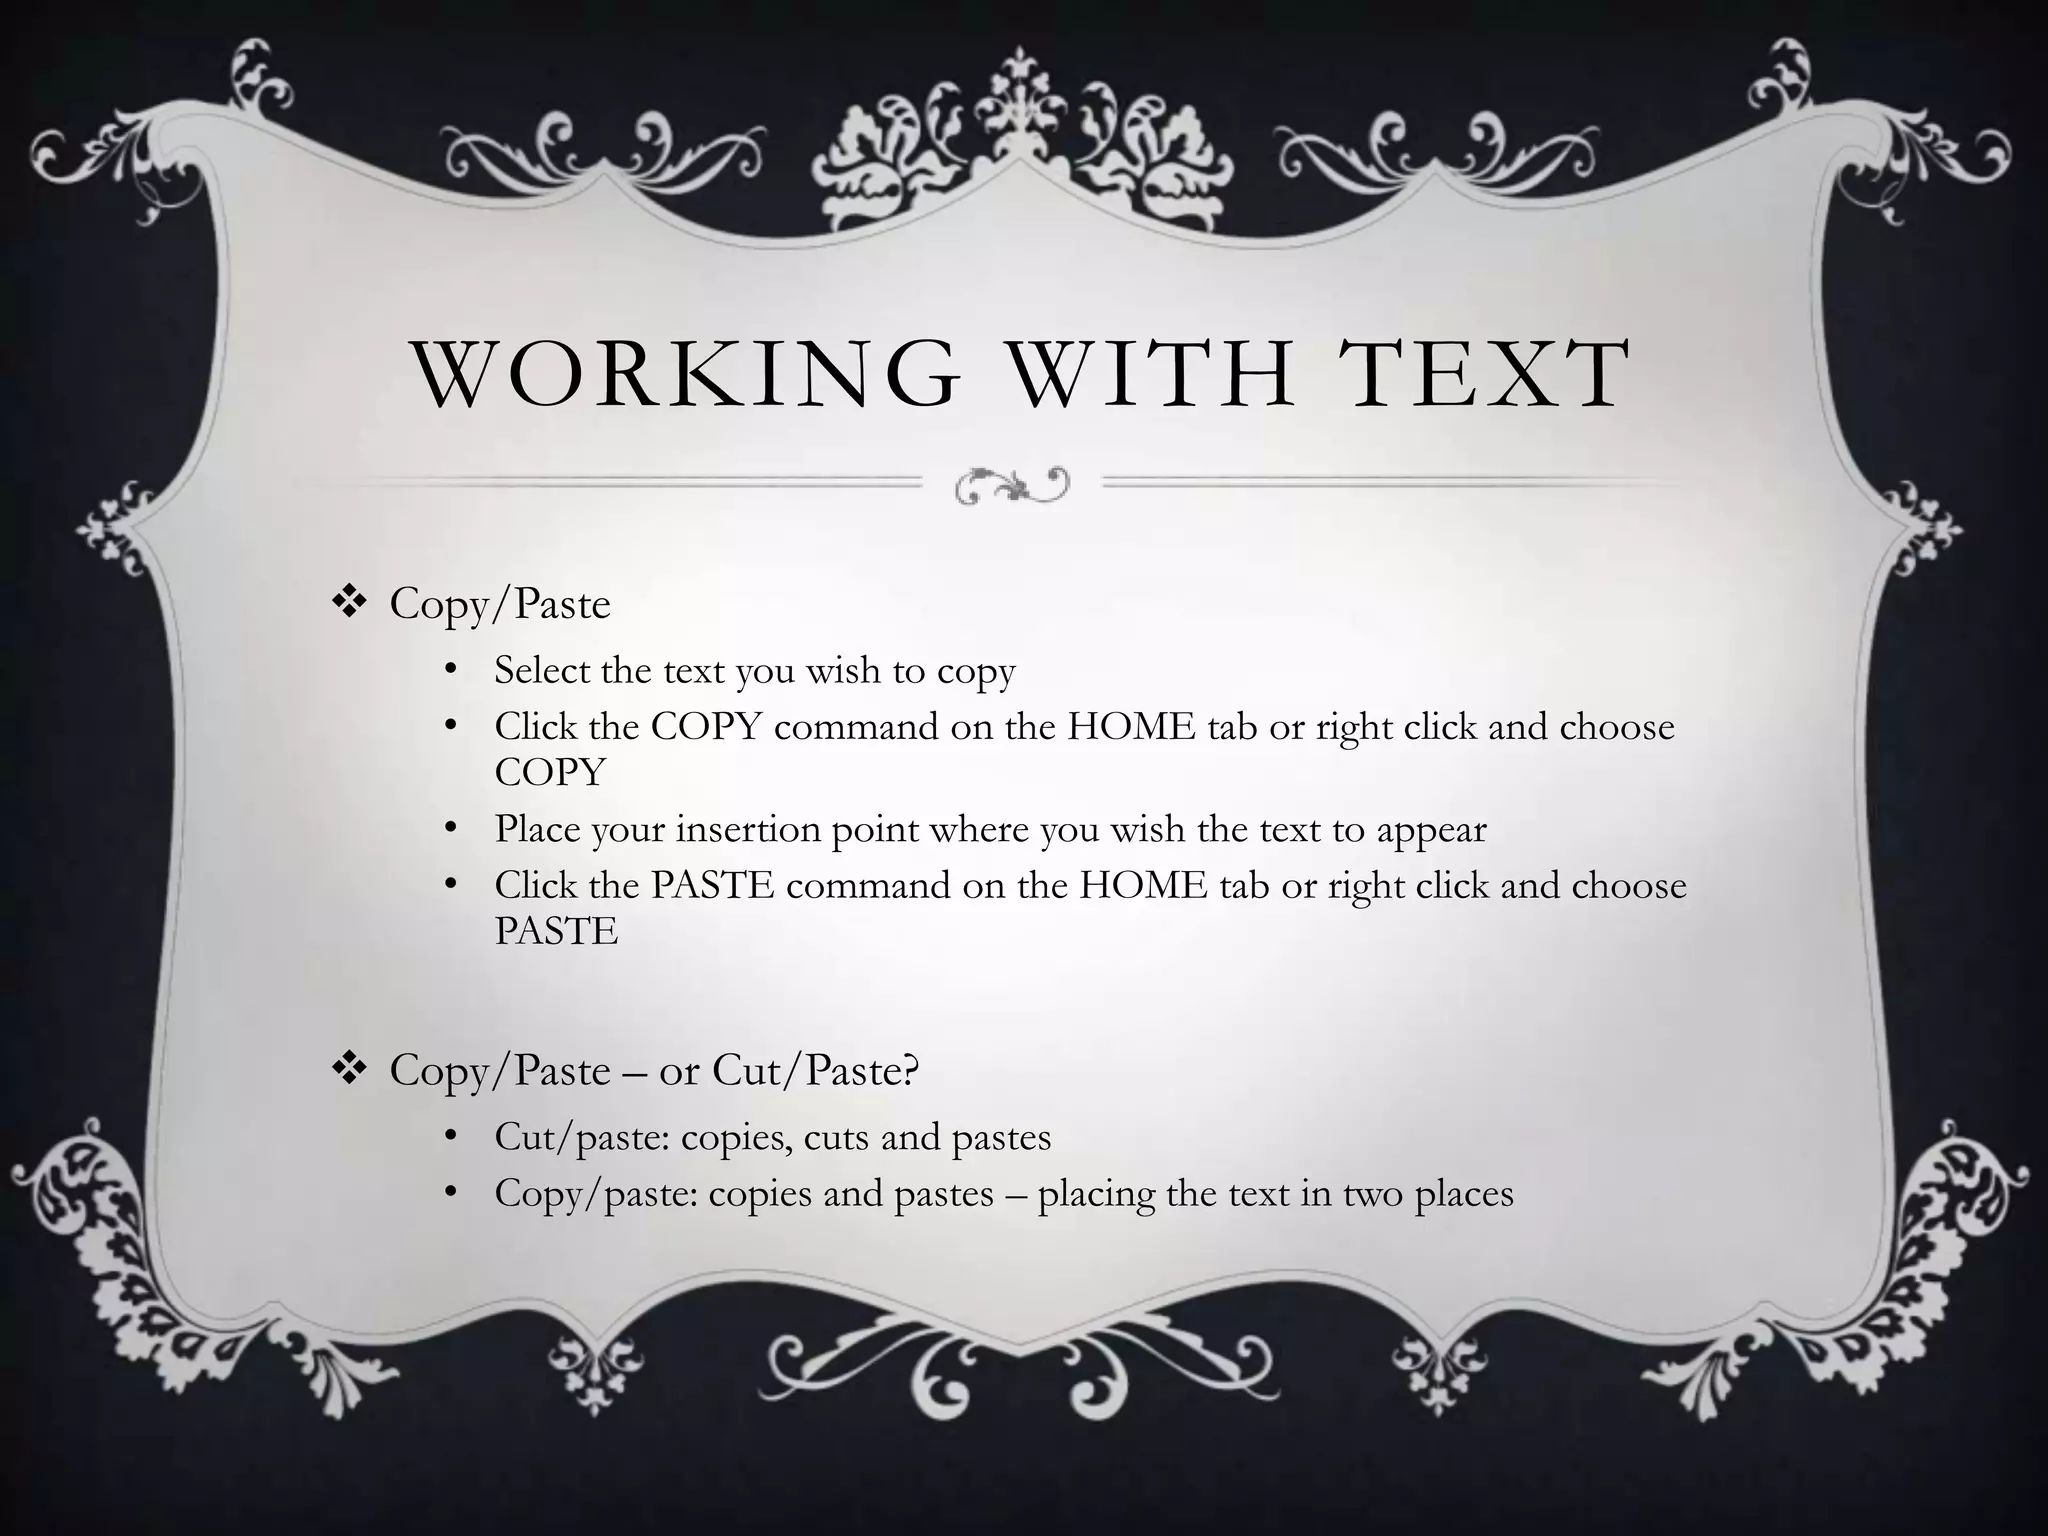
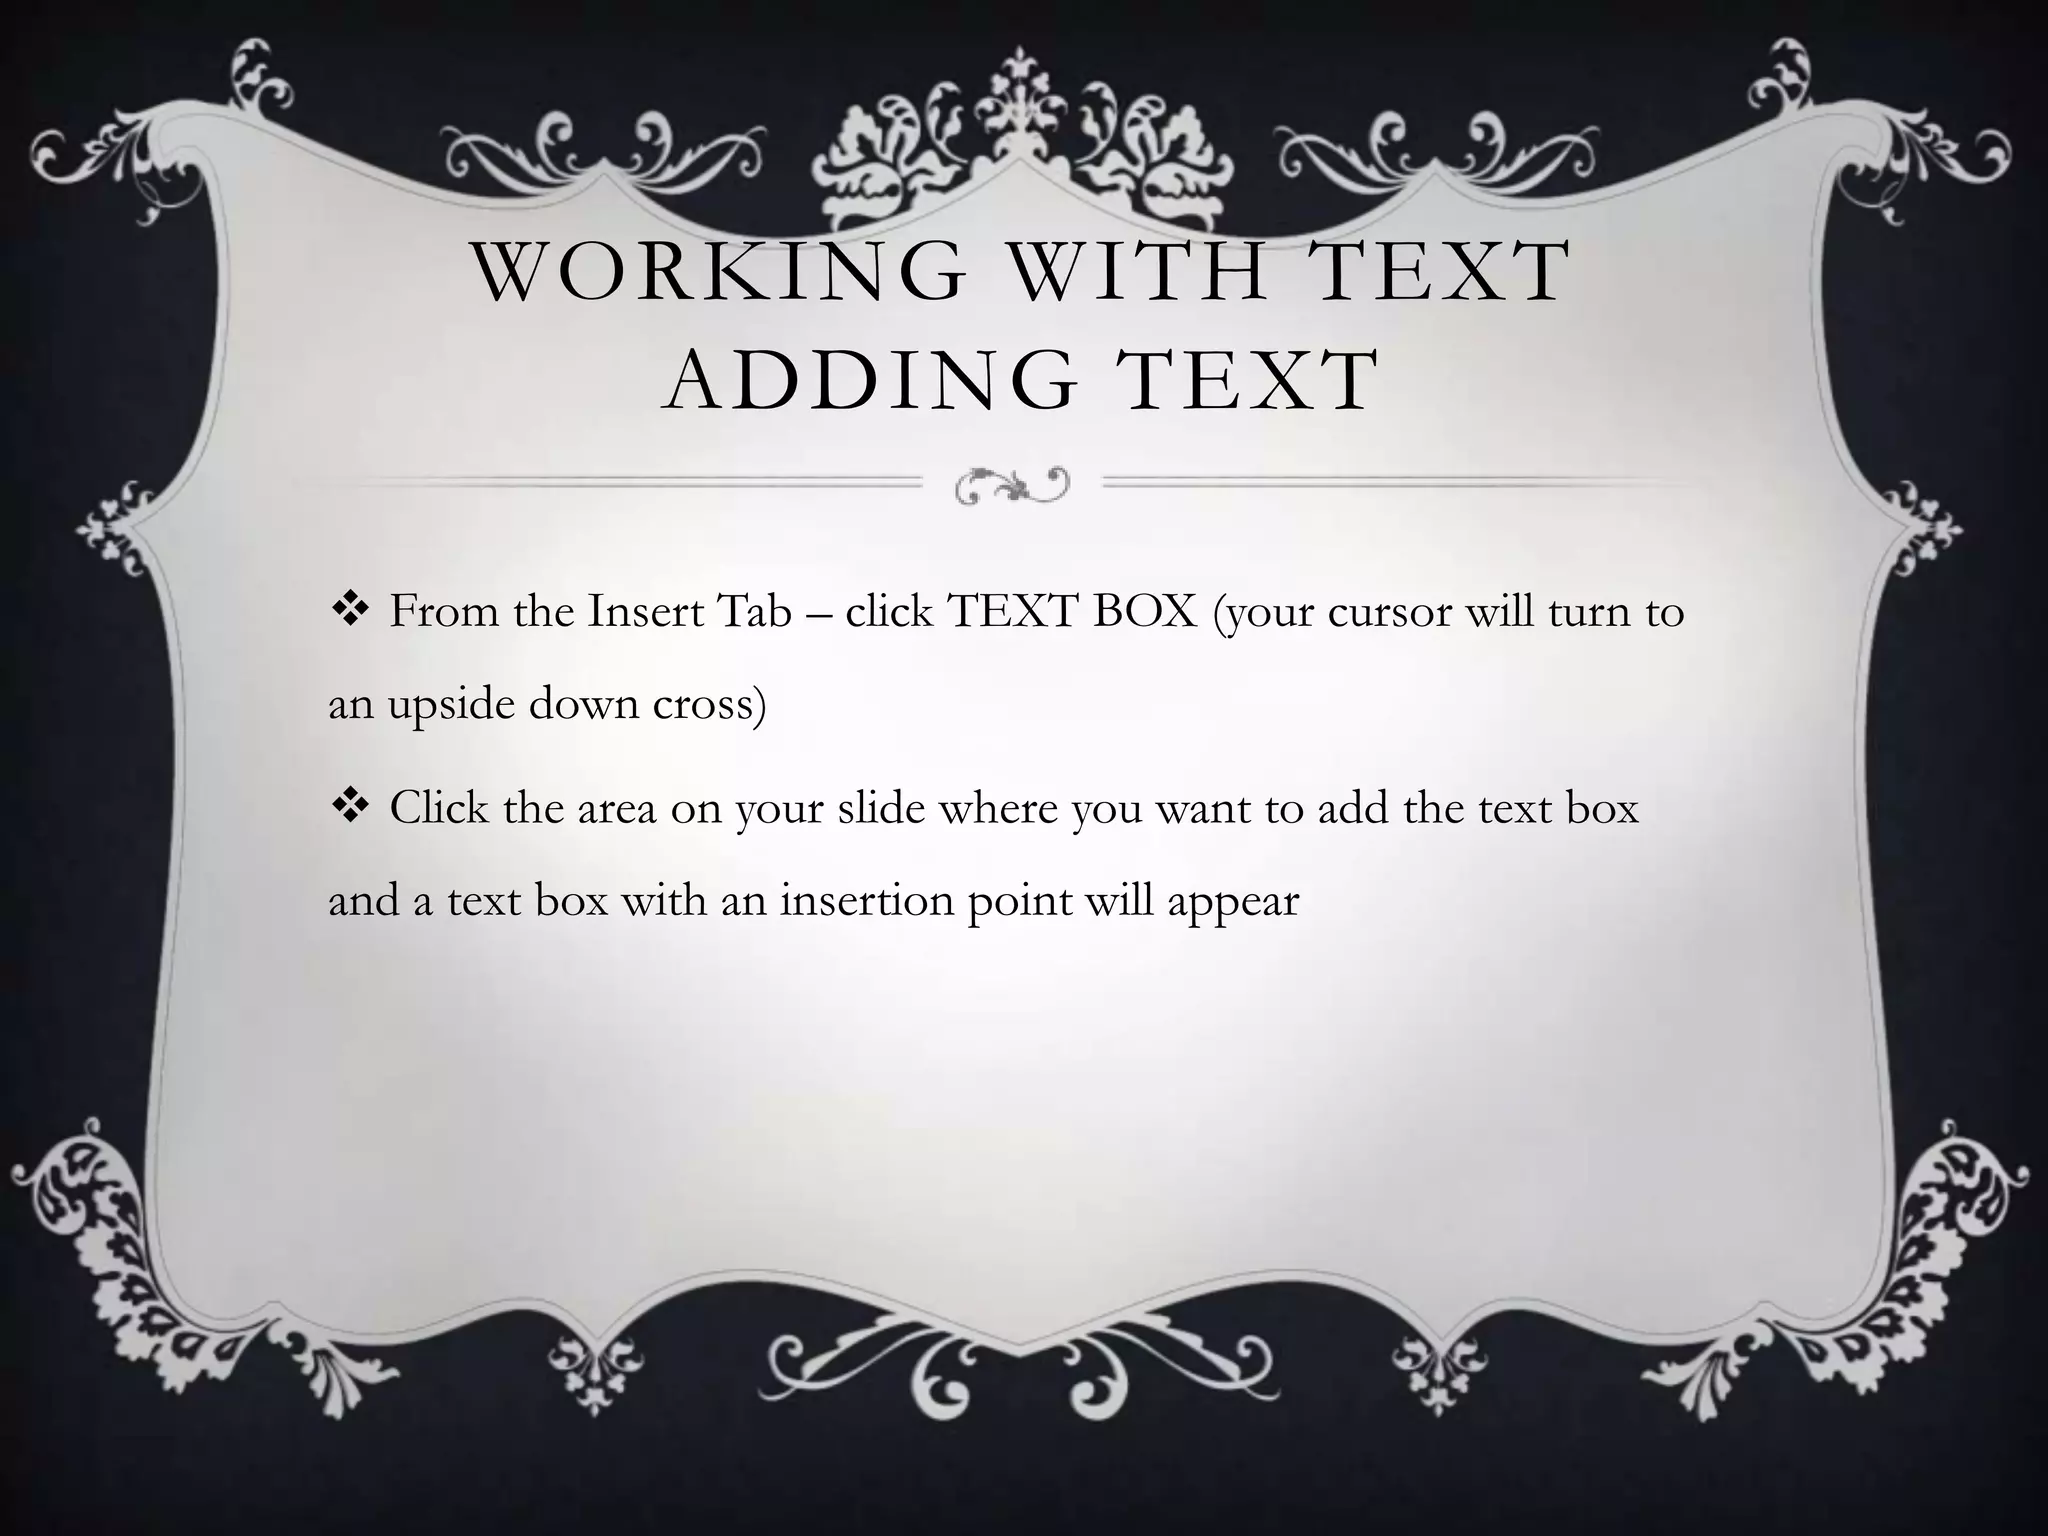
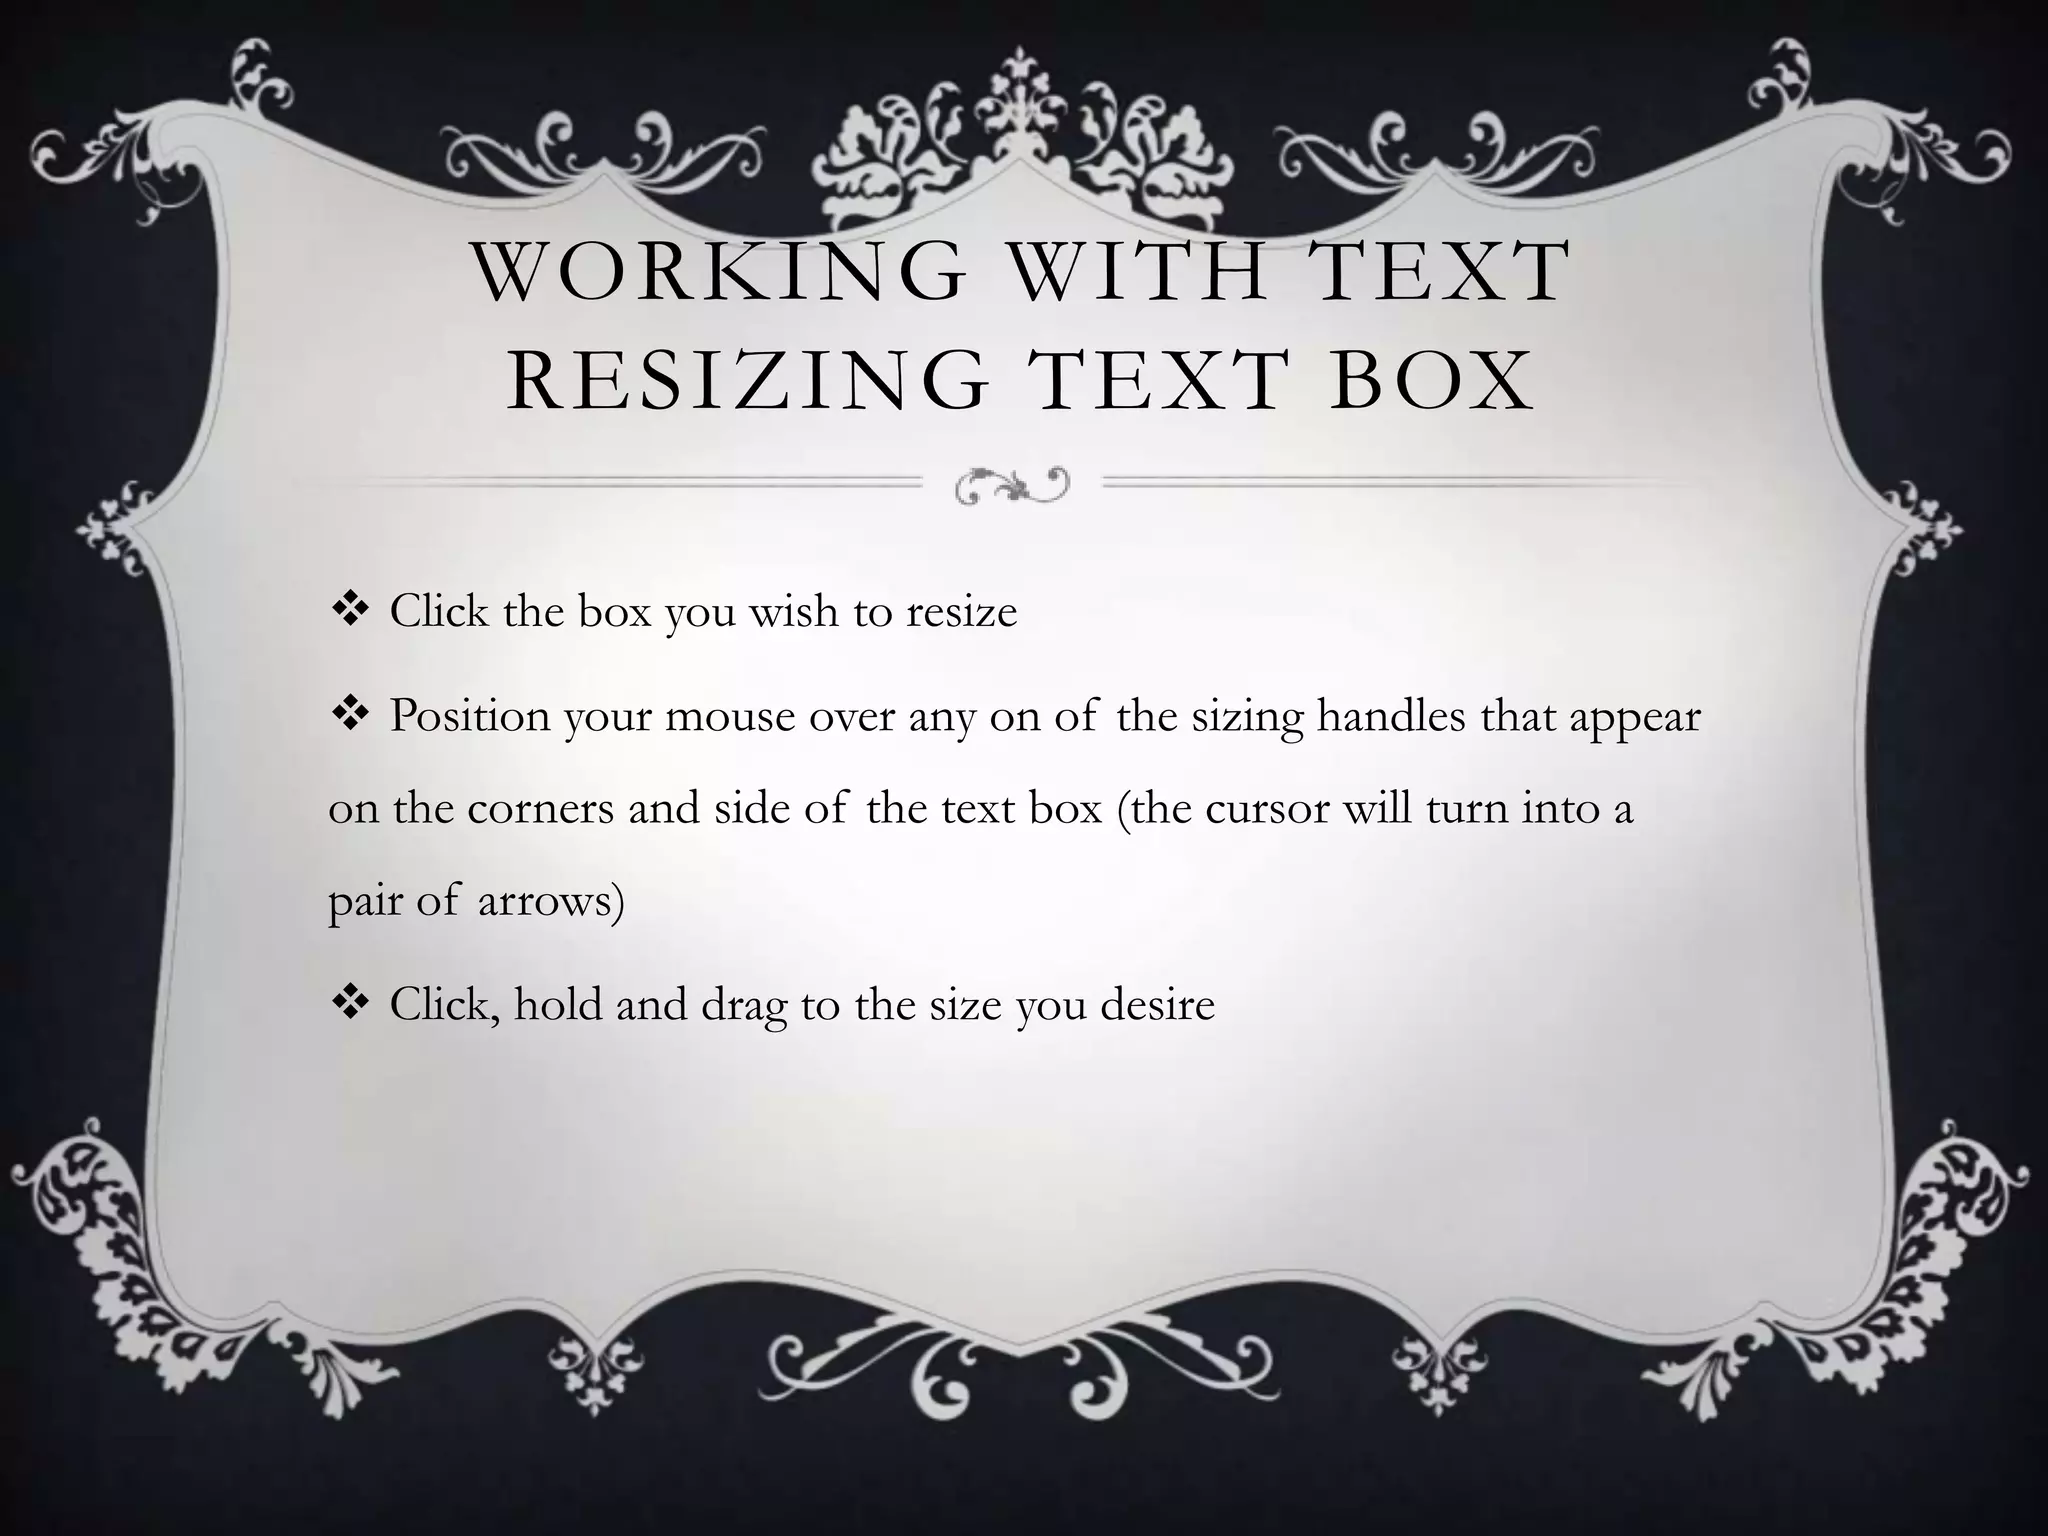
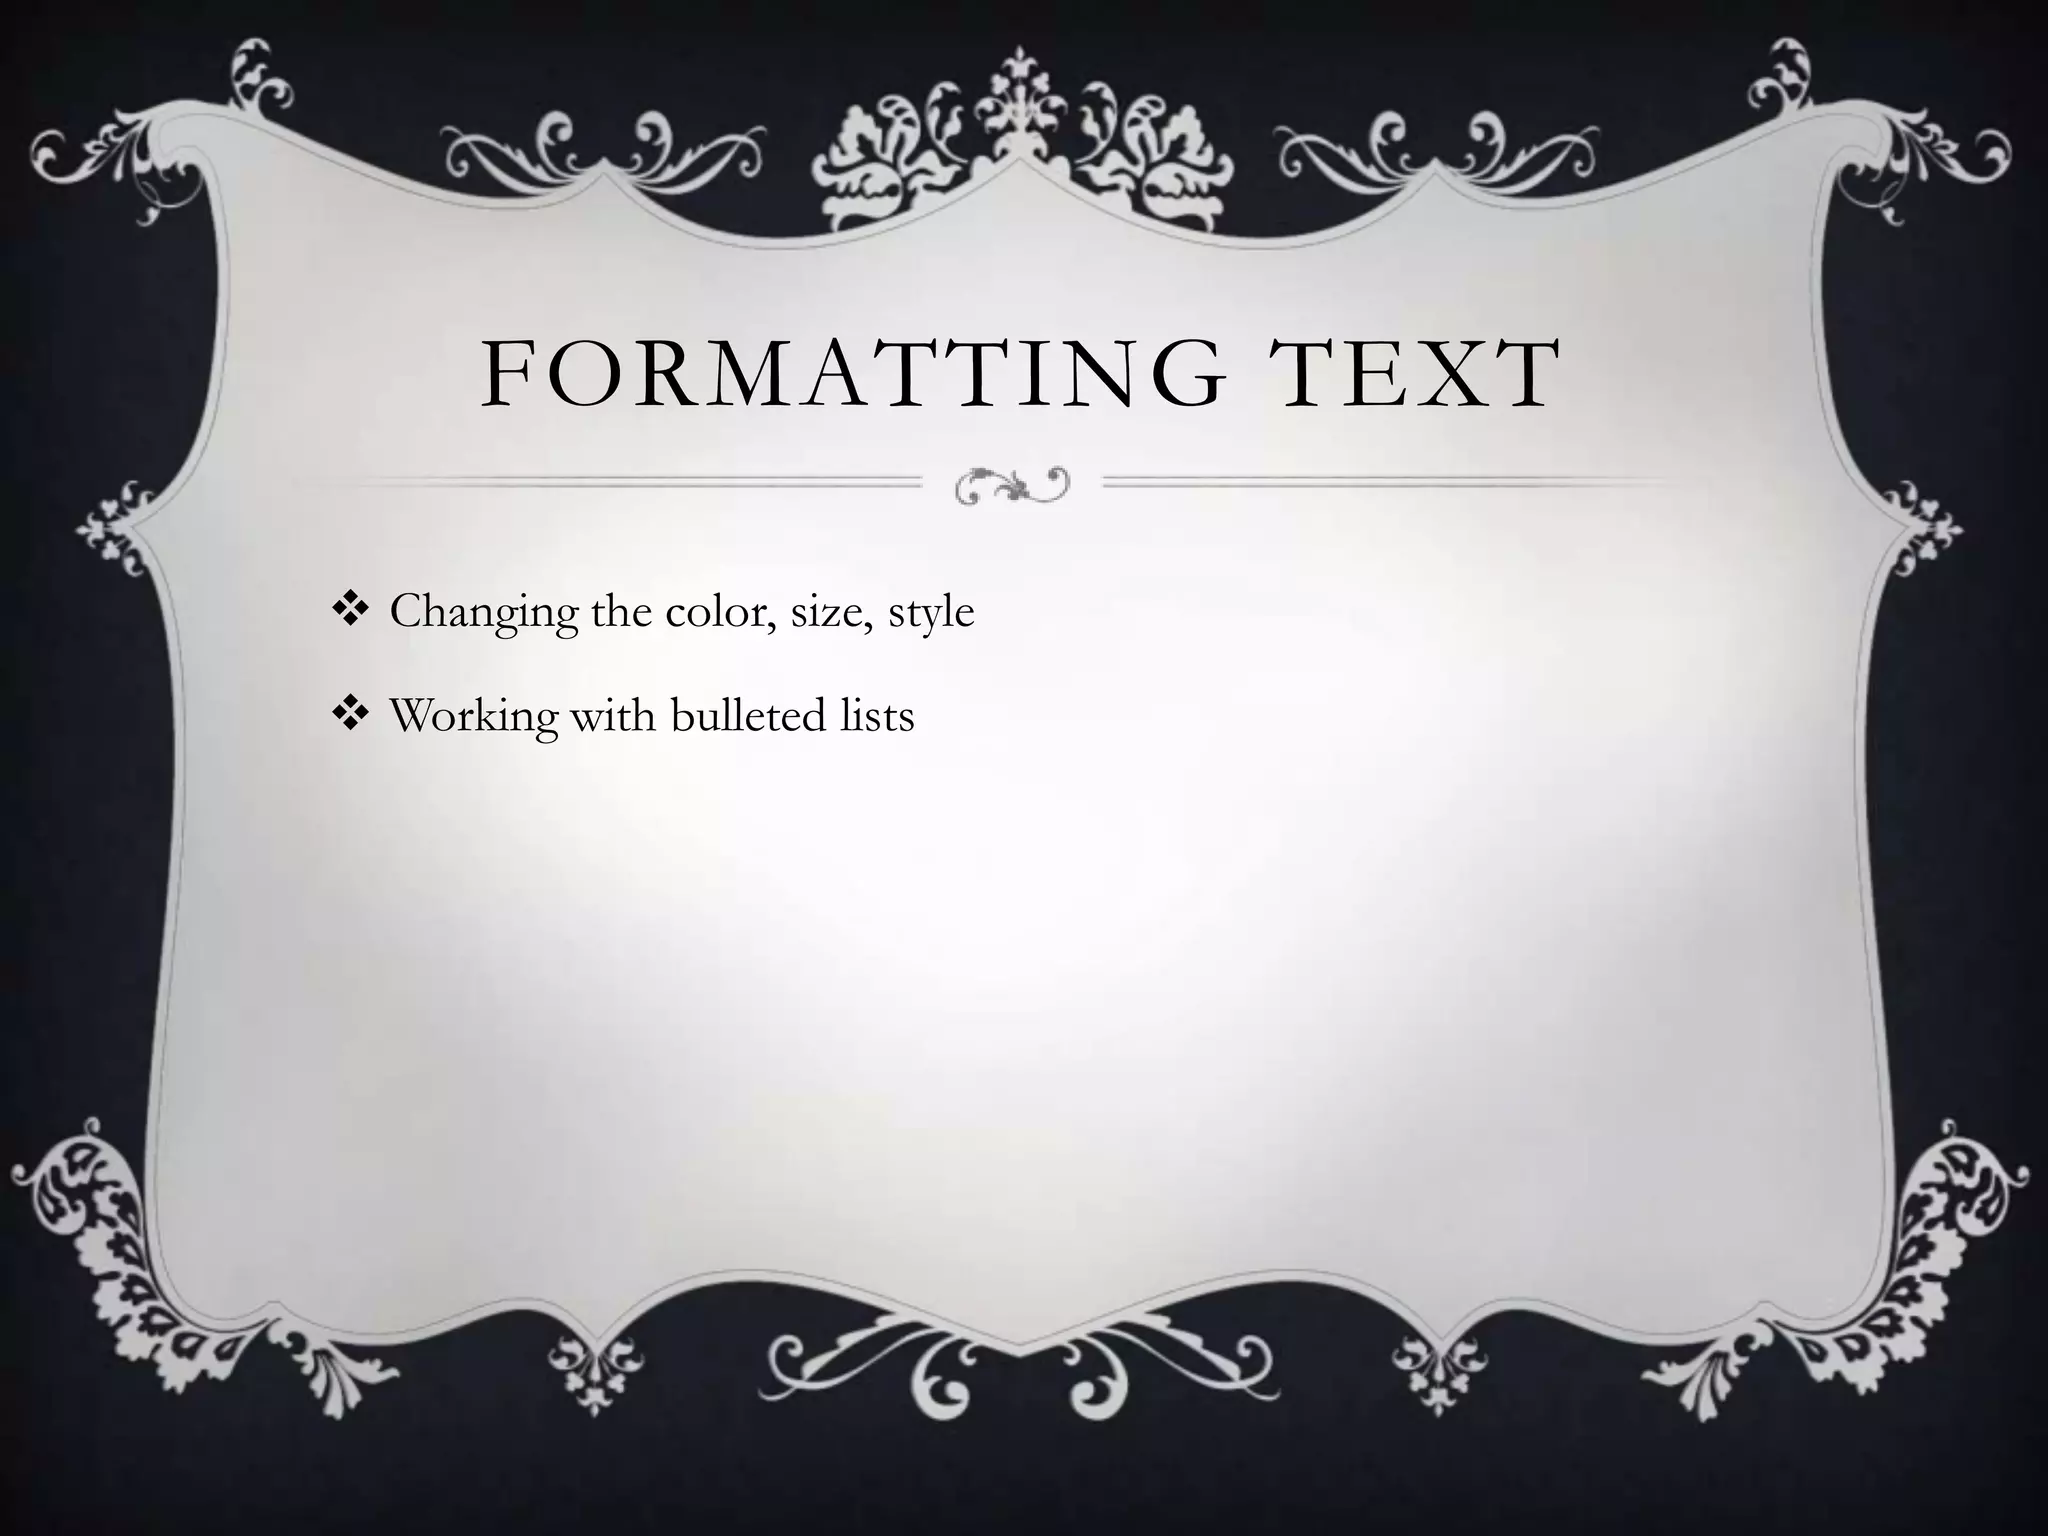
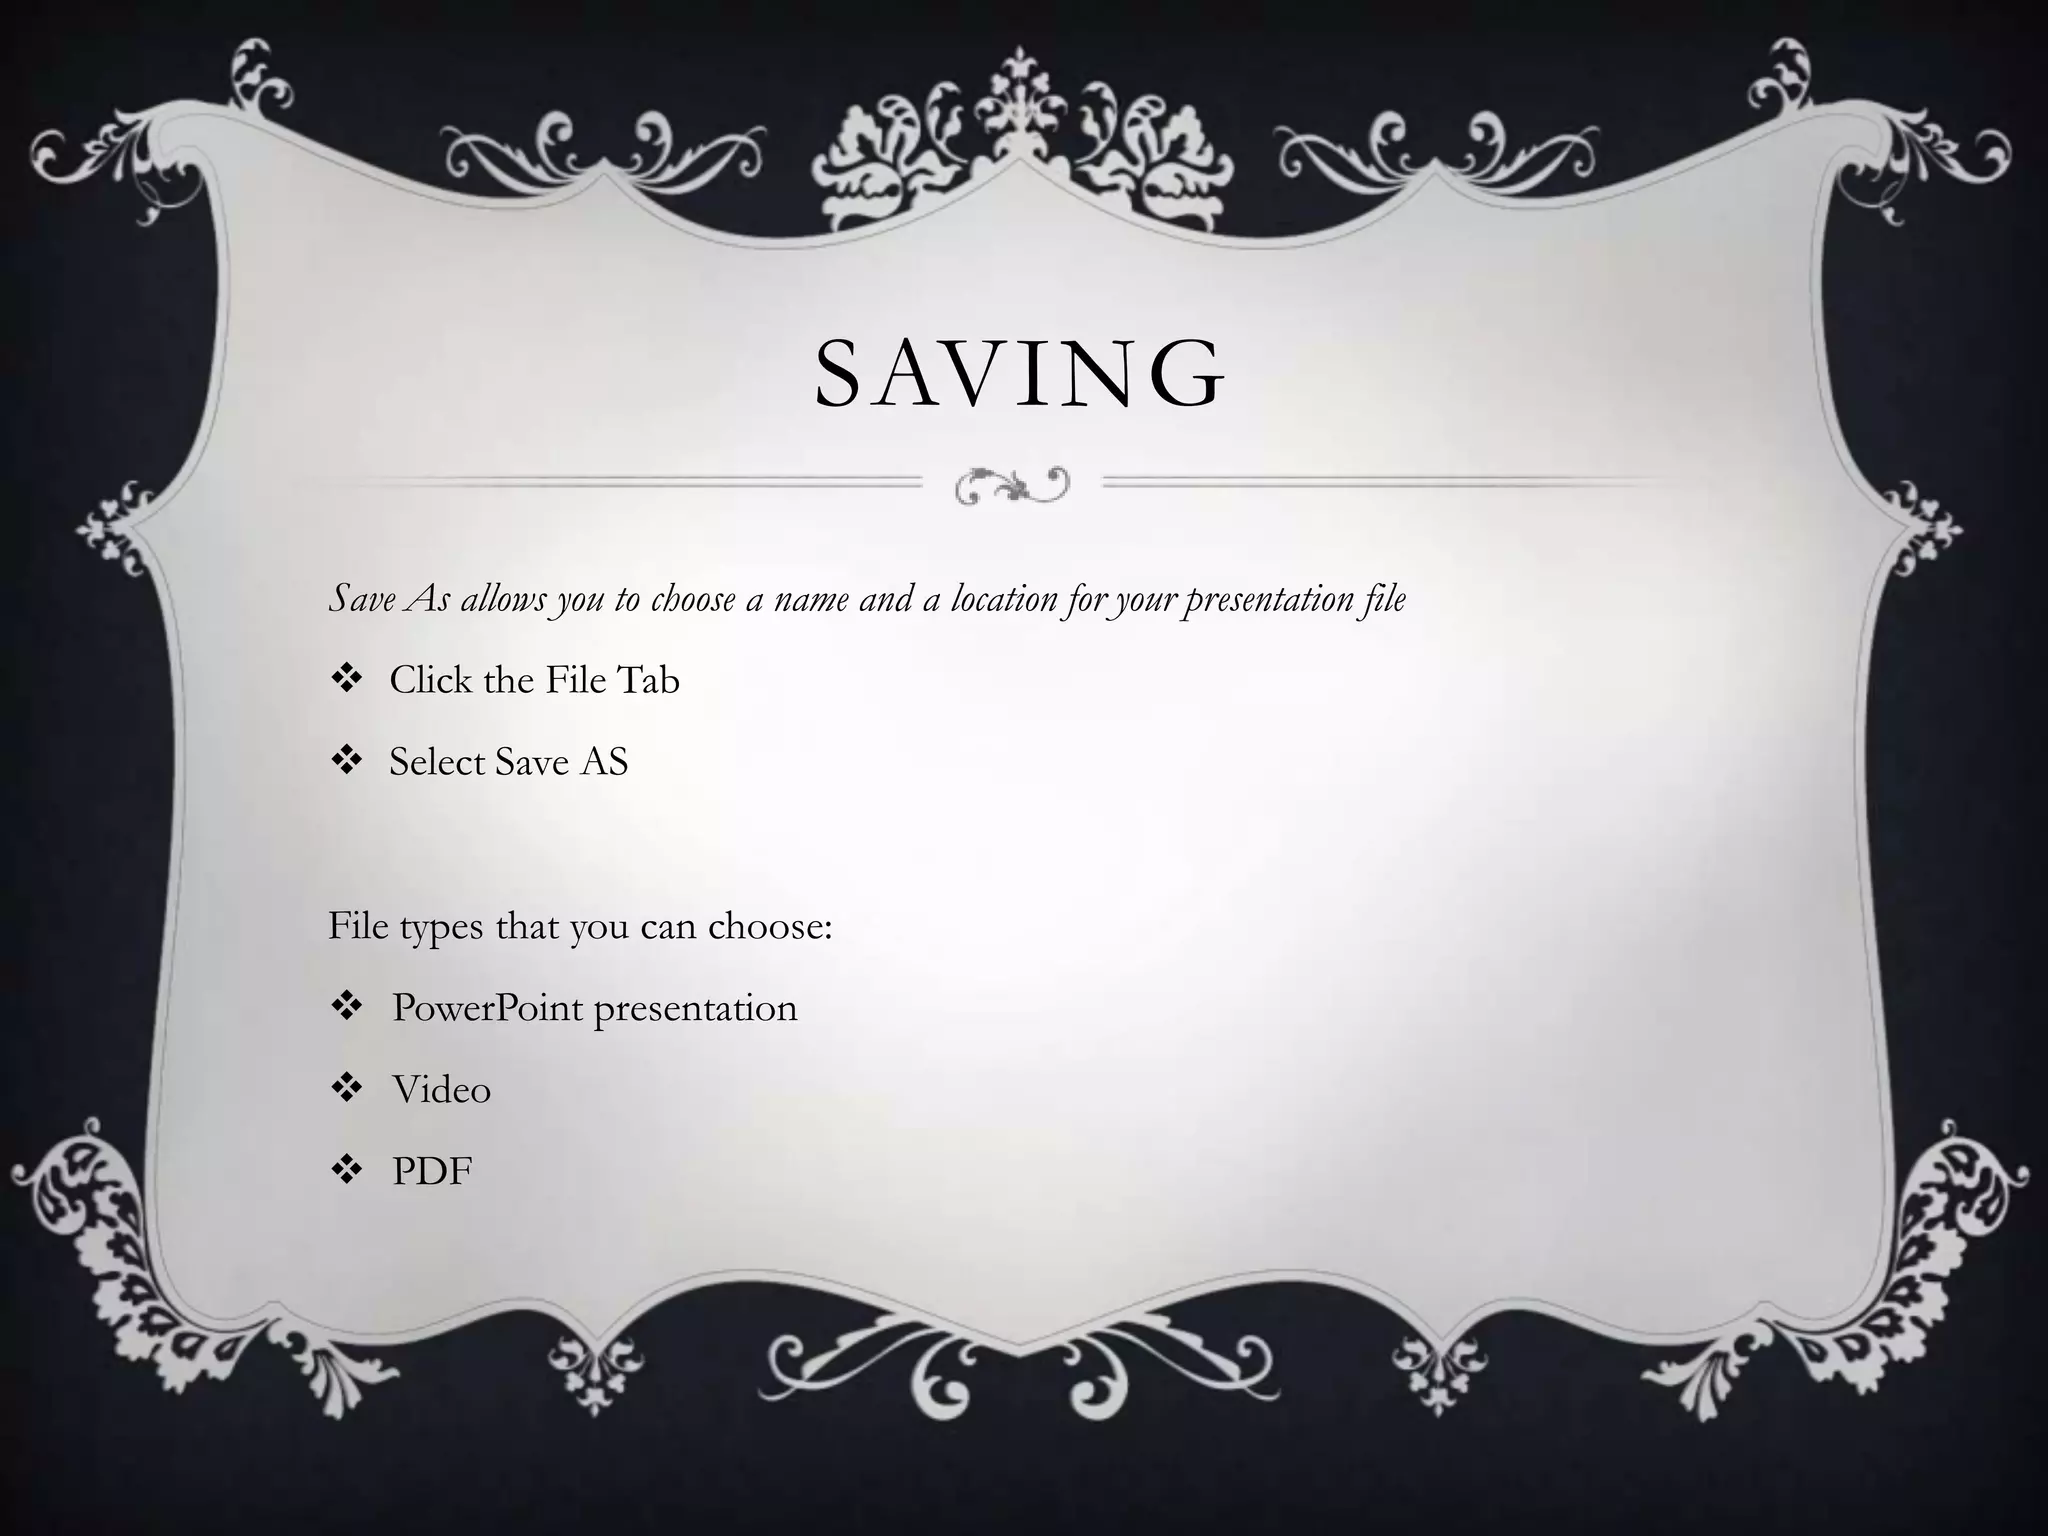
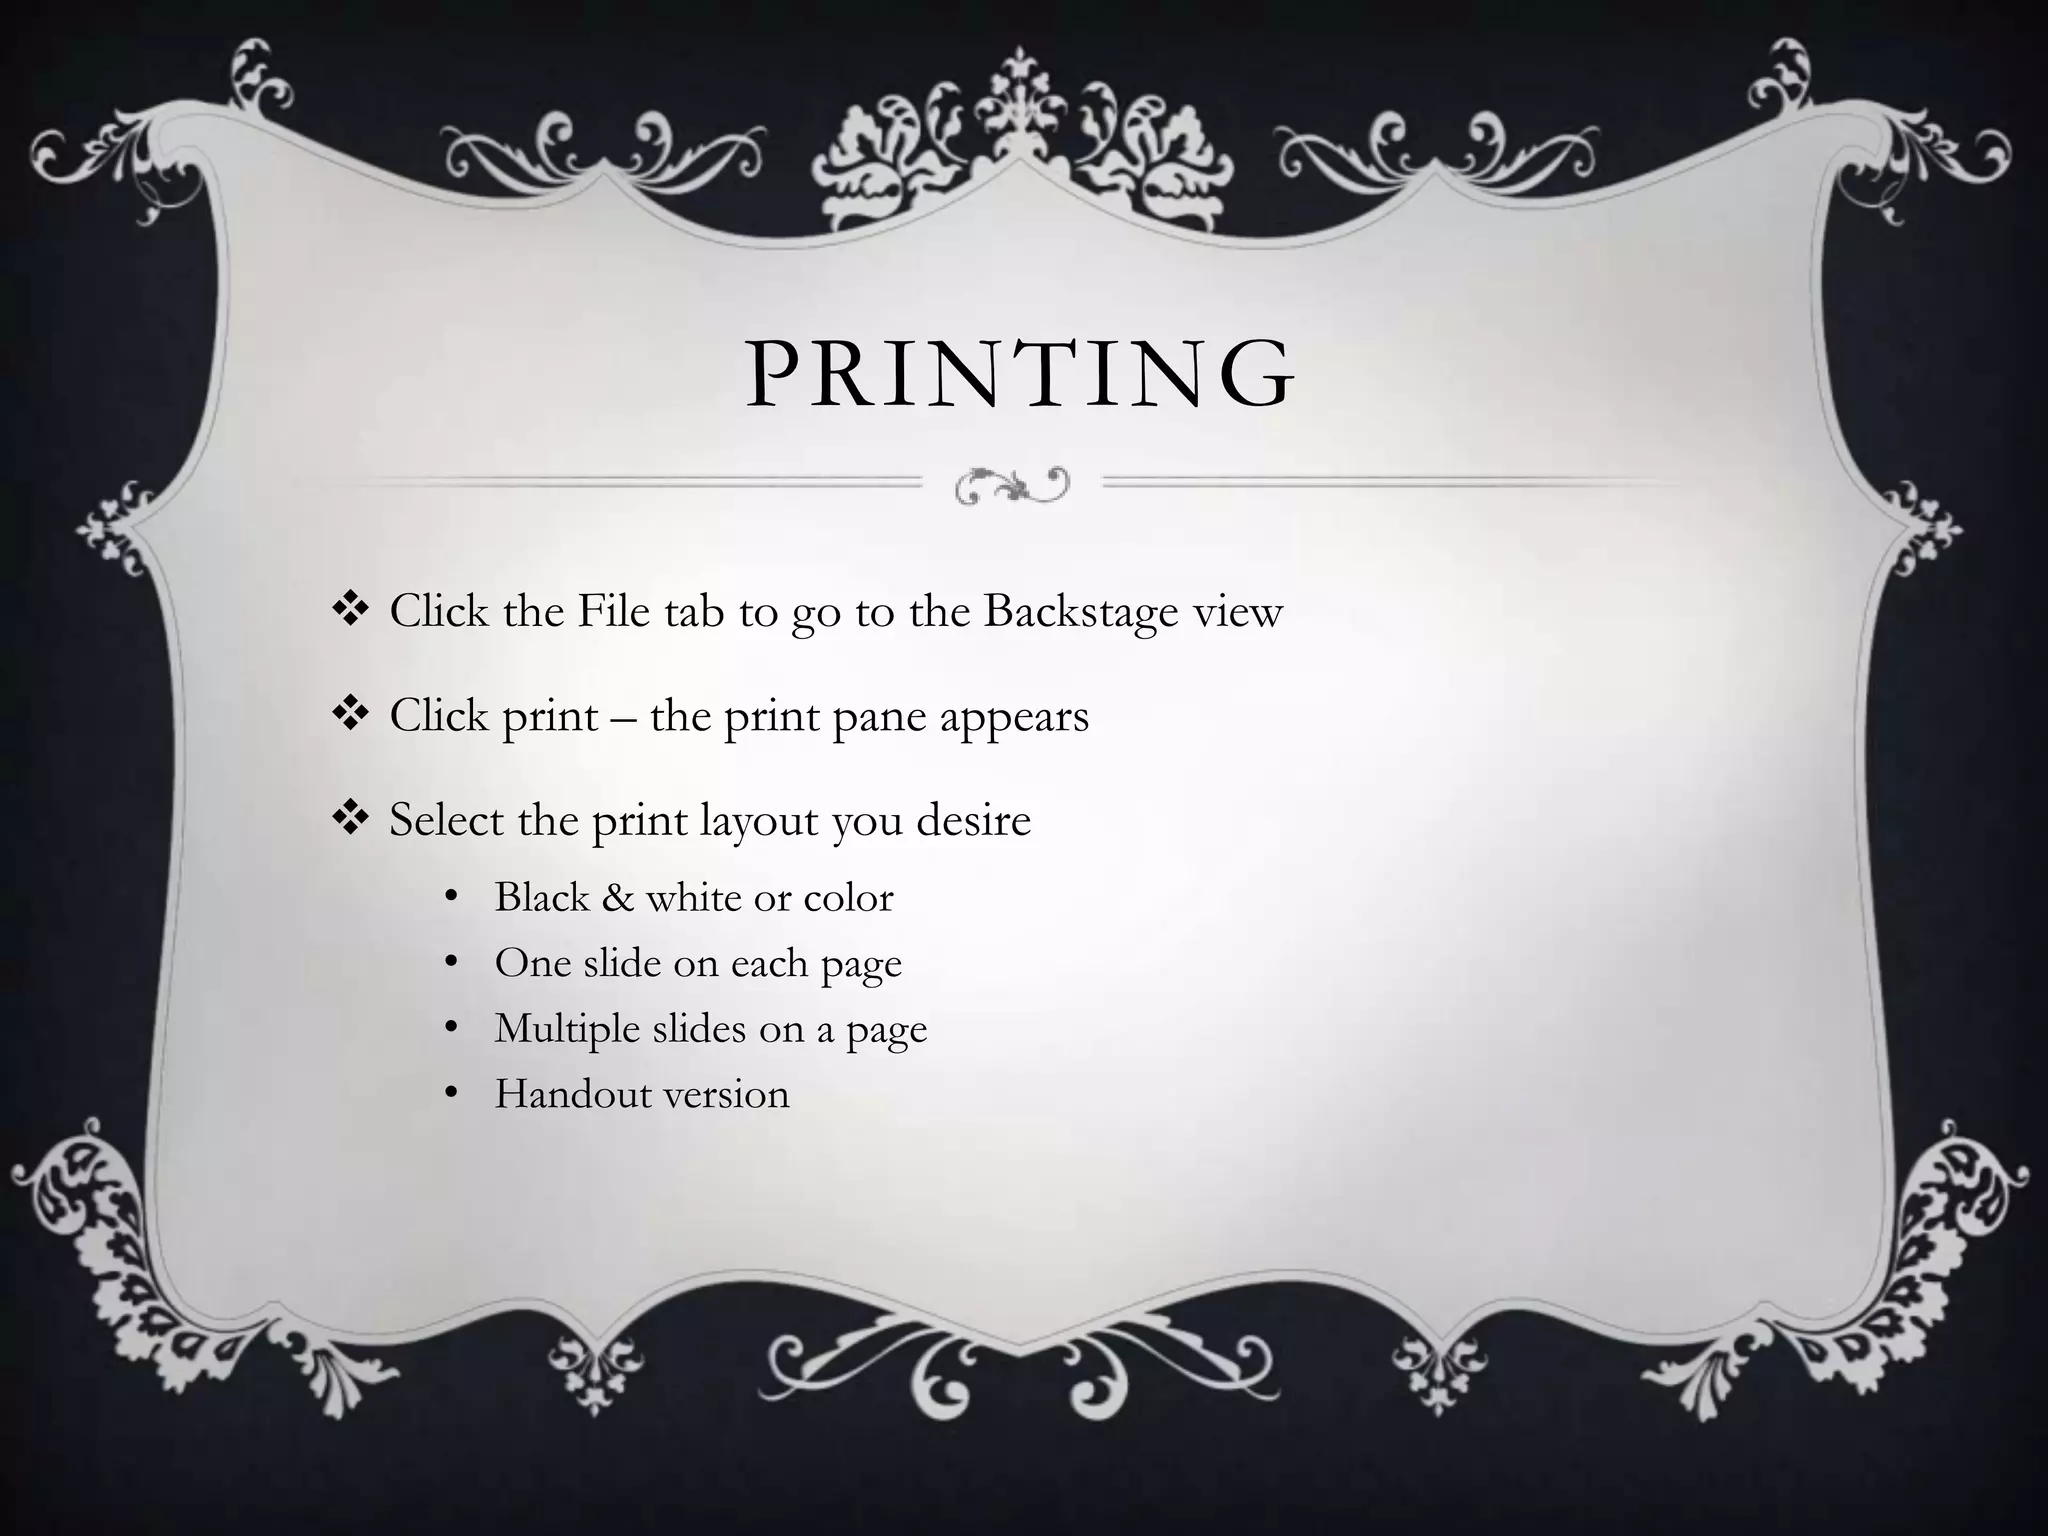
2. WHAT IS POWERPOINT
A program created by Microsoft that uses slides to display
information in a presentation
• A slide presentation software package
You can add:
• Text
• Images
• Video
• Audio
• Charts and more
6. THE BACKSTAGE VIEW
Gives you various options for:
• Saving
• Opening
• Printing
• Sharing
7. CHALLENGE #1
Open PowerPoint 2010 on your computer. A new blank presentation
will appear on the screen.
Try minimizing and maximizing the Ribbon.
Click through all of the tabs and notice how the Ribbon options
change.
Try switching page views.
Add any commands you wish to the Quick Access Toolbar.
Close PowerPoint without saving the presentation.
8. SLIDES
Slides contain placeholders –
areas on the slide that are
enclosed by dotted borders
Placeholders can contain:
text, images, video, charts, etc.
What do the icons mean in a
placeholder?
10. WORKING WITH SLIDES
Inserting a new slide
• From the Home Tab, click the bottom half of the NEW SLIDE
command to open the menu of the slide layout options
• Select the layout you want
To instantly add a slide that uses the same layout as the one you have
selected, simply click the top-half of the NEW SLIDE command.
11. WORKING WITH SLIDES
Copy and Paste a slide
• On the Slides tab, choose the slide you want to copy
• Click the COPY command on the HOME tab. You can also right-
click your selection and choose COPY
• In the left pane, click below a slide (or between two slides) to choose
the location where you want the copy to appear
• Click PASTE on the HOME tab or right click and choose PASTE
12. WORKING WITH SLIDES
Deleting a slide
• In the left pane, choose the slide you wish to delete – hit your
DELETE key on your keyboard
Moving a slide
• In the left pane, choose the slide you wish to move
• Click and hold – then drag to new location
13. SLIDE VIEWS
Normal view
• Default view
• Slides can be moved in the slides tab on the left
Slide Sorter View
• Miniature views are arranged on the screen
• You can easily drag/drop and rearrange slides
Slide show view
• This view fits the entire computer screen
• What the audience will see
14. VIEW AN OUTLINE OF
YOUR PRESENTATION
Click on OUTLINE in the left pane
Type directly in the pane to make changes to your text
Adding notes to your presentation
These are called speaker notes – and appear to the speaker, not the
audience
Add notes at the bottom of the screen
15. CHALLENGE #2
• Open an existing PowerPoint presentation. If you want, you can use
this example.
• Change the layout of a slide. If you are using the example, change the
layout of slide 3 to Section Header.
• Add a new blank slide, then insert a text box.
• Copy and paste a slide, then move it to a new location.
• View your presentation in Normal View, Slide Sorter View, Reading
View, and Slide Show View.
• View an outline of your presentation in the left pane.
16. WORKING WITH TEXT
Inserting text
• Click the placeholder or text box where you want to insert text
• The INSERTION POINT appears
• Type directly into the placeholder or textbox
Delete text
• Place the INSERTION POINT next to the text you wish to delete
• Press the backspace key on your keyboard to delete the text to the
left of this insertion point
• Press the delete key on your keyboard to delete text to the right of
the insertion point
17. WORKING WITH TEXT
Copy/Paste
• Select the text you wish to copy
• Click the COPY command on the HOME tab or right click and choose
COPY
• Place your insertion point where you wish the text to appear
• Click the PASTE command on the HOME tab or right click and choose
PASTE
Copy/Paste – or Cut/Paste?
• Cut/paste: copies, cuts and pastes
• Copy/paste: copies and pastes – placing the text in two places
18. WORKING WITH TEXT
Drag and drop text: allows you to select the text you want to
move, then drag/drop to the new location (similar to cut/paste)
19. WORKING WITH TEXT
ADDING TEXT
From the Insert Tab – click TEXT BOX (your cursor will turn to
an upside down cross)
Click the area on your slide where you want to add the text box
and a text box with an insertion point will appear
20. WORKING WITH TEXT
MOVING TEXT
Click the box you wish to move
Position your mouse around the border until it turns into a four
sided arrow
Click and hold the mouse button as you drag the box to the
desired location
21. WORKING WITH TEXT
RESIZING TEXT BOX
Click the box you wish to resize
Position your mouse over any on of the sizing handles that appear
on the corners and side of the text box (the cursor will turn into a
pair of arrows)
Click, hold and drag to the size you desire
23. CHALLENGE #3
• Insert text in a placeholder or text box. If you are using the
example, add a title to slide 2.
• Insert a text box, then move and resize it.
• Delete text. If you are using the example, delete the last bullet
from slide 3.
• Select text and try the Copy, Cut, and Paste commands.
• Modify text so it is a bulleted list. If you are using the
example, bullet the list on slide 8.
24. APPLYING A THEME
A theme is a predefined combination of colors, fonts, and effects
that can be applied to your presentation
Theme colors: available from every color menu
Theme fonts: available from the font menu
Shape styles: available in the Format tab when you click on a
shape)
25. APPLYING A THEME
Go to the DESIGN tab
Locate the Themes group – each image represents a theme
Click the drop down arrow to access more themes
Mini challenge – try applying a theme to a presentation
26. ADDING IMAGES
Adding clip art and pictures to your presentation can be a great way to
illustrate important information or add decorative accents to existing
text. You can insert images from your computer, search Microsoft's large
selection of clip art to find the image you need, or add a screenshot of
your own. Once an image has been inserted, you can resize and move it
to the location you want.
27. ADDING IMAGES
Select the Insert tab
Click the Picture command in the Images group – the insert picture
dialog box appears
Select the desired image and click Insert
To add ClipArt – choose the ClipArt command in the Images group instead of
the Picture command
To add a Screenshot – choose the Screenshot command and select Screen Clipping
28. WORKING WITH IMAGES
Resizing
• Click on the object you wish to resize
• Position your mouse over and of the corner sizing handles
• Click, hold and drag to the desired size
Moving
• Click on the object you wish to move
• The cursor will turn into a cross with arrows
• While holding down the mouse button, drag the image to the desired
location
29. CHALLENGE #4
• Insert an image from your files.
• Insert a clip art image. If you are using the example, search for
a healthy image to add to slide 2.
• Capture and insert a screenshot or screen clipping into a slide.
• Resize and move an image. If you are using the example, resize
the image on slide 5 and move it to fit under the text.
30. TRANSITIONS
Transitions are motion effects that, when in Slide Show View, add
movement to your slides as you advance from one slide to another.
There are many transitions to choose from; each one allows you to
control the speed, and even add sound.
31. TRANSITIONS
Three categories of transitions
1. Subtle – slight transitions
2. Exciting – strong transitions
3. Dynamic Content – strong transitions that only affect the content
(text, images, etc)
32. APPLYING TRANSITIONS
Chose the slide you wish to modify
Click on the Transitions tab
Locate the Transition to this Slide group
Click the More drop-down arrow to display all the transitions
Clicking on a selection will automatically preview it
33. MODIFYING TRANSITIONS
Duration
• Select the slide with the transition you wish to modify
• In the Duration field in the Timing group, enter the amount of time you
want the transition to take
Sound
• Select the slide with the transition you wish to modify
• Click the Sound drop-down menu in the Timing group – you will hear a
preview just by hovering over a select sound
Remove a transition
• Select the slide with the transition you wish to modify
• Choose NONE from the gallery in the Transition to this Slide group
34. ADVANCING SLIDES
AUTOMATICALLY
• Select the slide you wish to modify.
• Locate the Timing group on the Transitions tab.
• Under Advance Slide, uncheck the box next to On Mouse Click.
• In the After field, enter the amount of time you want to display the
slide.
35. CHALLENGE #5
• Select a slide and apply a transition.
• Change the transition duration.
• Add a sound effect to the transition.
• Apply this transition and its settings to all slides.
• Apply a different transition to one slide.
• Remove the transition.
36. SAVING
Save As allows you to choose a name and a location for your presentation file
Click the File Tab
Select Save AS
File types that you can choose:
PowerPoint presentation
Video
PDF
37. PRINTING
Click the File tab to go to the Backstage view
Click print – the print pane appears
Select the print layout you desire
• Black & white or color
• One slide on each page
• Multiple slides on a page
• Handout version