This document provides an overview of frequently used shortcuts and features in PowerPoint, including how to:
- Navigate slides using keyboard shortcuts like P, N, and the arrow keys.
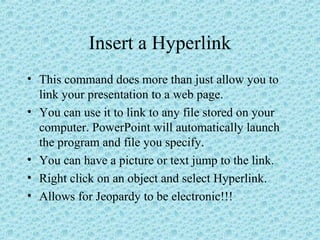
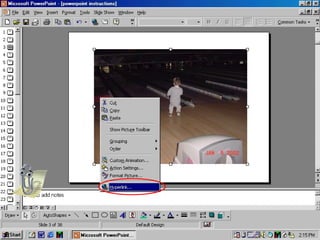
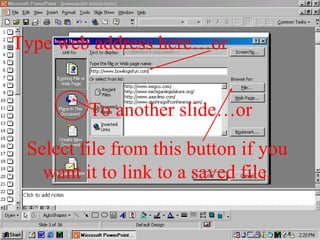
- Cut, copy, paste, and insert objects and hyperlinks using keyboard shortcuts.
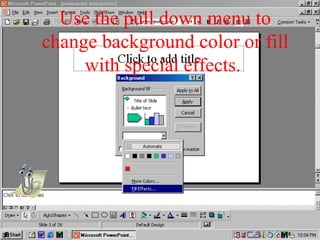
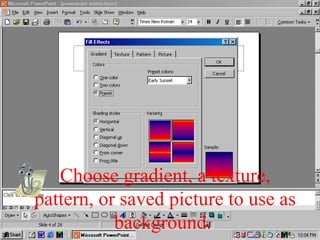
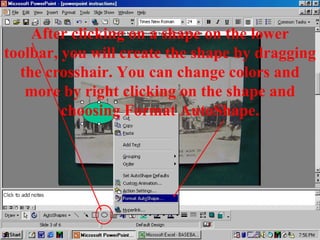
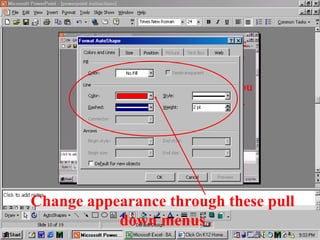
- Change the background color, fill, gradient, or insert a picture as the background.
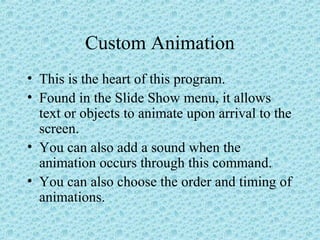
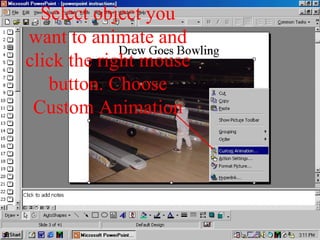
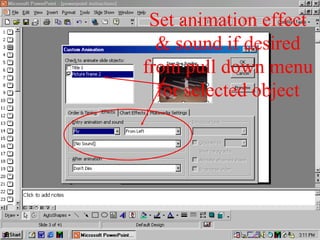
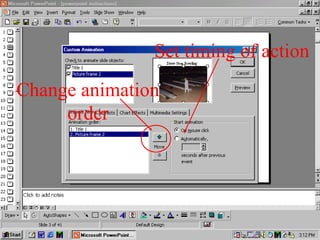
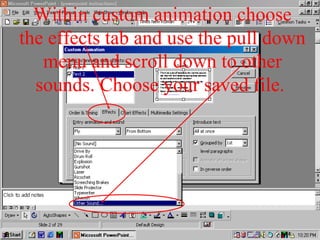
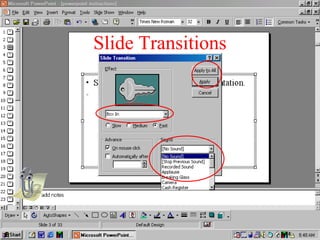
- Animate text and objects using custom animation and control the order and timing of animations.
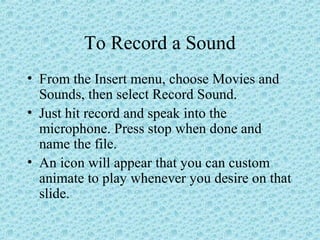
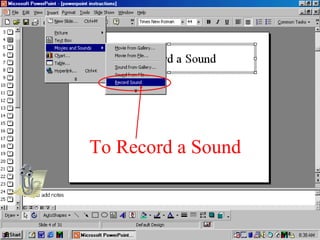
- Insert sounds to accompany animations and record sounds to insert into presentations.