Download as PPSX, PPTX
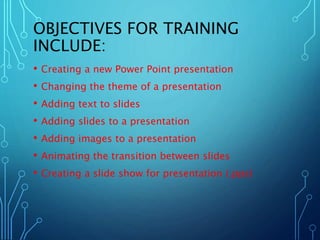
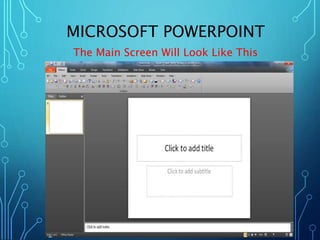
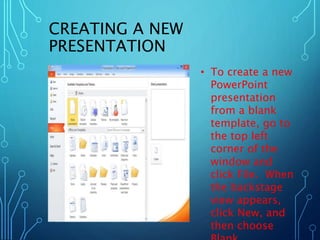
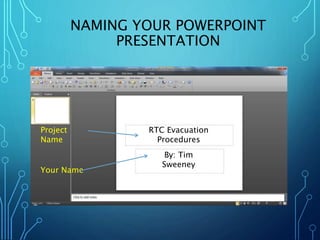
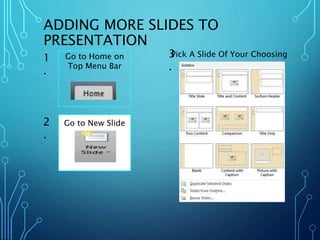
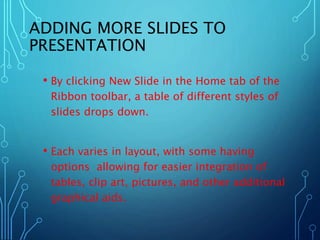
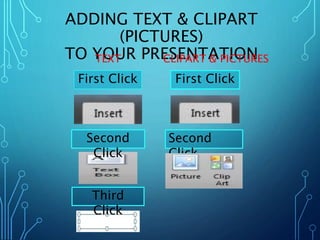
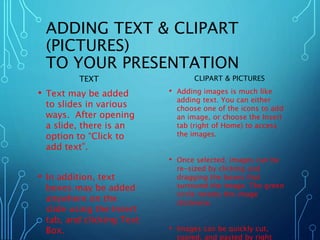
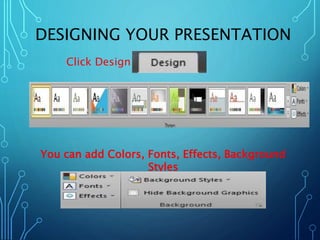

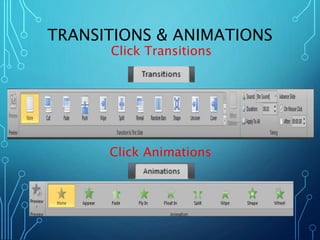
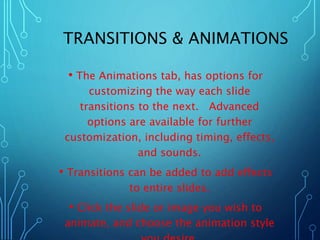
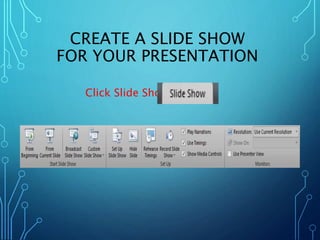
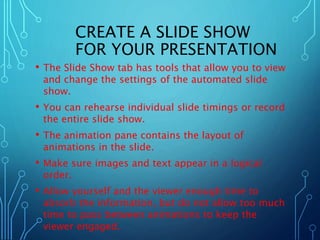
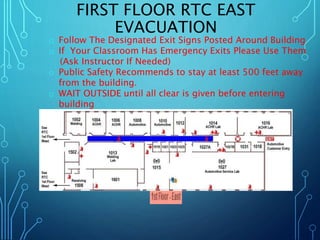
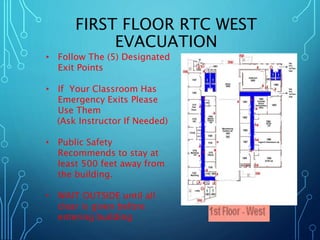


This training module teaches how to create a basic PowerPoint presentation. It covers how to create a new presentation, add and format text and images on slides, choose a theme and slide layouts, add transitions between slides, and play a slideshow. The document provides step-by-step instructions on each task, including screenshots, and gives an example presentation on evacuation procedures for a building as a demonstration.


