Downloaded 261 times


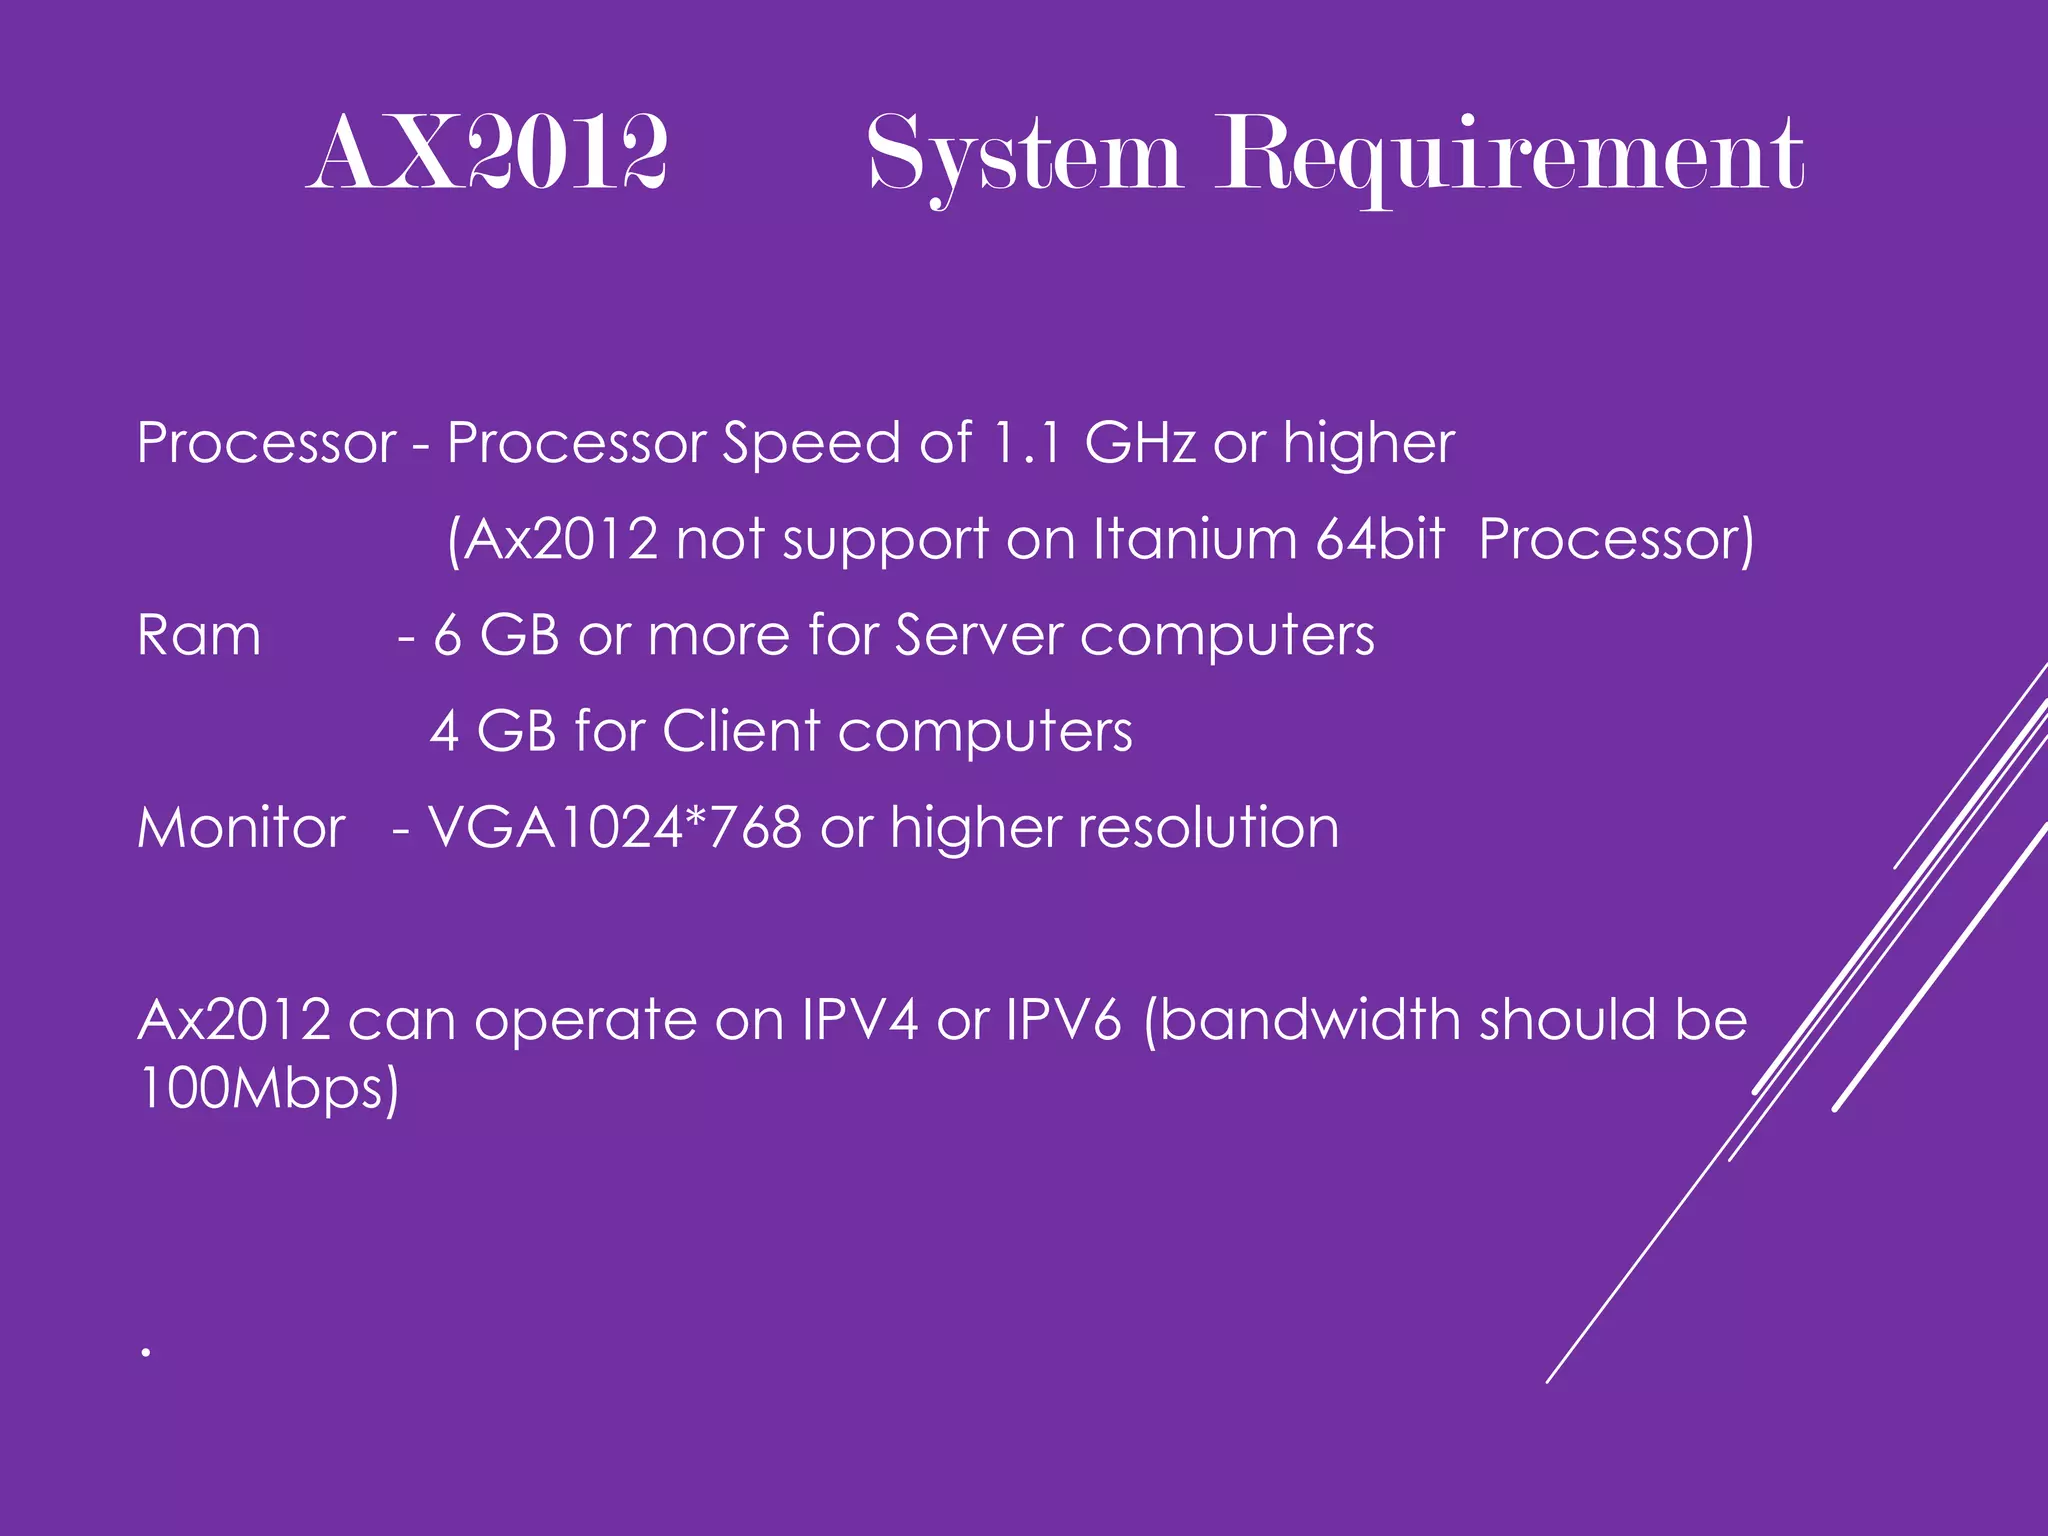
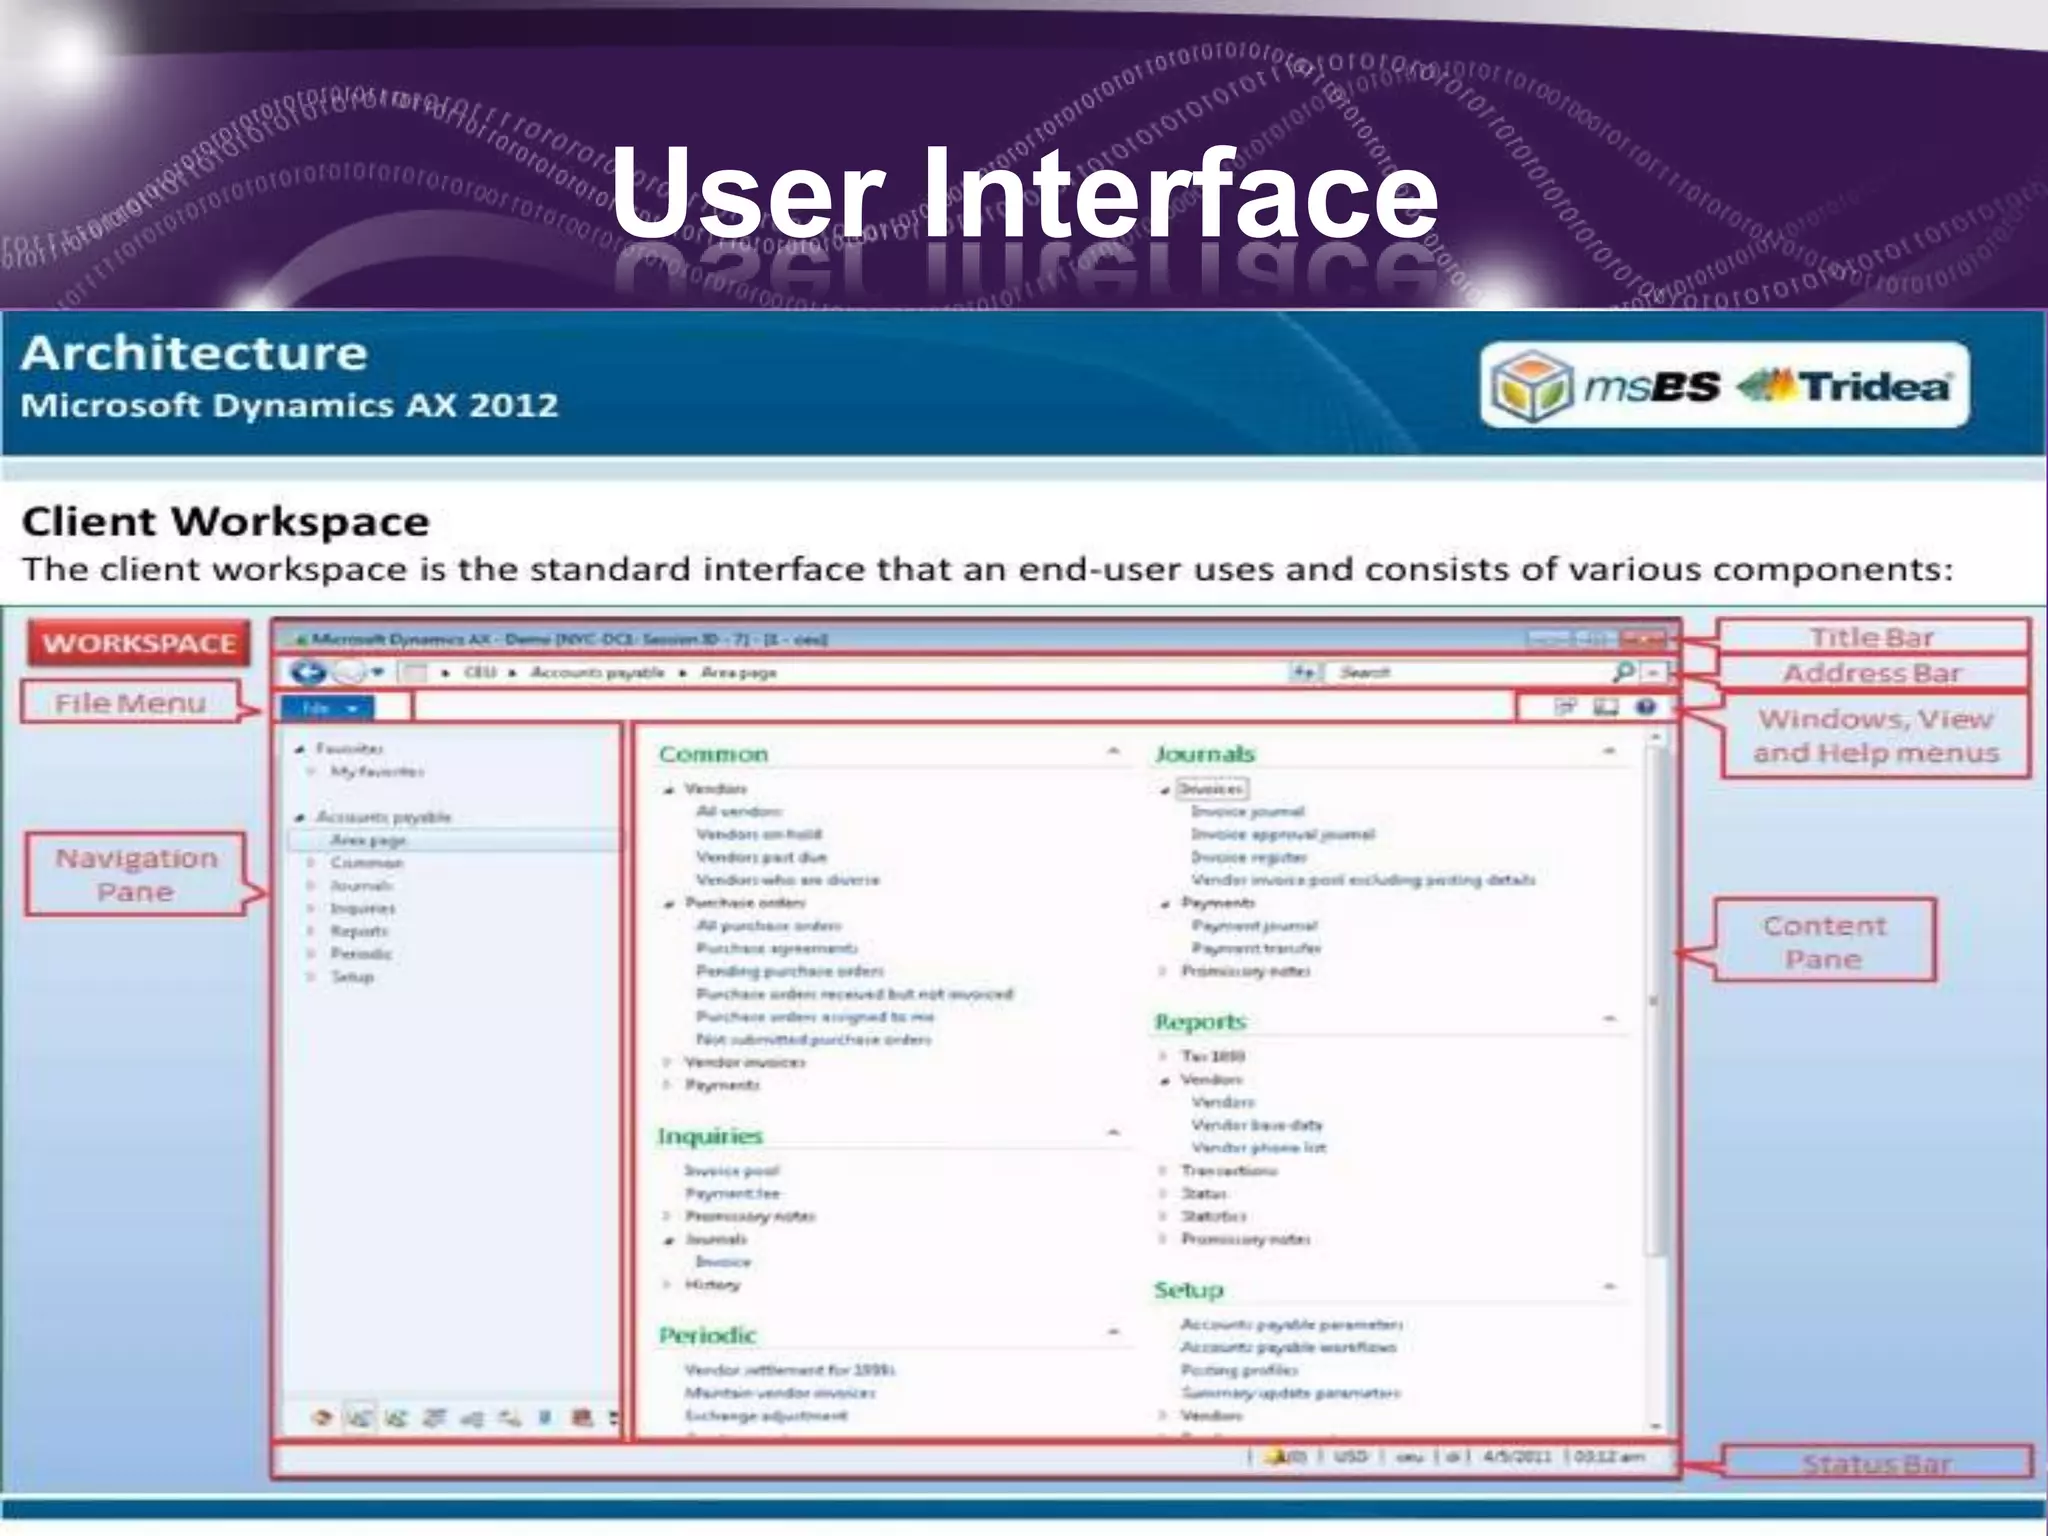
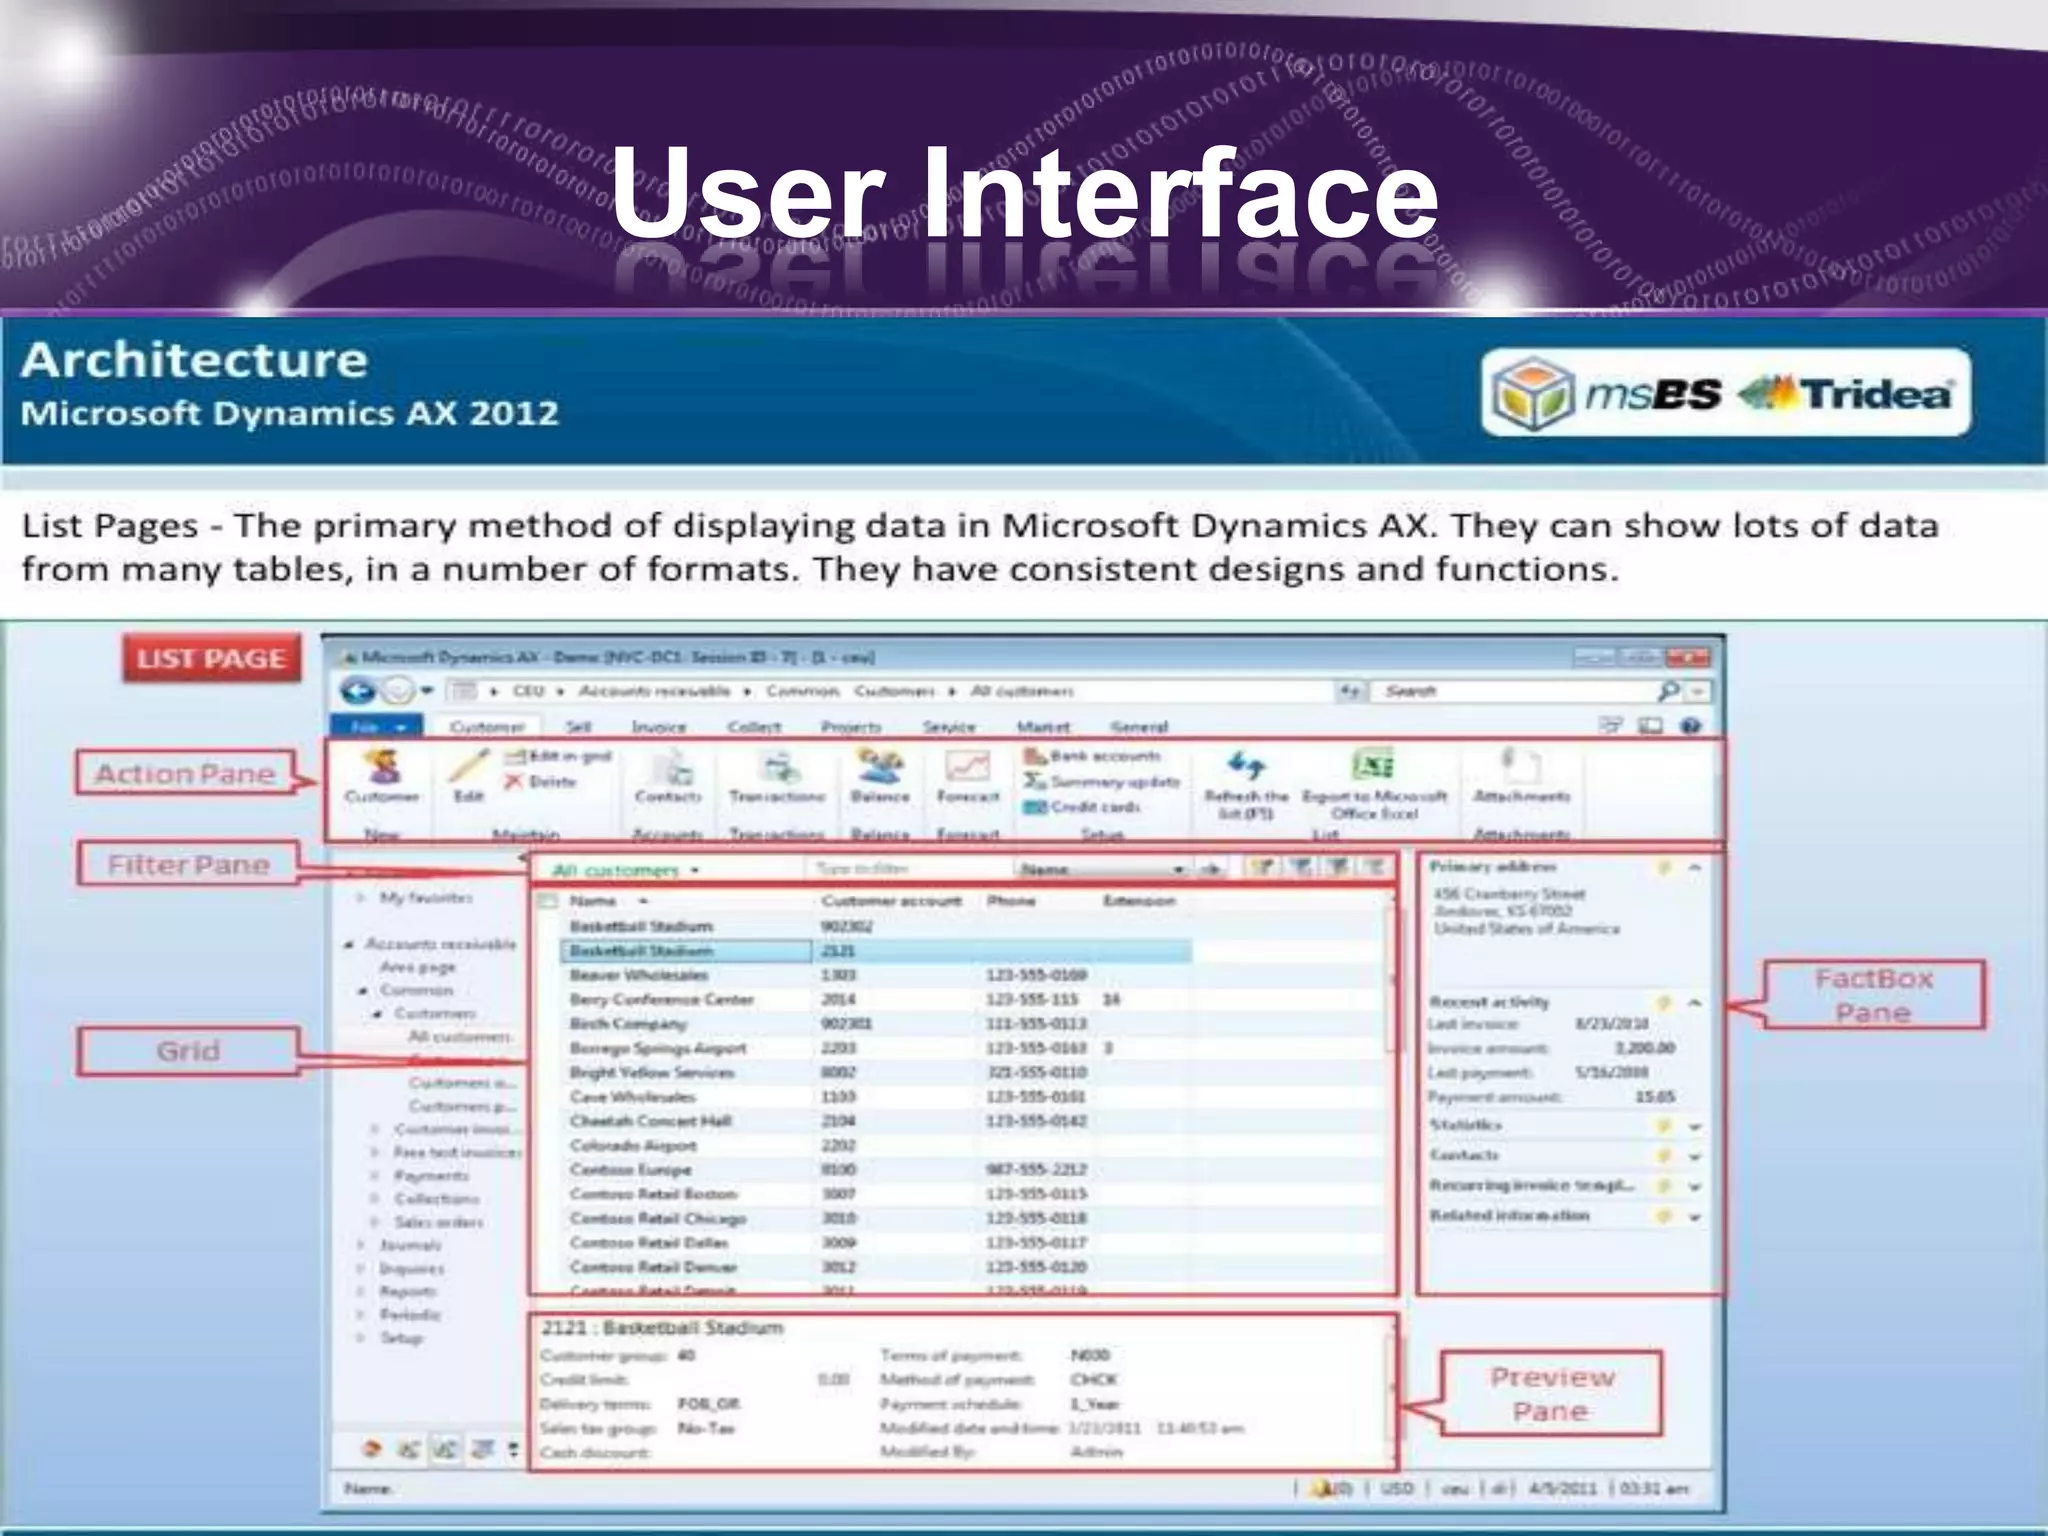
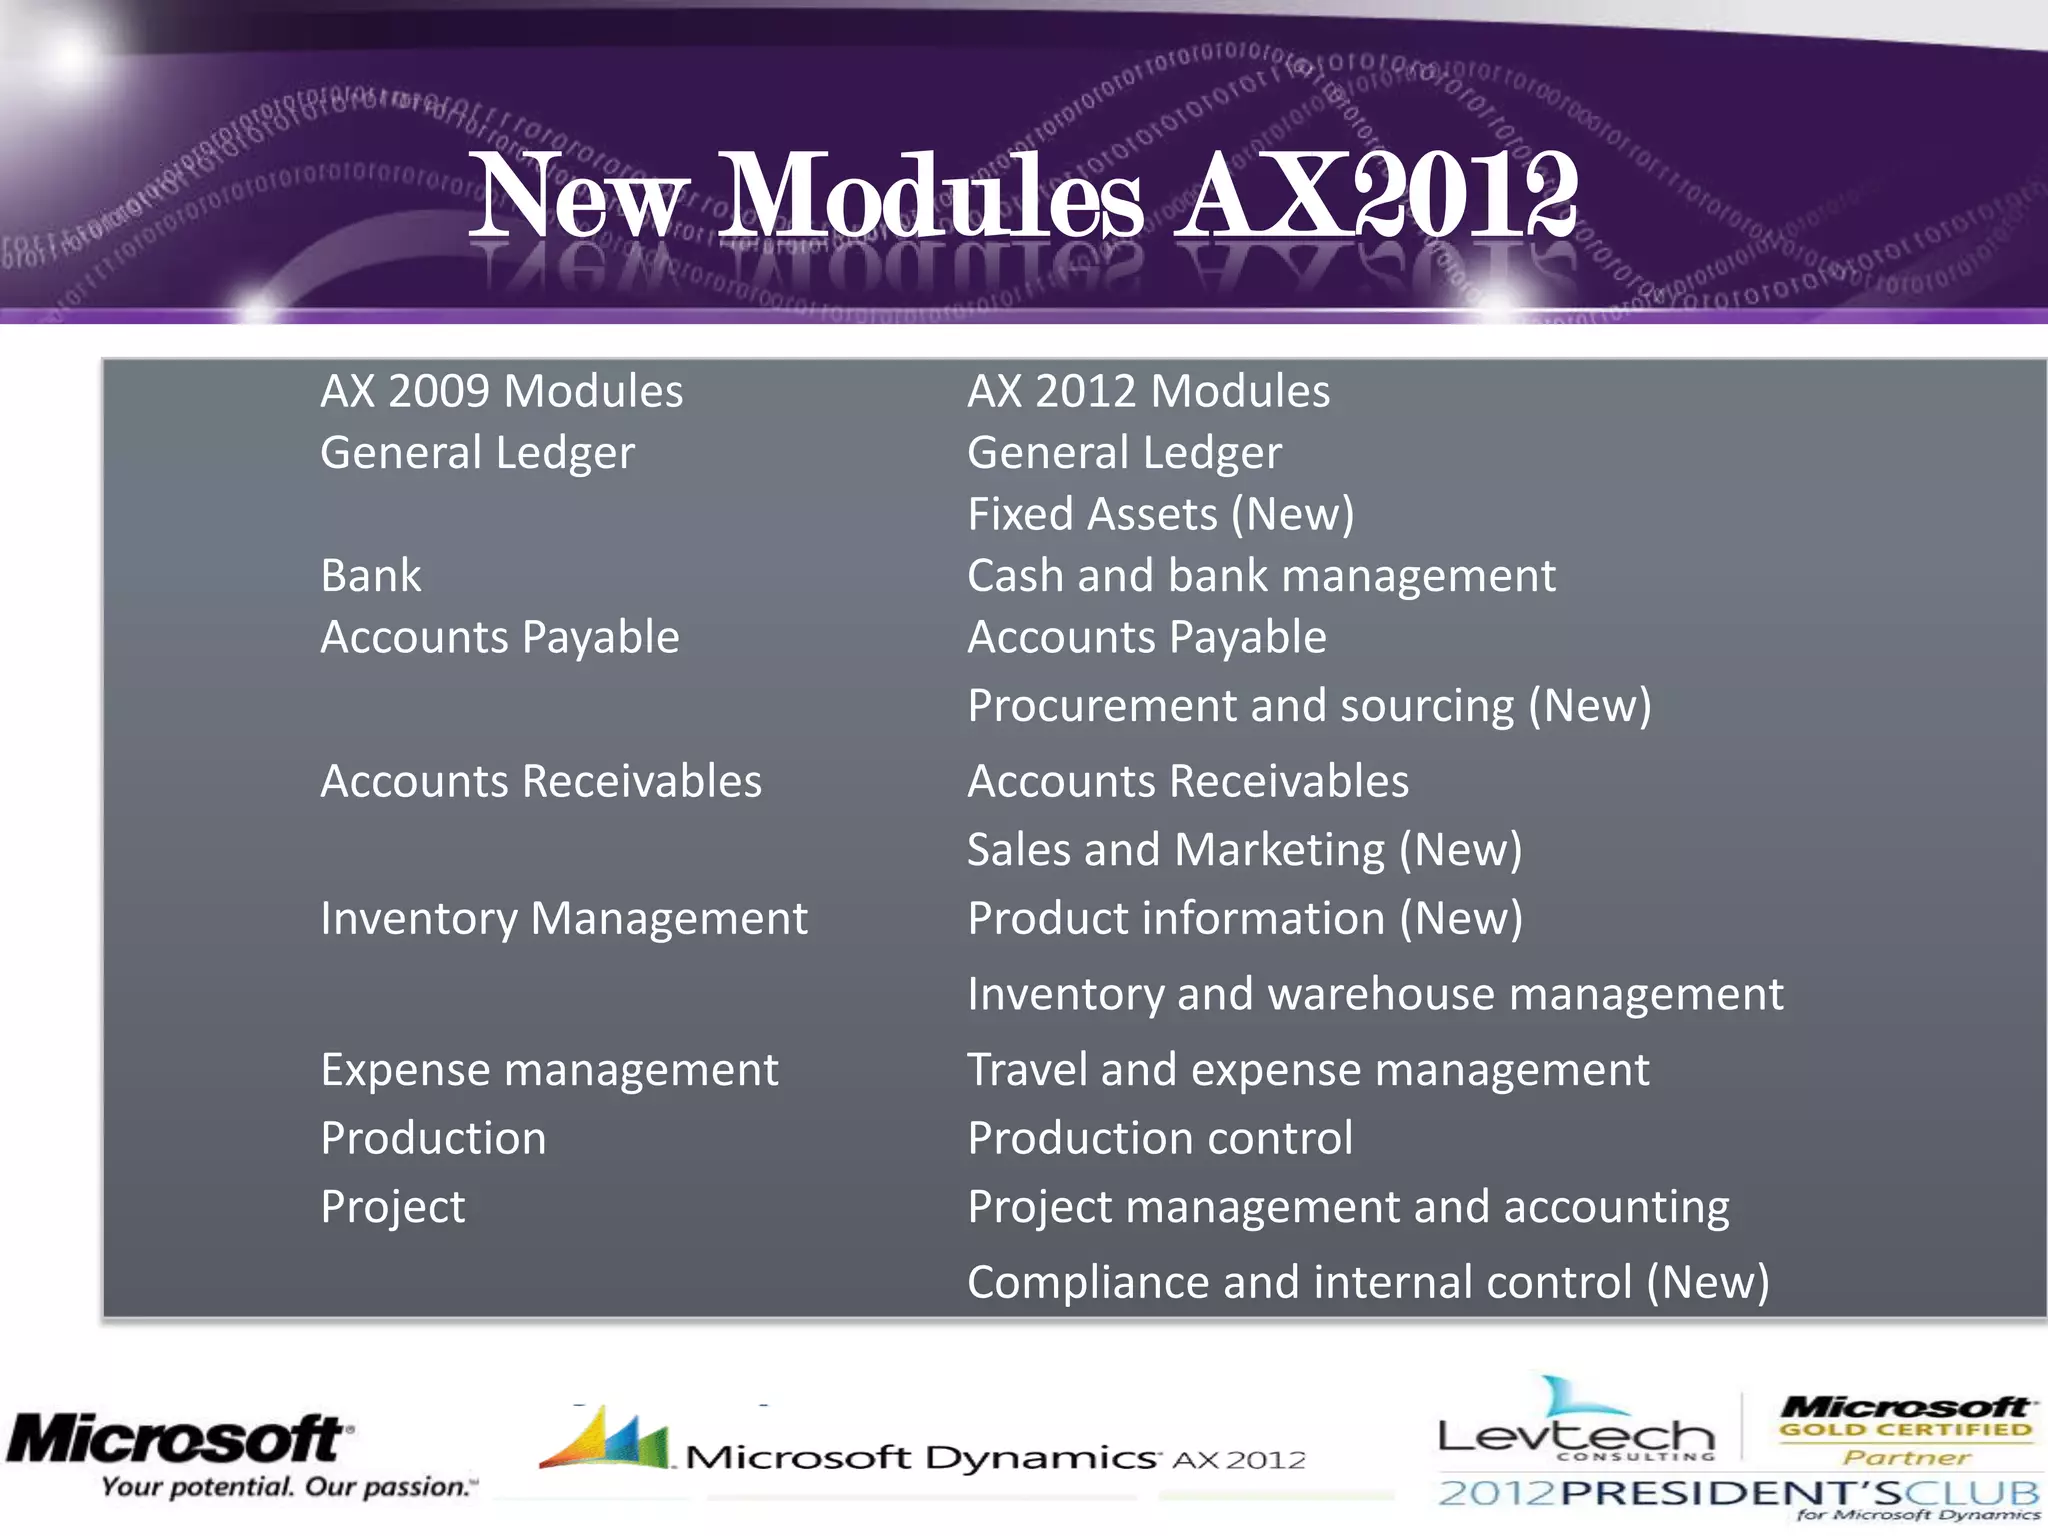
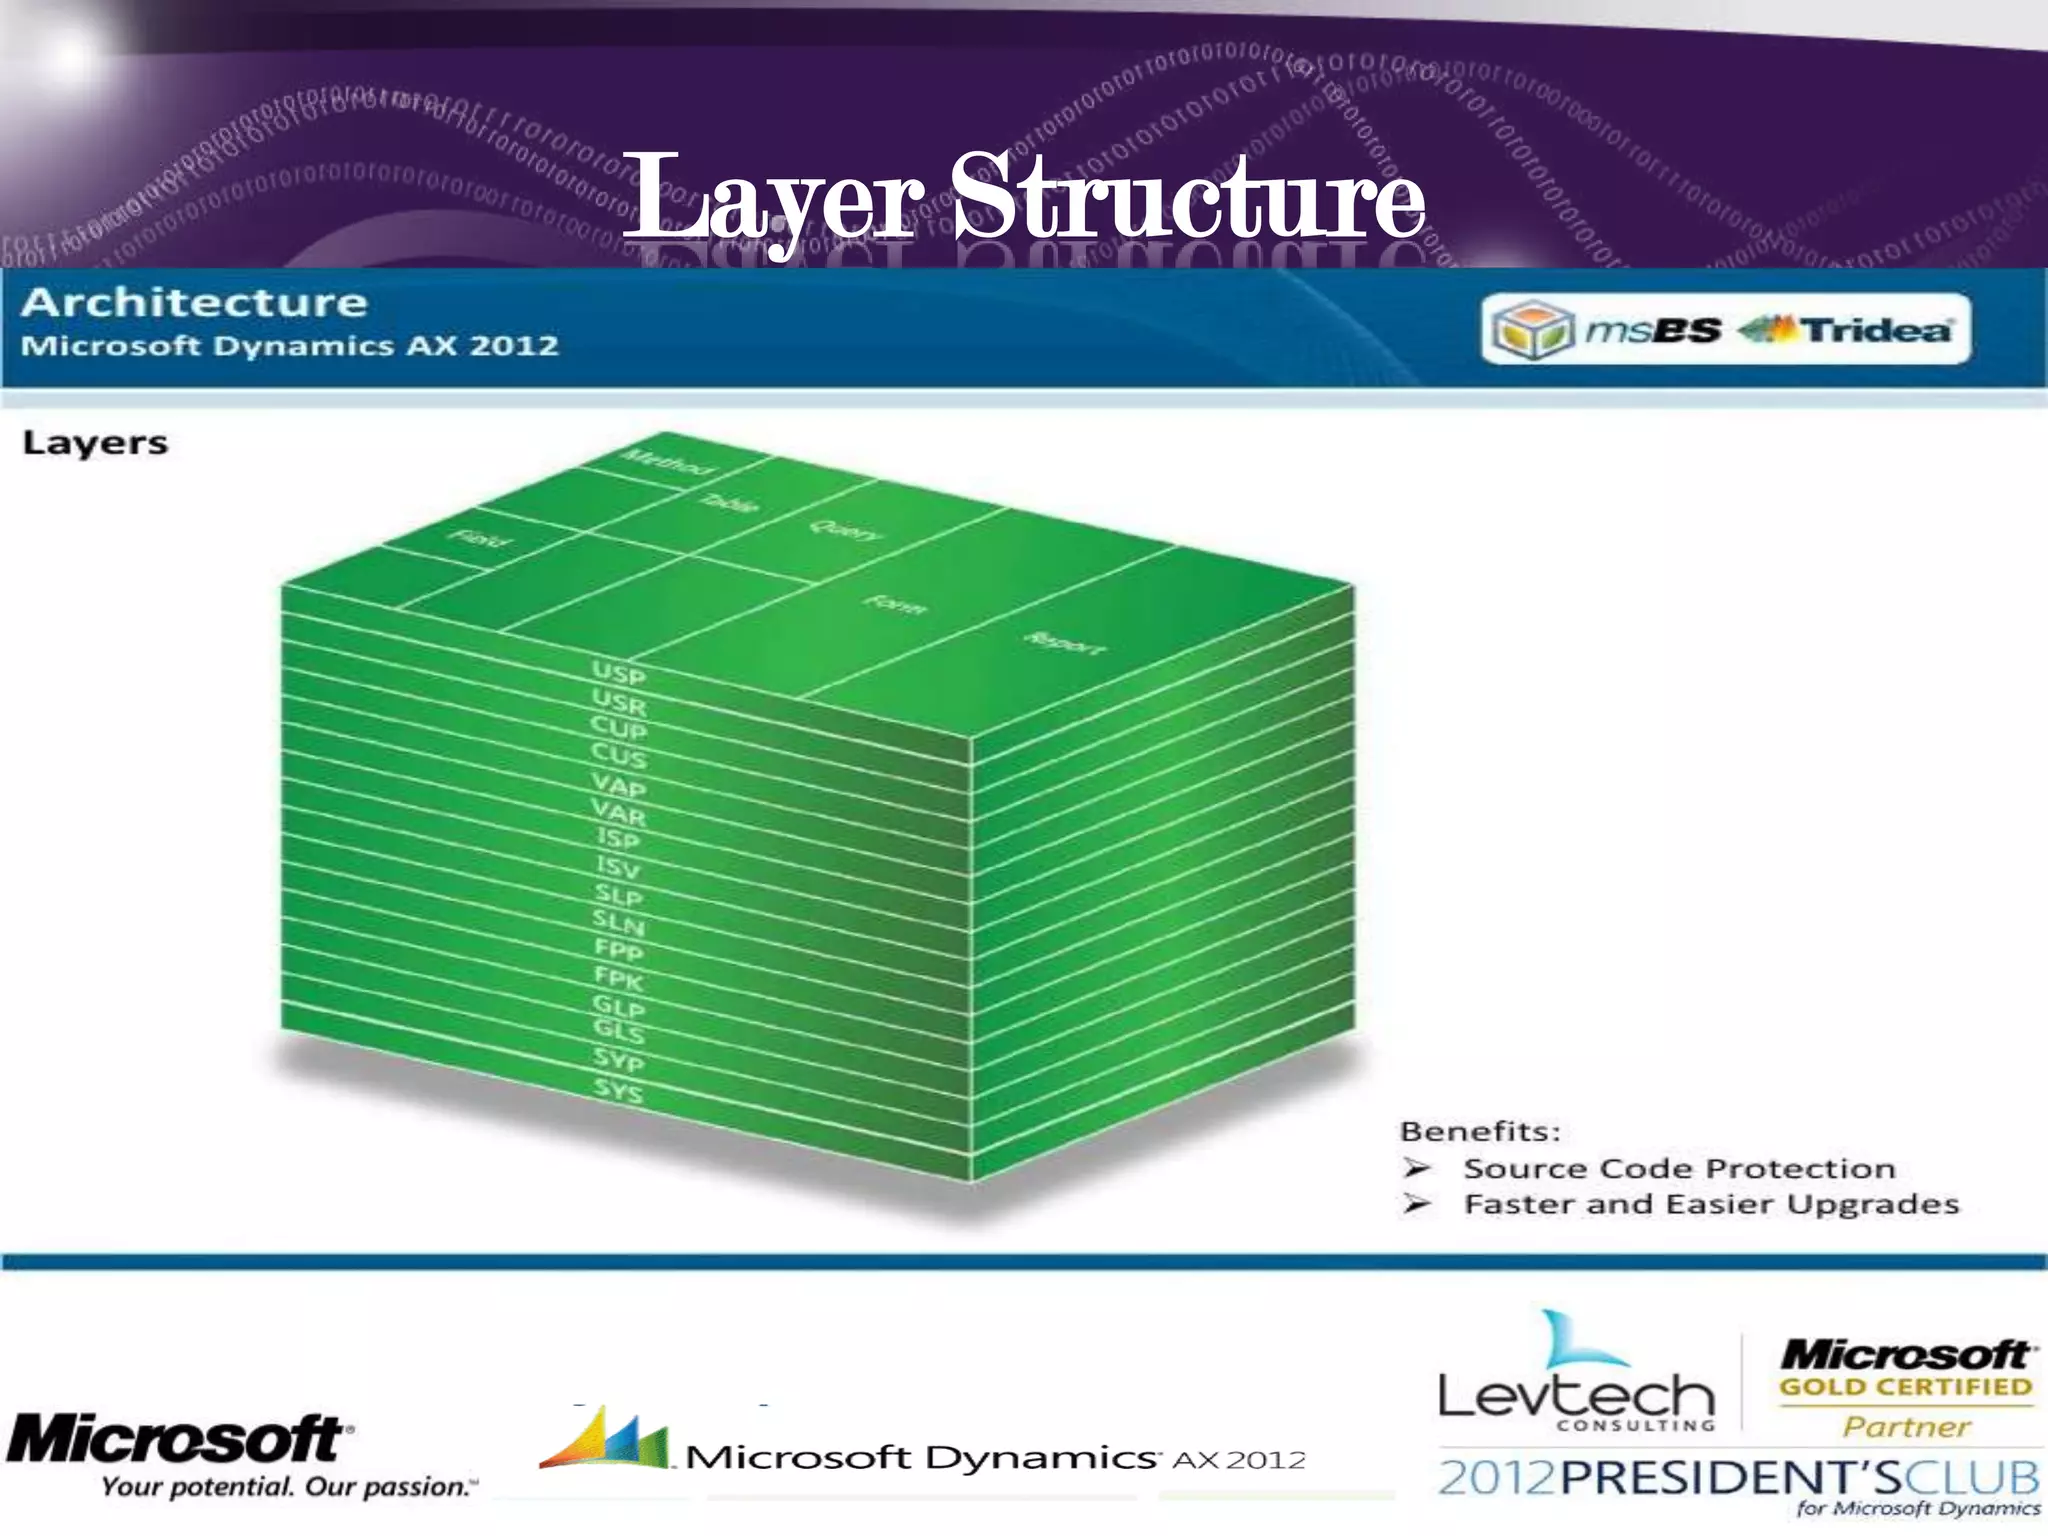
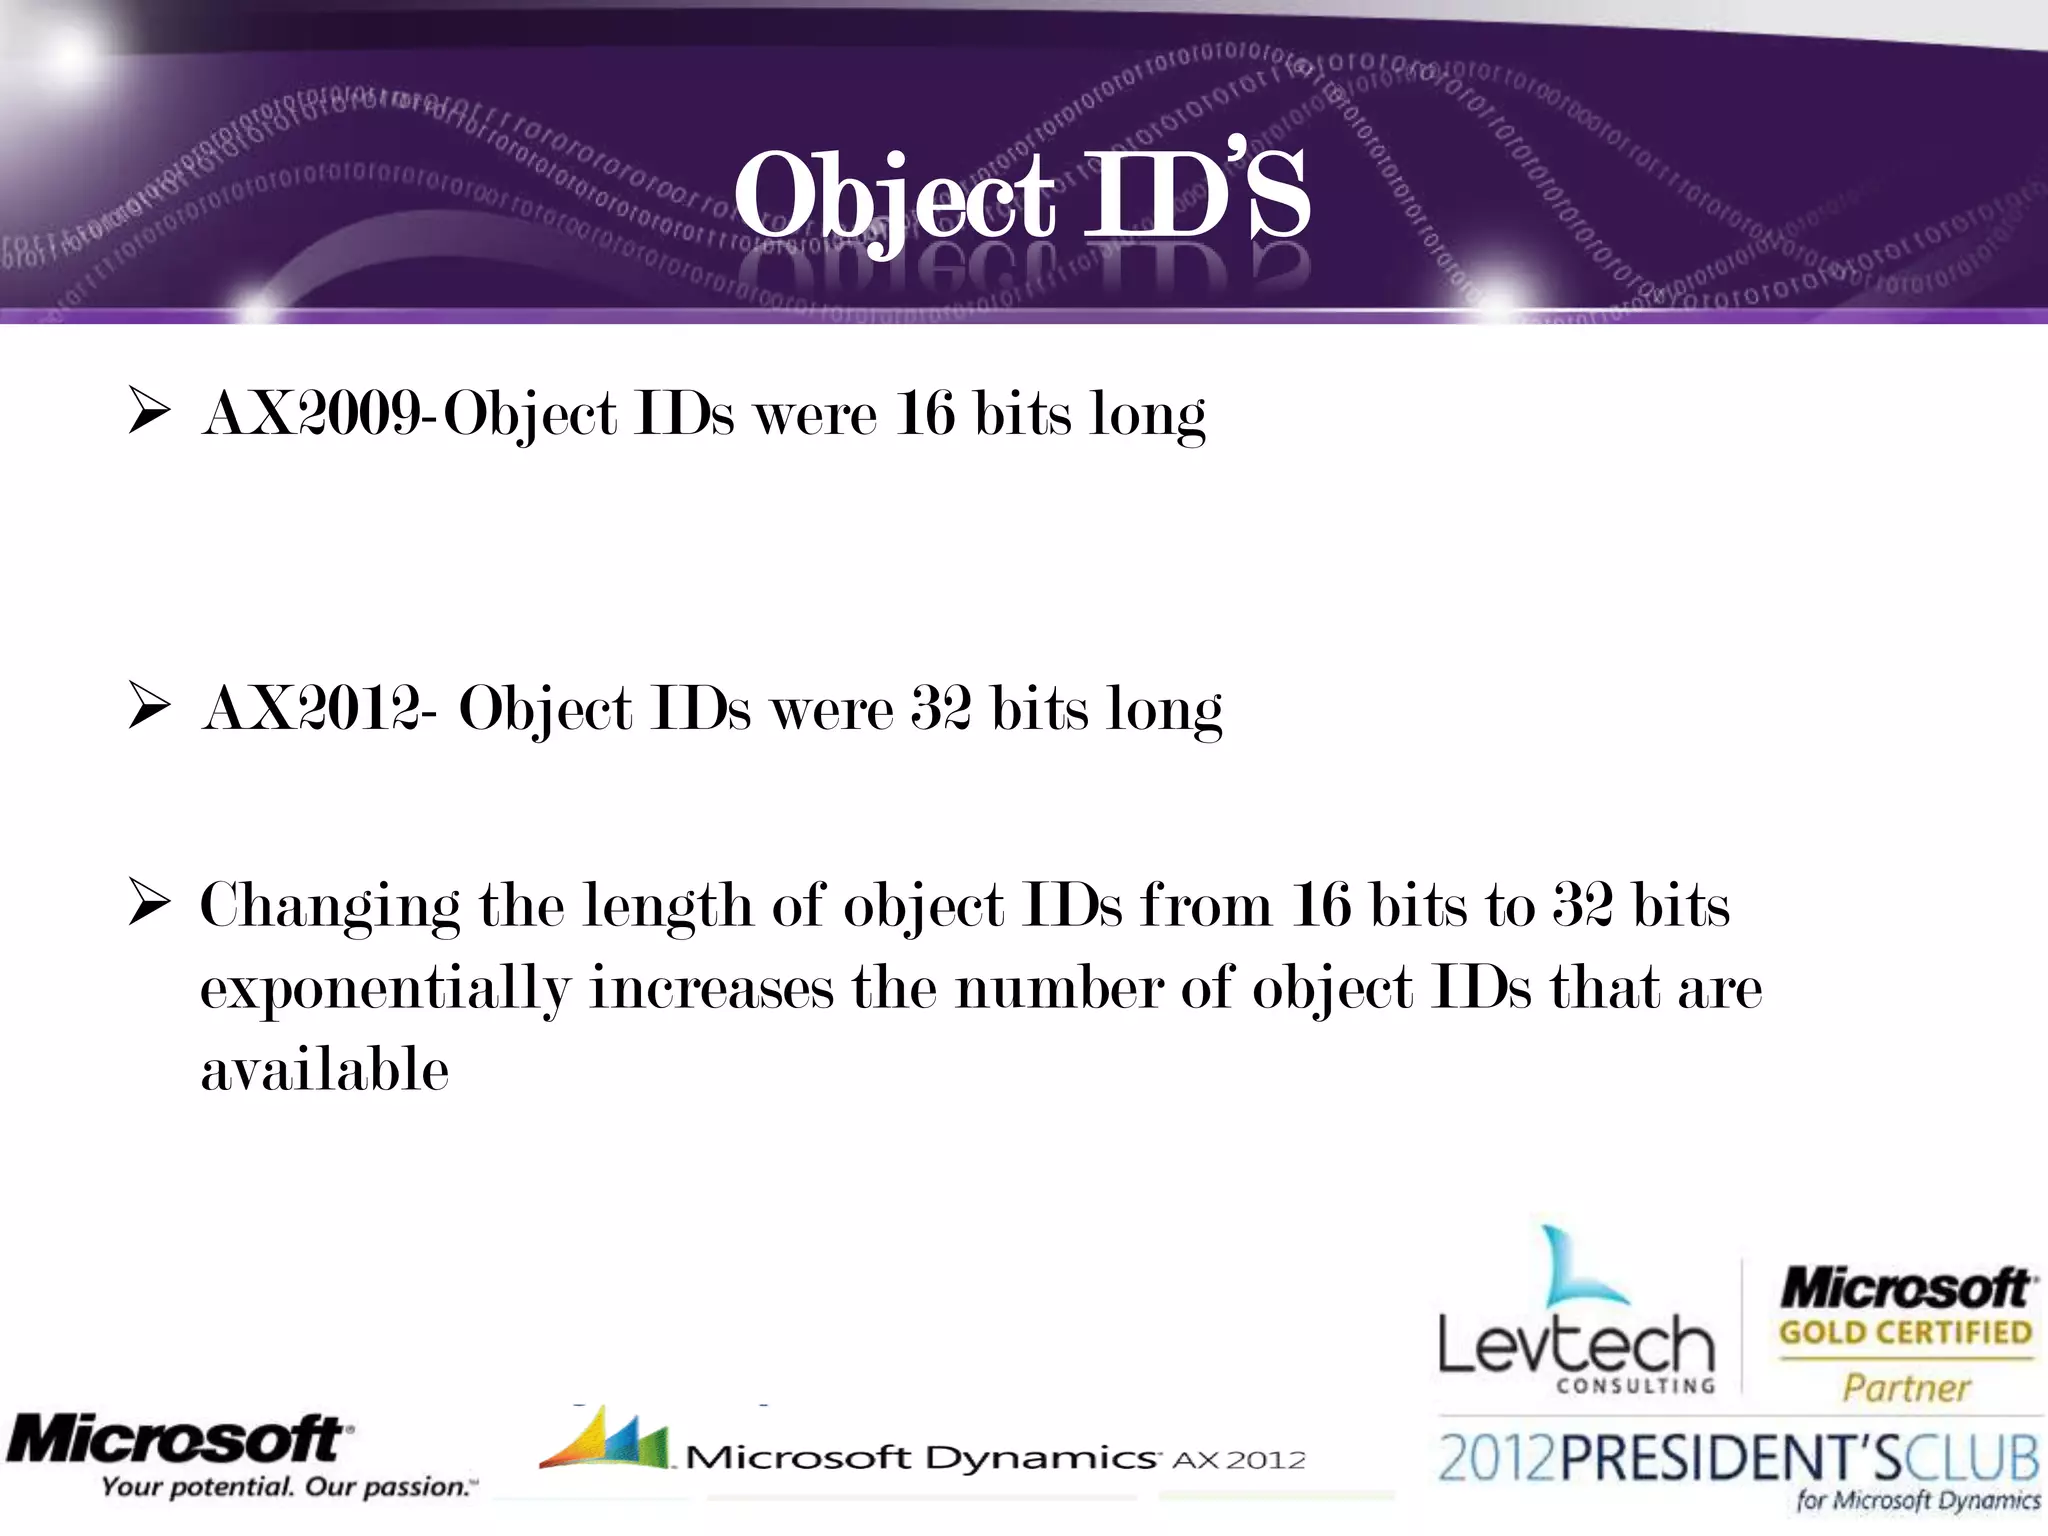

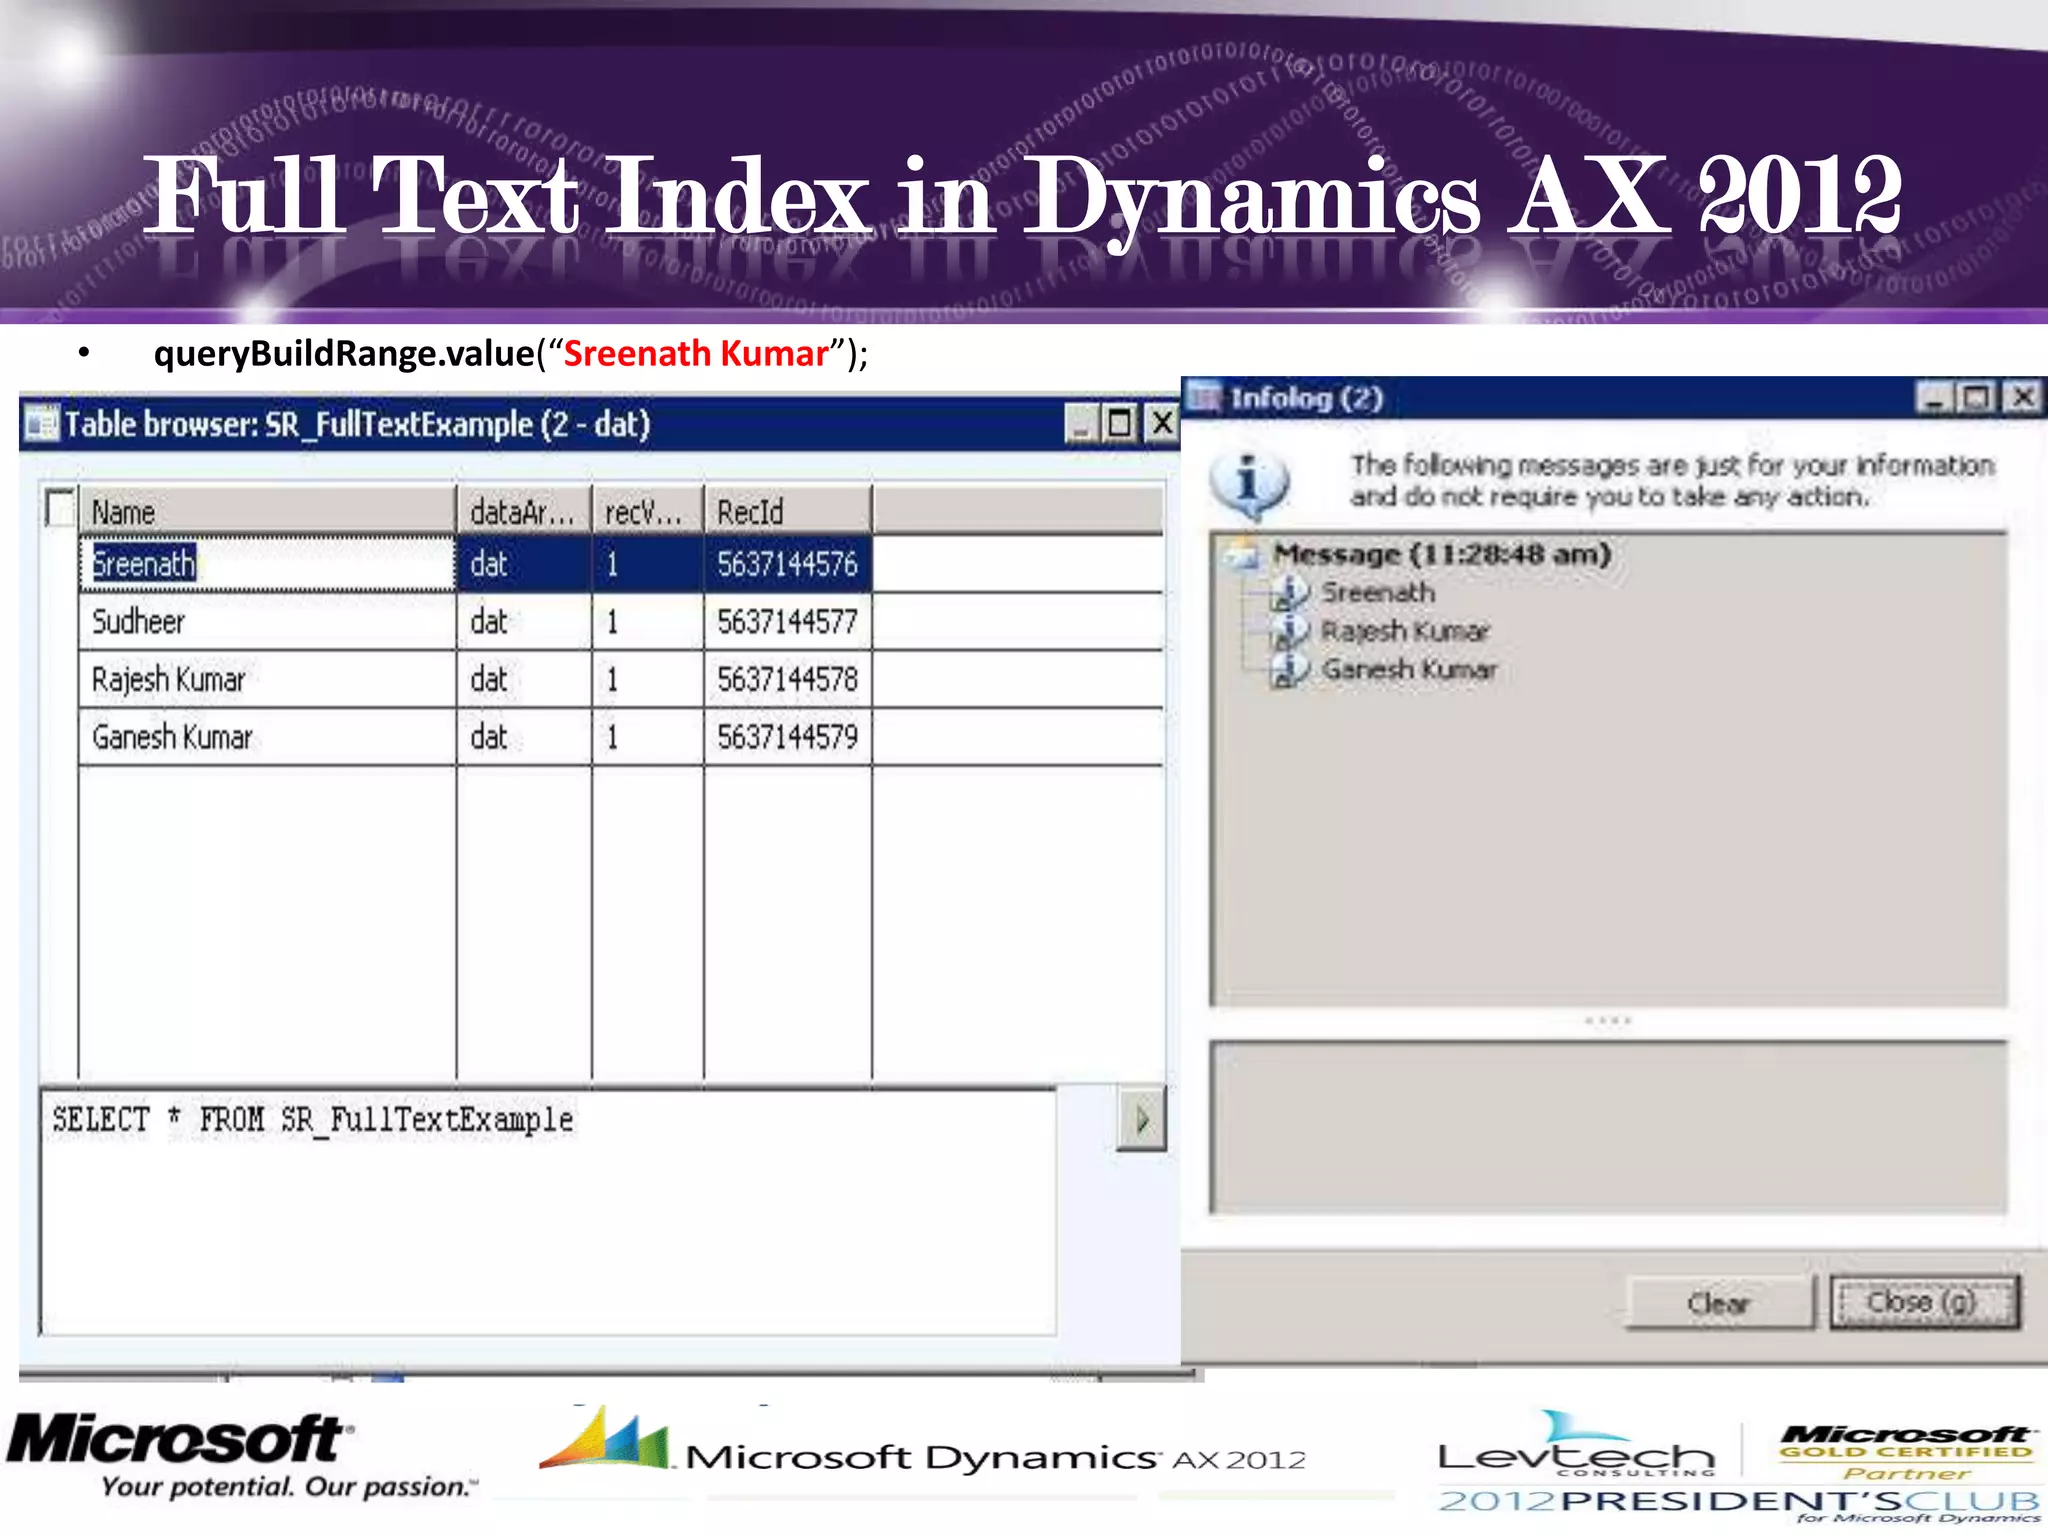
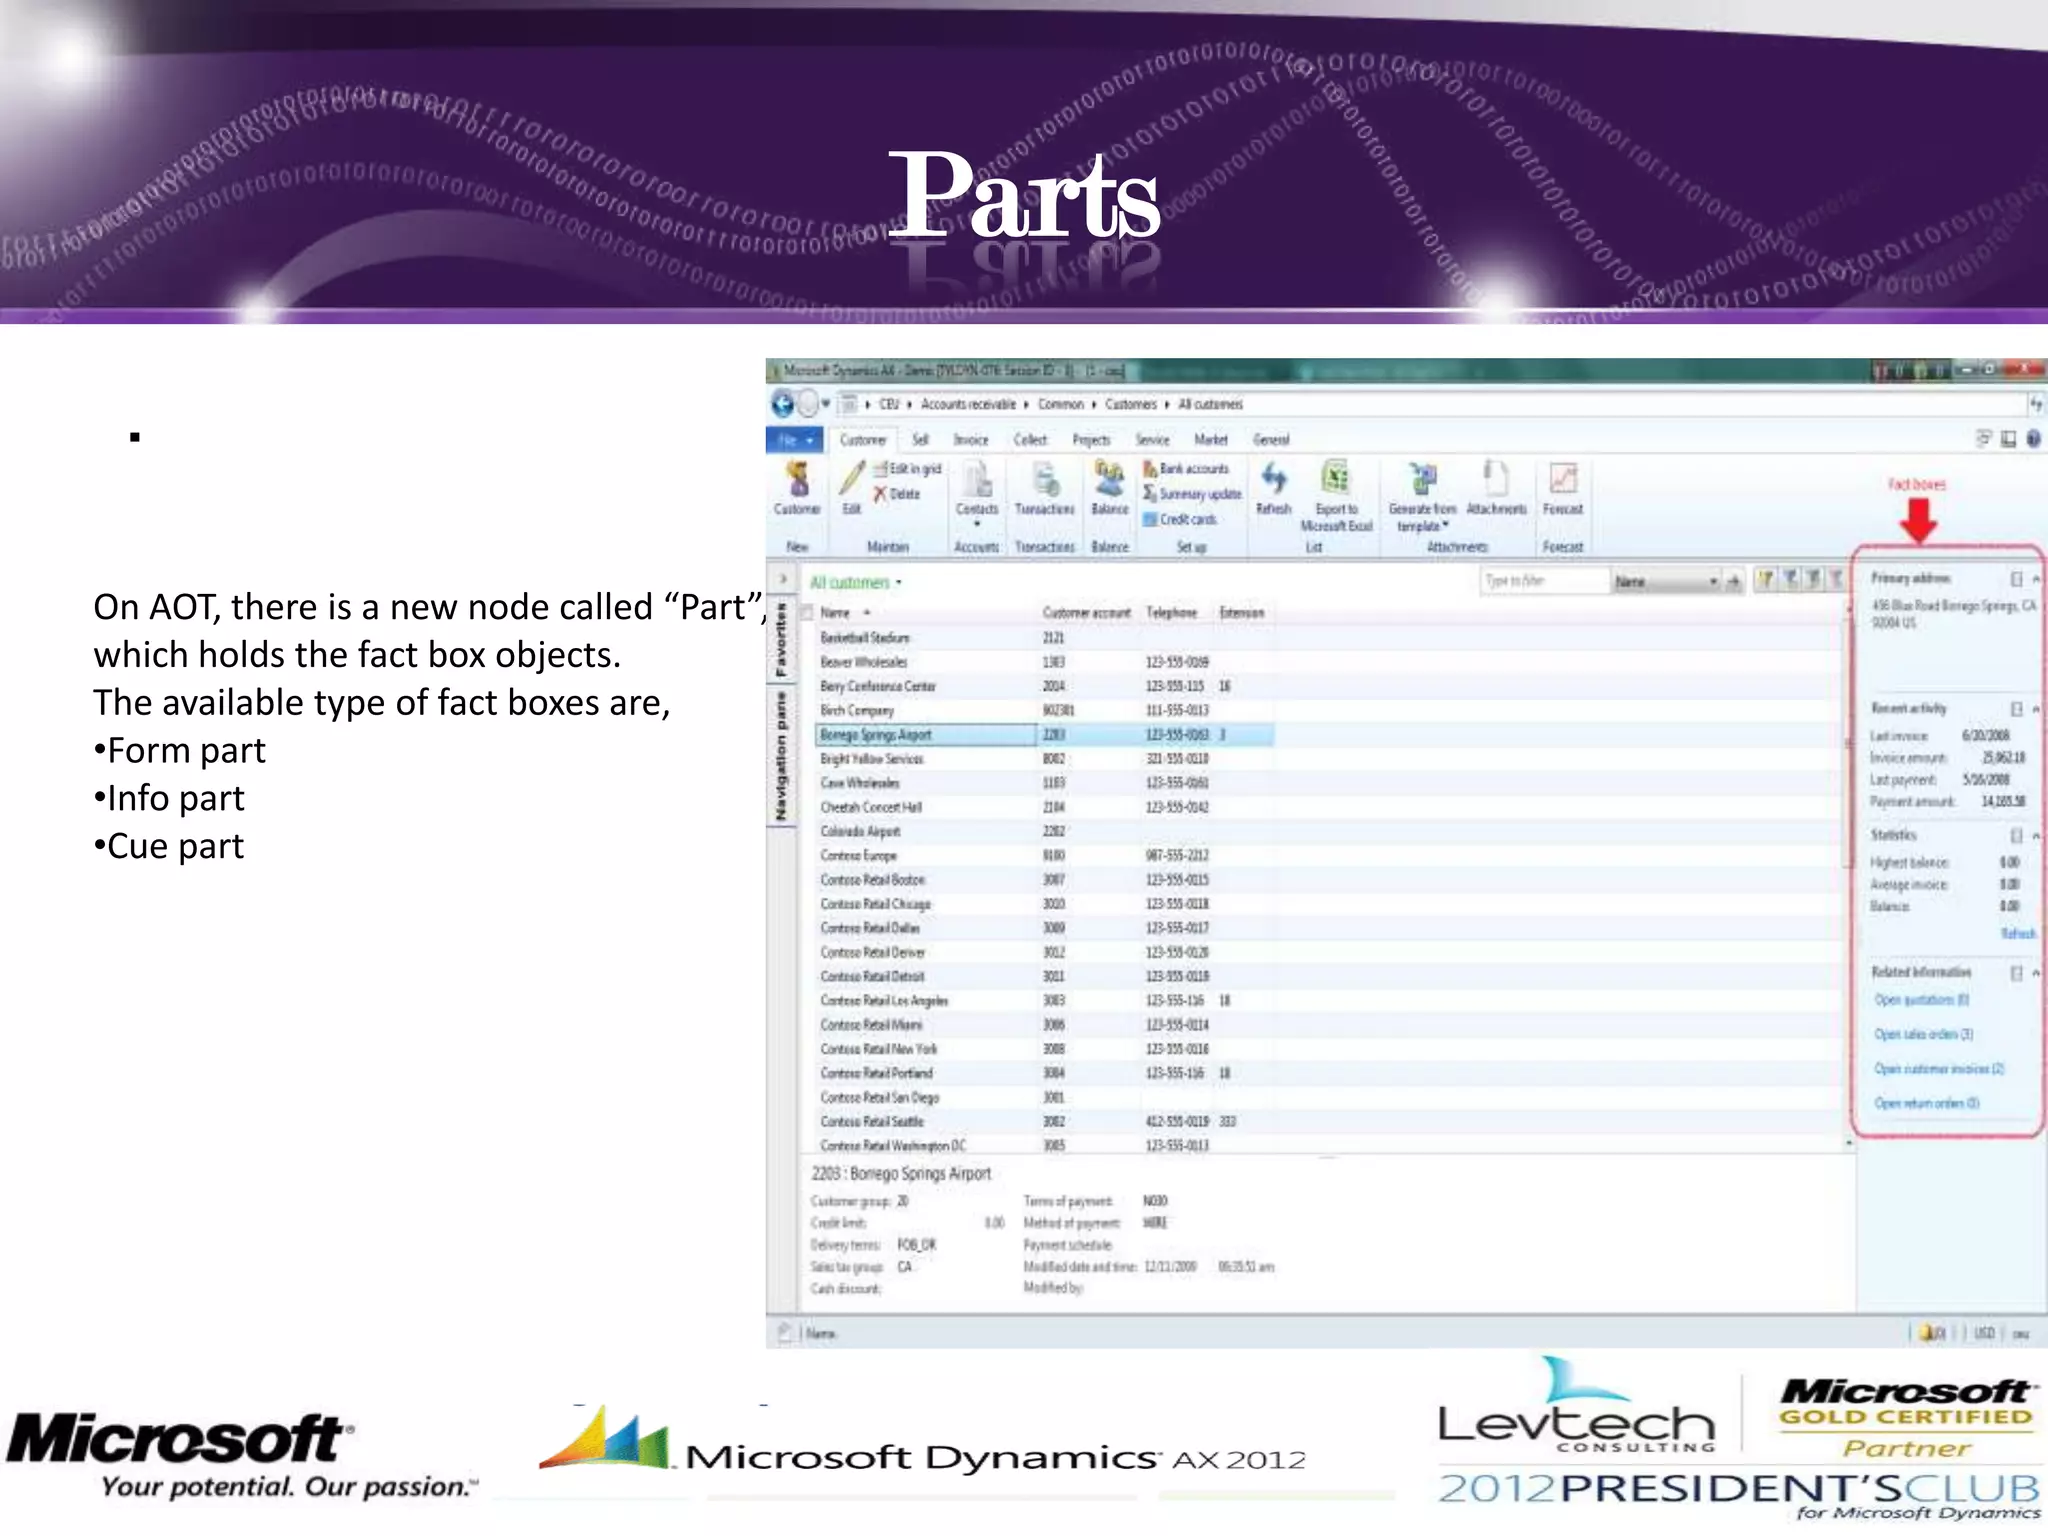


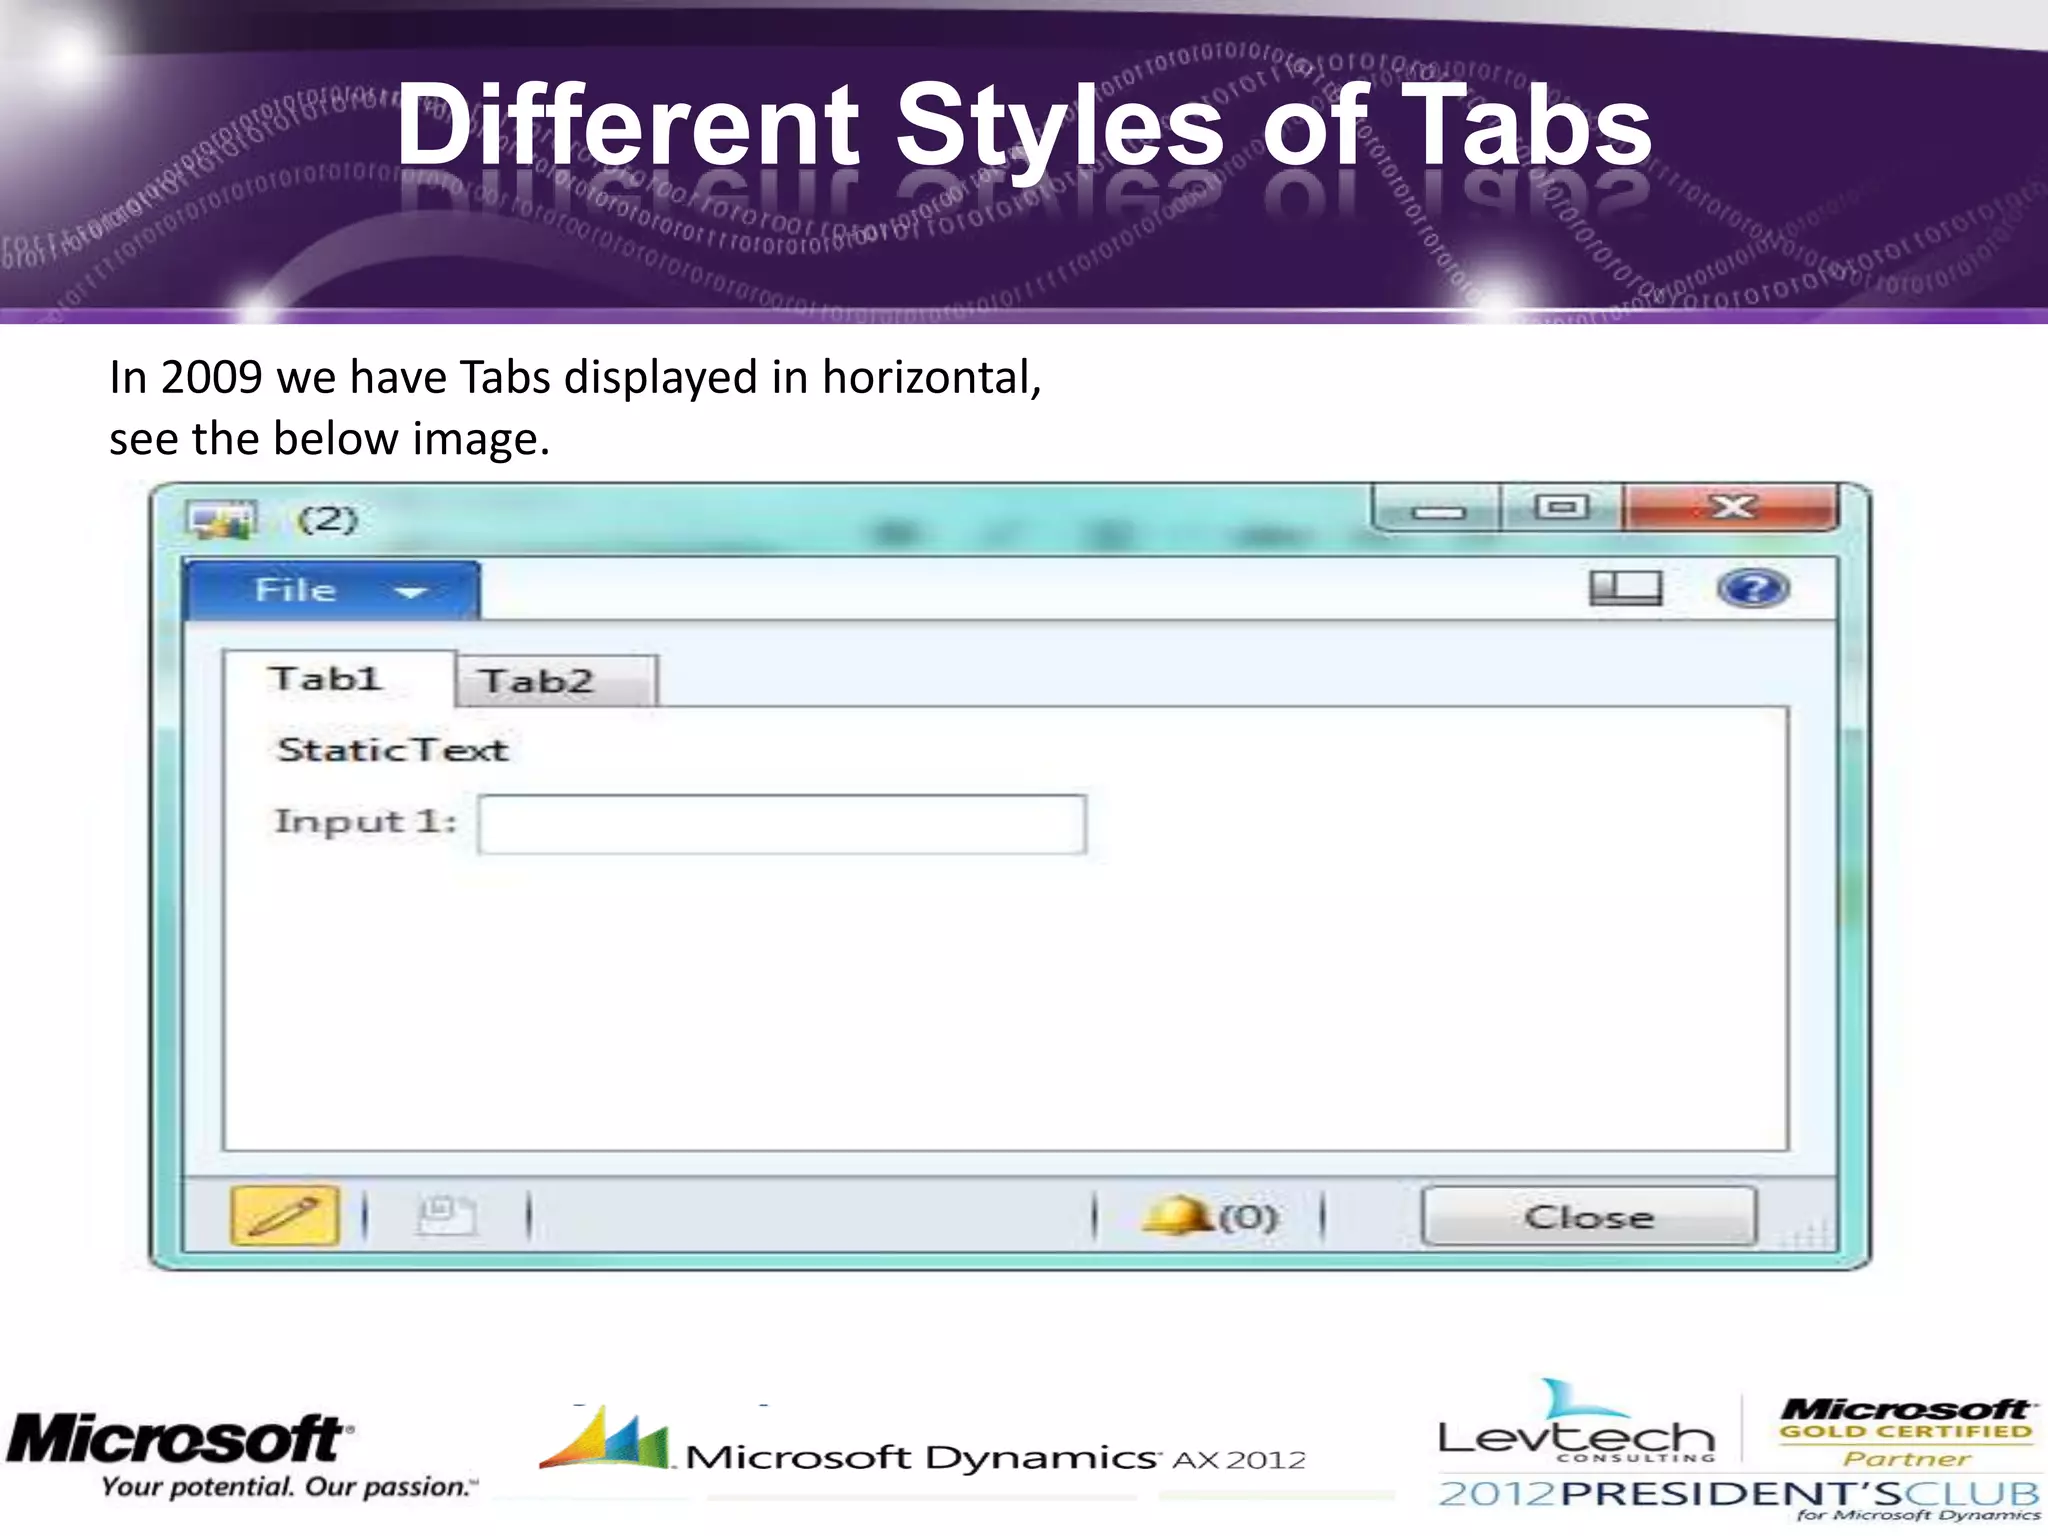
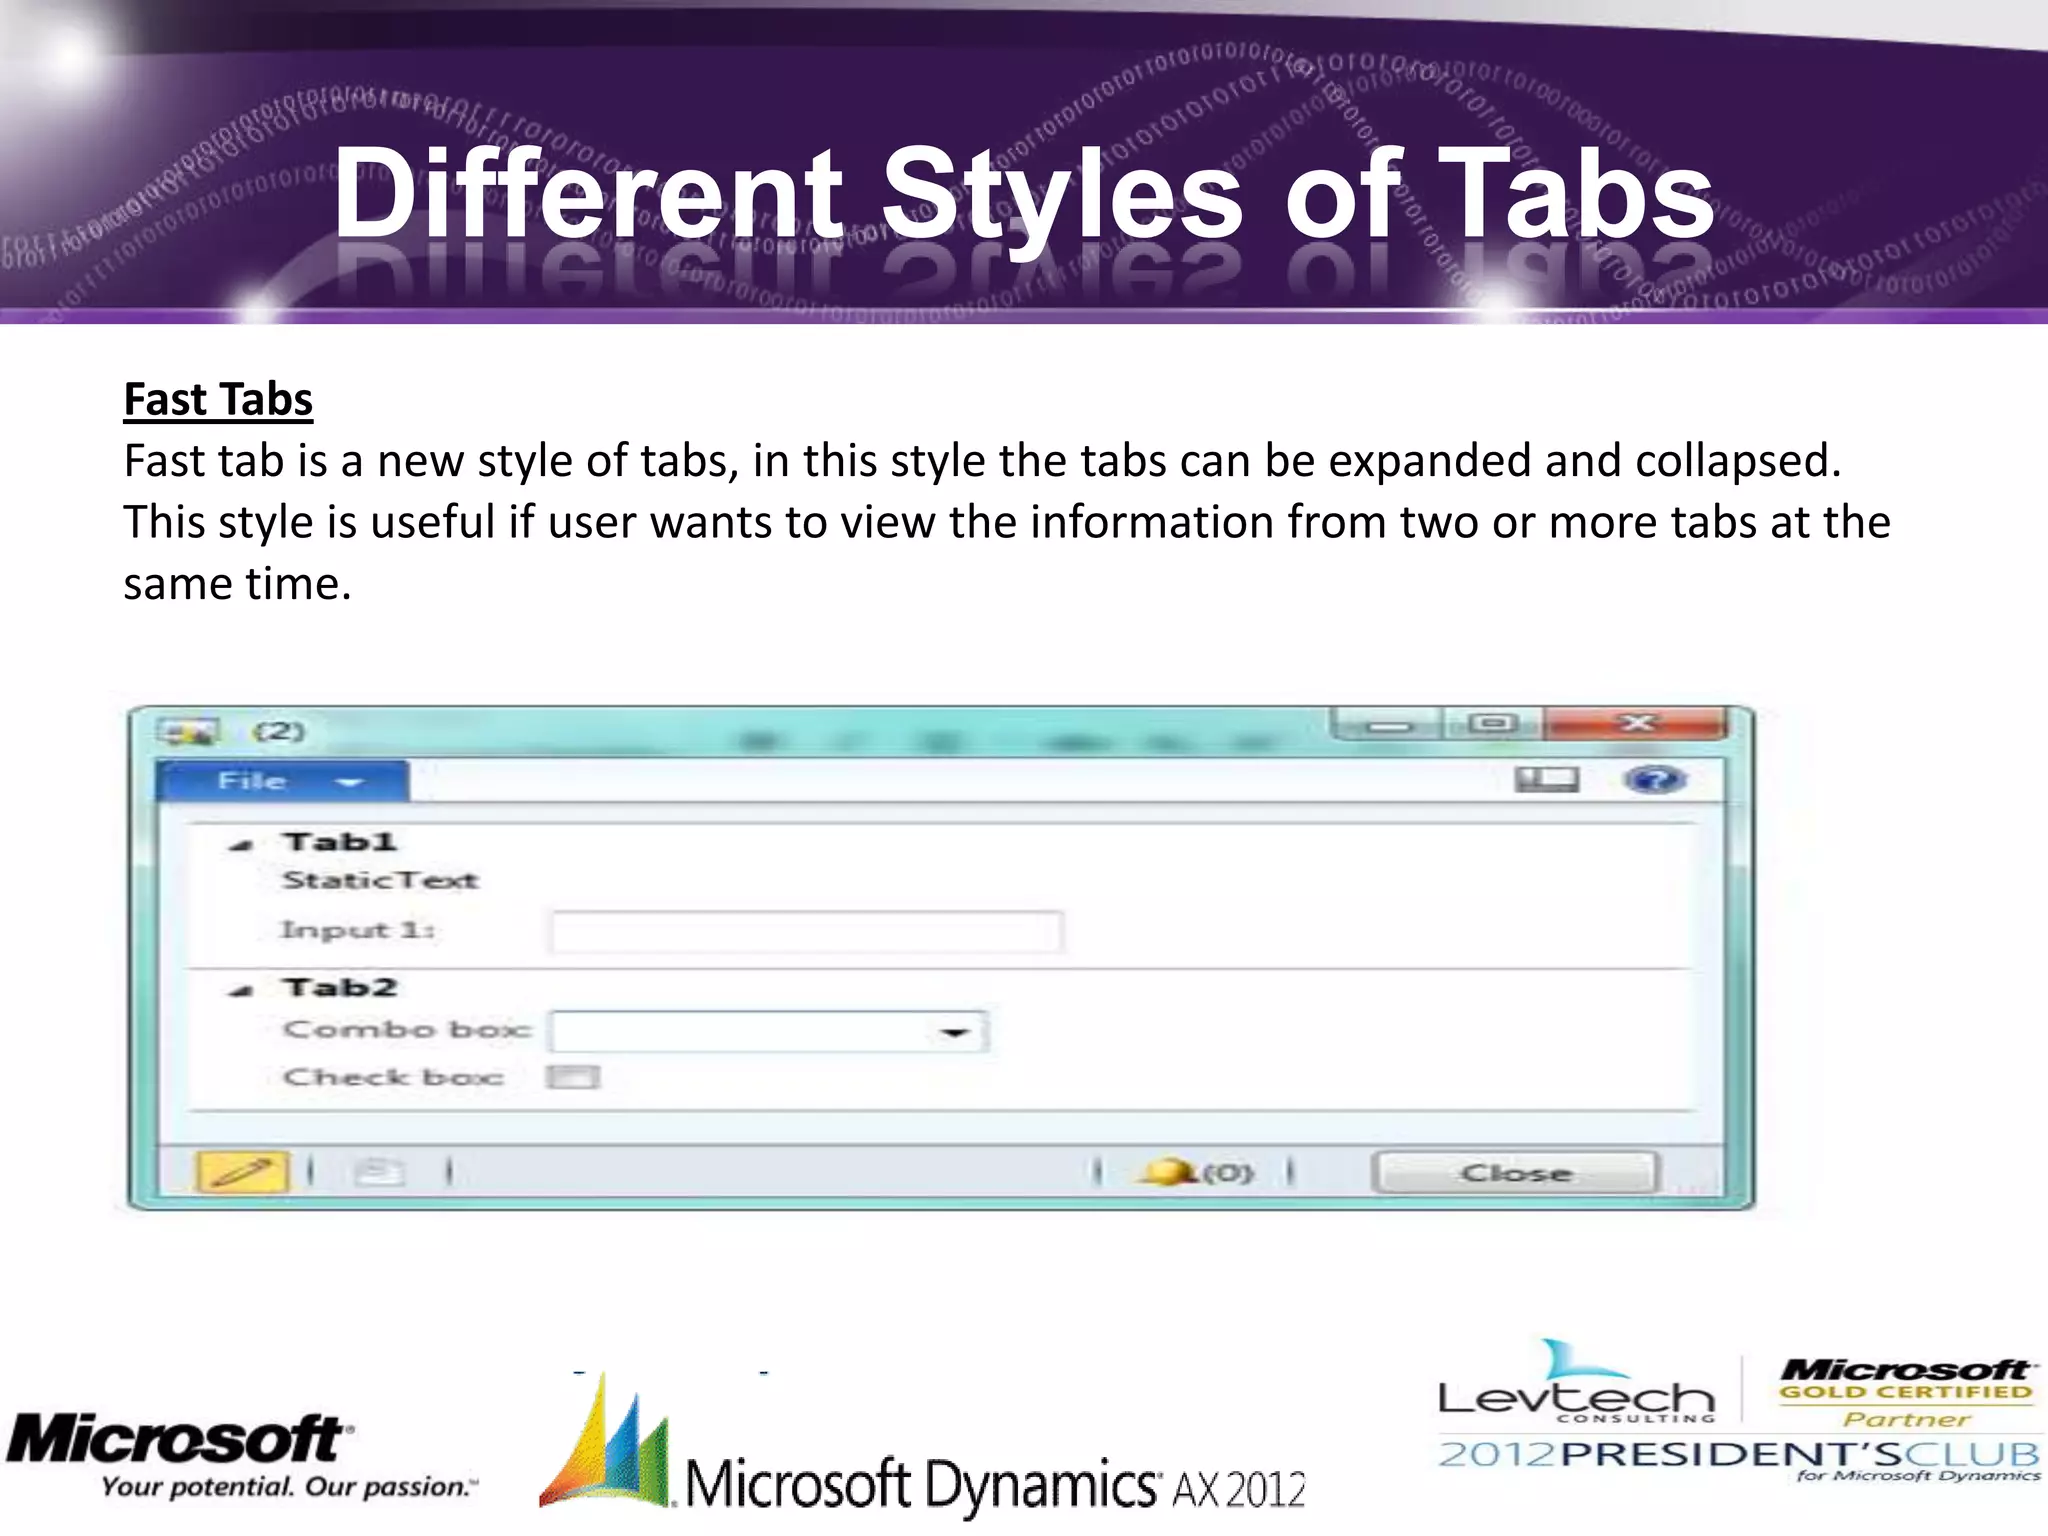
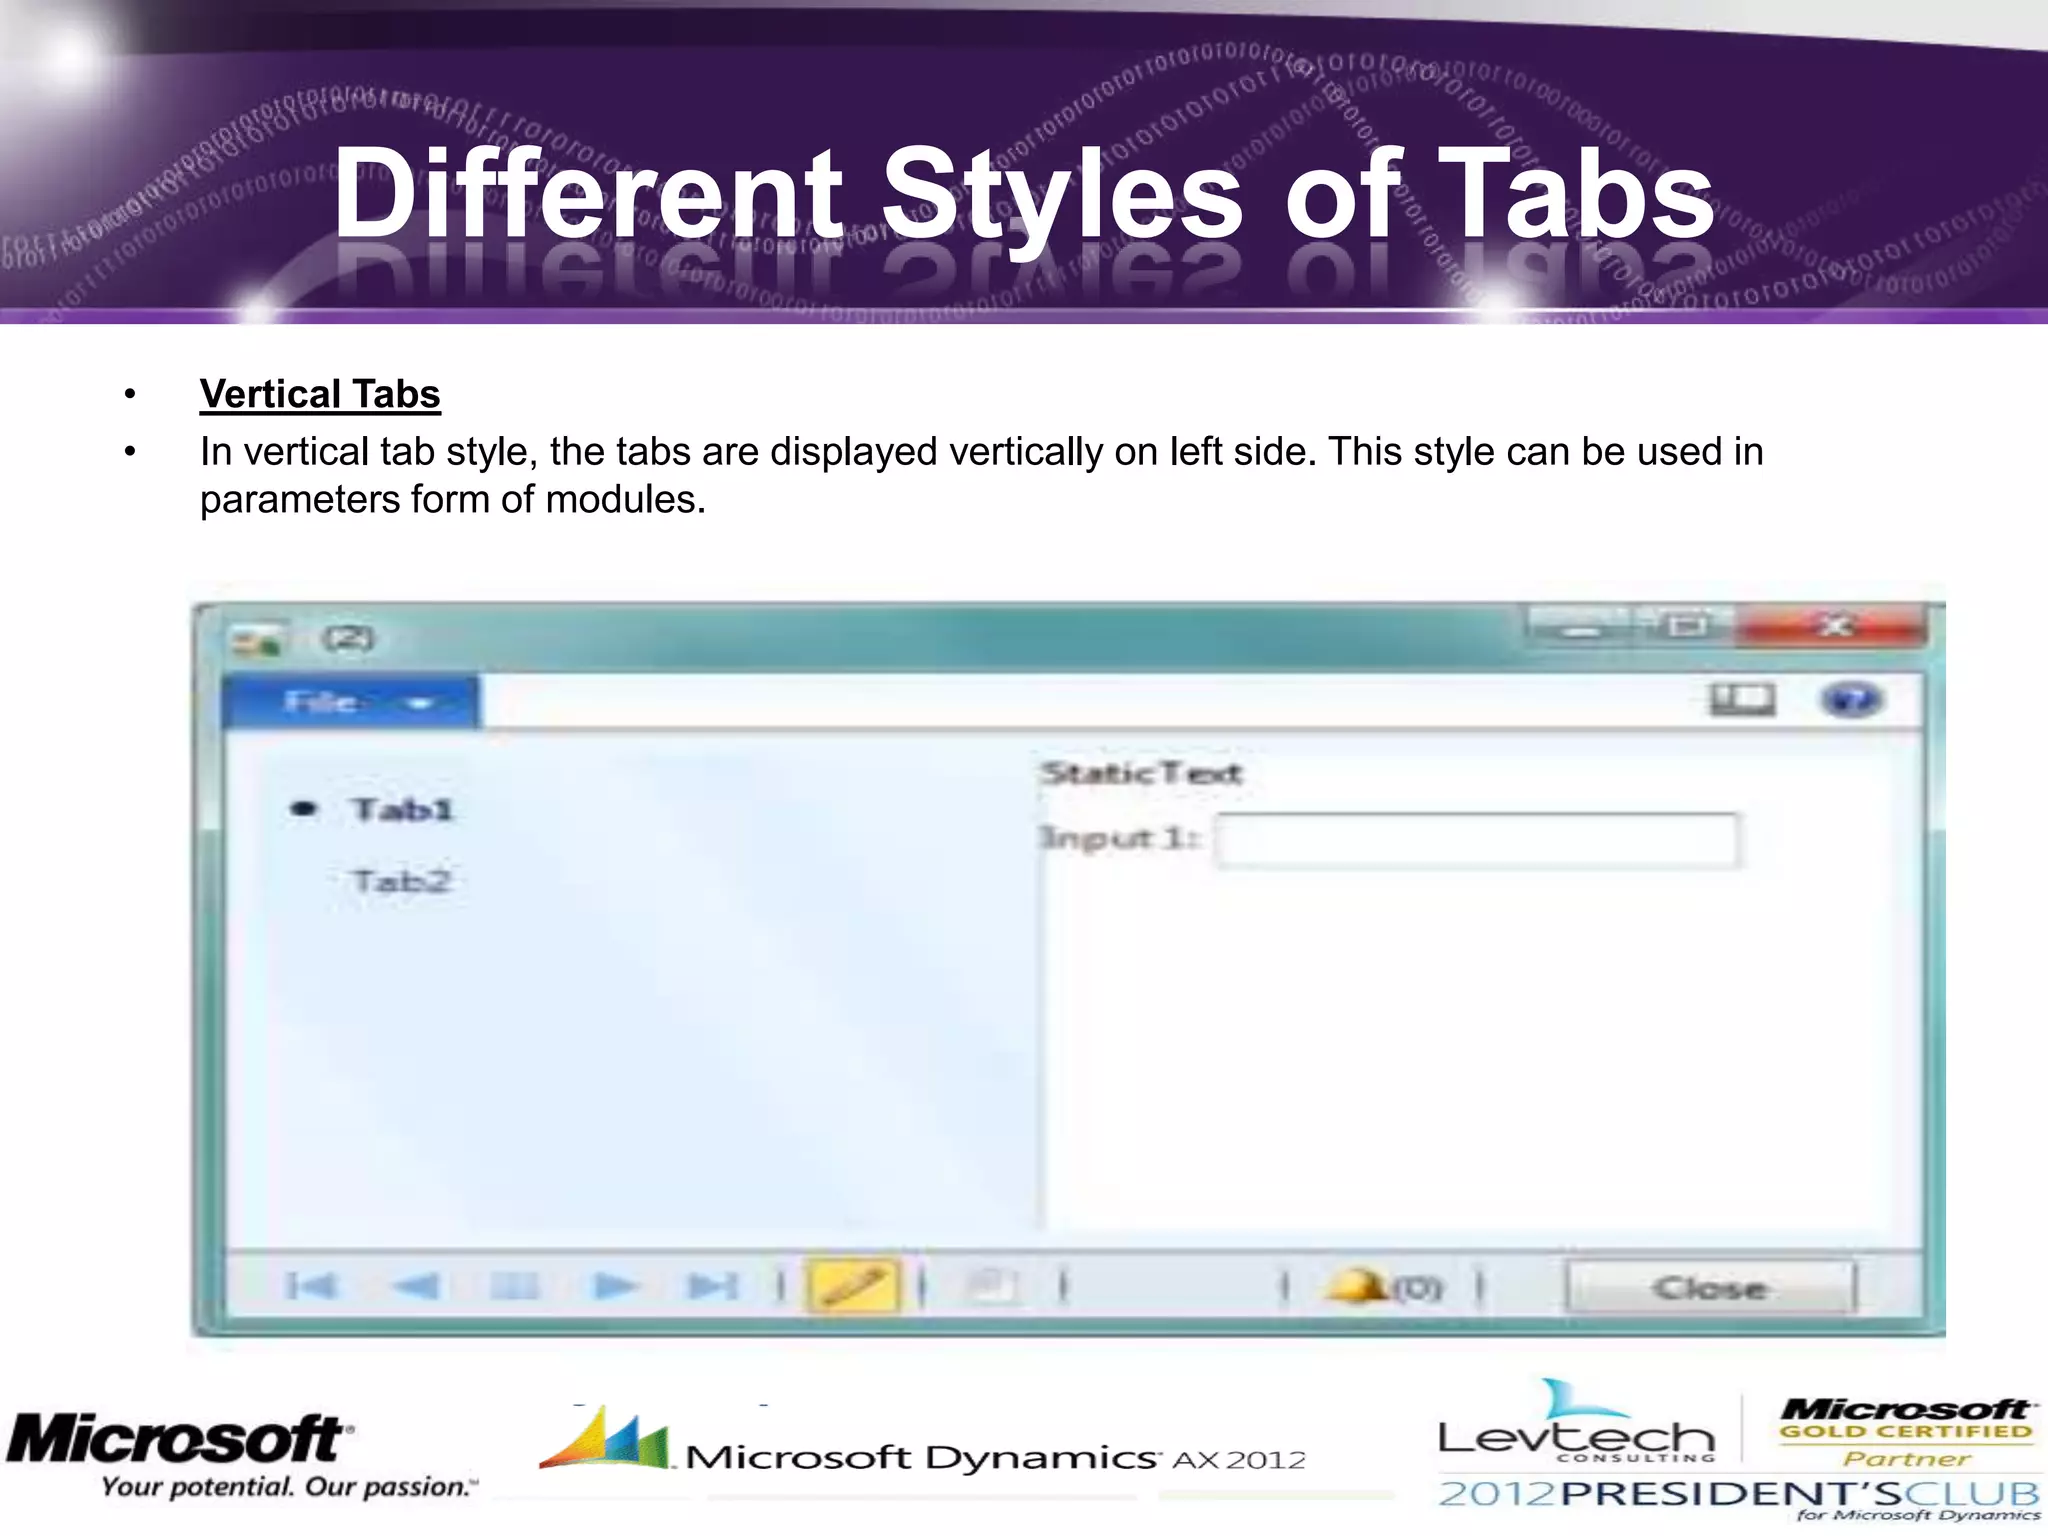
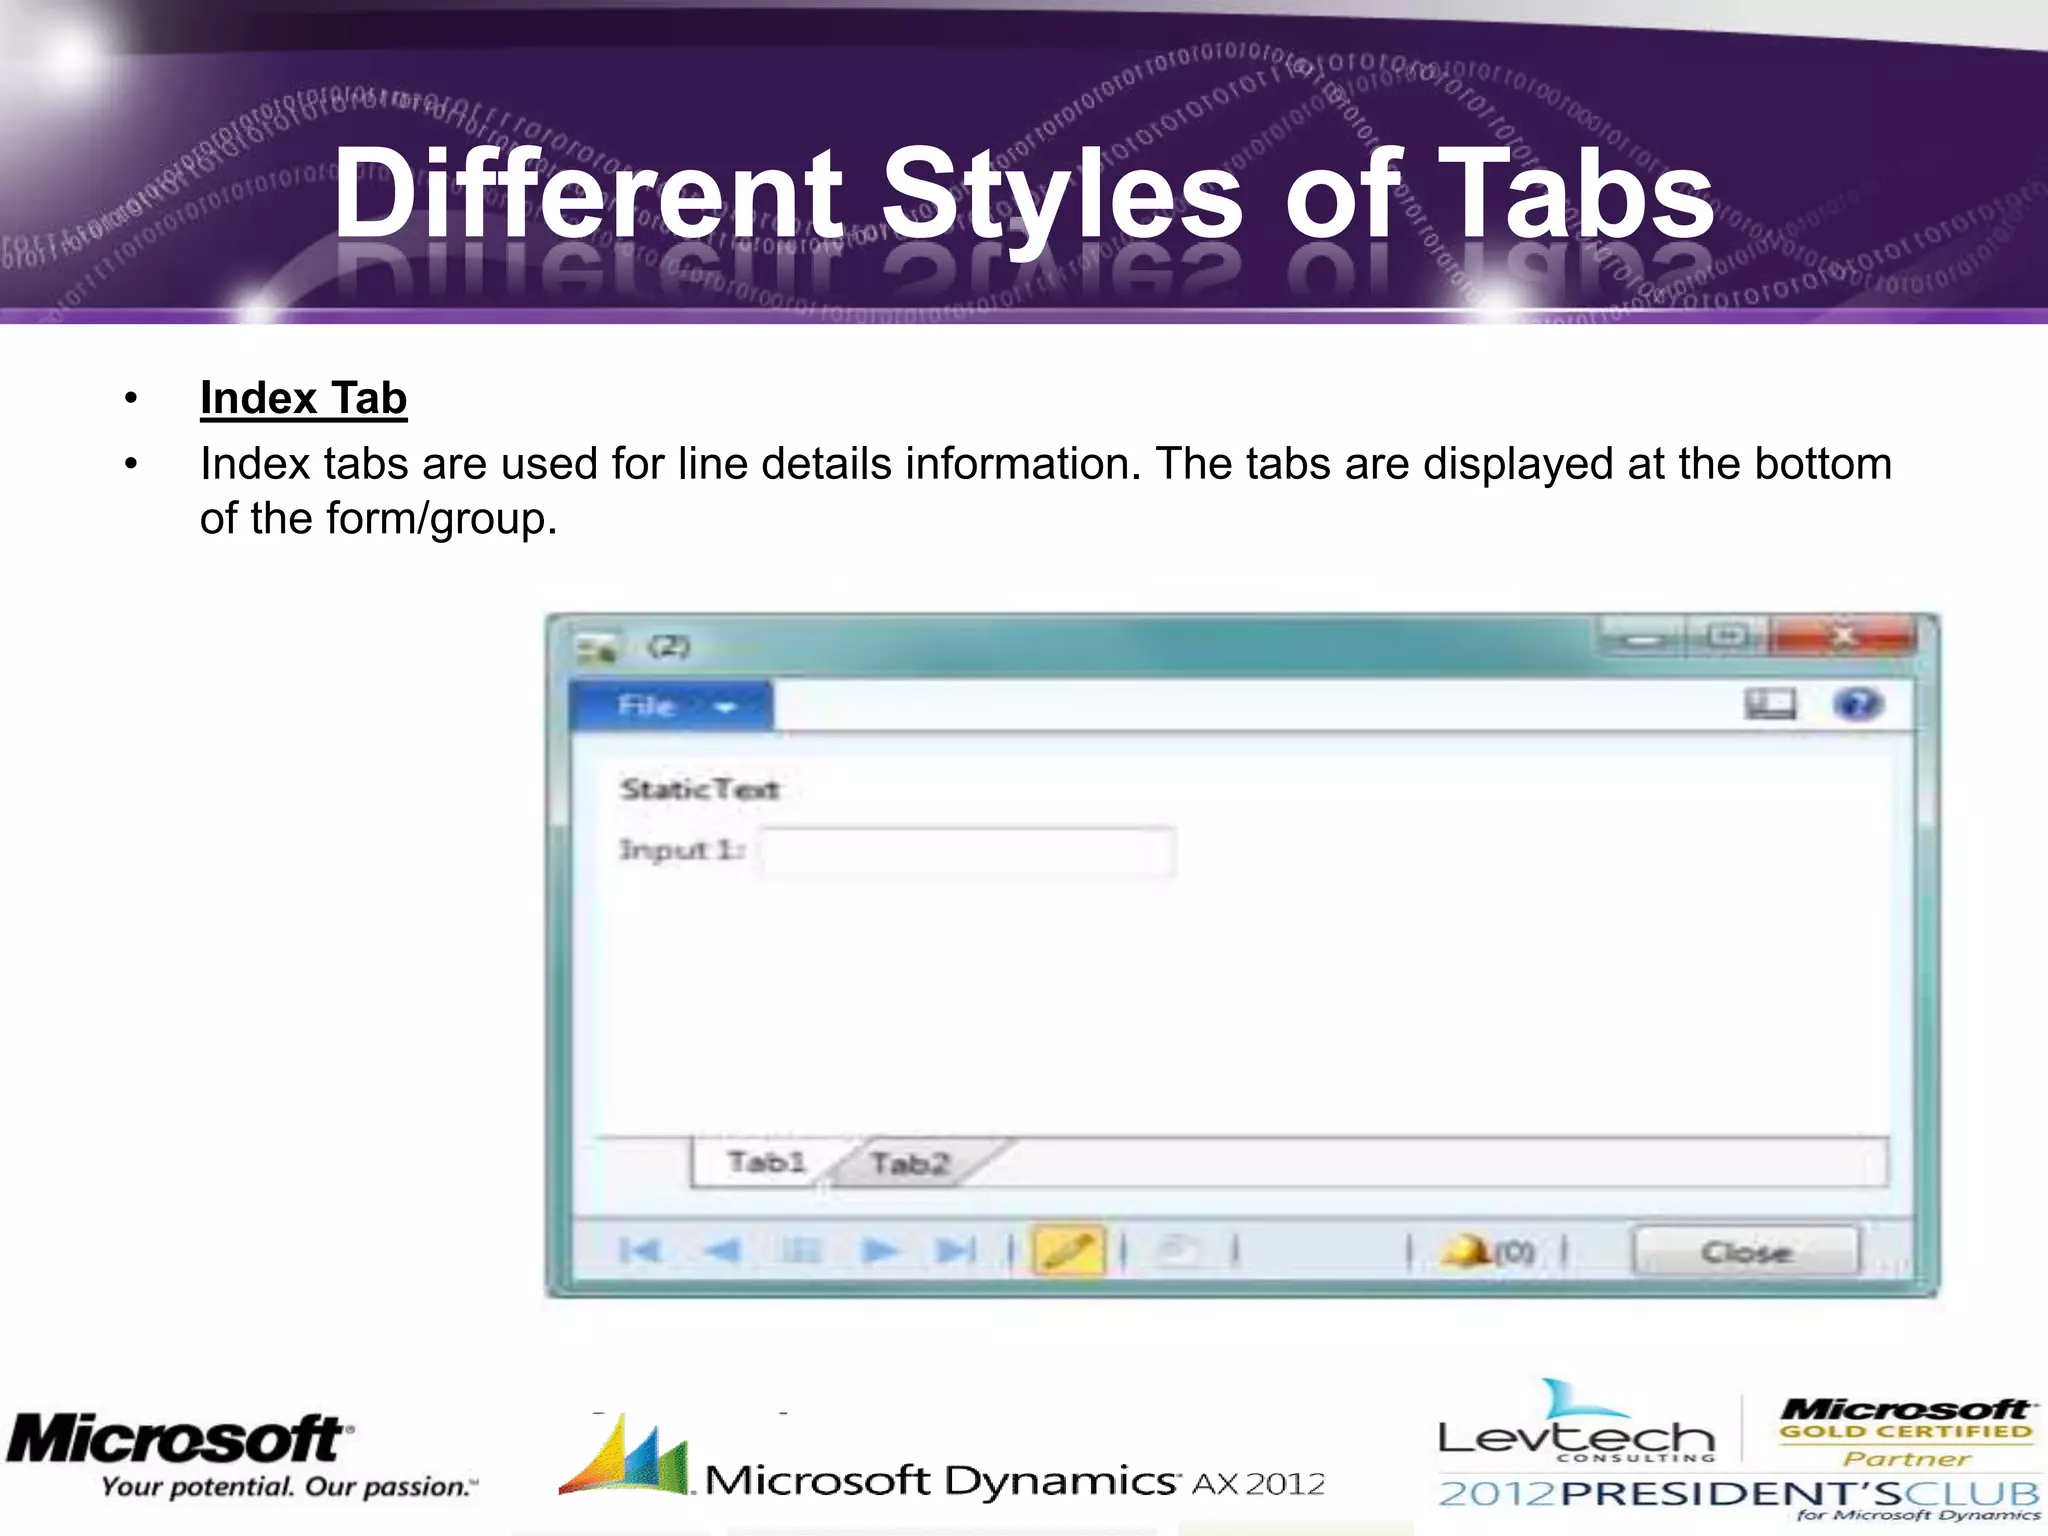


Microsoft Dynamics AX 2012 includes several new features and modules compared to AX 2009, such as fixed assets, procurement and sourcing, sales and marketing, and compliance modules. It also features performance improvements like support for 64-bit processors and IPv6, as well as user interface enhancements like different tab styles and a new part structure for fact boxes. Tables in AX 2012 can now support inheritance hierarchies and use longer, 32-bit surrogate primary keys.


![Coded Agents – with UiPath SDK + LangGraph [Virtual Hands-on Workshop]](https://cdn.slidesharecdn.com/ss_thumbnails/codedagentsdeck-251215155422-5497c599-thumbnail.jpg?width=640&height=640&fit=bounds)


![Vibe Coding vs. Spec-Driven Development [Free Meetup]](https://cdn.slidesharecdn.com/ss_thumbnails/vibecodingvsspecdrivendevelopment-251209105622-43f455e7-thumbnail.jpg?width=640&height=640&fit=bounds)
