Downloaded 2,496 times

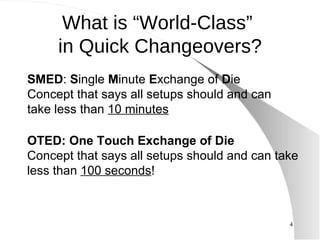
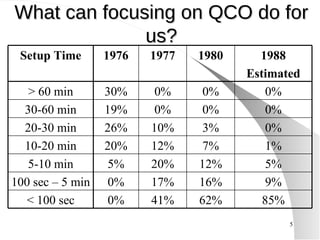
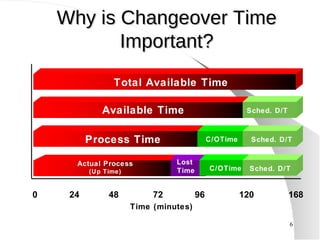

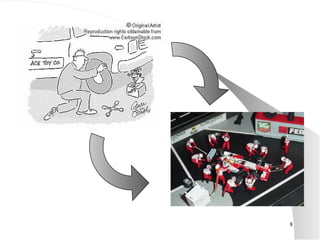

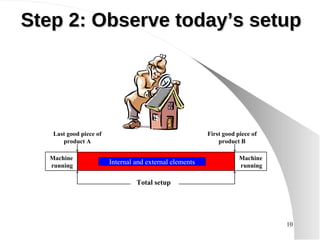
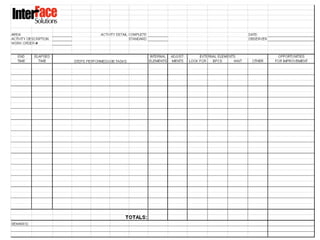

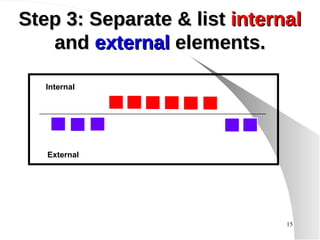
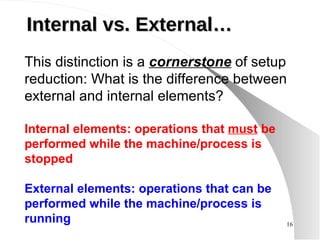
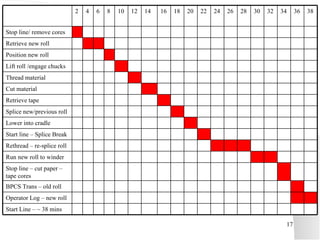

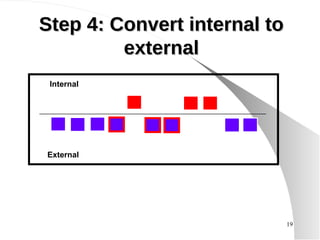
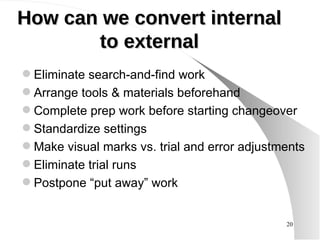

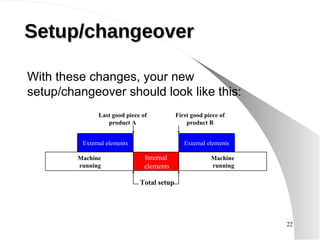
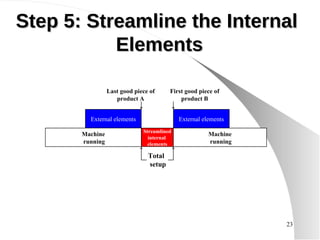
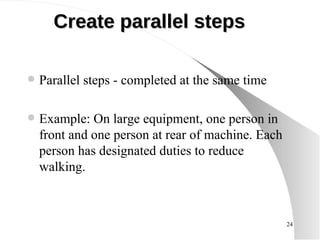
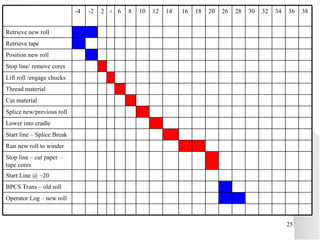
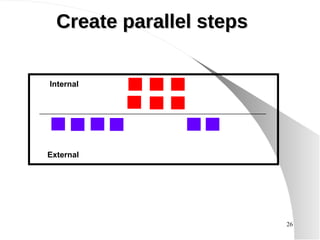
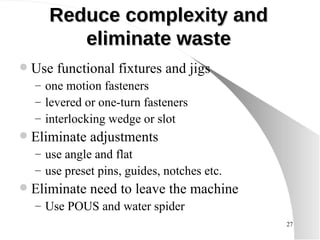

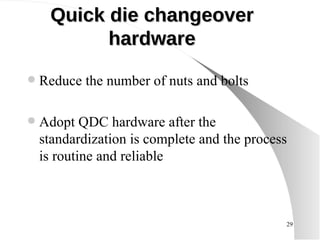
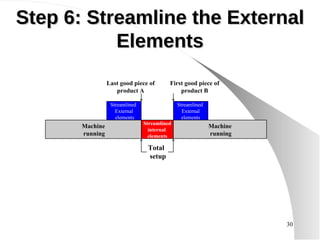


The document discusses quick changeovers and SMED (Single Minute Exchange of Die) methodology. It provides a 10 step process for analyzing and streamlining a changeover process, including observing the current process, separating internal and external tasks, converting internal tasks to external where possible, streamlining tasks, testing the new process, documenting it, and continuously improving changeover times. The goal is to reduce changeover times to under 10 minutes or ideally under 100 seconds through applying SMED principles like eliminating non-value added tasks, establishing standards, and making tasks parallel and more efficient.


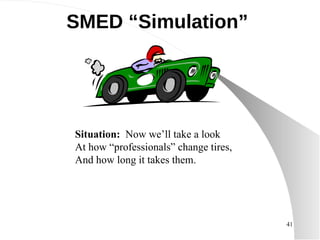
![Smed Training Model Trainer Instructions[1]](https://cdn.slidesharecdn.com/ss_thumbnails/smedtrainingmodeltrainerinstructions1-090602103159-phpapp01-thumbnail.jpg?width=640&height=640&fit=bounds)


