


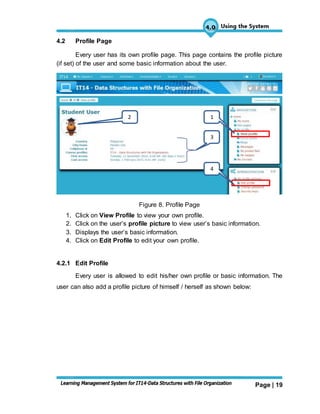


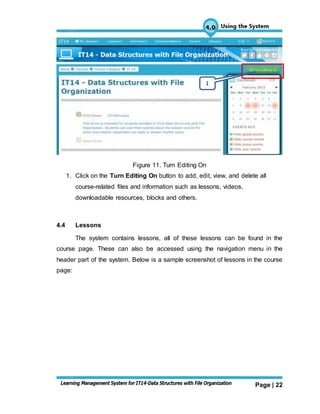
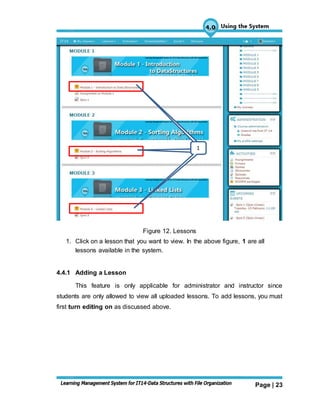
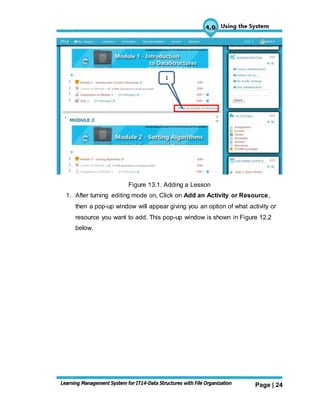


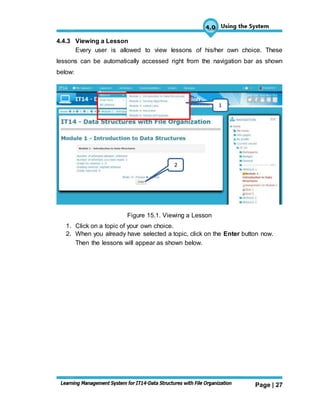


The document provides a user manual for a learning management system (LMS) created using Moodle for a Data Structures course. The LMS allows students to access interactive lessons, videos, assignments, quizzes and more. It also includes reporting features and a standalone version that can be downloaded. The manual outlines the system overview, user access levels, navigation and key features to help users get started with the LMS.


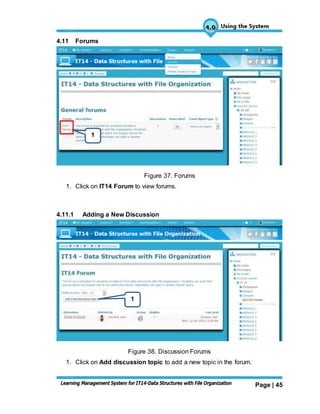
![Field Study 2 (FS 2) - Episode 2 [2018]](https://cdn.slidesharecdn.com/ss_thumbnails/fs2-episode2-180914121852-thumbnail.jpg?width=640&height=640&fit=bounds)


![Field Study 2 (FS 2) - Episode 3 [2018]](https://cdn.slidesharecdn.com/ss_thumbnails/fs2-episode3-190921073427-thumbnail.jpg?width=640&height=640&fit=bounds)


