Download as PPSX, PPTX

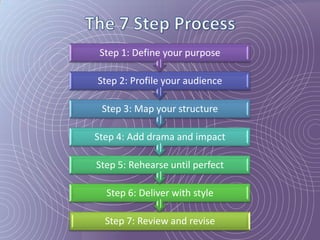

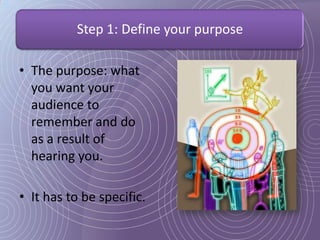
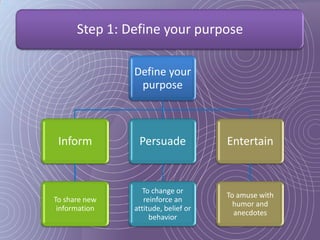
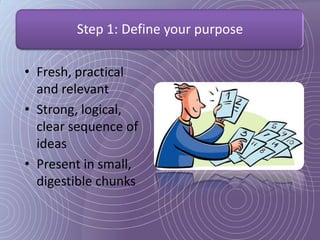

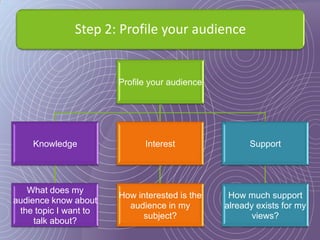
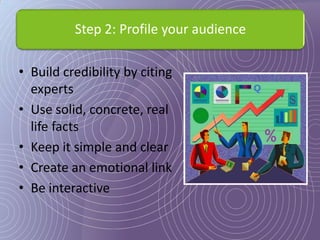

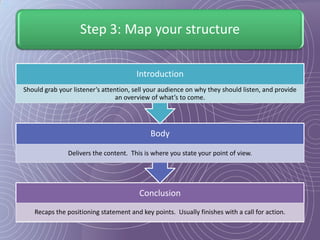
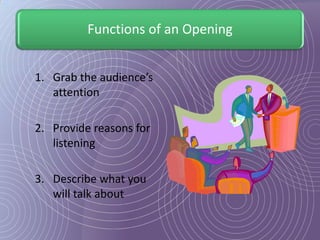
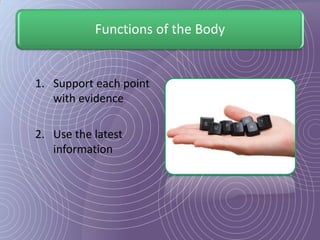
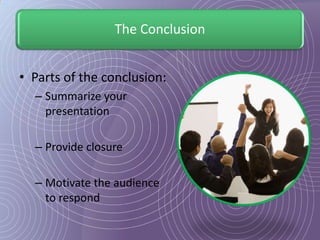


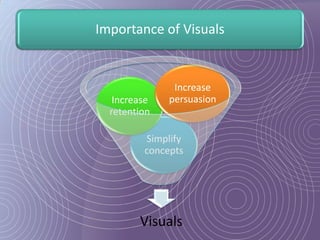
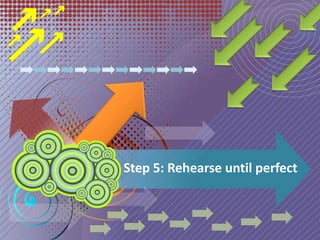
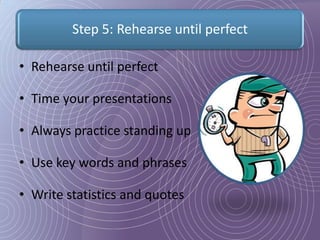
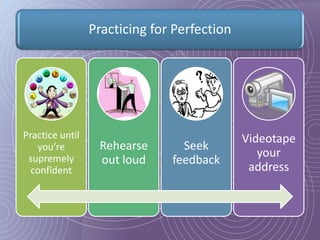


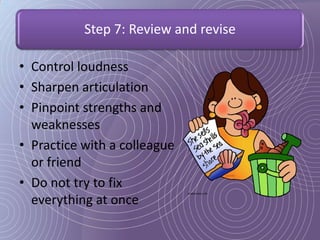

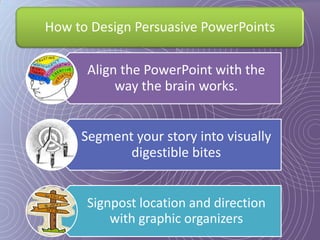


This document provides a 7-step process for creating effective presentations: 1) Define your purpose and audience, 2) Profile your audience, 3) Map your structure with an introduction, body, and conclusion, 4) Add drama and impact with supporting evidence, 5) Rehearse until perfect, 6) Deliver with style, and 7) Review and revise. It emphasizes defining the purpose, understanding the audience, using visuals to simplify concepts, rehearsing extensively, and reviewing for continued improvement.


![Getting Started with Apache Spark: Big Data Made Simple [Free Meetup]](https://cdn.slidesharecdn.com/ss_thumbnails/apachesparkgettingstarted-260203175547-8361bcc3-thumbnail.jpg?width=640&height=640&fit=bounds)


