Downloaded 10 times

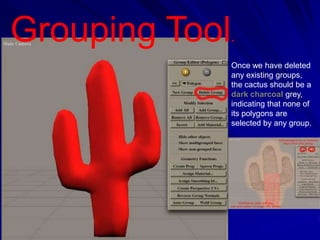
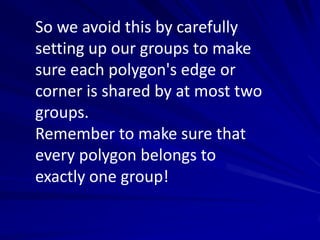
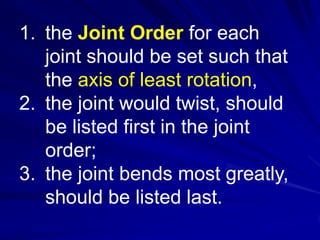
![SCALE
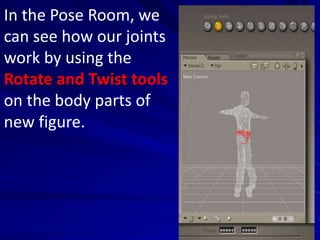
The Scale tool allows you to scale the selected figure/part/prop along
the camera’s X and Y axes.
Dragging in towards the element reduces the scale, and dragging
away from the element increases the scale. To scale in two
dimensions XY, drag laterally.
Dragging vertically scales in the third Z dimension.
The axes affected depend on your currently selected camera position.
You can also press and hold [SHIFT] while using this tool to scale
evenly in all three dimensions.](https://image.slidesharecdn.com/poserpresentation1-130416072844-phpapp02/85/Poser-presentation1-16-320.jpg)


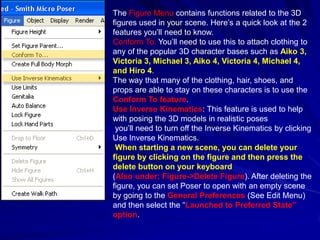
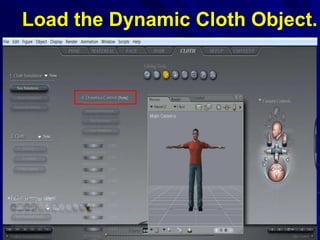
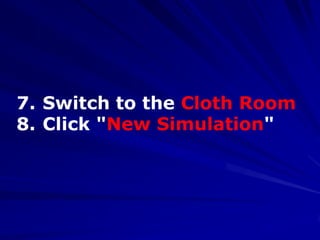
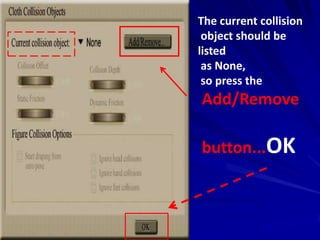
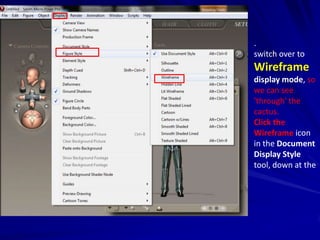
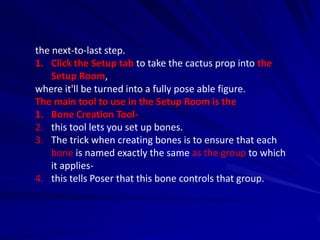
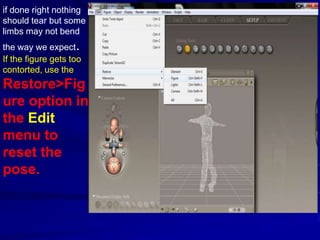
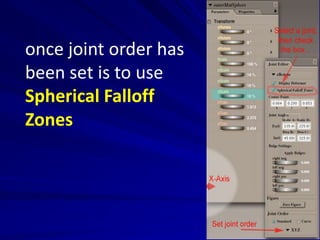
![Load the Actors
1. Start a blank scene in Poser
2. Load your figure don't pose it yet.
3. Load the Dynamic Cloth Object.
4. Make sure the object is parented to
the Hip of the figure.
5. Select the cloth object
6. Press [Ctrl] + I to open the object
properties .](https://image.slidesharecdn.com/poserpresentation1-130416072844-phpapp02/85/Poser-presentation1-49-320.jpg)

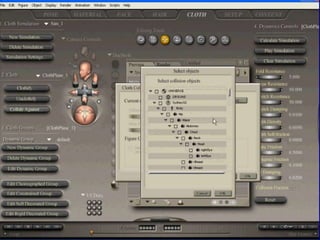
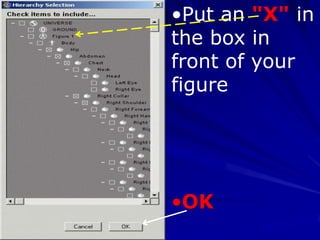
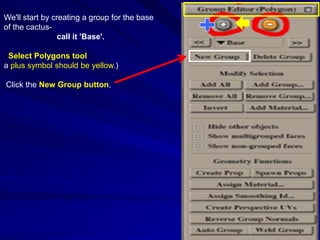
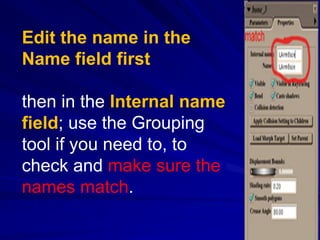
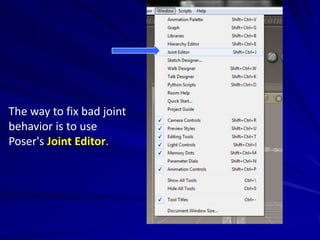
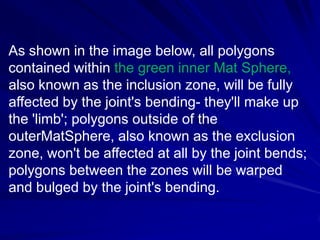
![Select the cloth
object
Press [Ctrl] + I to
open the object
properties .](https://image.slidesharecdn.com/poserpresentation1-130416072844-phpapp02/85/Poser-presentation1-52-320.jpg)

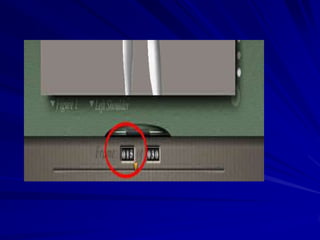


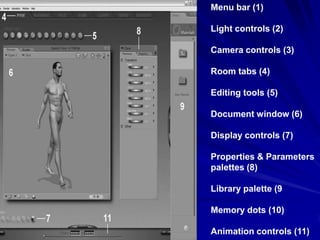
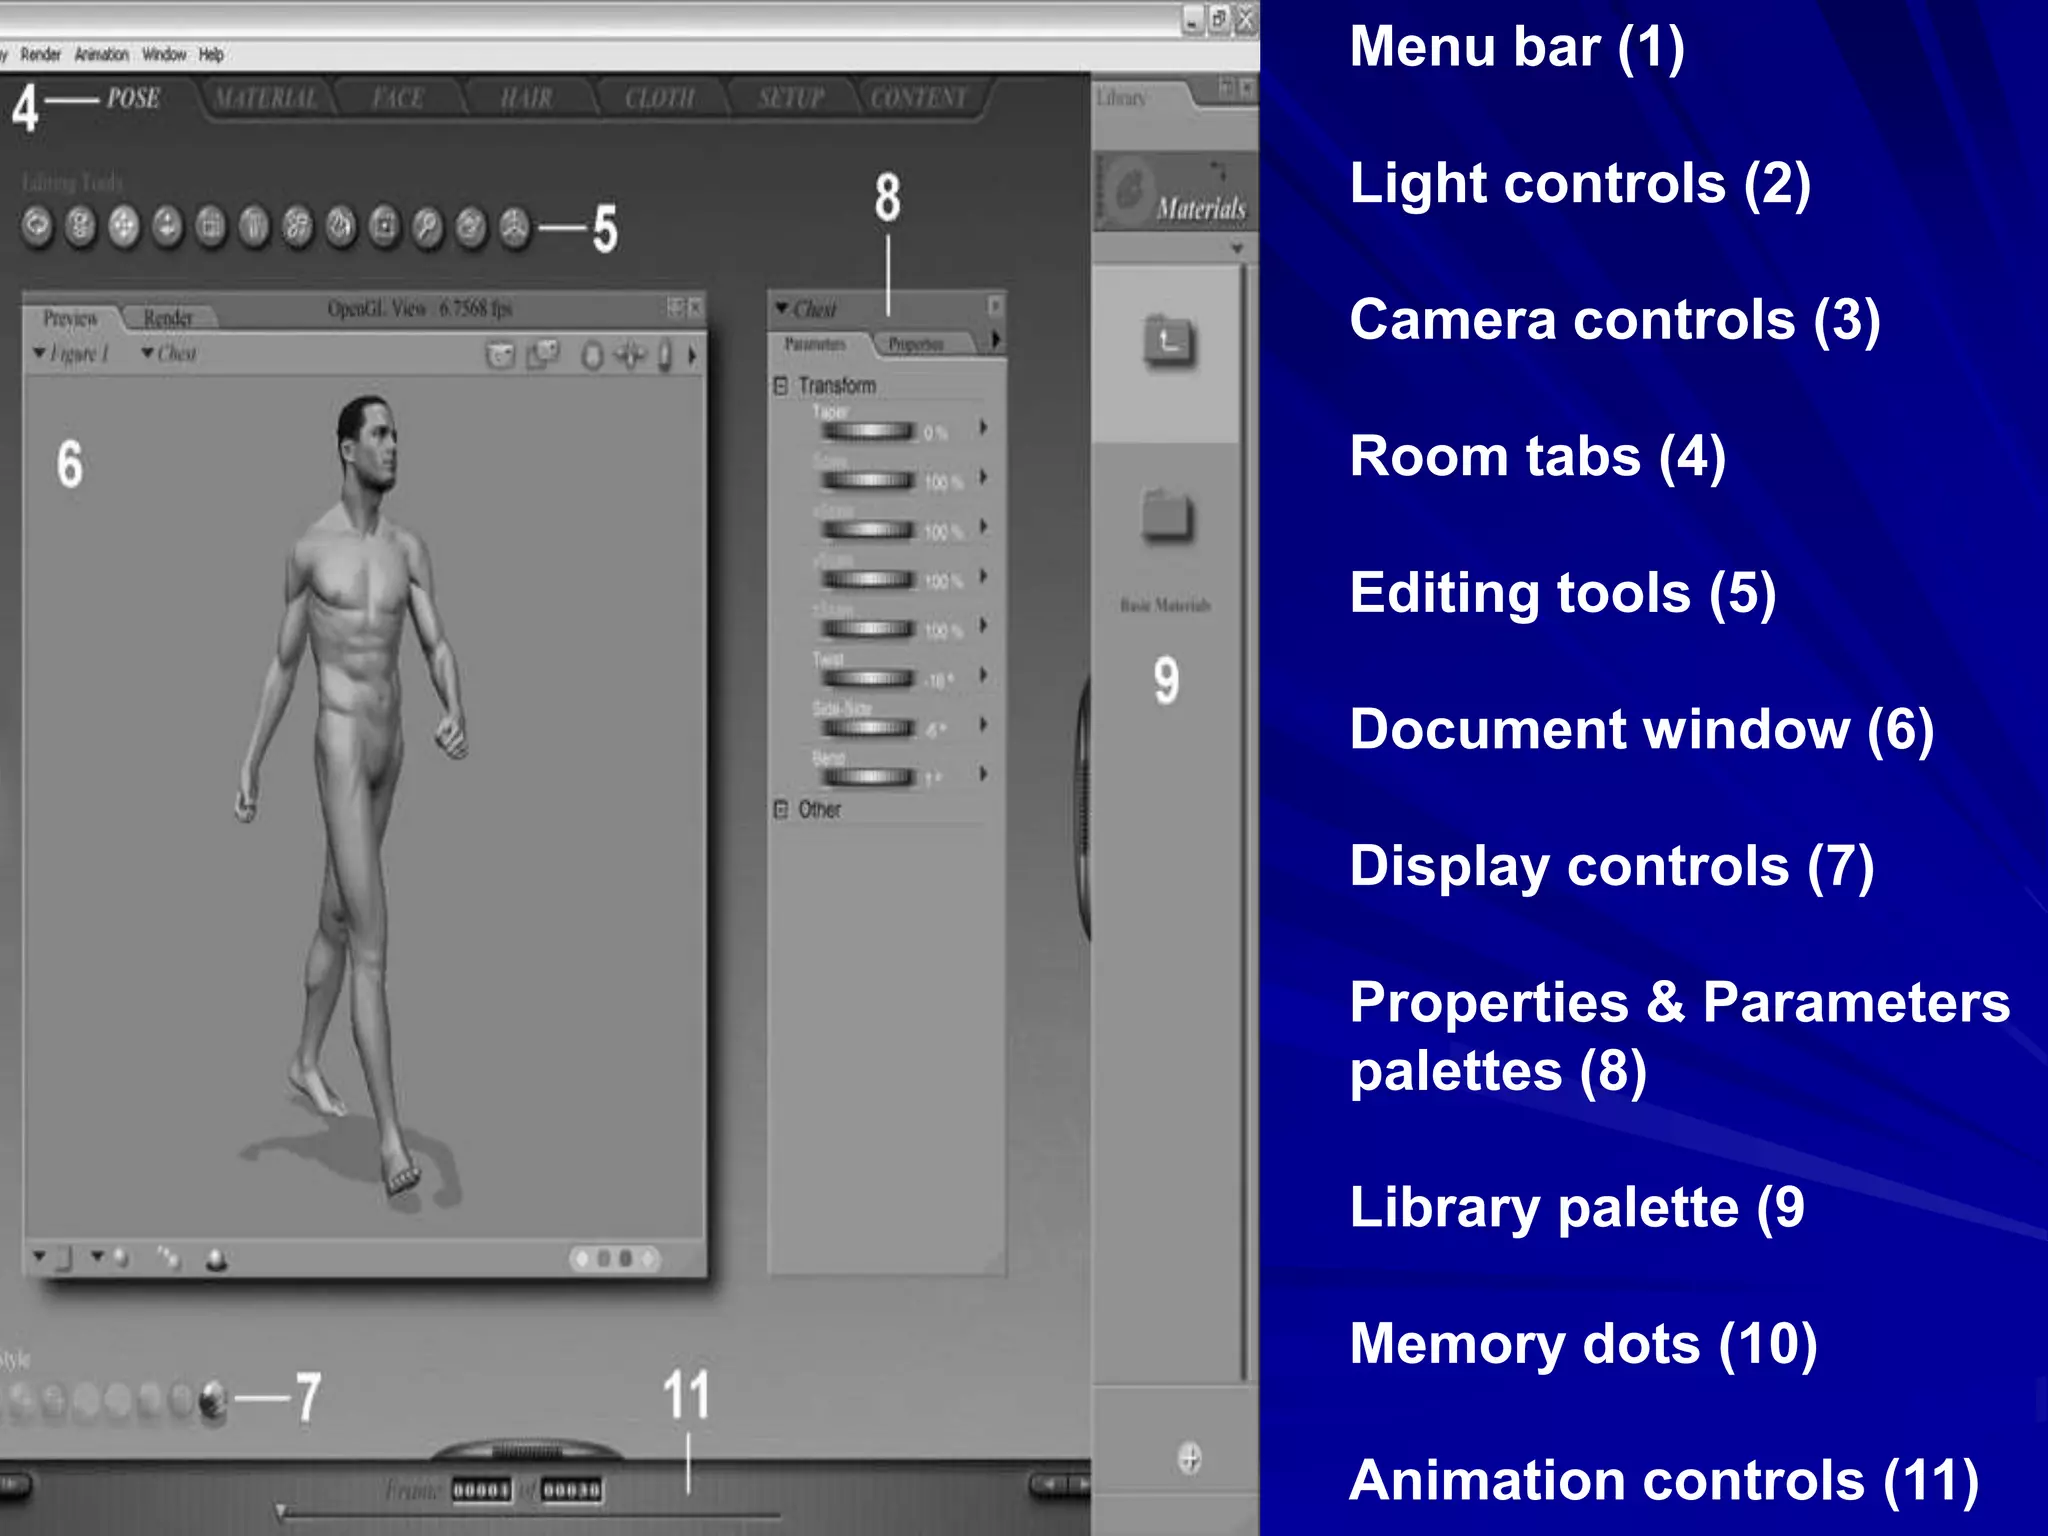
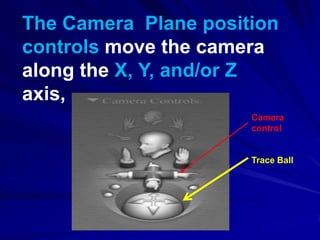
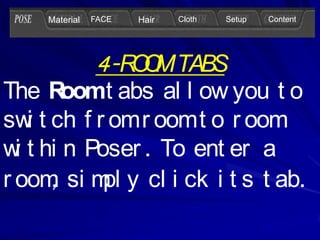
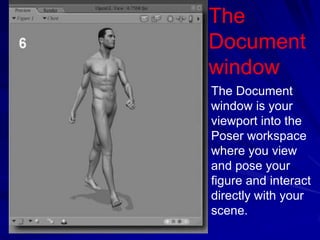
The document provides descriptions of various tools and controls in Poser's user interface. It covers the menu bar, light controls, camera controls, room tabs, editing tools, document window, display controls, properties and parameters palettes, and animation controls. Key points include that the menu bar provides access to Poser functionality, light controls adjust lighting properties, camera controls allow selecting and moving cameras, room tabs switch between rooms, and editing tools are used to pose 3D models. The document window is the viewport, display controls select preview modes, and properties and parameters palettes adjust object settings. Animation controls are also described.


