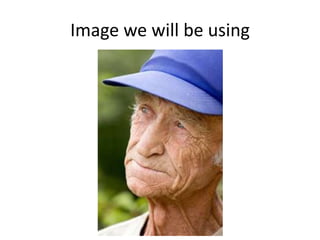
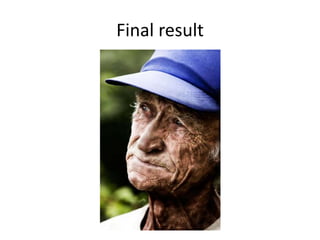
The document provides steps to create a dramatic wrinkled skin effect in Photoshop:
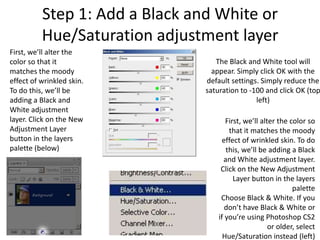
1. Add a black and white adjustment layer to alter the color to a moody effect.
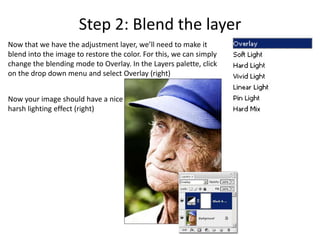
2. Set the blending mode of the adjustment layer to Overlay.
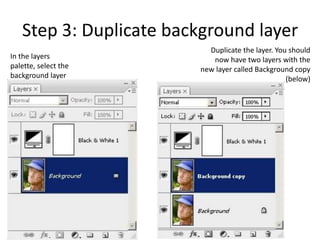
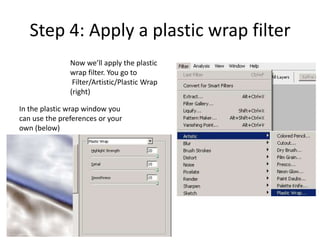
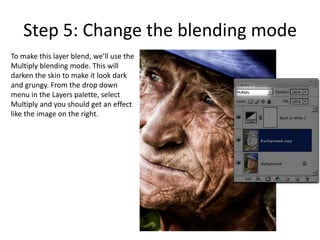
3. Duplicate the background layer and apply a plastic wrap filter with the blending mode set to Multiply to darken the skin.