Downloaded 832 times


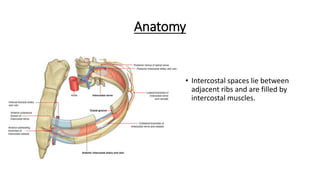


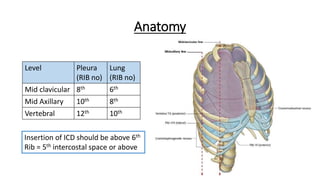
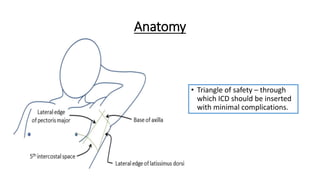


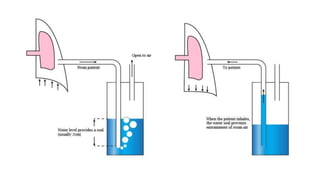


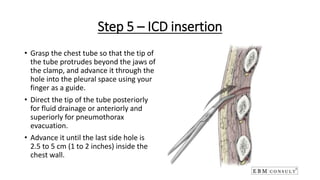
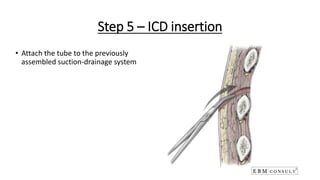
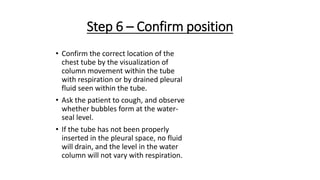
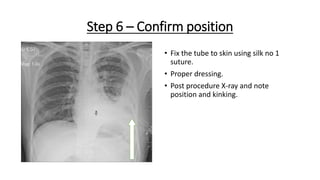
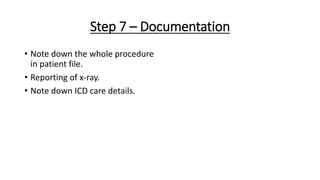
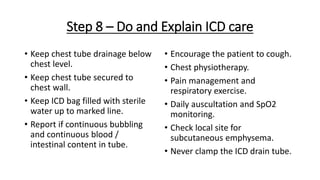


The document outlines the emergency procedure for inserting an Intercostal Drain (ICD), including anatomy, physiology, indications, contraindications, and step-by-step insertion and care processes. Key concepts include proper placement above the 6th rib to prevent complications, the use of sterile materials, and patient positioning during the procedure. Additionally, it emphasizes the importance of monitoring and documenting the process and patient response post-insertion.


