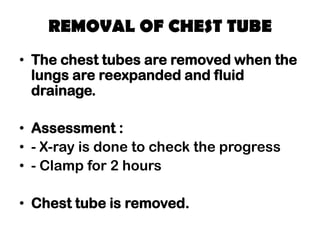
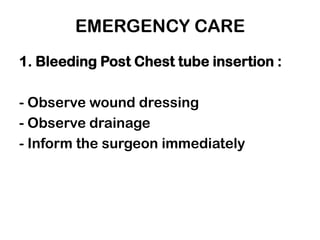
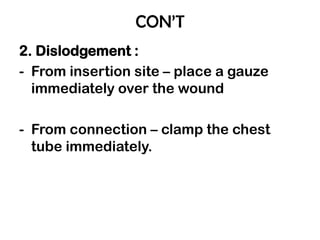
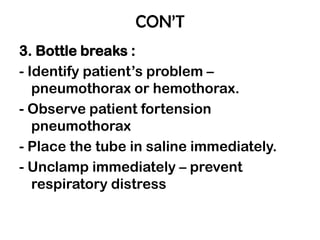
Downloaded 1,123 times

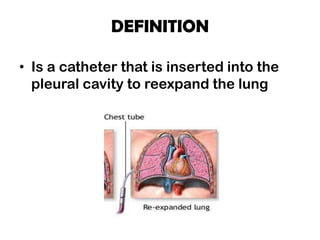
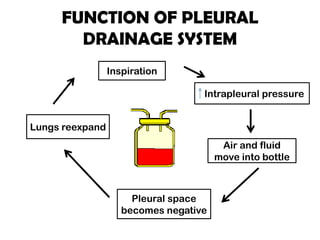
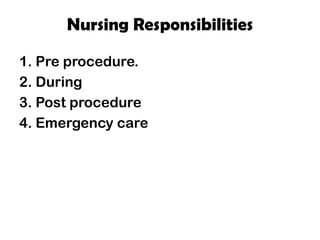
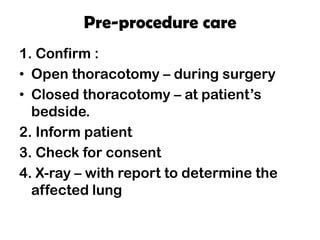

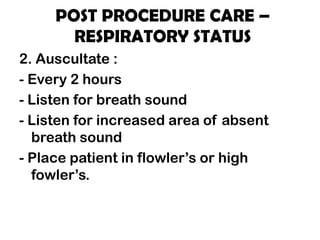
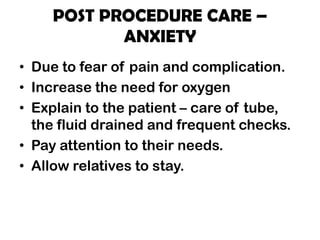
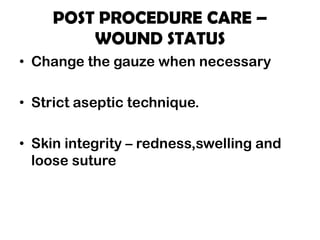
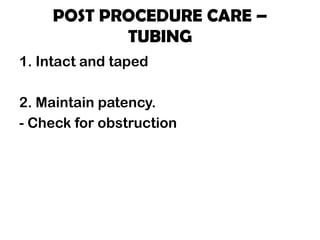


A chest tube is a catheter inserted into the pleural cavity to drain air and fluid and allow the lung to re-expand. It is used to treat various conditions that cause pneumothorax or pleural effusion. The tube is placed through an incision and connected to a drainage system. Nurses monitor the patient's respiratory status, tube placement and function, and drainage output. They also provide comfort measures and teach the patient self-care. The chest tube is usually removed once the lung is fully re-expanded and drainage decreases.


