Download as PDF, PPTX

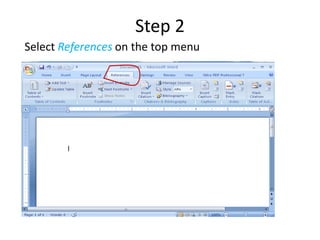
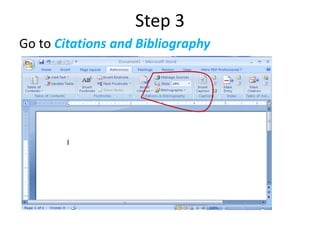
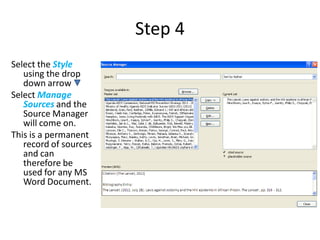
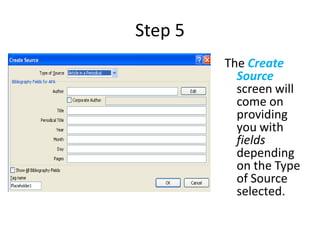
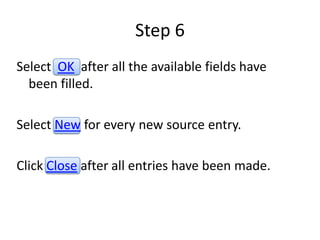
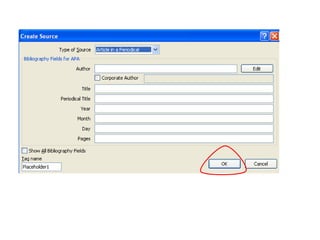
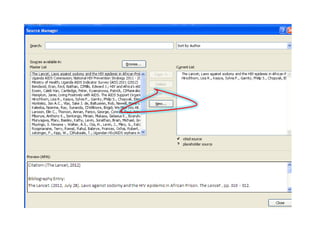
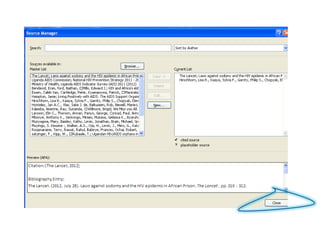


The document provides a guide on how to insert citations and a bibliography in Microsoft Word, emphasizing the use of its built-in citation tools. It outlines steps for inserting uniform citations and managing sources, with examples primarily based on APA style. Additionally, it highlights the importance of keeping track of reference materials during writing to prevent last-minute challenges.


