Downloaded 680 times
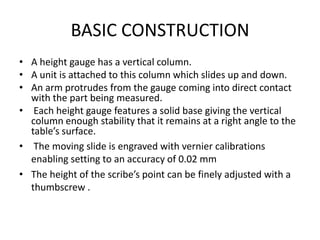
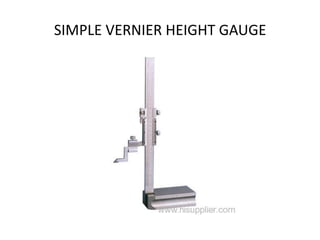
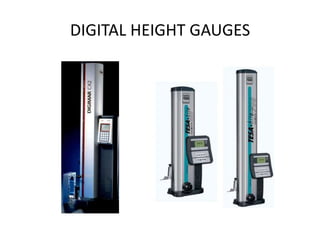
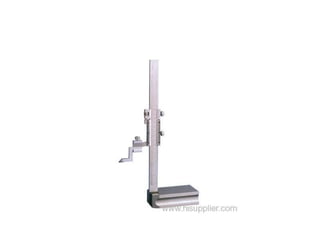
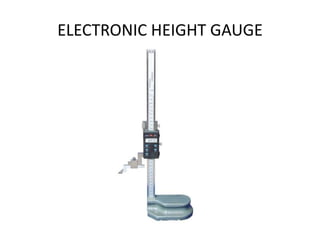


A height gauge is a measuring device used to determine the height of objects or mark repetitive heights. It has a vertical column with a sliding unit that can move up and down. An arm extends from the gauge to contact the object being measured. Height gauges can be vernier, dial, or digital/electronic. Vernier height gauges rely on user skill while digital gauges provide precise electronic measurements. Height gauges are used to mark lines, check hole depths, and mark locations on machine parts.


