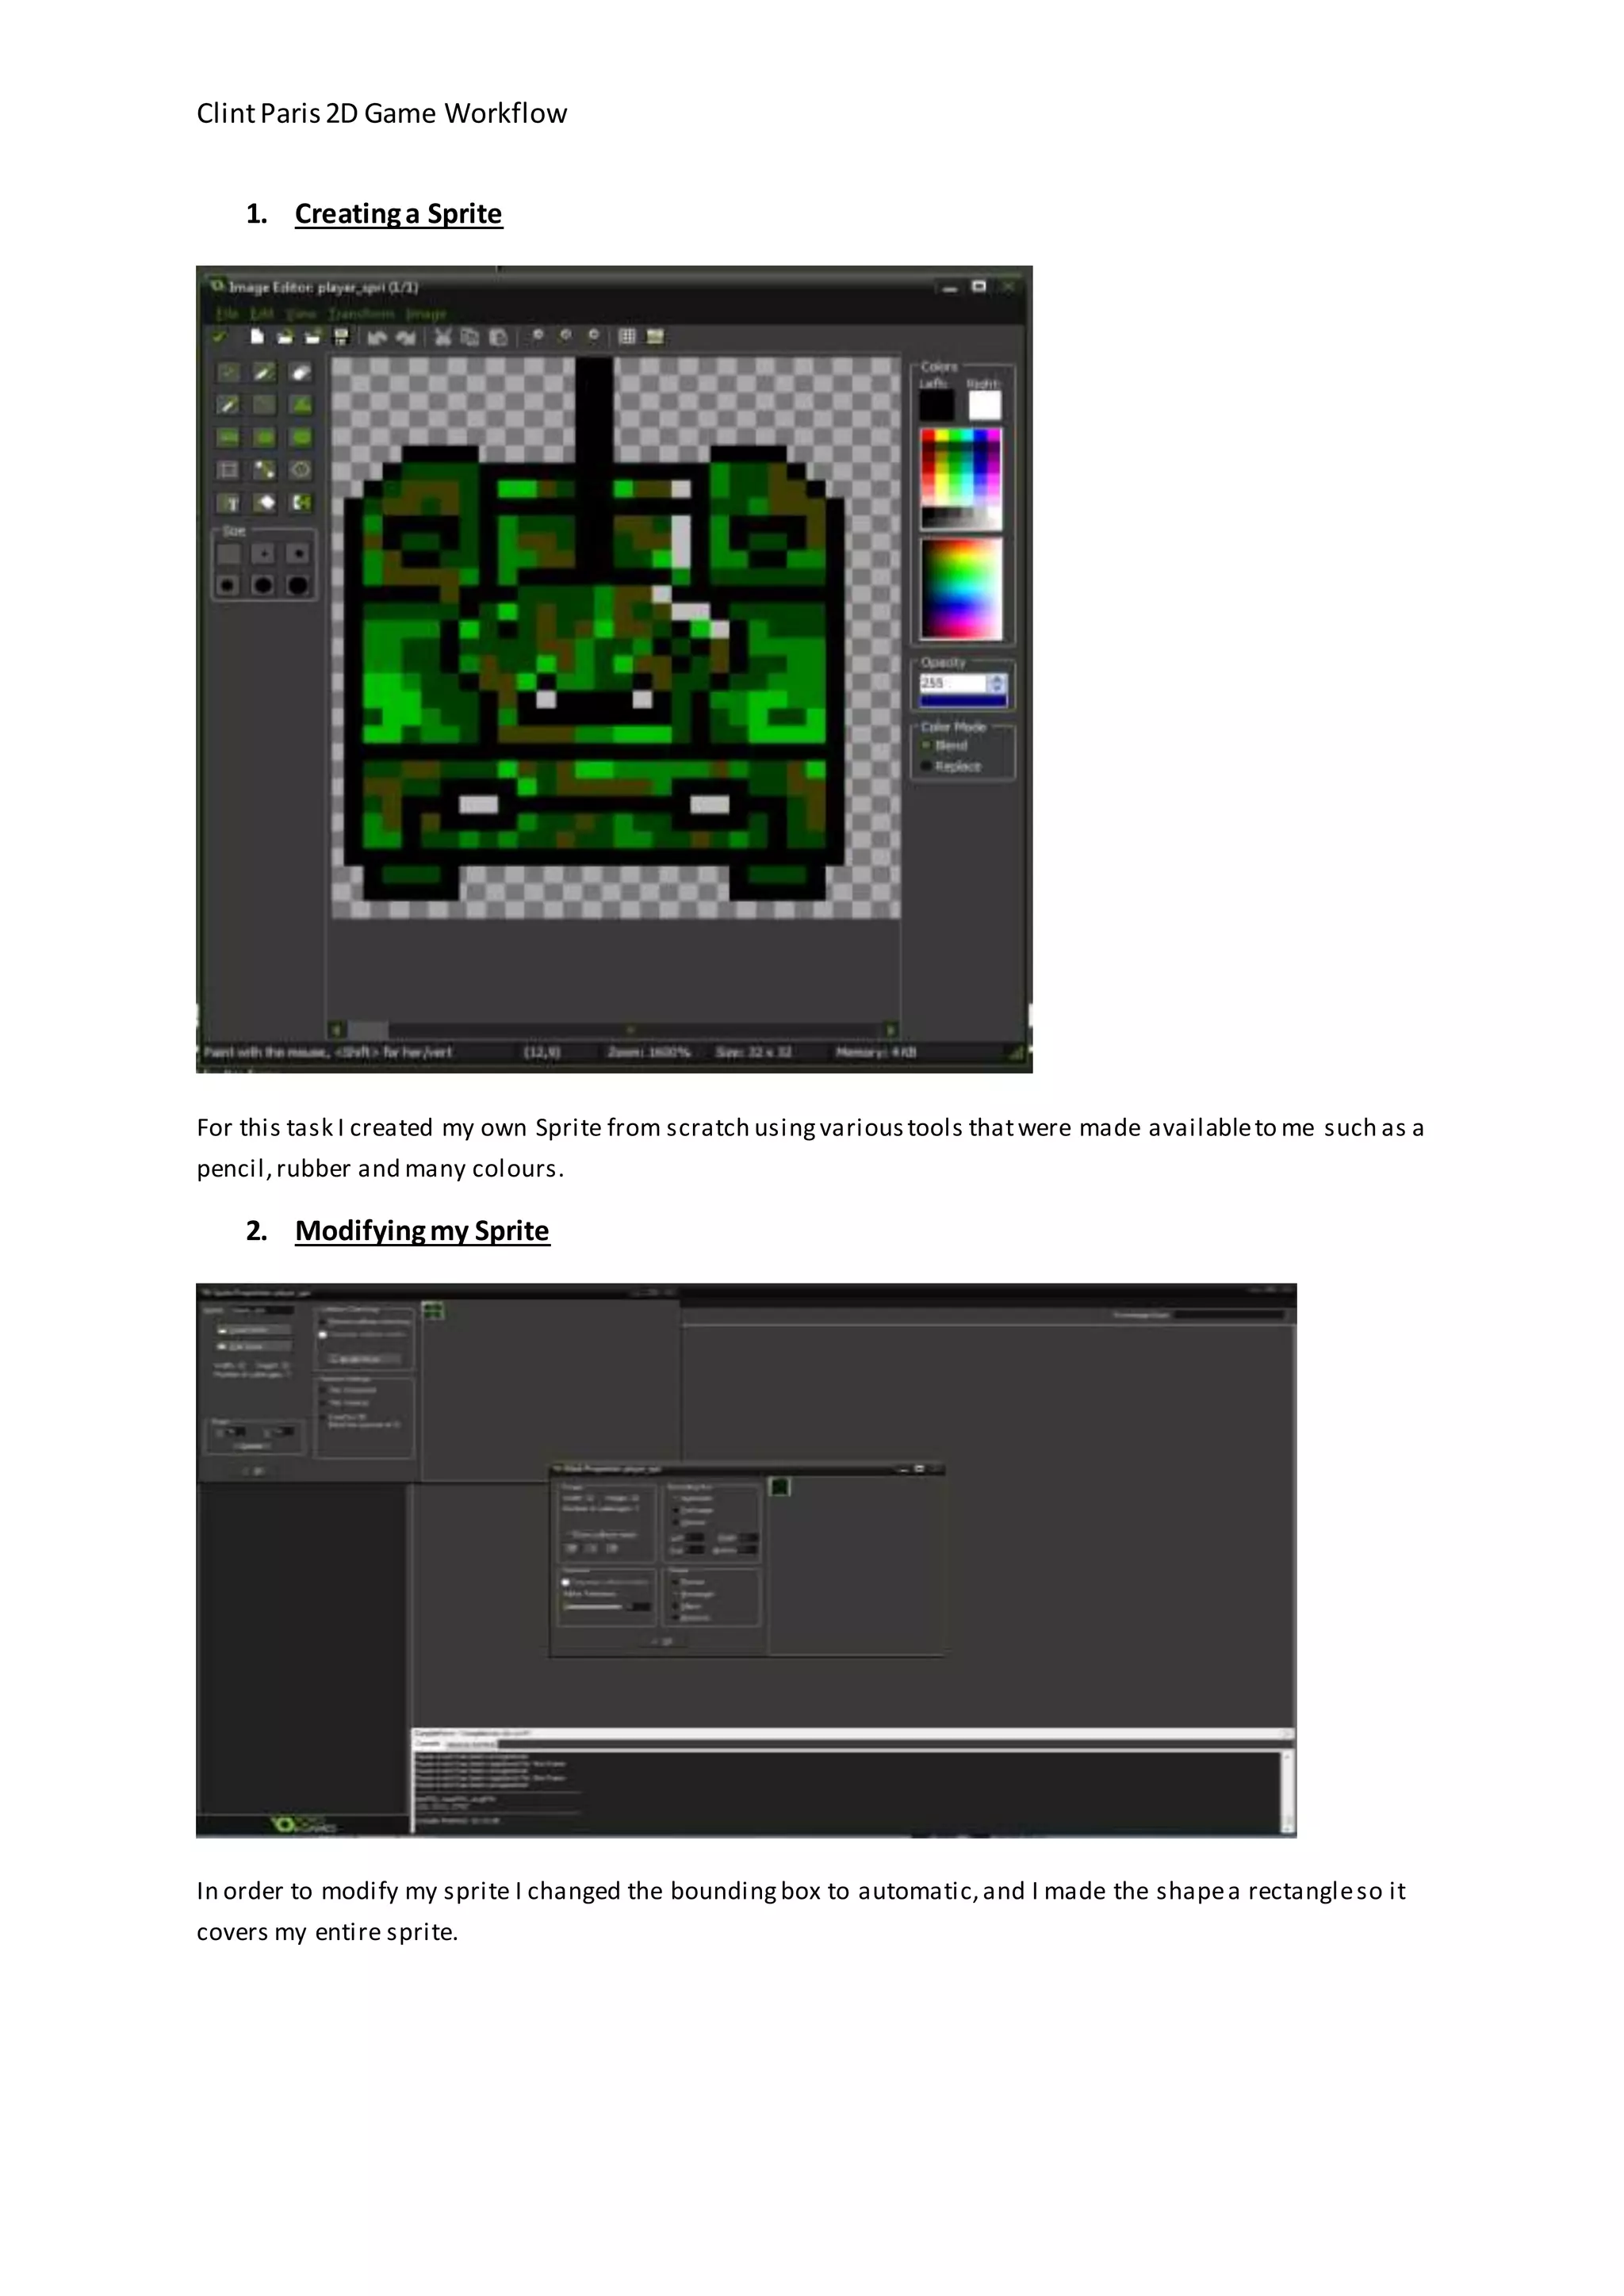
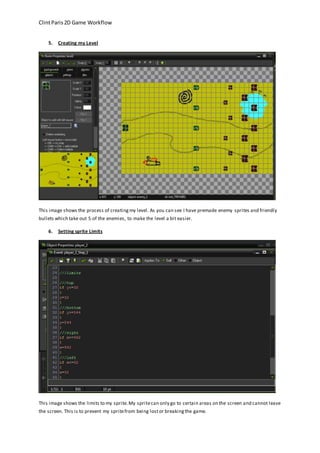
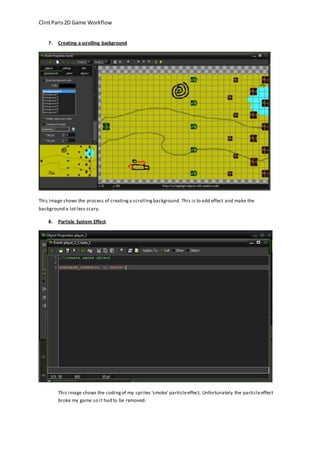
1. The document describes Clint Paris' 2D game workflow, including creating sprites, objects, coding movement and collisions, creating levels with enemies and projectiles, setting sprite boundaries, adding backgrounds and particle effects, and implementing a scoring system.
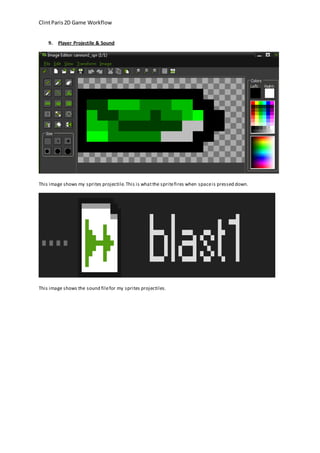
2. Key steps include creating and modifying sprites, coding sprite movement and boundaries, designing levels with enemies and bullets, adding scrolling backgrounds, and programming features like health, projectiles, explosions, and scoring.
3. Issues addressed were fixing broken particle effects and implementing different enemy behaviors like firing projectiles or vertical movement.