The document describes Amy Watson's process for an animation experiment involving character movement and vocals. It discusses each step of the process, including:
- Creating an animatic to plan the scenario
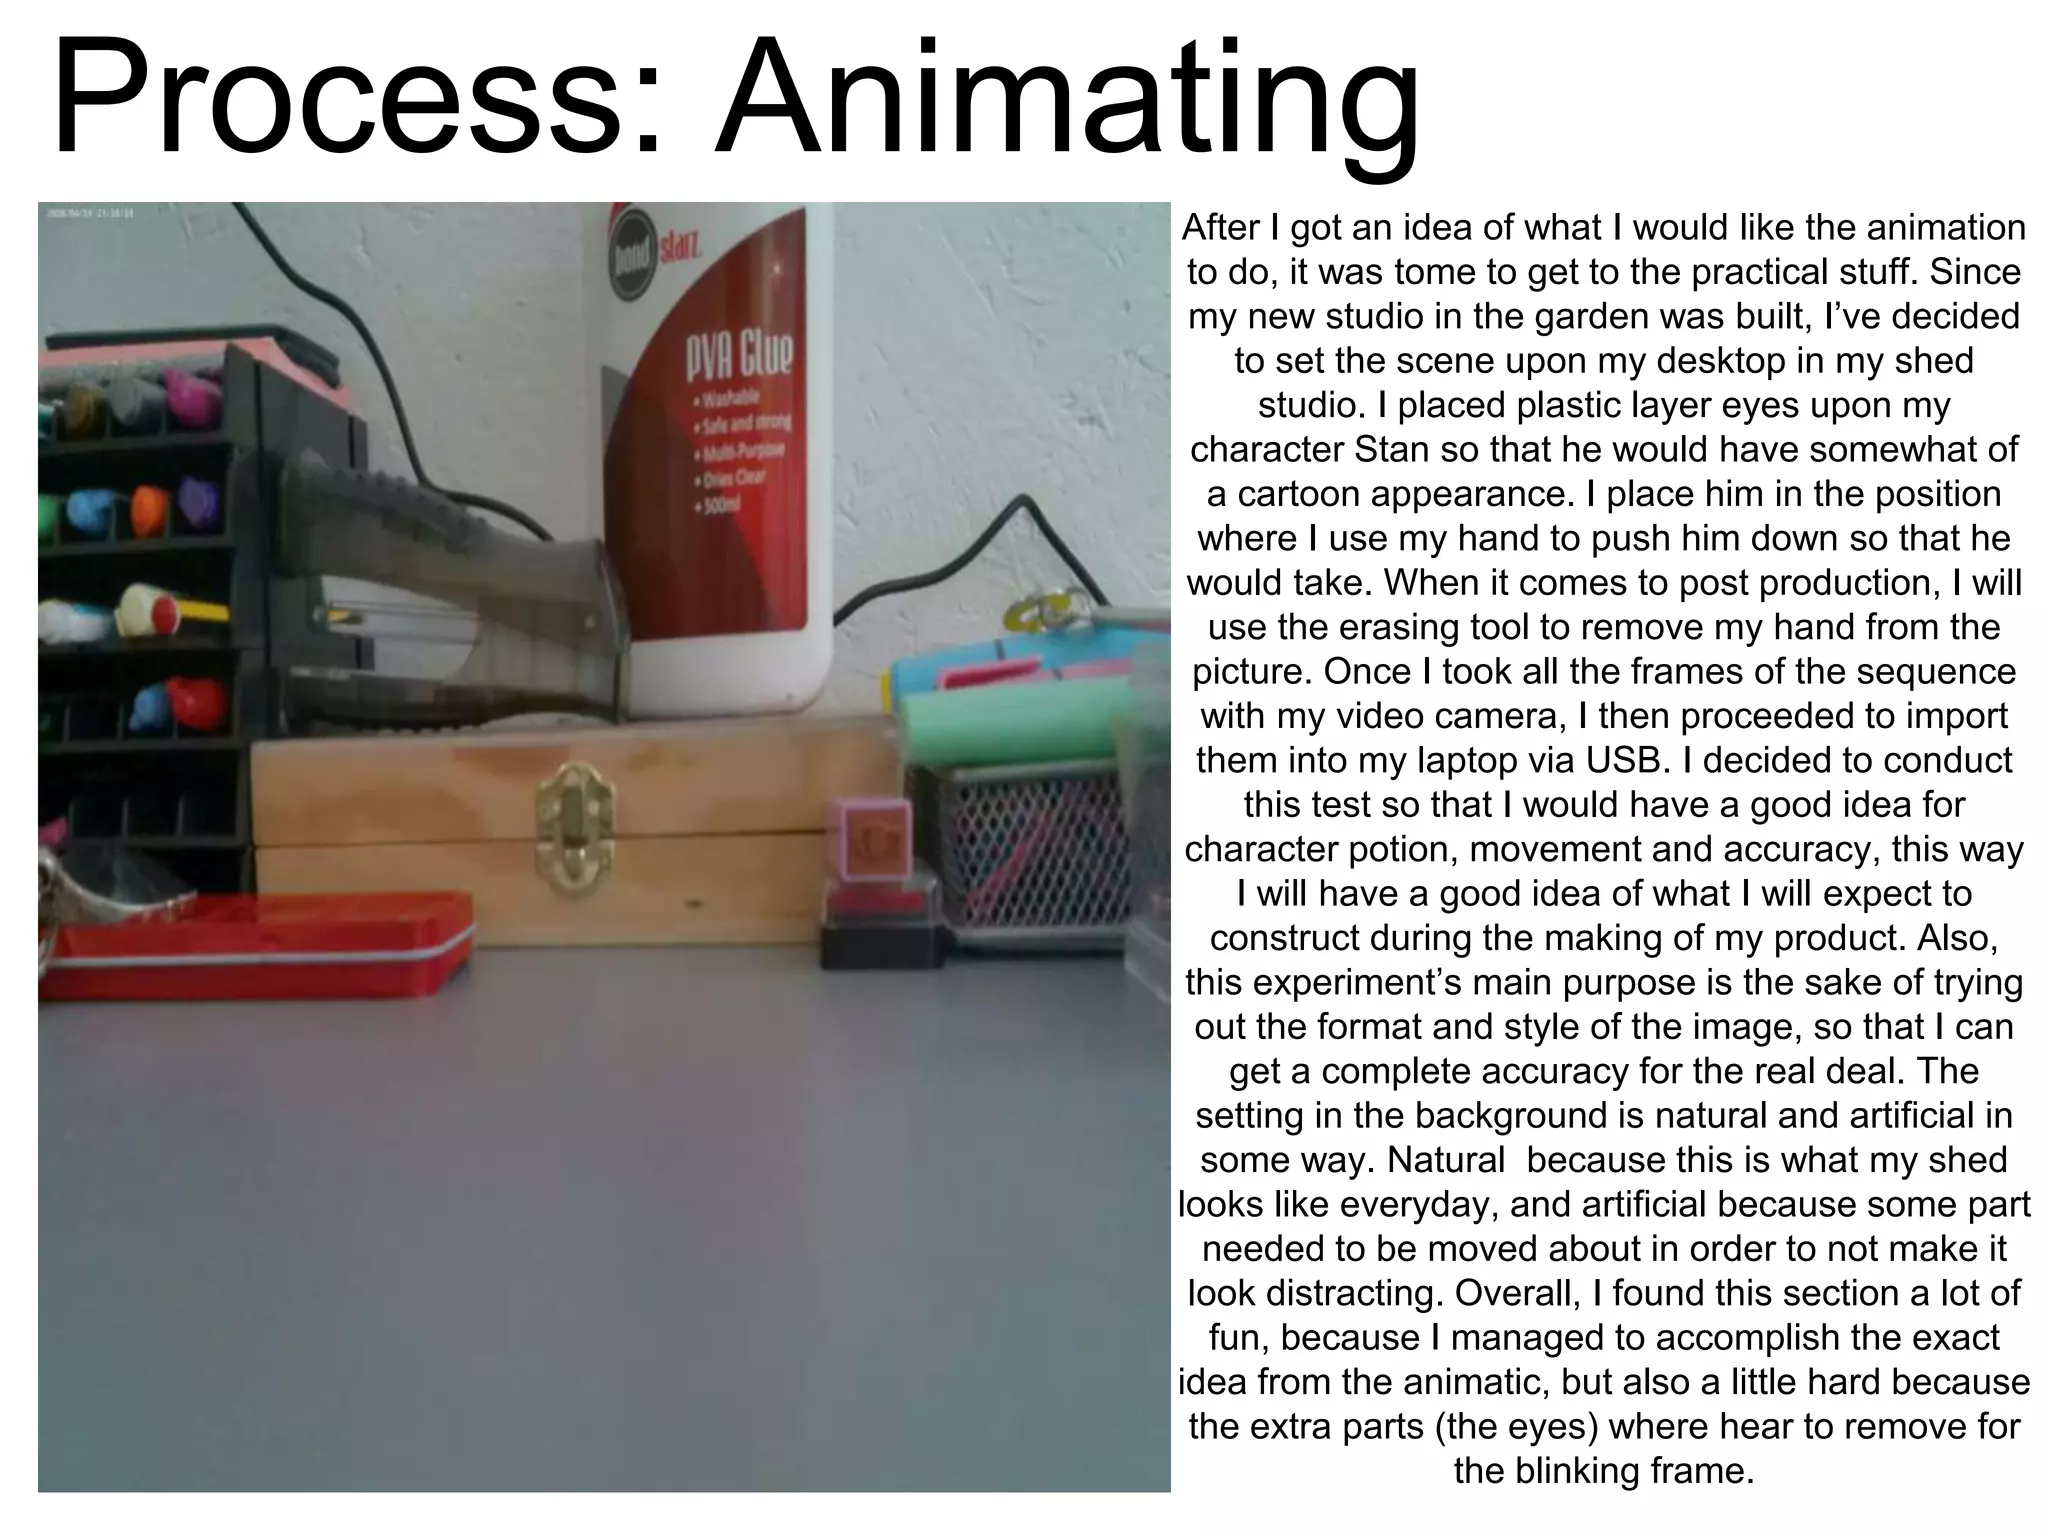
- Animating by filming frames of a character with plastic eyes being pushed down
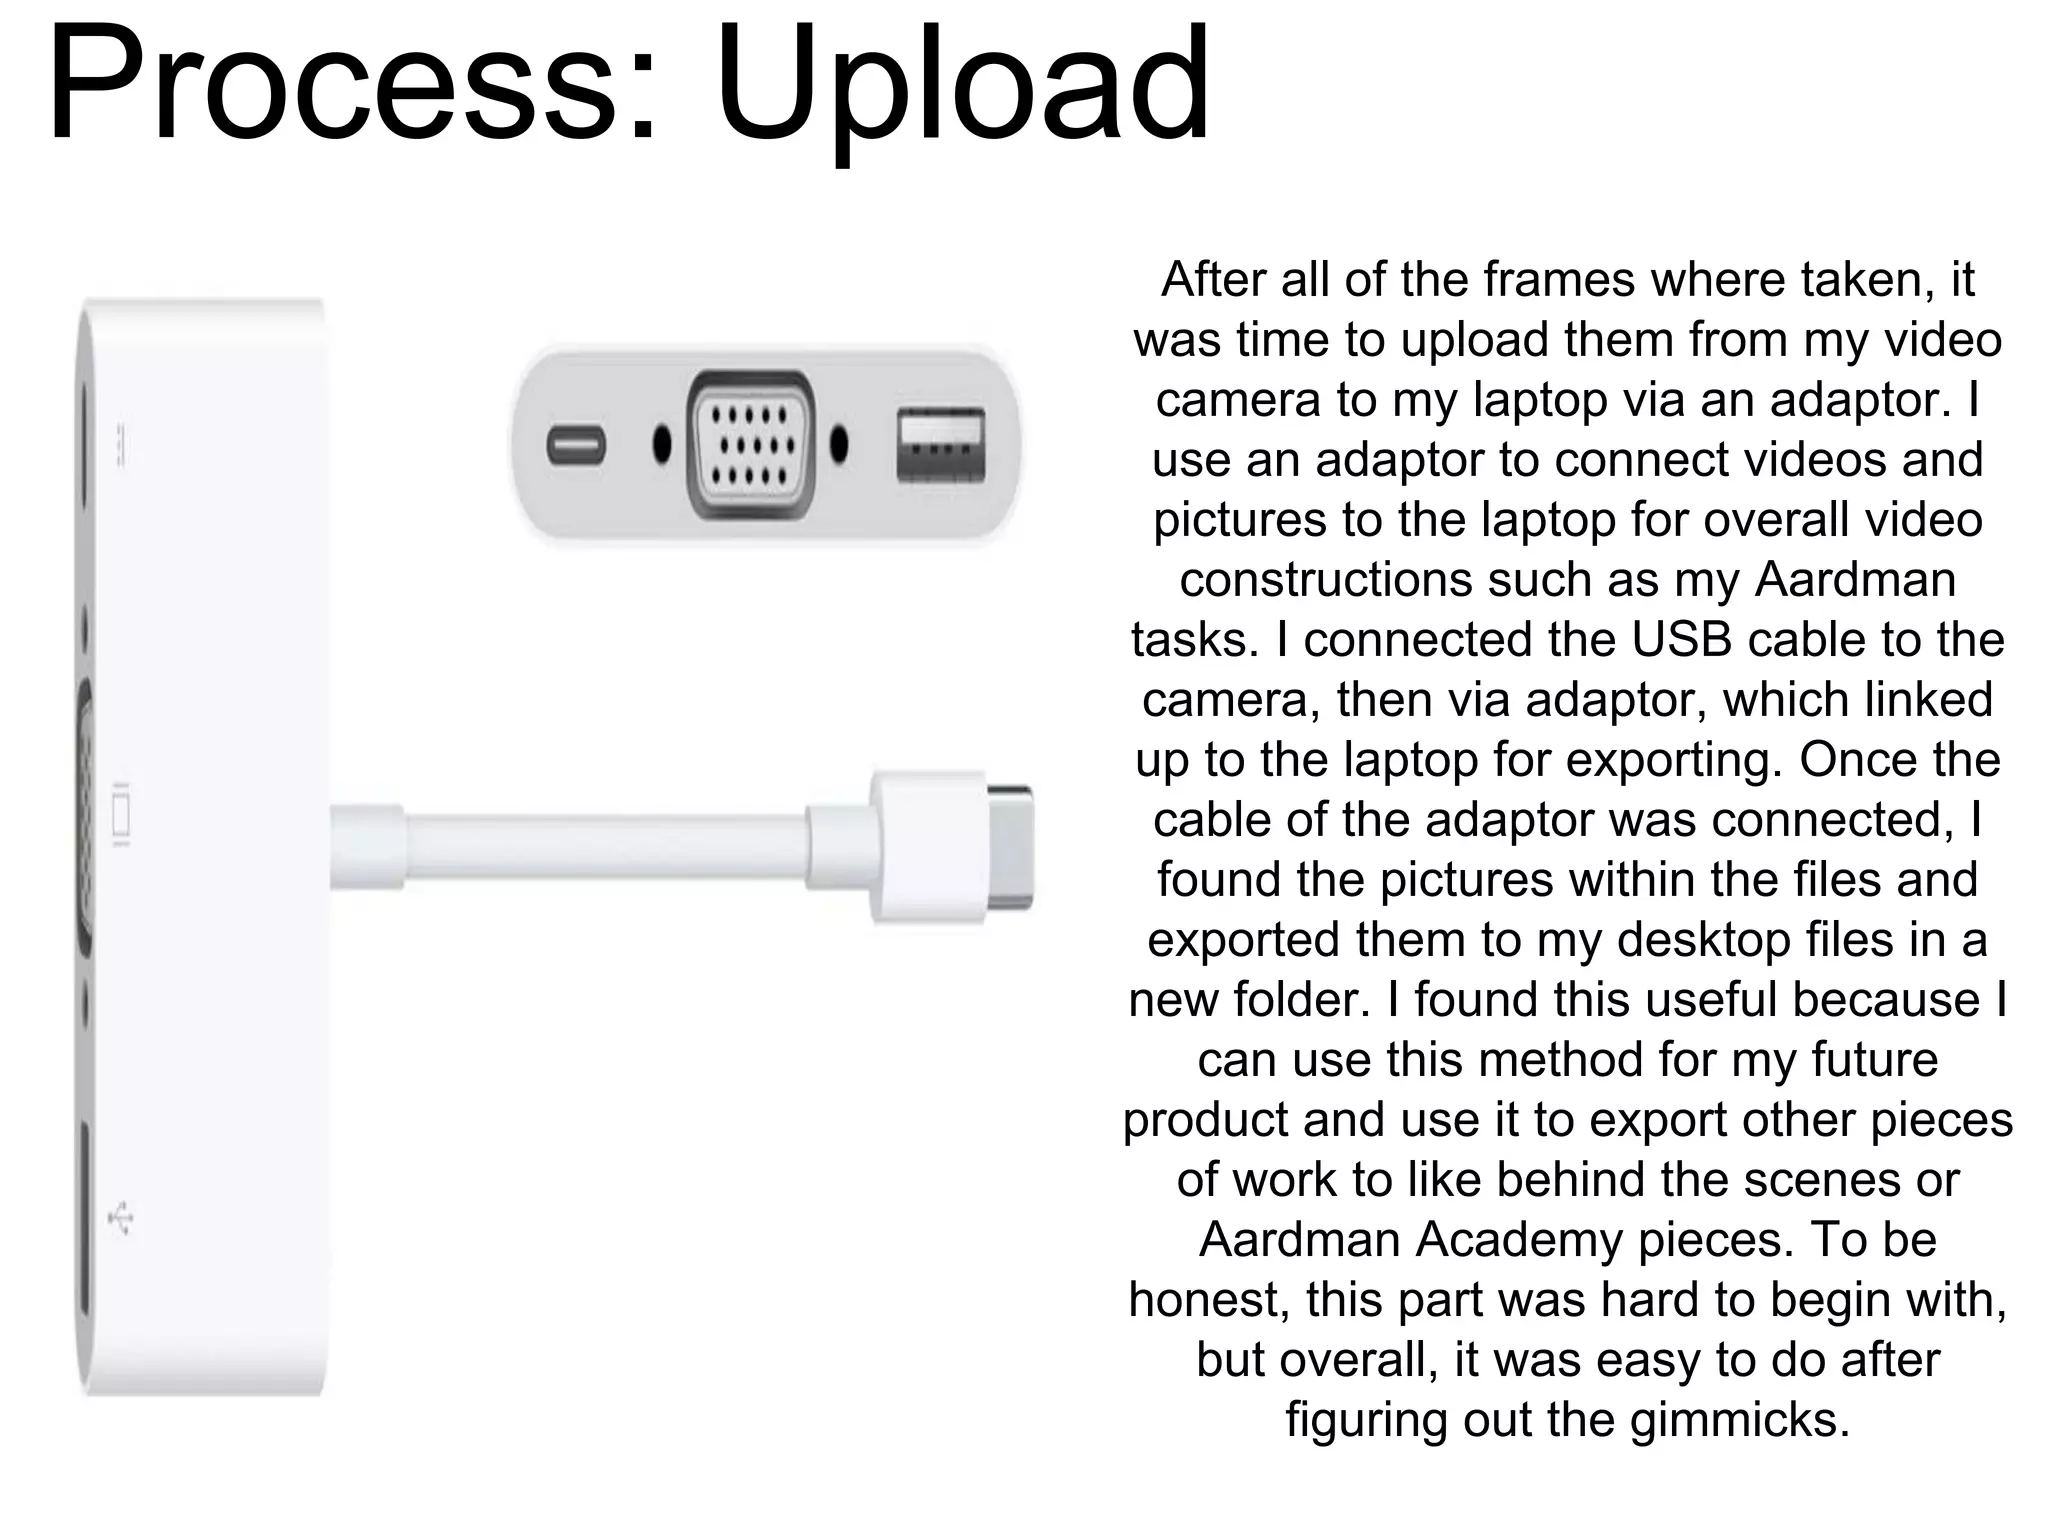
- Uploading the frames from a video camera to a laptop
- Editing the frames in Sketchbook to remove extra parts like hands
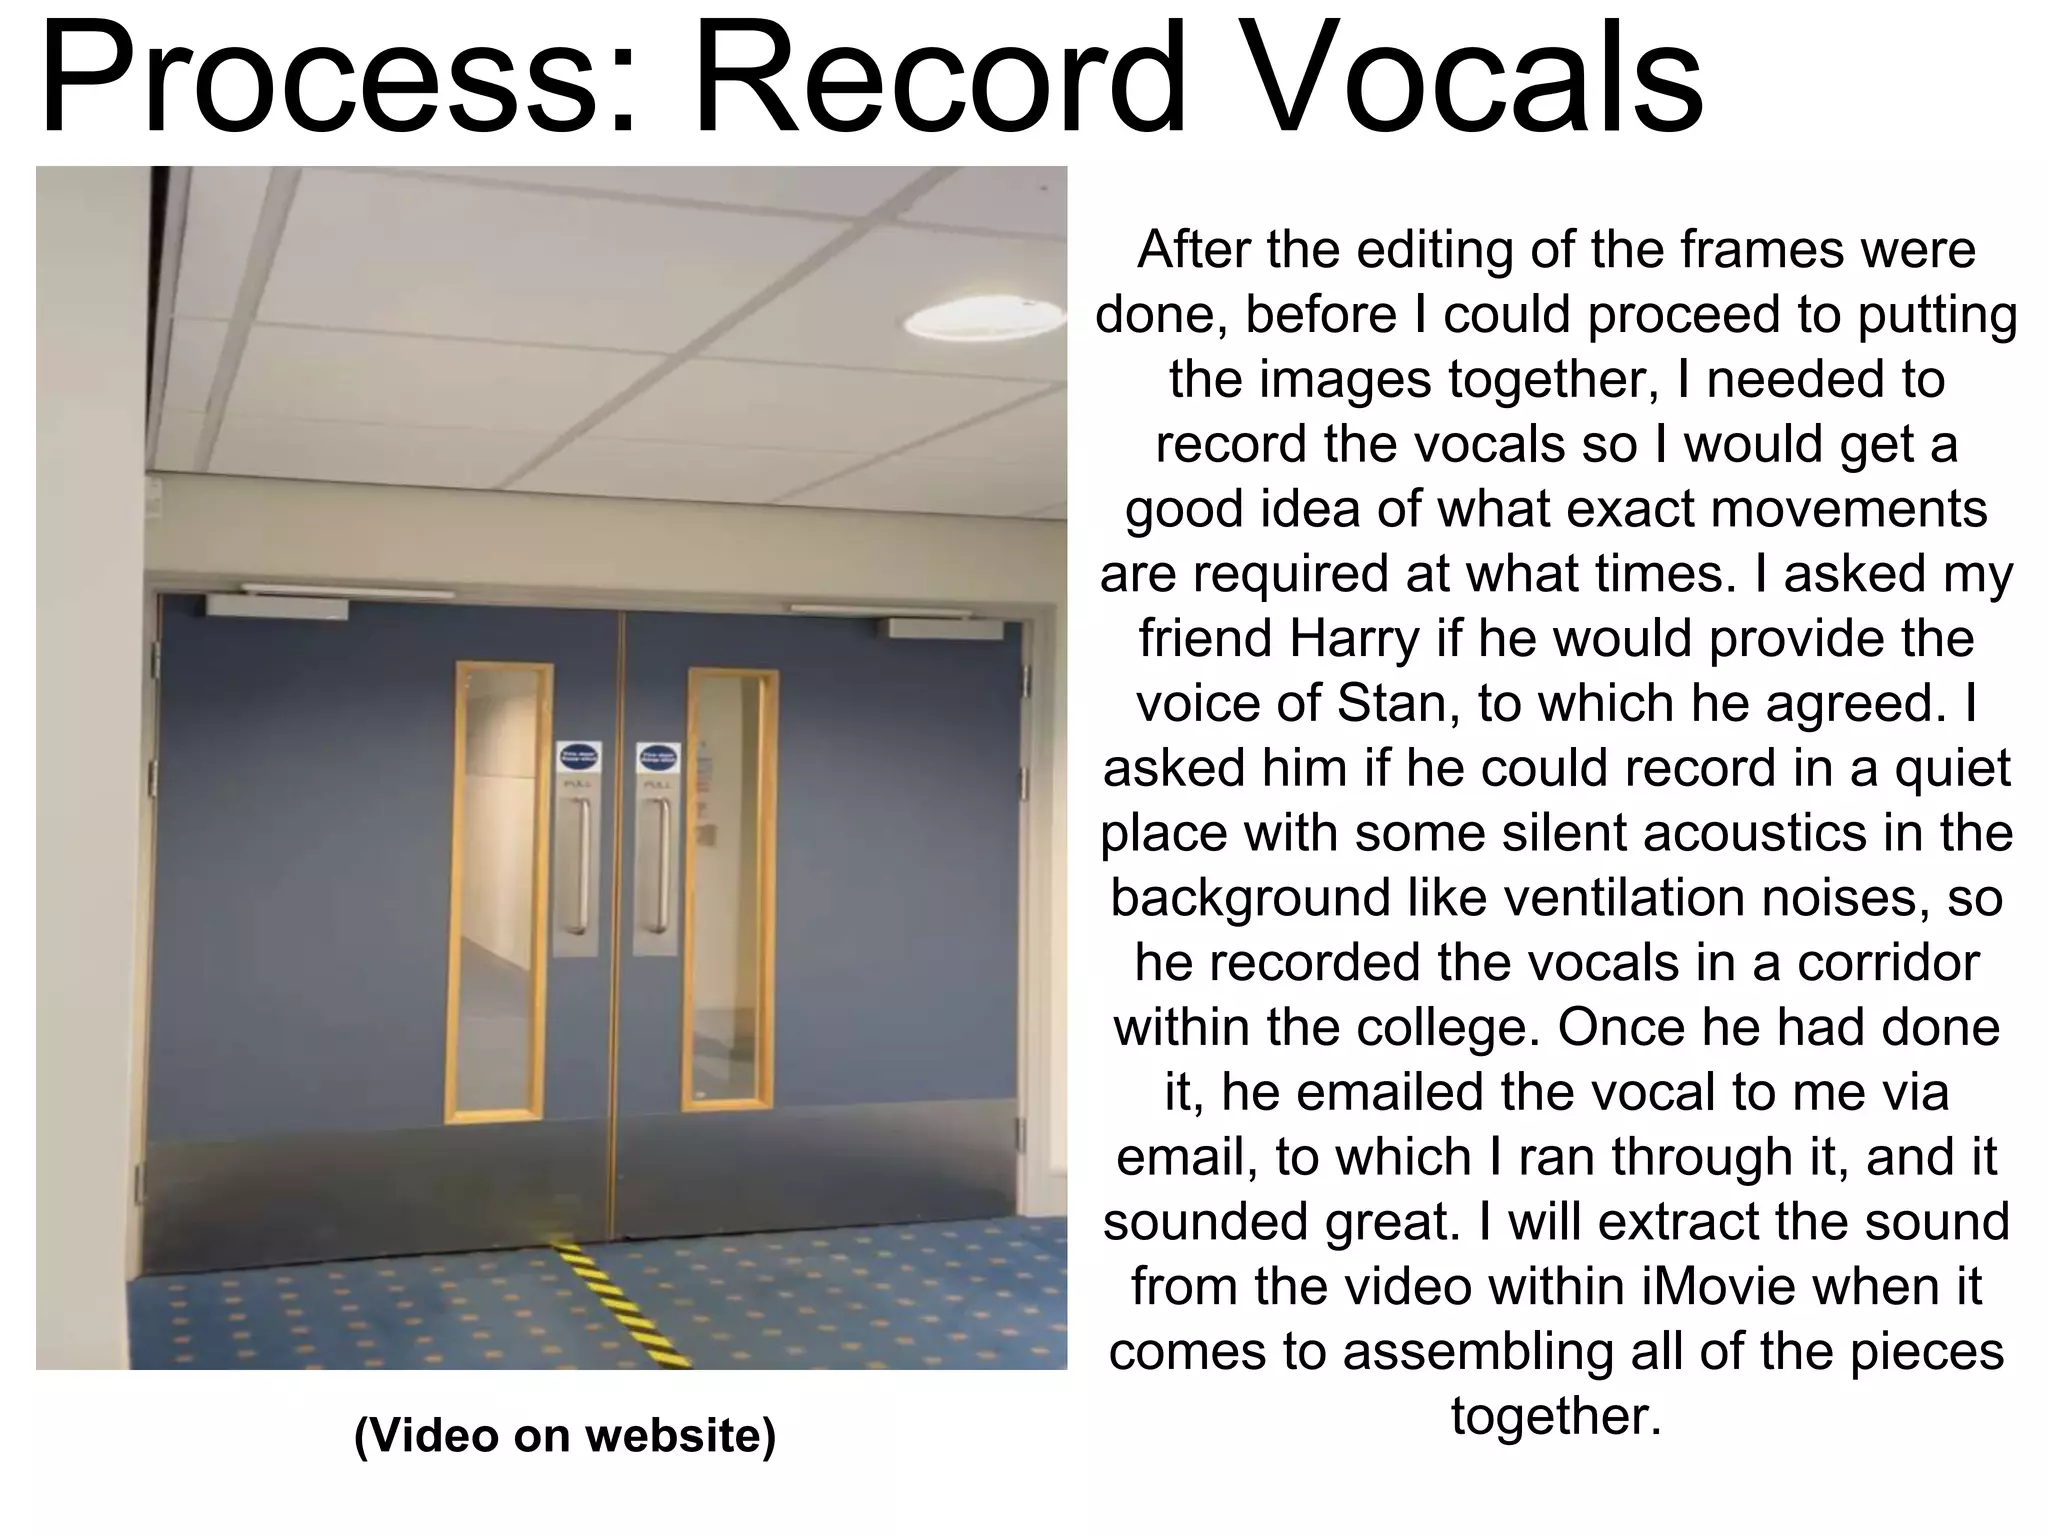
- Recording vocal audio from a friend
- Assembling the frames in Dragonframe and adjusting timing to match vocals
- Editing and combining elements in iMovie by adjusting speed and audio alignment
The reflection indicates Amy will include the editing, animatic, and Dragonframe assembly processes as well as
2. Process: Animatic
To begin the experiment, I
needed to come up with a
simple scenario for the
experiment, so I created a
small animatic on my laptop
to get a good idea about what
I would like the animation to
turn out. Overall, I found this
part a lot of fun because it
meant I could paint a picture
on a canvas of what I want
the animation to look like,
which is what I enjoy. Also, it
helped me feel more
organised and prepared for
what I want to produce within
the fore coming weeks.
3. Process: Animating
After I got an idea of what I would like the animation
to do, it was tome to get to the practical stuff. Since
my new studio in the garden was built, I’ve decided
to set the scene upon my desktop in my shed
studio. I placed plastic layer eyes upon my
character Stan so that he would have somewhat of
a cartoon appearance. I place him in the position
where I use my hand to push him down so that he
would take. When it comes to post production, I will
use the erasing tool to remove my hand from the
picture. Once I took all the frames of the sequence
with my video camera, I then proceeded to import
them into my laptop via USB. I decided to conduct
this test so that I would have a good idea for
character potion, movement and accuracy, this way
I will have a good idea of what I will expect to
construct during the making of my product. Also,
this experiment’s main purpose is the sake of trying
out the format and style of the image, so that I can
get a complete accuracy for the real deal. The
setting in the background is natural and artificial in
some way. Natural because this is what my shed
looks like everyday, and artificial because some part
needed to be moved about in order to not make it
look distracting. Overall, I found this section a lot of
fun, because I managed to accomplish the exact
idea from the animatic, but also a little hard because
the extra parts (the eyes) where hear to remove for
the blinking frame.
4. Process: Upload
After all of the frames where taken, it
was time to upload them from my video
camera to my laptop via an adaptor. I
use an adaptor to connect videos and
pictures to the laptop for overall video
constructions such as my Aardman
tasks. I connected the USB cable to the
camera, then via adaptor, which linked
up to the laptop for exporting. Once the
cable of the adaptor was connected, I
found the pictures within the files and
exported them to my desktop files in a
new folder. I found this useful because I
can use this method for my future
product and use it to export other pieces
of work to like behind the scenes or
Aardman Academy pieces. To be
honest, this part was hard to begin with,
but overall, it was easy to do after
figuring out the gimmicks.
5. Process: Post Production
Once the exporting was complete, I moved
onto editing the pictures so that it looks like
Stan is talking and moving by himself. To
do this, I needed to use an app on my
laptop called Sketchbook, which has some
similar features to Photoshop. I first
uploaded the picture of the background for
the full background, then, one by one, I
added the pictures to the foreground and
began to edit. By doing so, I used the erase
tool within the tool bar and erased all of the
area around the character, including my
hand, so that when you look at the image
straight on, it looks like the character is
moving by himself. I repeated the same
procedure with the other frames until all
framed were completed, and I saved them
as JPEGs into a file in the desktop section
of my laptop. Overall, I found this work real
fun because I managed to get the image to
look just like what I had in mind, and that it
looks really effective and close to reality.
6. Process: Record Vocals
After the editing of the frames were
done, before I could proceed to putting
the images together, I needed to
record the vocals so I would get a
good idea of what exact movements
are required at what times. I asked my
friend Harry if he would provide the
voice of Stan, to which he agreed. I
asked him if he could record in a quiet
place with some silent acoustics in the
background like ventilation noises, so
he recorded the vocals in a corridor
within the college. Once he had done
it, he emailed the vocal to me via
email, to which I ran through it, and it
sounded great. I will extract the sound
from the video within iMovie when it
comes to assembling all of the pieces
together.
(Video on website)
7. Process: Combination
With all the frames edited, and the
vocals recorded, it was time to put the
pictures together. I did this with a
software called Dragonframe, which was
a software provided by Aardman
Academy as part of the course. I first
created a new file called Stan so that my
worked can be saved as an easily
identified file. I then proceeded to import
the images form the file within the image
sequence. Once I imported the images
within the sequence, I then re-arranged
and deleted some frames to make it look
the way I would like it to be. Also, whilst I
was assembling the pieces, I had to think
about time and mouth movement when it
comes to the vocals. So, I visualised the
recording sound in my head and then
arranged the frames to that it would fit
the movement of the character. Overall, I
found this part really tricky because it
was hard to figure out what the
movement possibility could be and what
timing could be required.
8. Process: Editing in iMovie
Finally, with all the elements
conducted, it was time to assemble
and edit the pieces in iMovie. I first
uploaded the video from
Dragonframe from my file to the
sequence, where I used the speed
tool to slow down the video to why
liking in order to fit it with the audio.
After that, I then detached the
audio from Harry’s video, and then
aligned it under the video. Once
that was done, I then shortened the
audio to a small fraction, so that I
fits with the video lengthen and
movement. Overall, I found this
part fairly easy to do because I
only required a small amount of
editing as well as using the
simplest of tools to make it seem
appealing.
9. Reflection
What elements of your experiment will
you include within your final product?
When it comes to making my final product, I am sure to use the exact
same procedures for the editing of the images, as it seems the more
simplest as well as the effects making the outcome seem realistic.I will
also use the idea of the animatic in order to make the setting more sharp
and straight forward, also it will help me get an idea of what I want my
final product to look like. As for the software Dragonframe, I will defiantly
use it to combine all the frames together in order to create a simple
animation in the outcome. As for the animation experiment itself, the
frames and the vocals of this experiment I will use because they seem
accurate to my plans as well as less time consuming in the time I have for
the production.