Downloaded 34 times


![Keeler A series charts
• Designed by Charles Keeler
• based on a logarithmic (constant ratio) scaling
system
• 20 different series of letters, ranging from A1 (6/6
[LogMAR 0.0 ] equivalent) to A20 (1/60 [LogMAR
1.9] equivalent)
• Each line differed from its nearest neighbour, in
size, by a factor of ×1.25
• Near equivalents, also calibrated in A series format](https://image.slidesharecdn.com/examinationoflowvisionpatient-210310172927/75/Examination-of-low-vision-patient-15-2048.jpg)


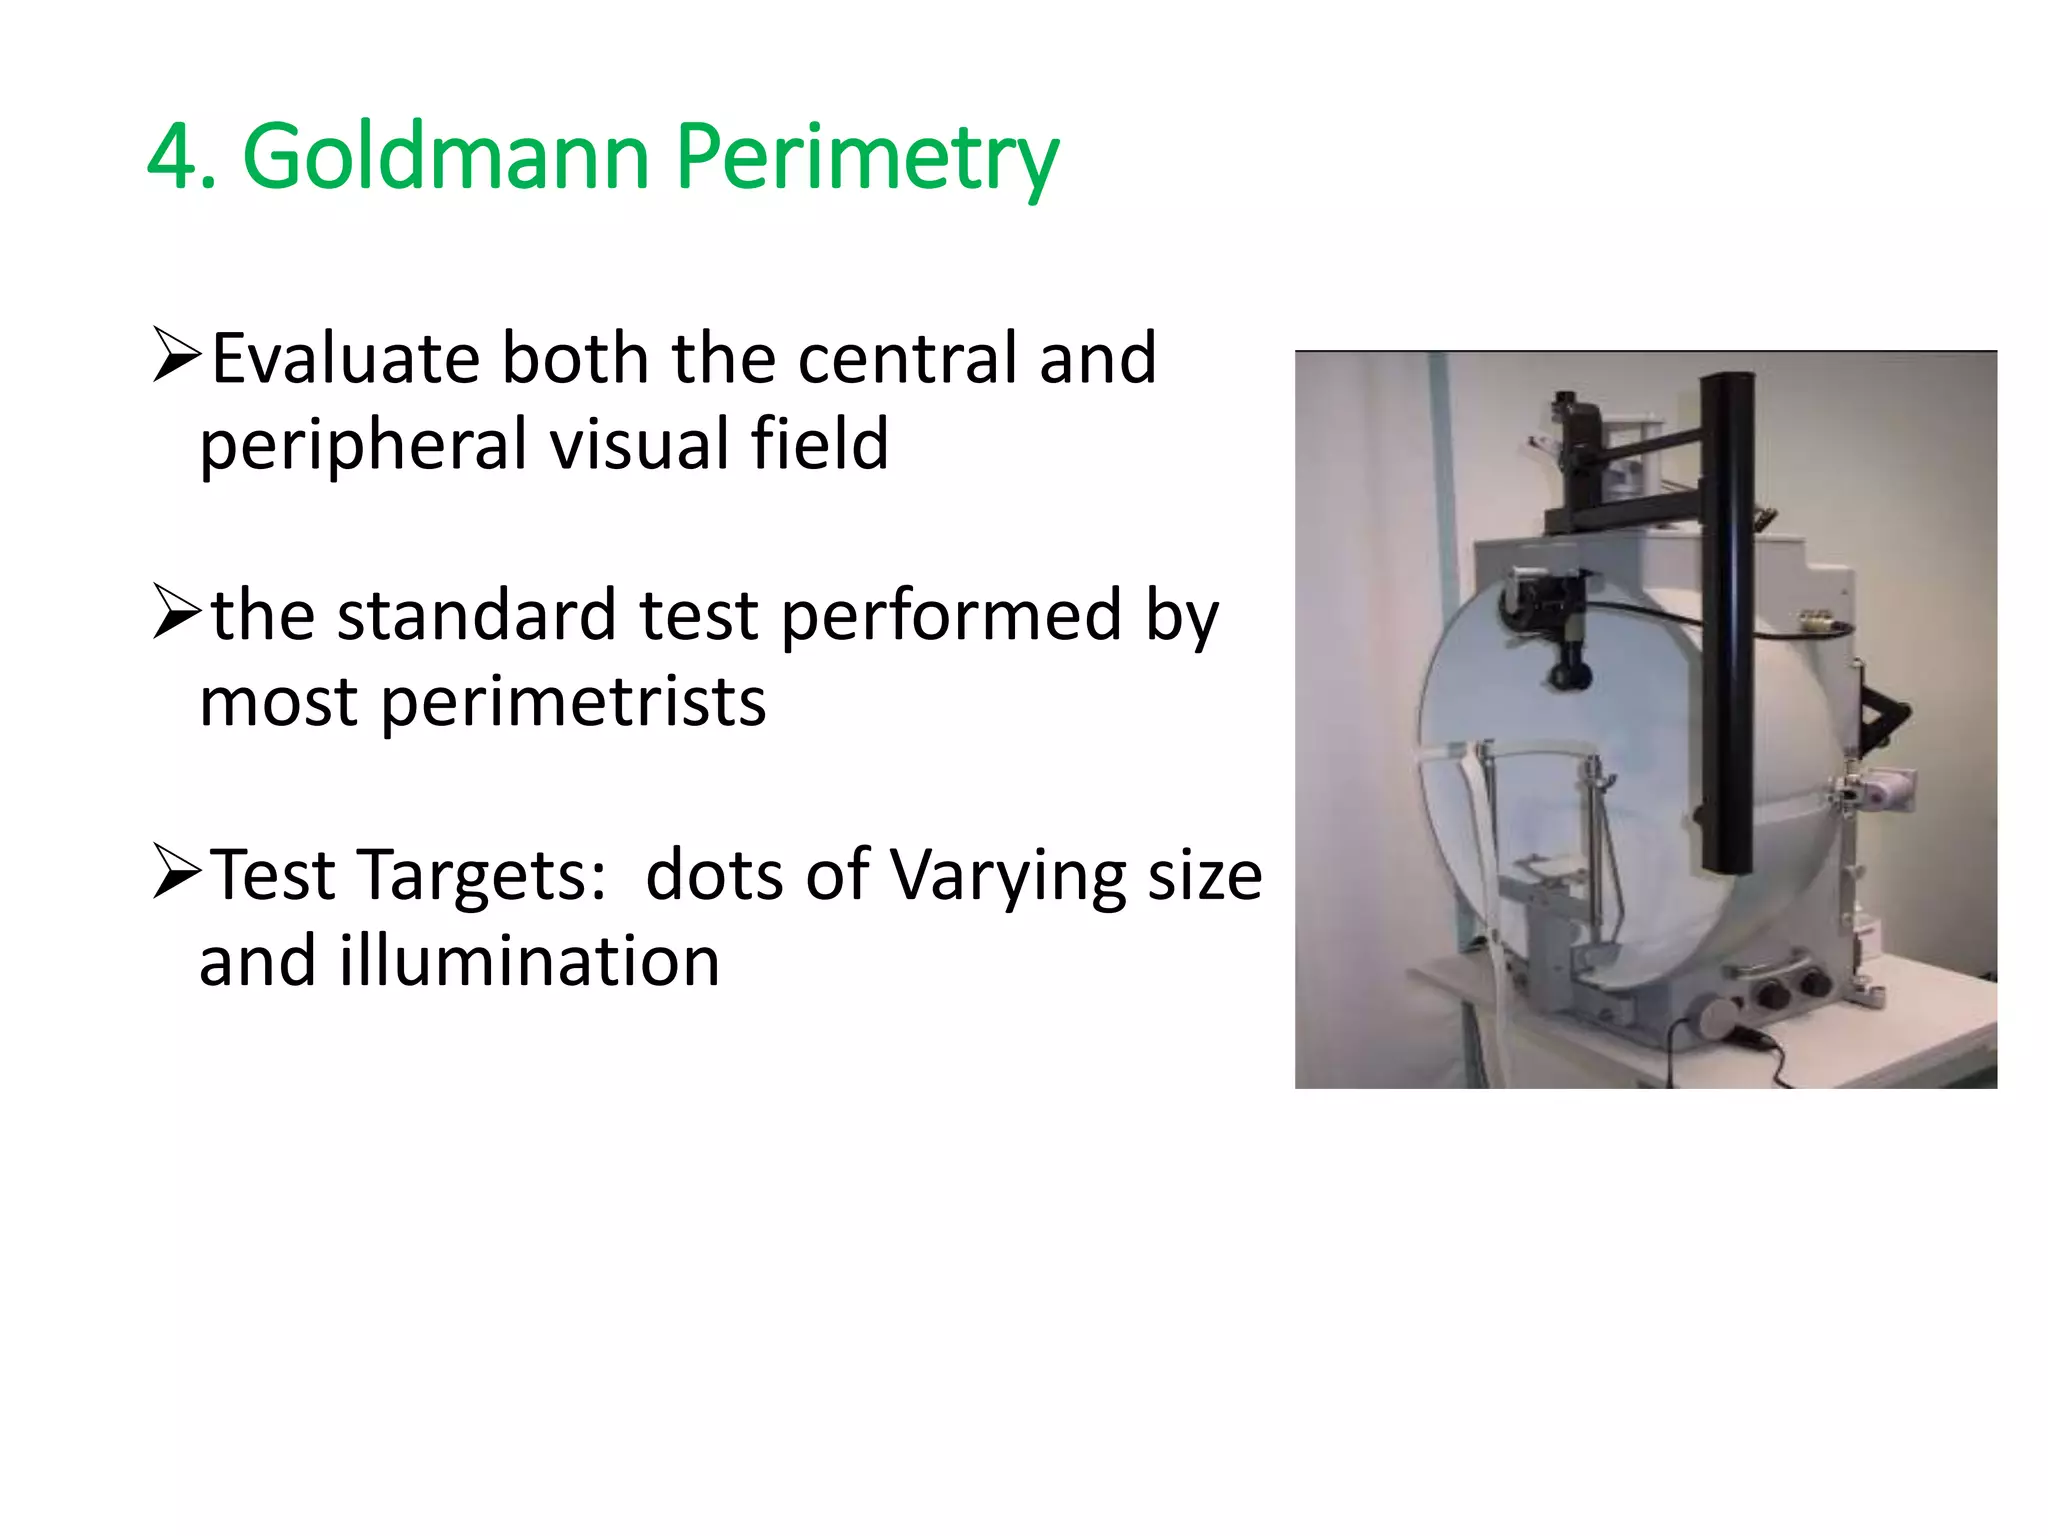
![Goldmann Perimetry : target size
Sizes of Stimuli [0...V scale]
Each size increment equals
• a two fold increase in
diameter and a fourfold
increase in area
Diameter (mm) Area (mm2)
0 0.28 1/16
I 0.56 ¼
II 1.13 1
III 2.26 4
IV 4.51 16
V 9.03 64](https://image.slidesharecdn.com/examinationoflowvisionpatient-210310172927/75/Examination-of-low-vision-patient-93-2048.jpg)


The document provides an extensive overview of visual acuity assessment and refraction techniques for low vision patients, emphasizing the importance of accurate measurements for effective management. It discusses the various visual acuity charts used, their characteristics, and the significance of standardized procedures in evaluating visual acuity. Additionally, it highlights the necessity of careful refraction in low vision patients due to common uncorrected refractive errors and changing ocular conditions.


