The document discusses how media technologies were used at different stages of the student's media production project.
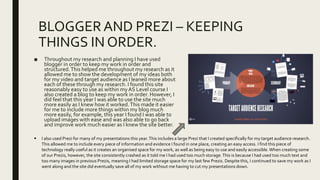
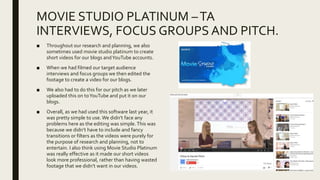
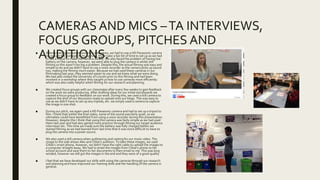
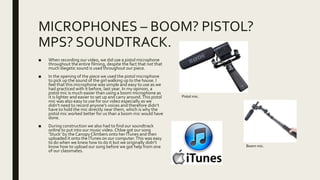
During the research and planning stage, the student used blogs, Prezi, YouTube, and websites to organize information and findings. Cameras, microphones, and movie editing software were used to record interviews, presentations, and capture feedback.
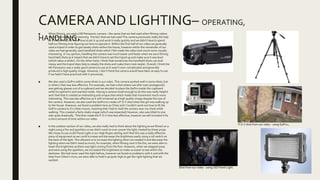
During the construction stage, the same cameras and a pistol microphone were used to film scenes for the music video. Learning how to properly operate the camera equipment from prior experience helped the filming go smoothly.
Overall, the student gained experience using various technologies at each stage and felt they improved their camera and software skills over the course of the project.