Download as PDF, PPTX
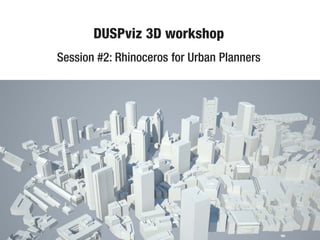
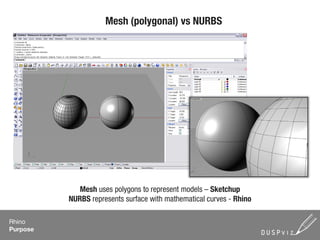
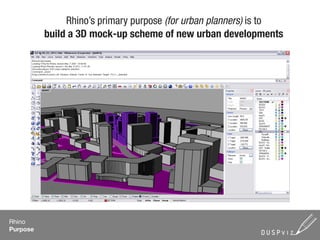
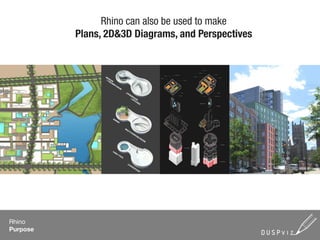
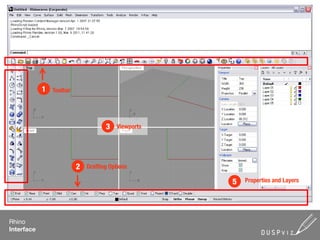
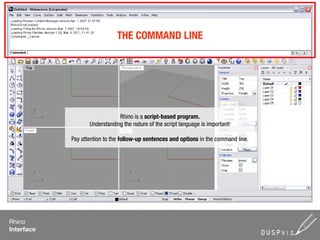
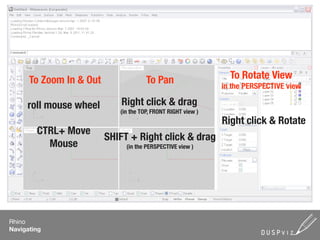
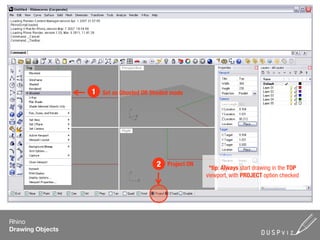

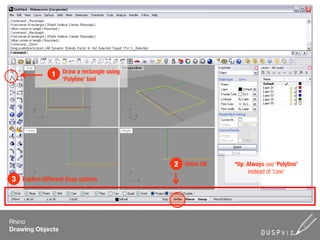
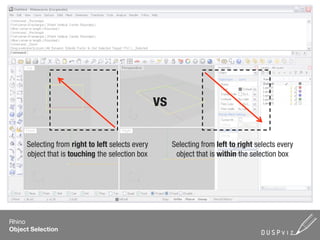
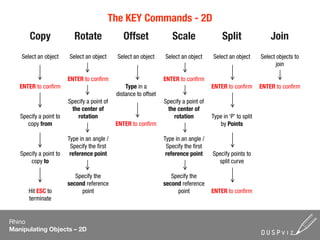
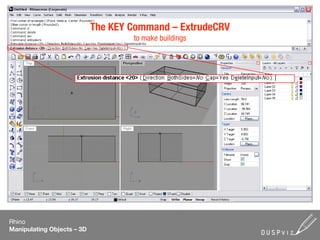
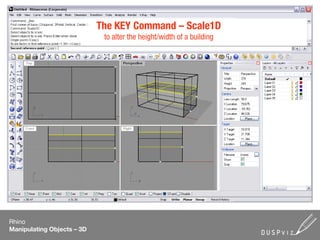
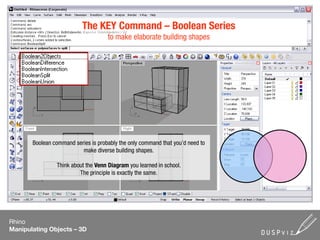
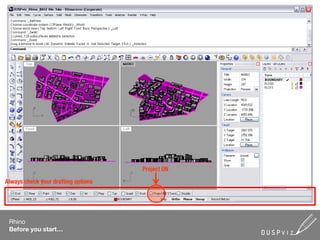
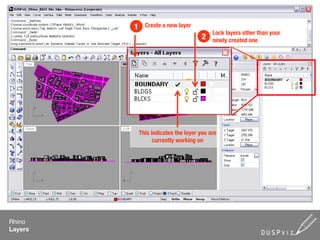
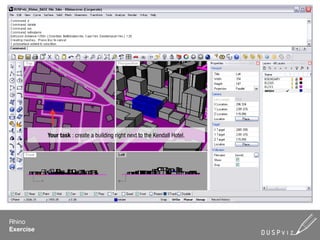
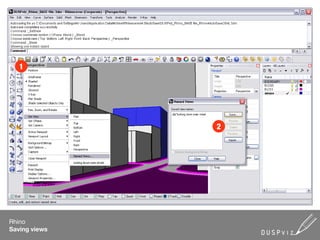

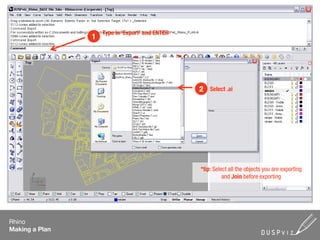
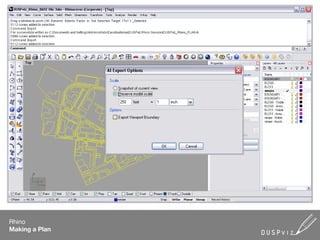
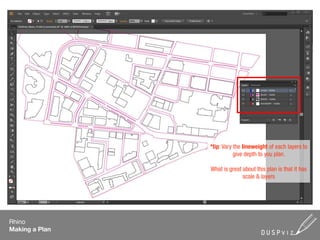
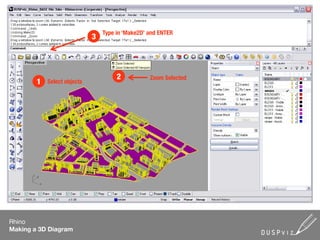
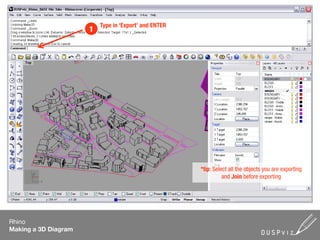
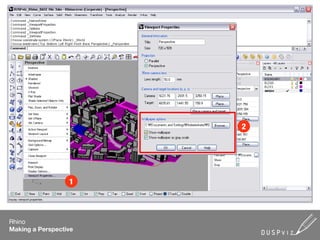

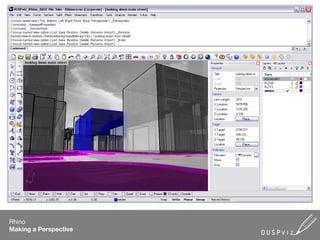
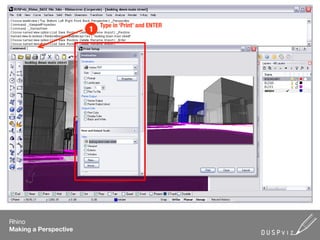
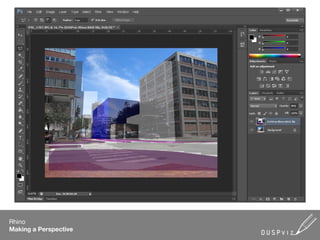
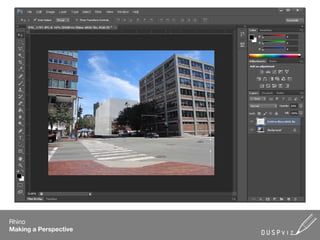
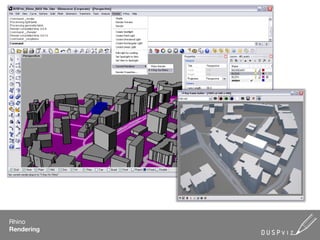
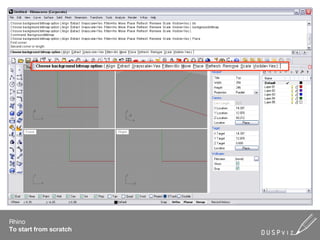

This document provides an overview of using Rhinoceros (Rhino) software for urban planning purposes. It discusses key Rhino concepts and functions, including: - Rhino can be used to build 3D mock-ups of new urban developments and create plans, diagrams, and perspectives. - The interface includes toolbars, drafting options, viewports, and layer/property controls. - Navigation uses mouse wheel, panning, and rotation. Objects are drawn using tools, manipulated via commands like Copy, Rotate, Offset, and Scale. - Layers organize work and Boolean operations combine shapes. Plans, diagrams and perspectives are produced using commands like Make2D, Export, and Print