Downloaded 147 times

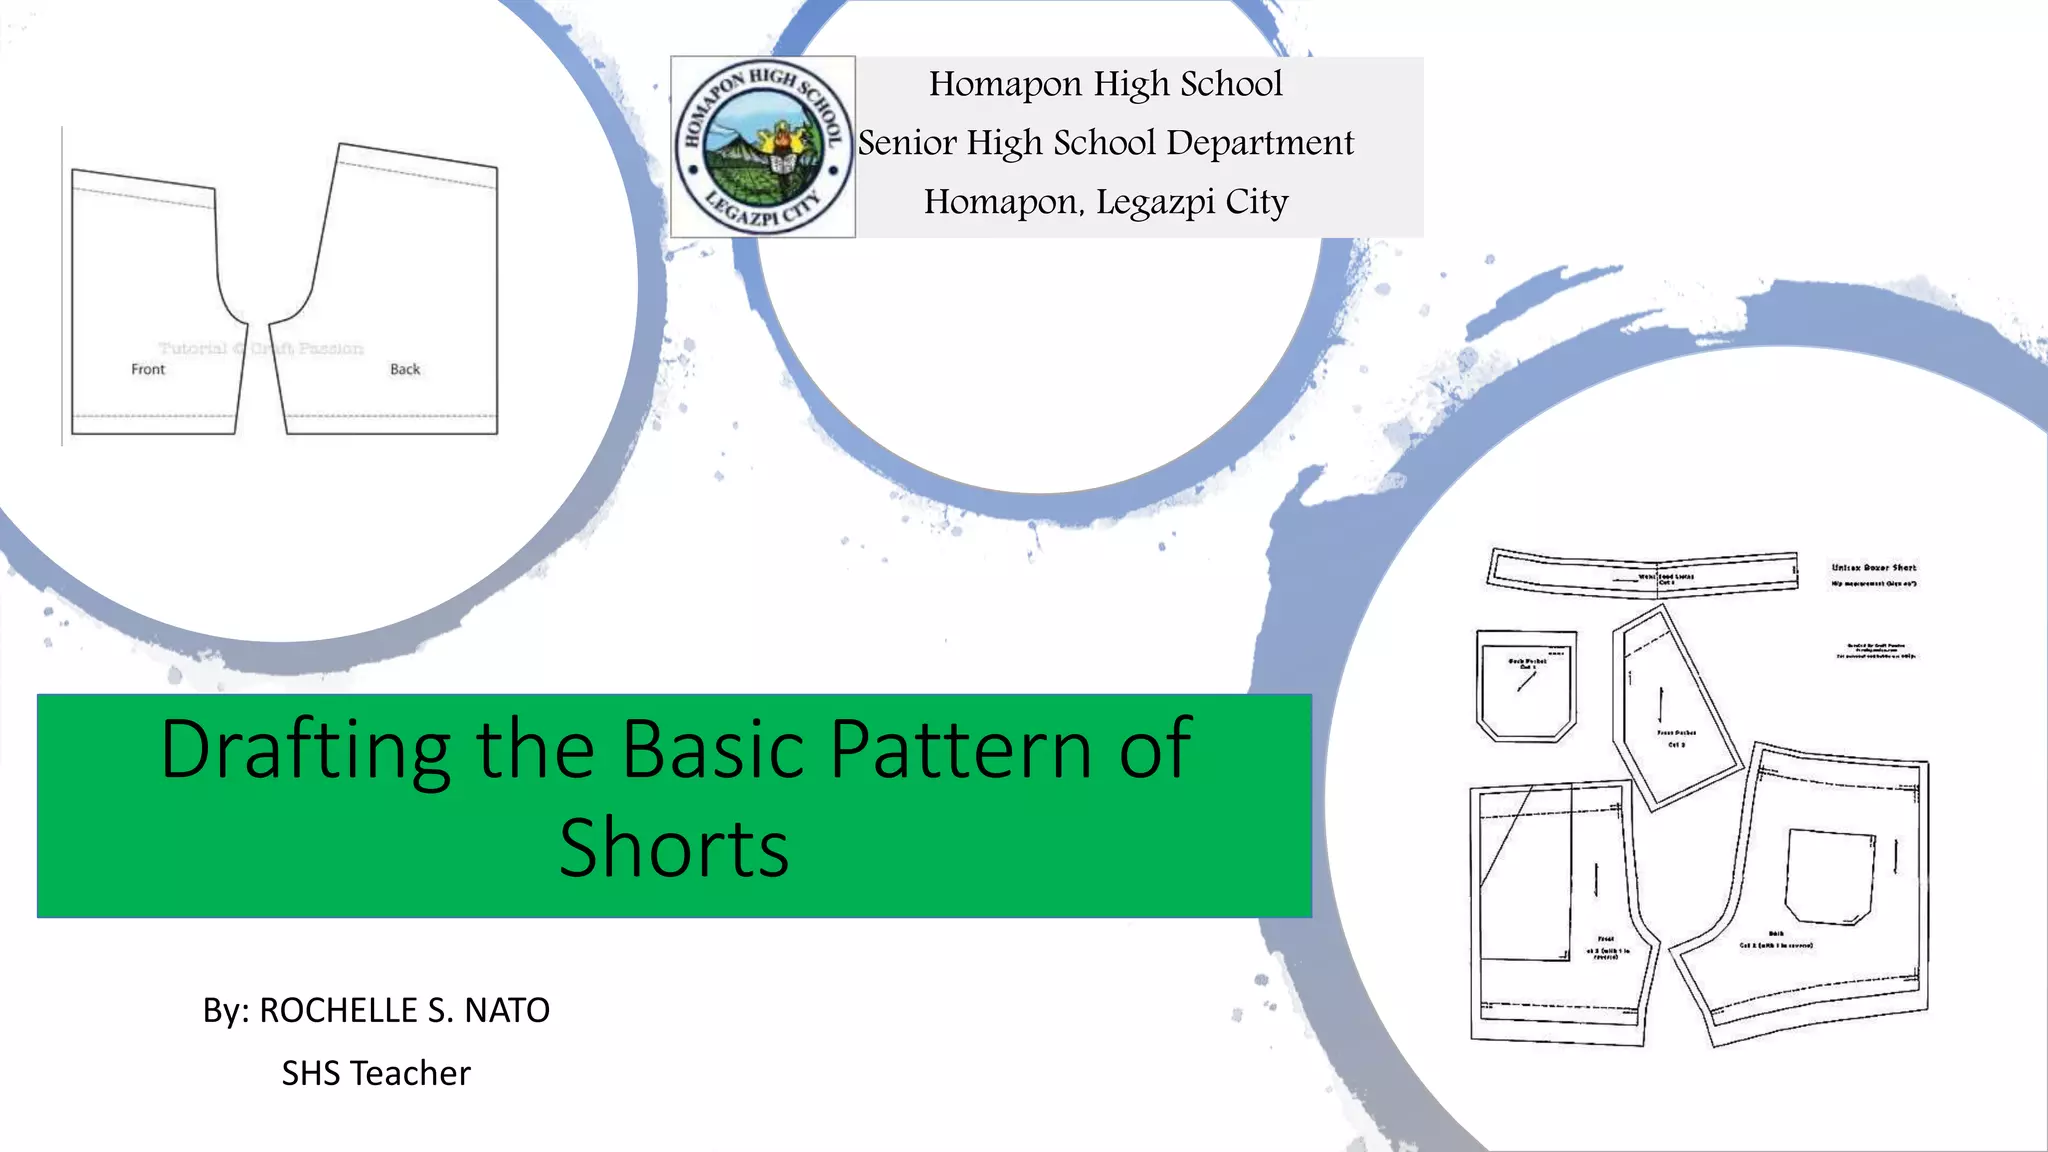
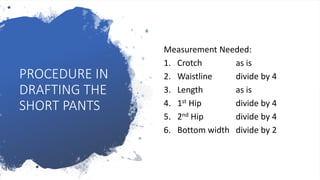
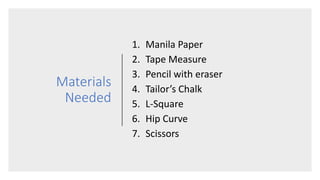


This document provides instructions for drafting the basic pattern for shorts. It outlines the necessary measurements, materials, and step-by-step procedures for drafting both the front and back parts of the shorts pattern. For the front, it describes marking the center line and shaping the front piece. For the back, it describes transferring lines from the front pattern, marking darts and waistband, and shaping the back crotch. Students are then instructed to draft their own shorts pattern while being evaluated based on following procedures correctly, neatness, and proper use of tools.