After successful pollination and fertilization in Fast Plants:
1. Flower parts other than the pistil wither while the pistil begins rapidly enlarging to become a pod containing developing seeds.
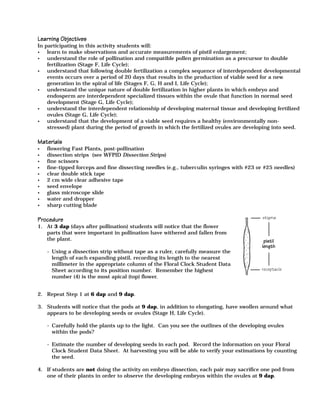
2. Students measure the increasing length of pistils at 3, 6, and 9 days after pollination, observing the outlines of developing ovules and embryos within enlarging pods.
3. By 20 days after pollination, embryos have matured into viable seeds, completing the life cycle from one generation to the next.