Download to read offline


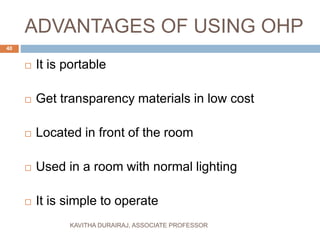
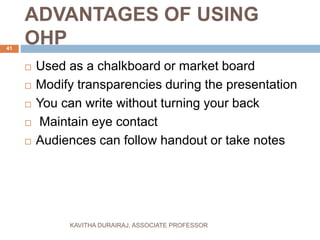
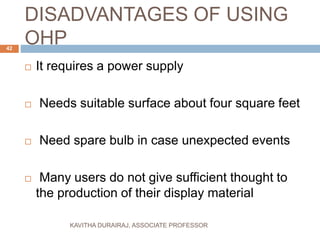
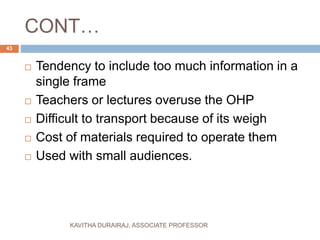
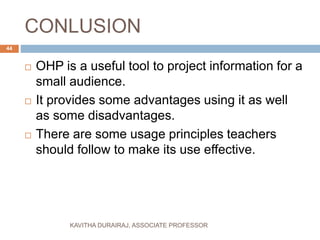


This document discusses the use of overhead projectors (OHP) as an educational audiovisual aid. It defines an OHP and its parts, and outlines how to effectively design and present materials using transparencies. Key advantages of OHP include portability, low material costs, and maintaining eye contact with students. Potential disadvantages are the need for a power supply and spare bulbs in case of malfunctions. Proper use of OHP can engage students and enhance learning.


