The document provides instructions for creating a map in ArcGIS:
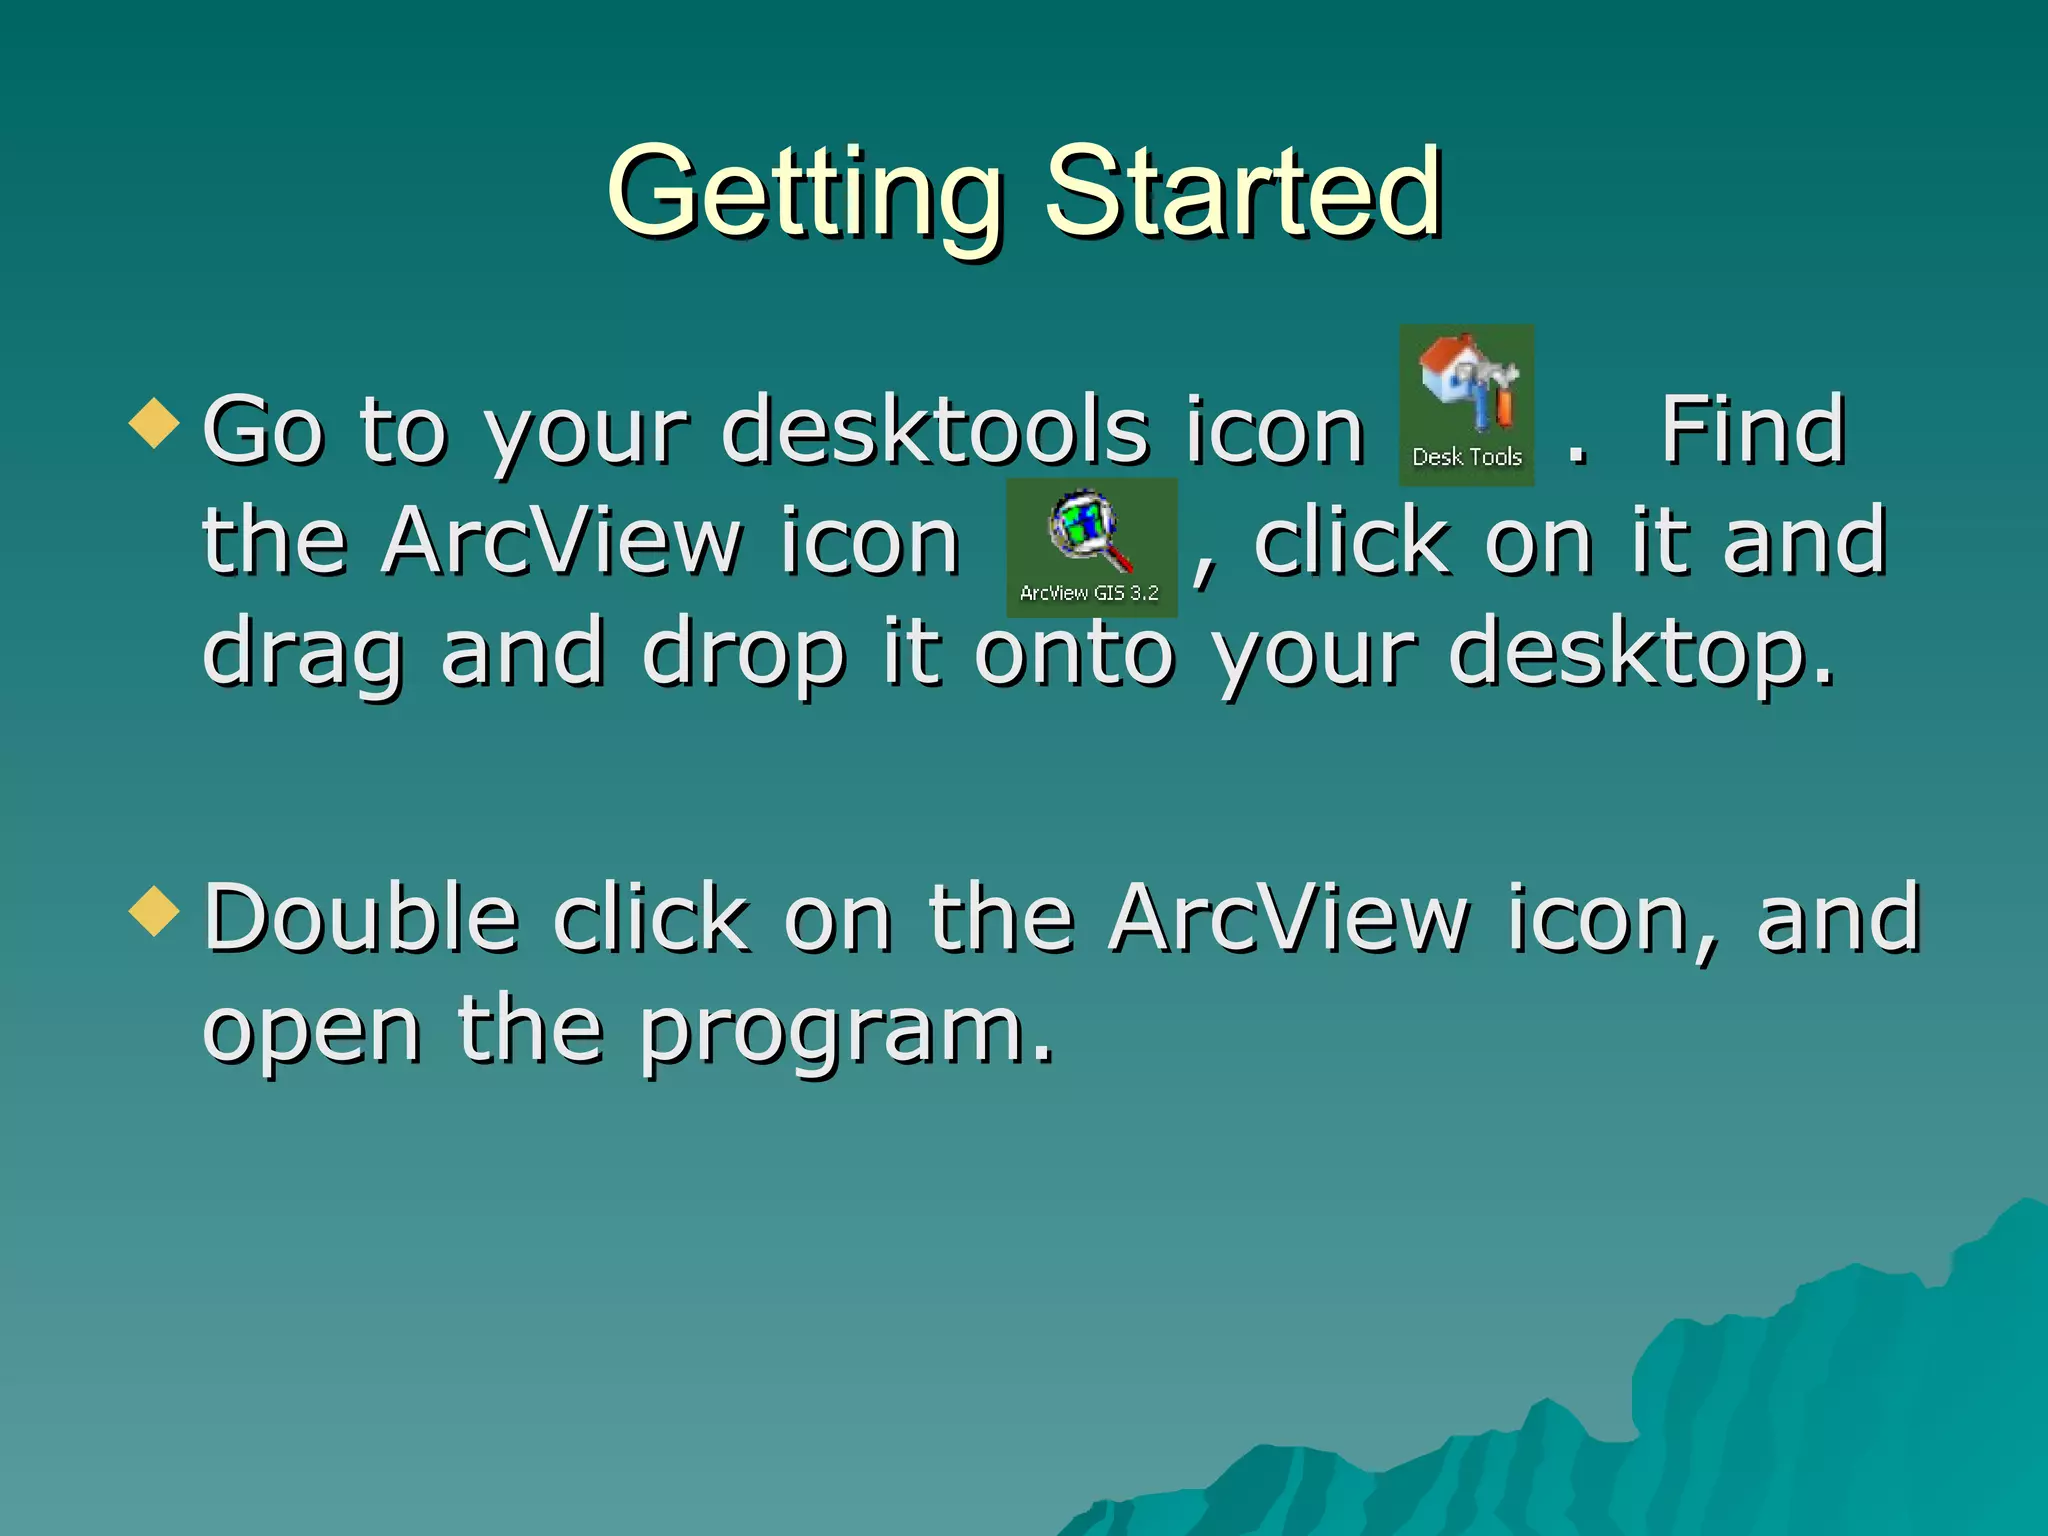
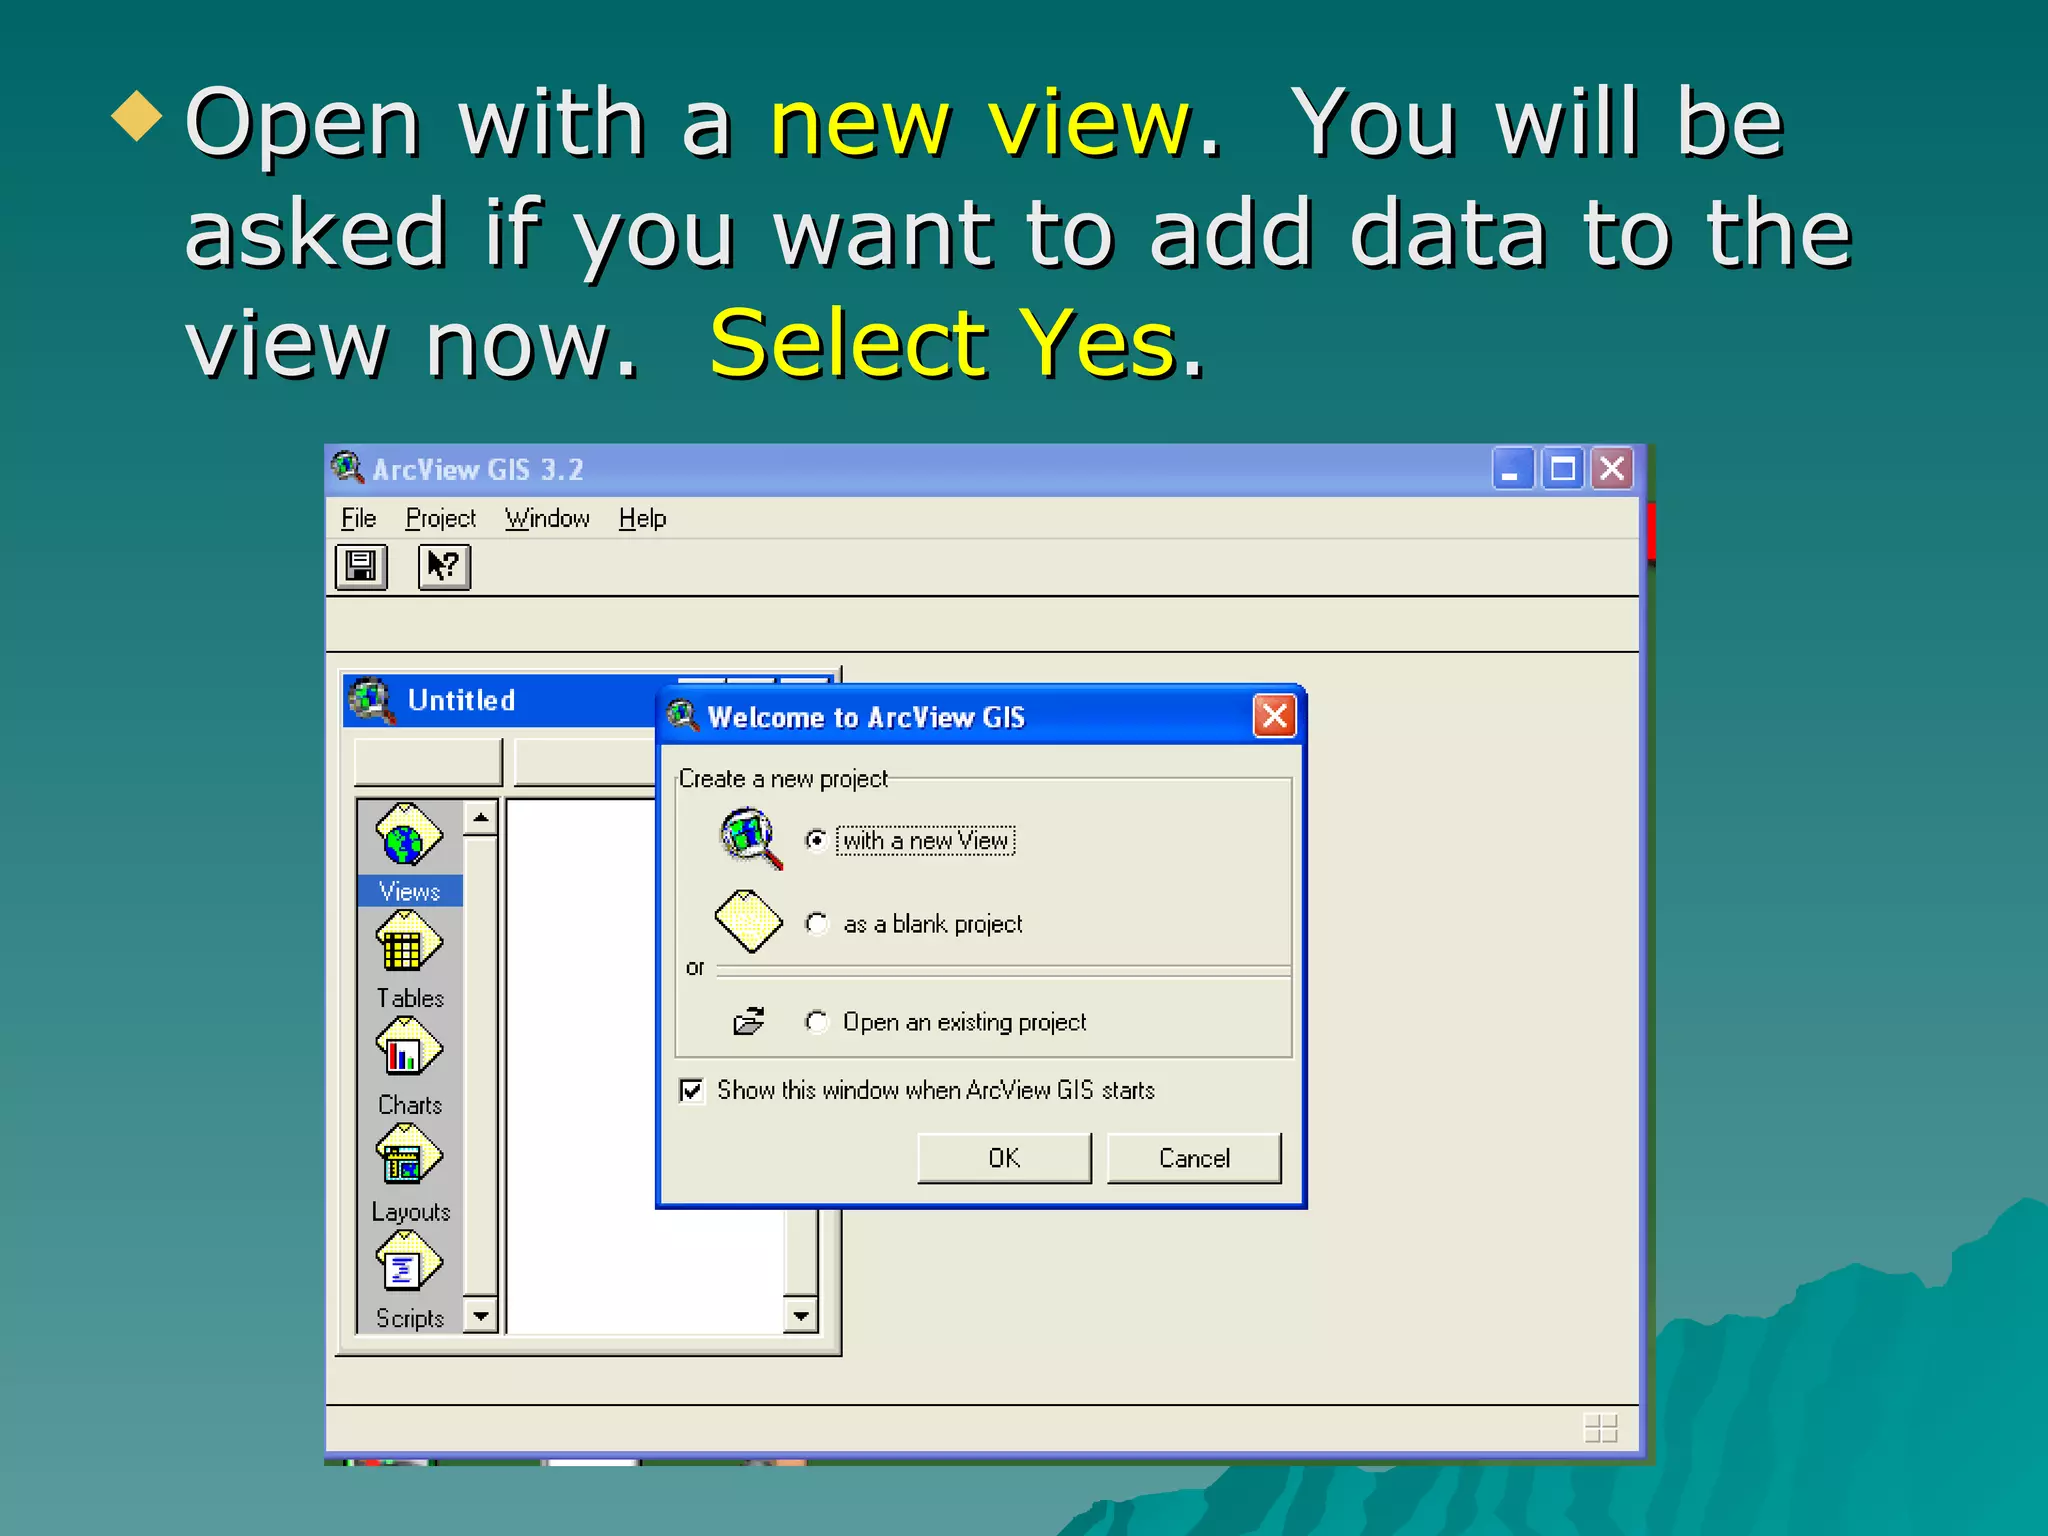
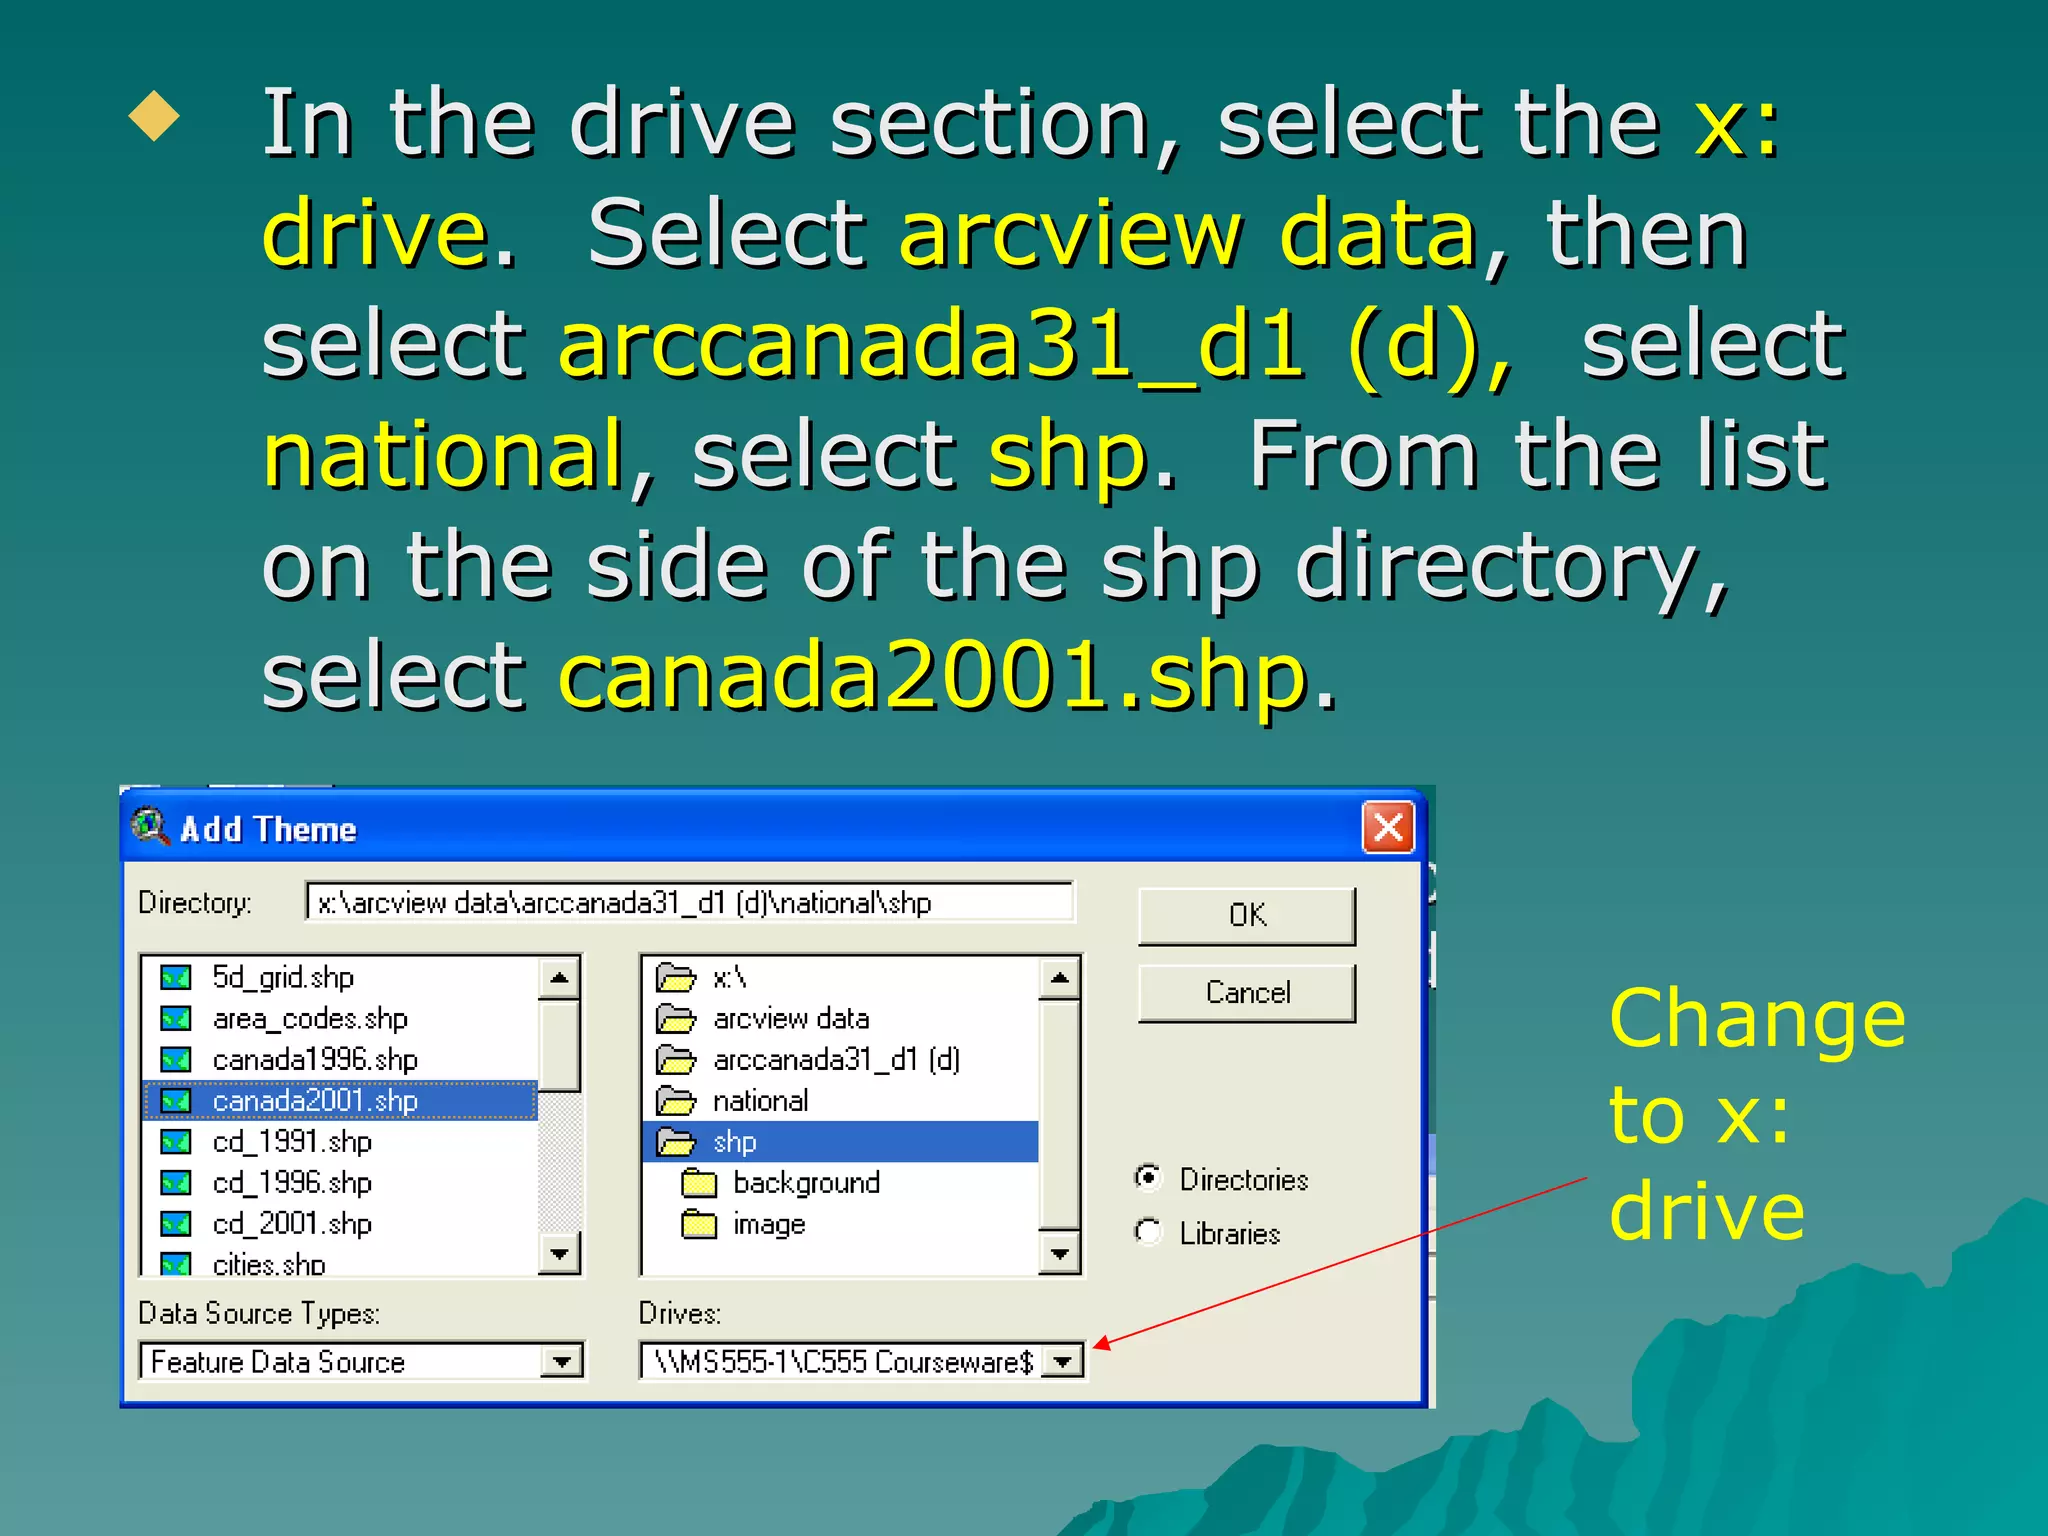
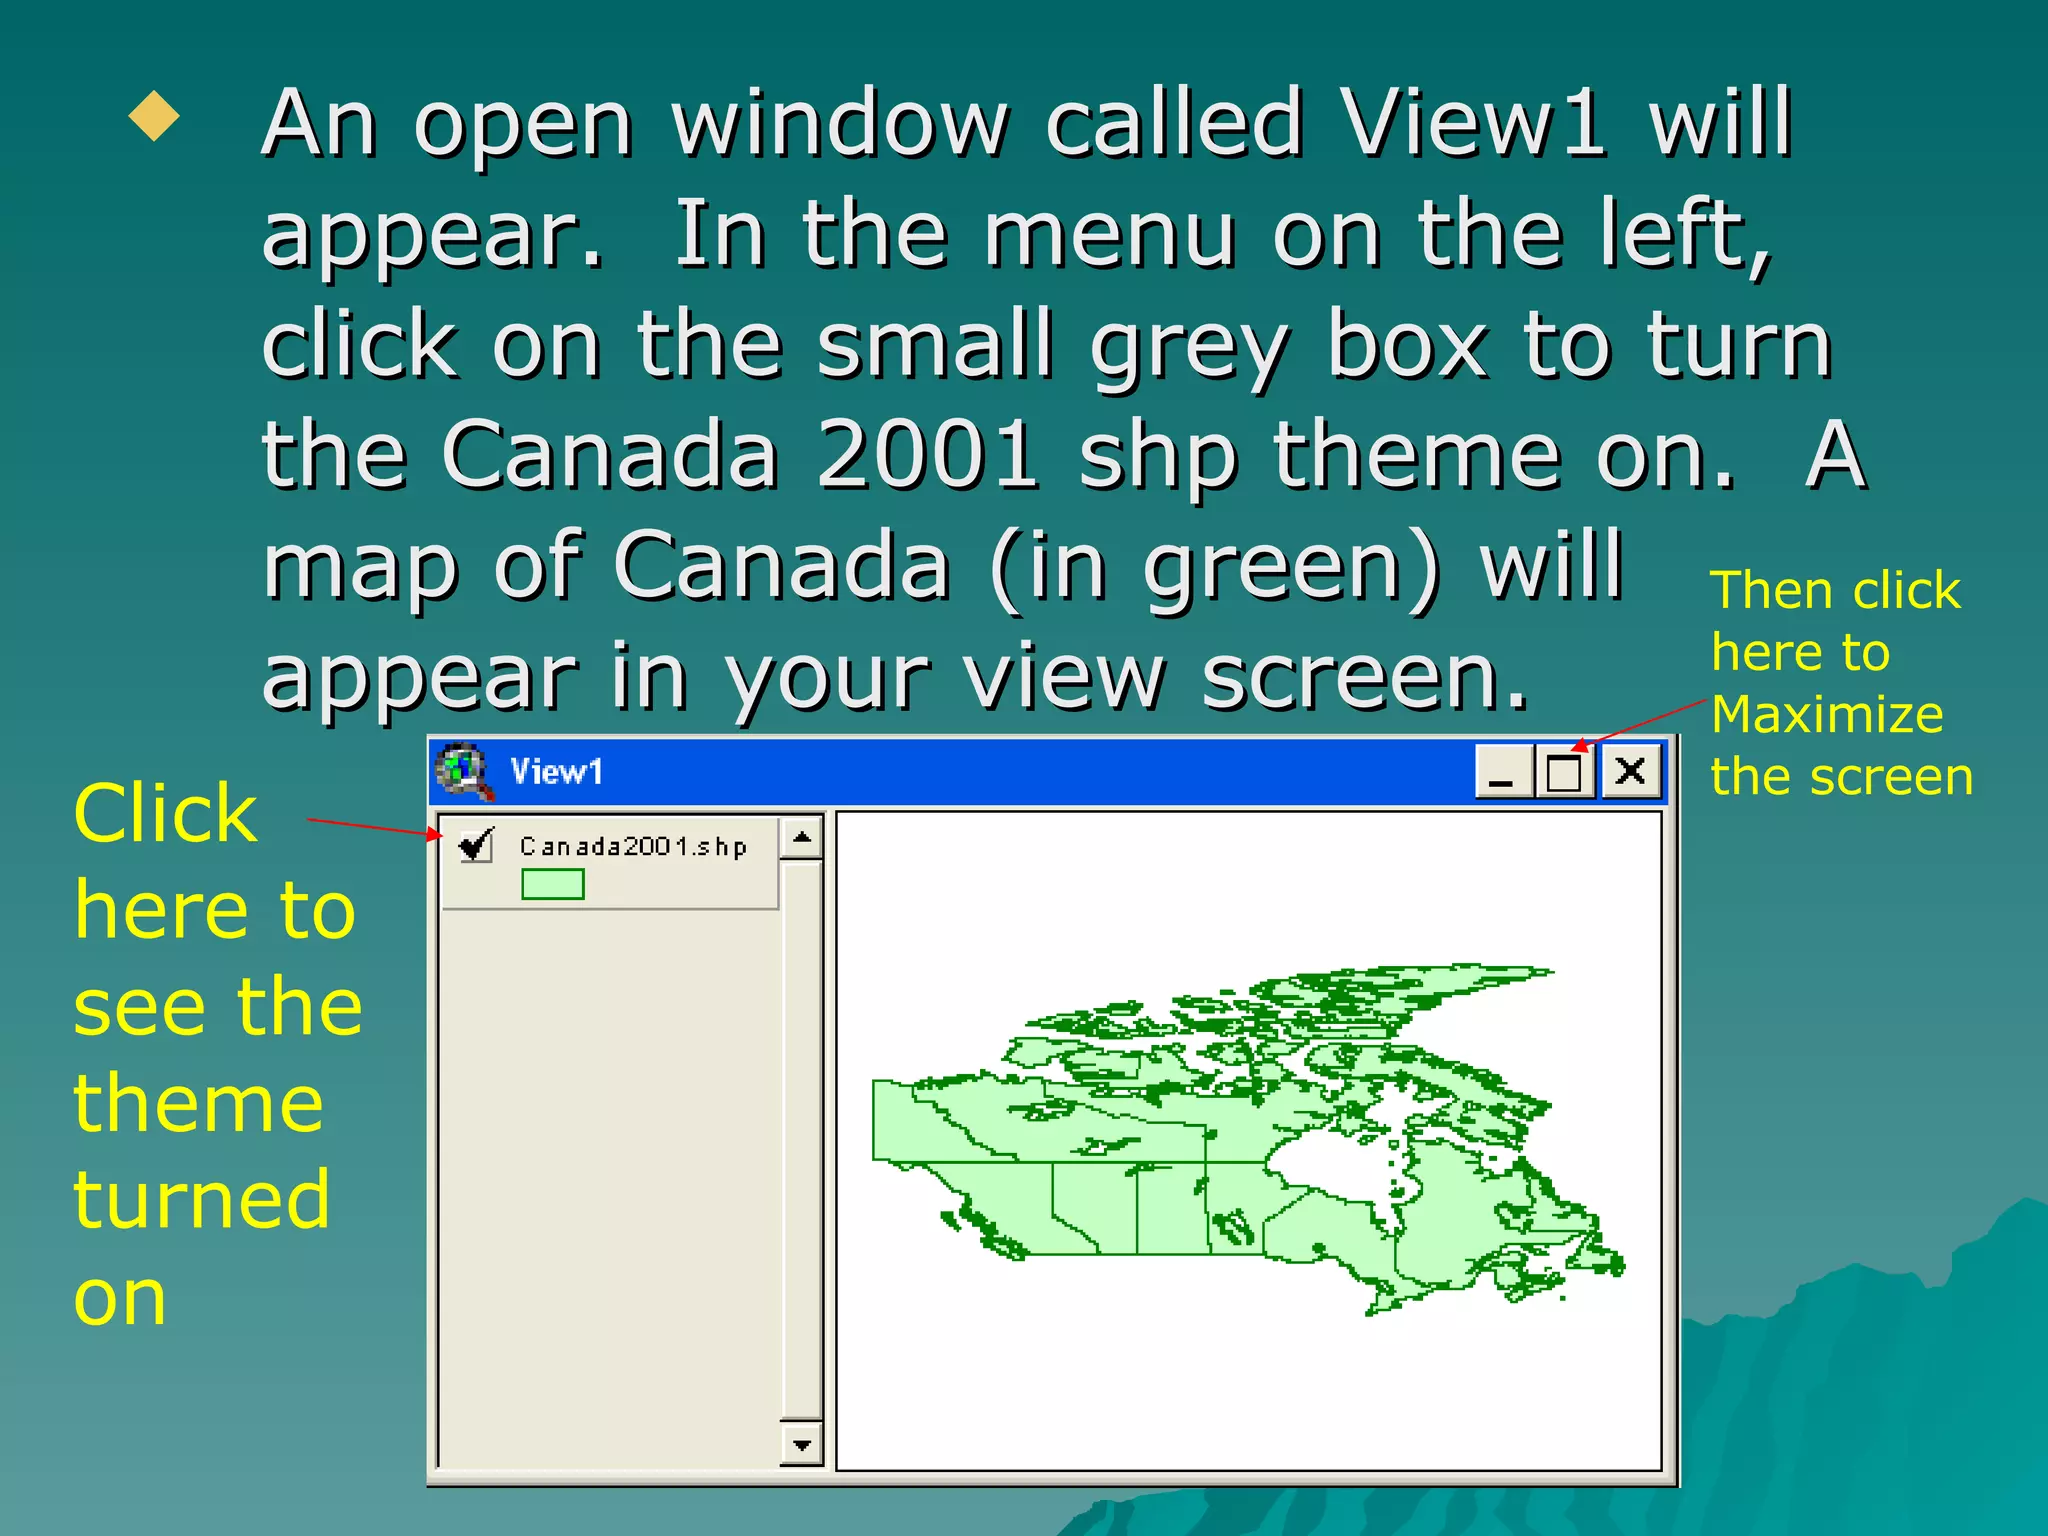
1. Open ArcView and add Canada shapefile data to create a base map of Canada.
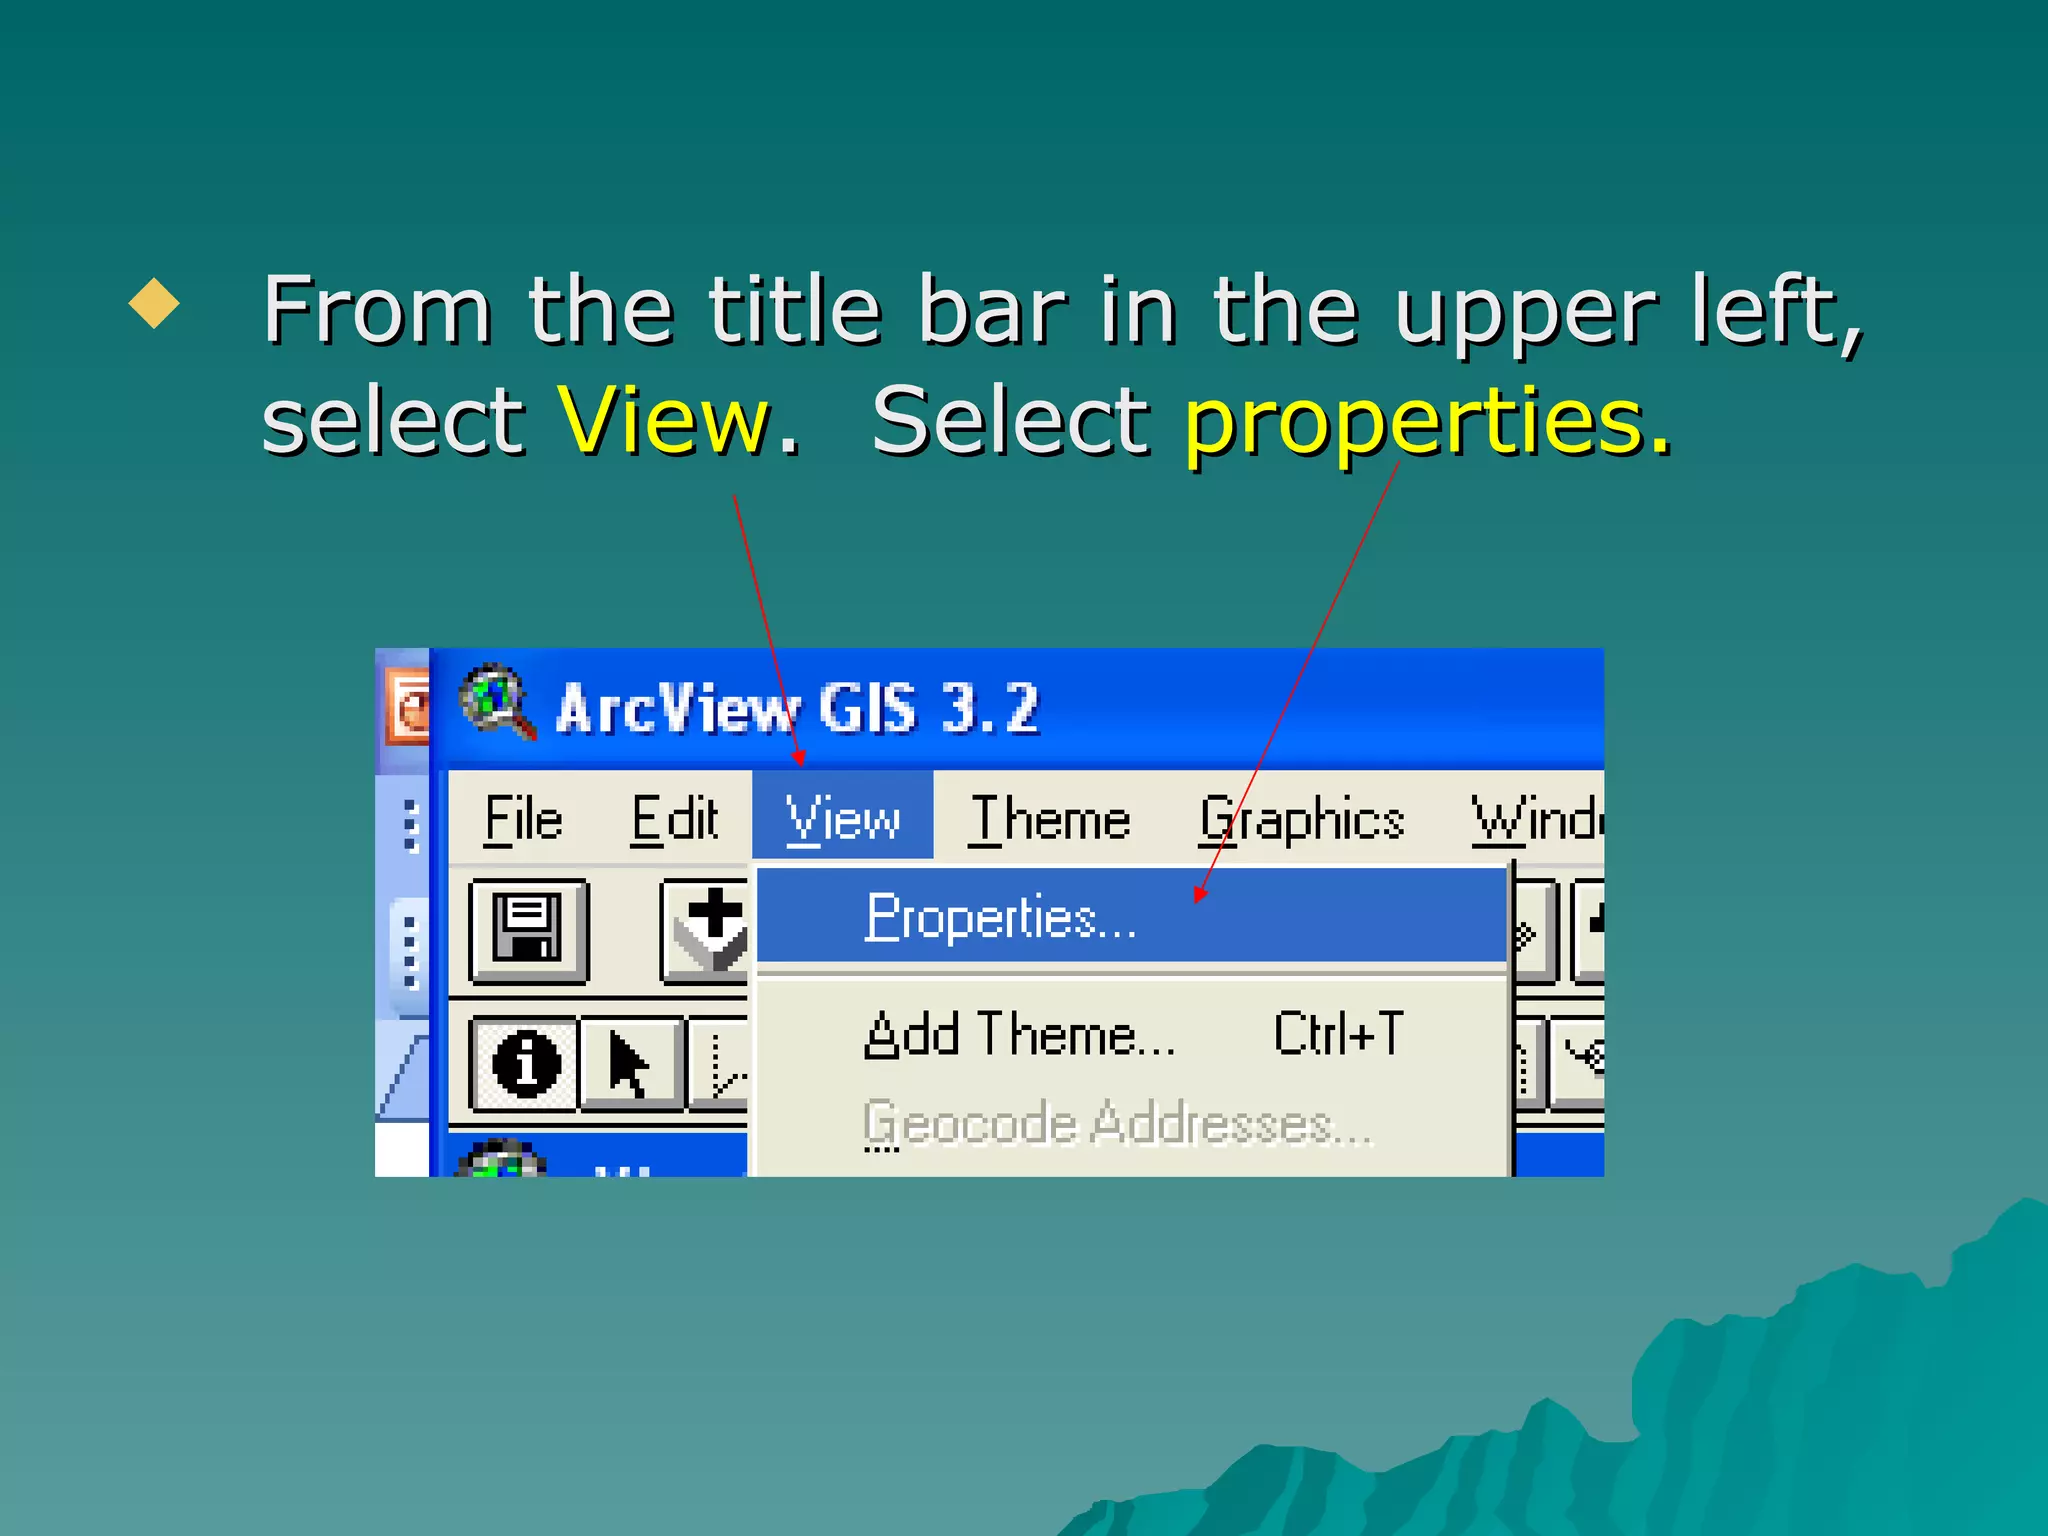
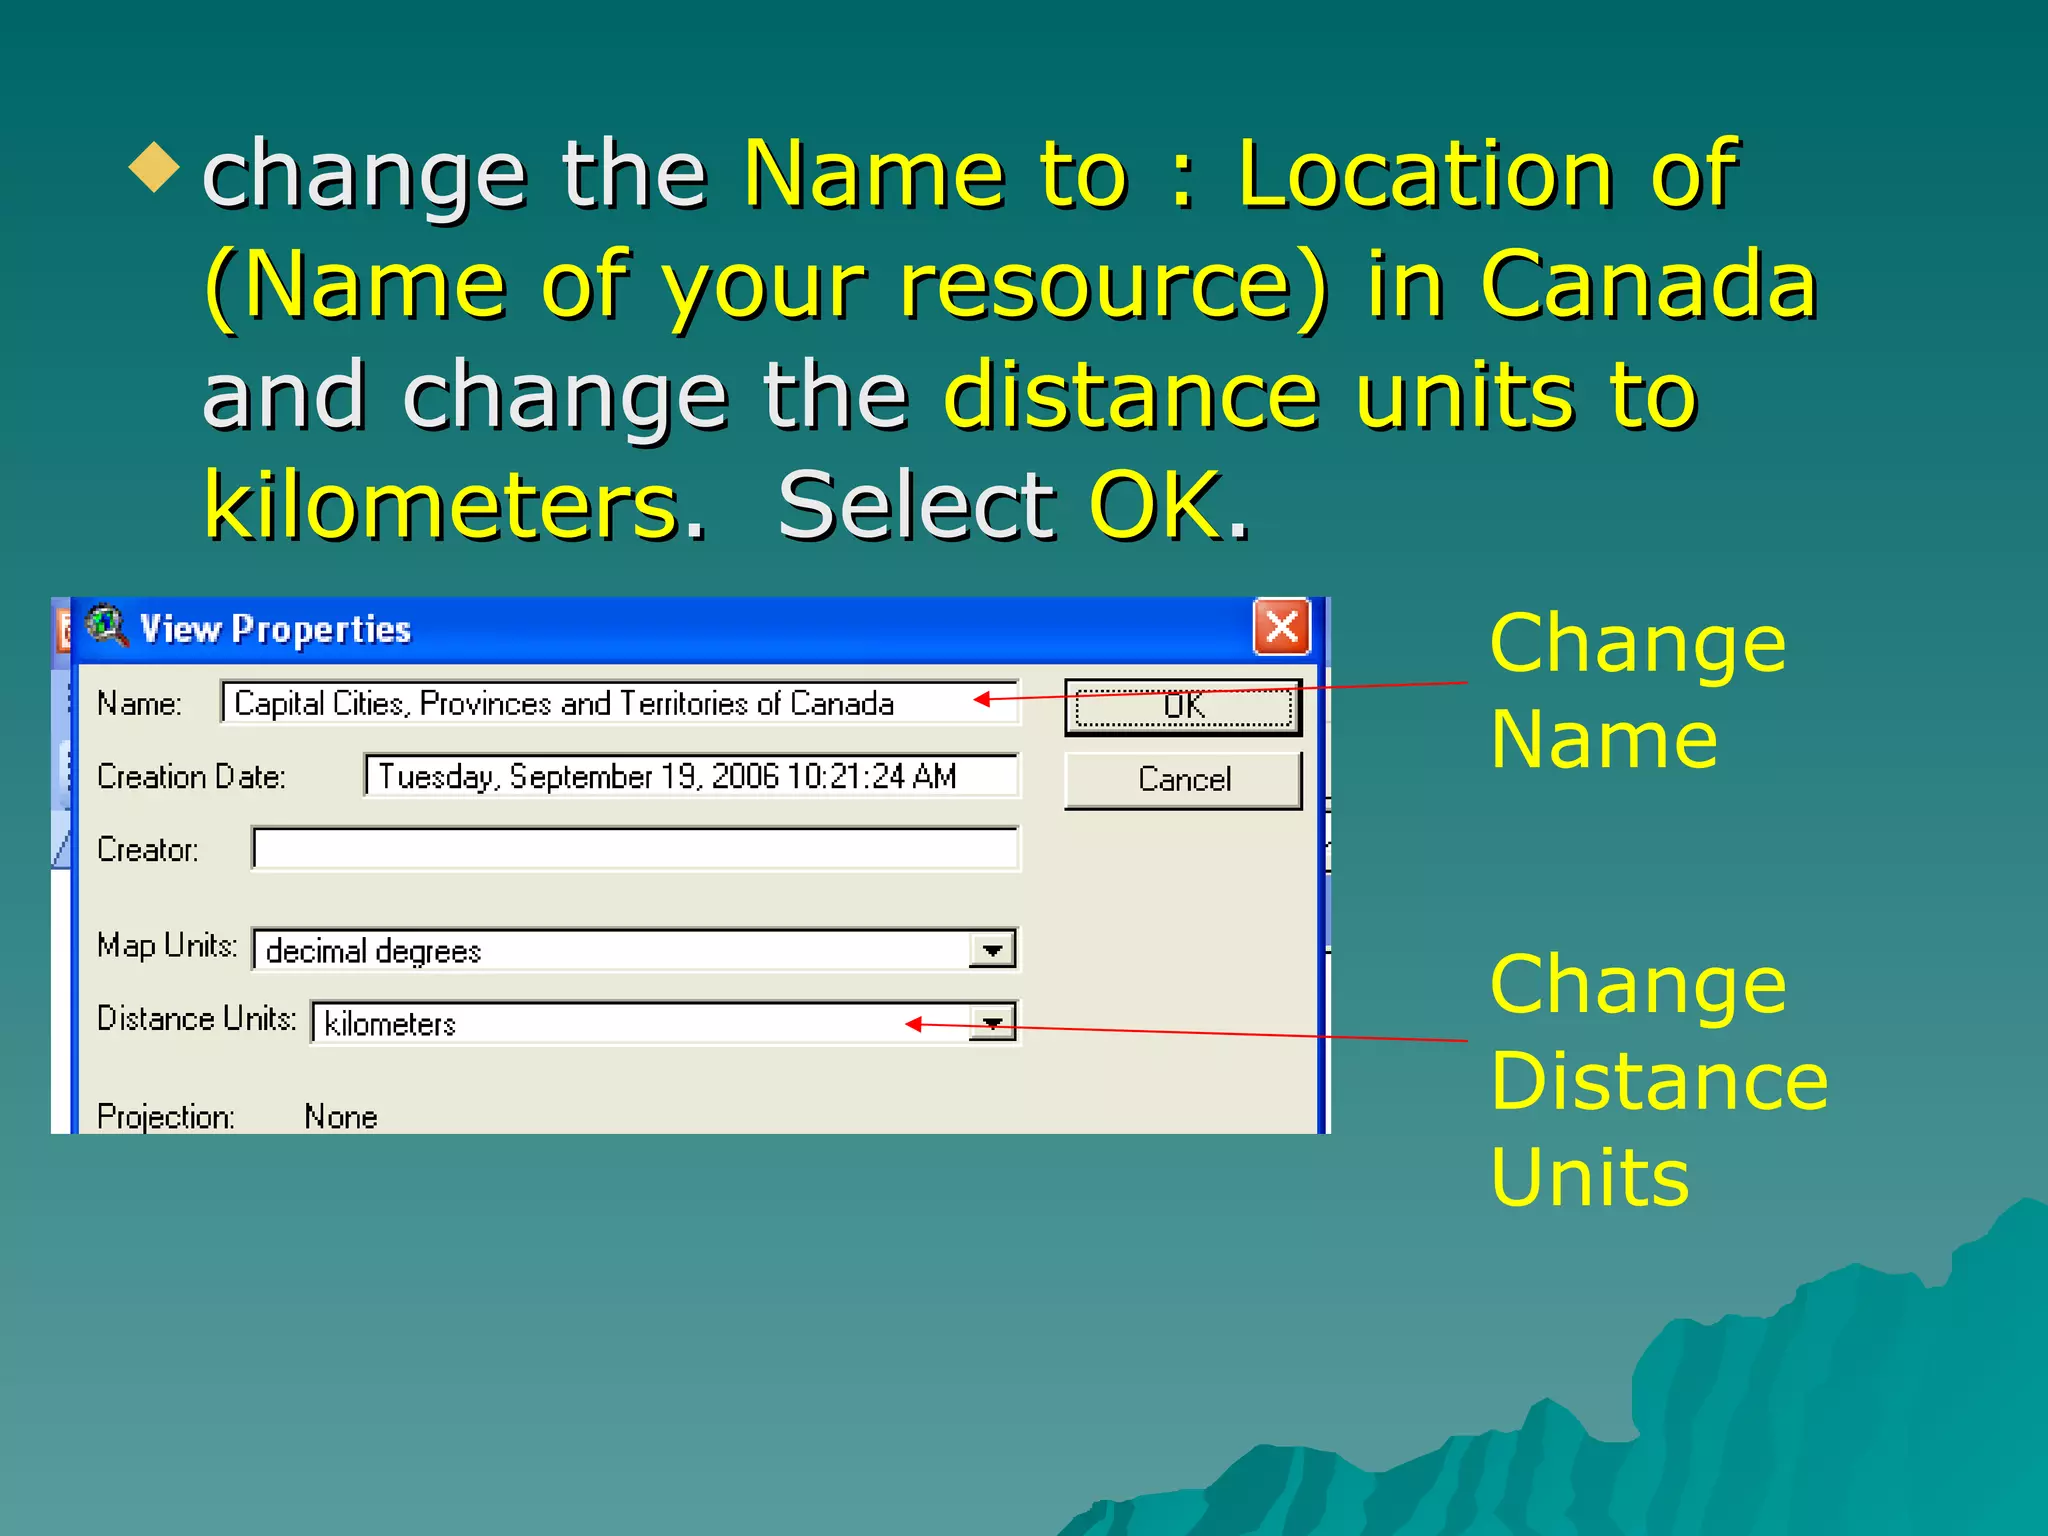
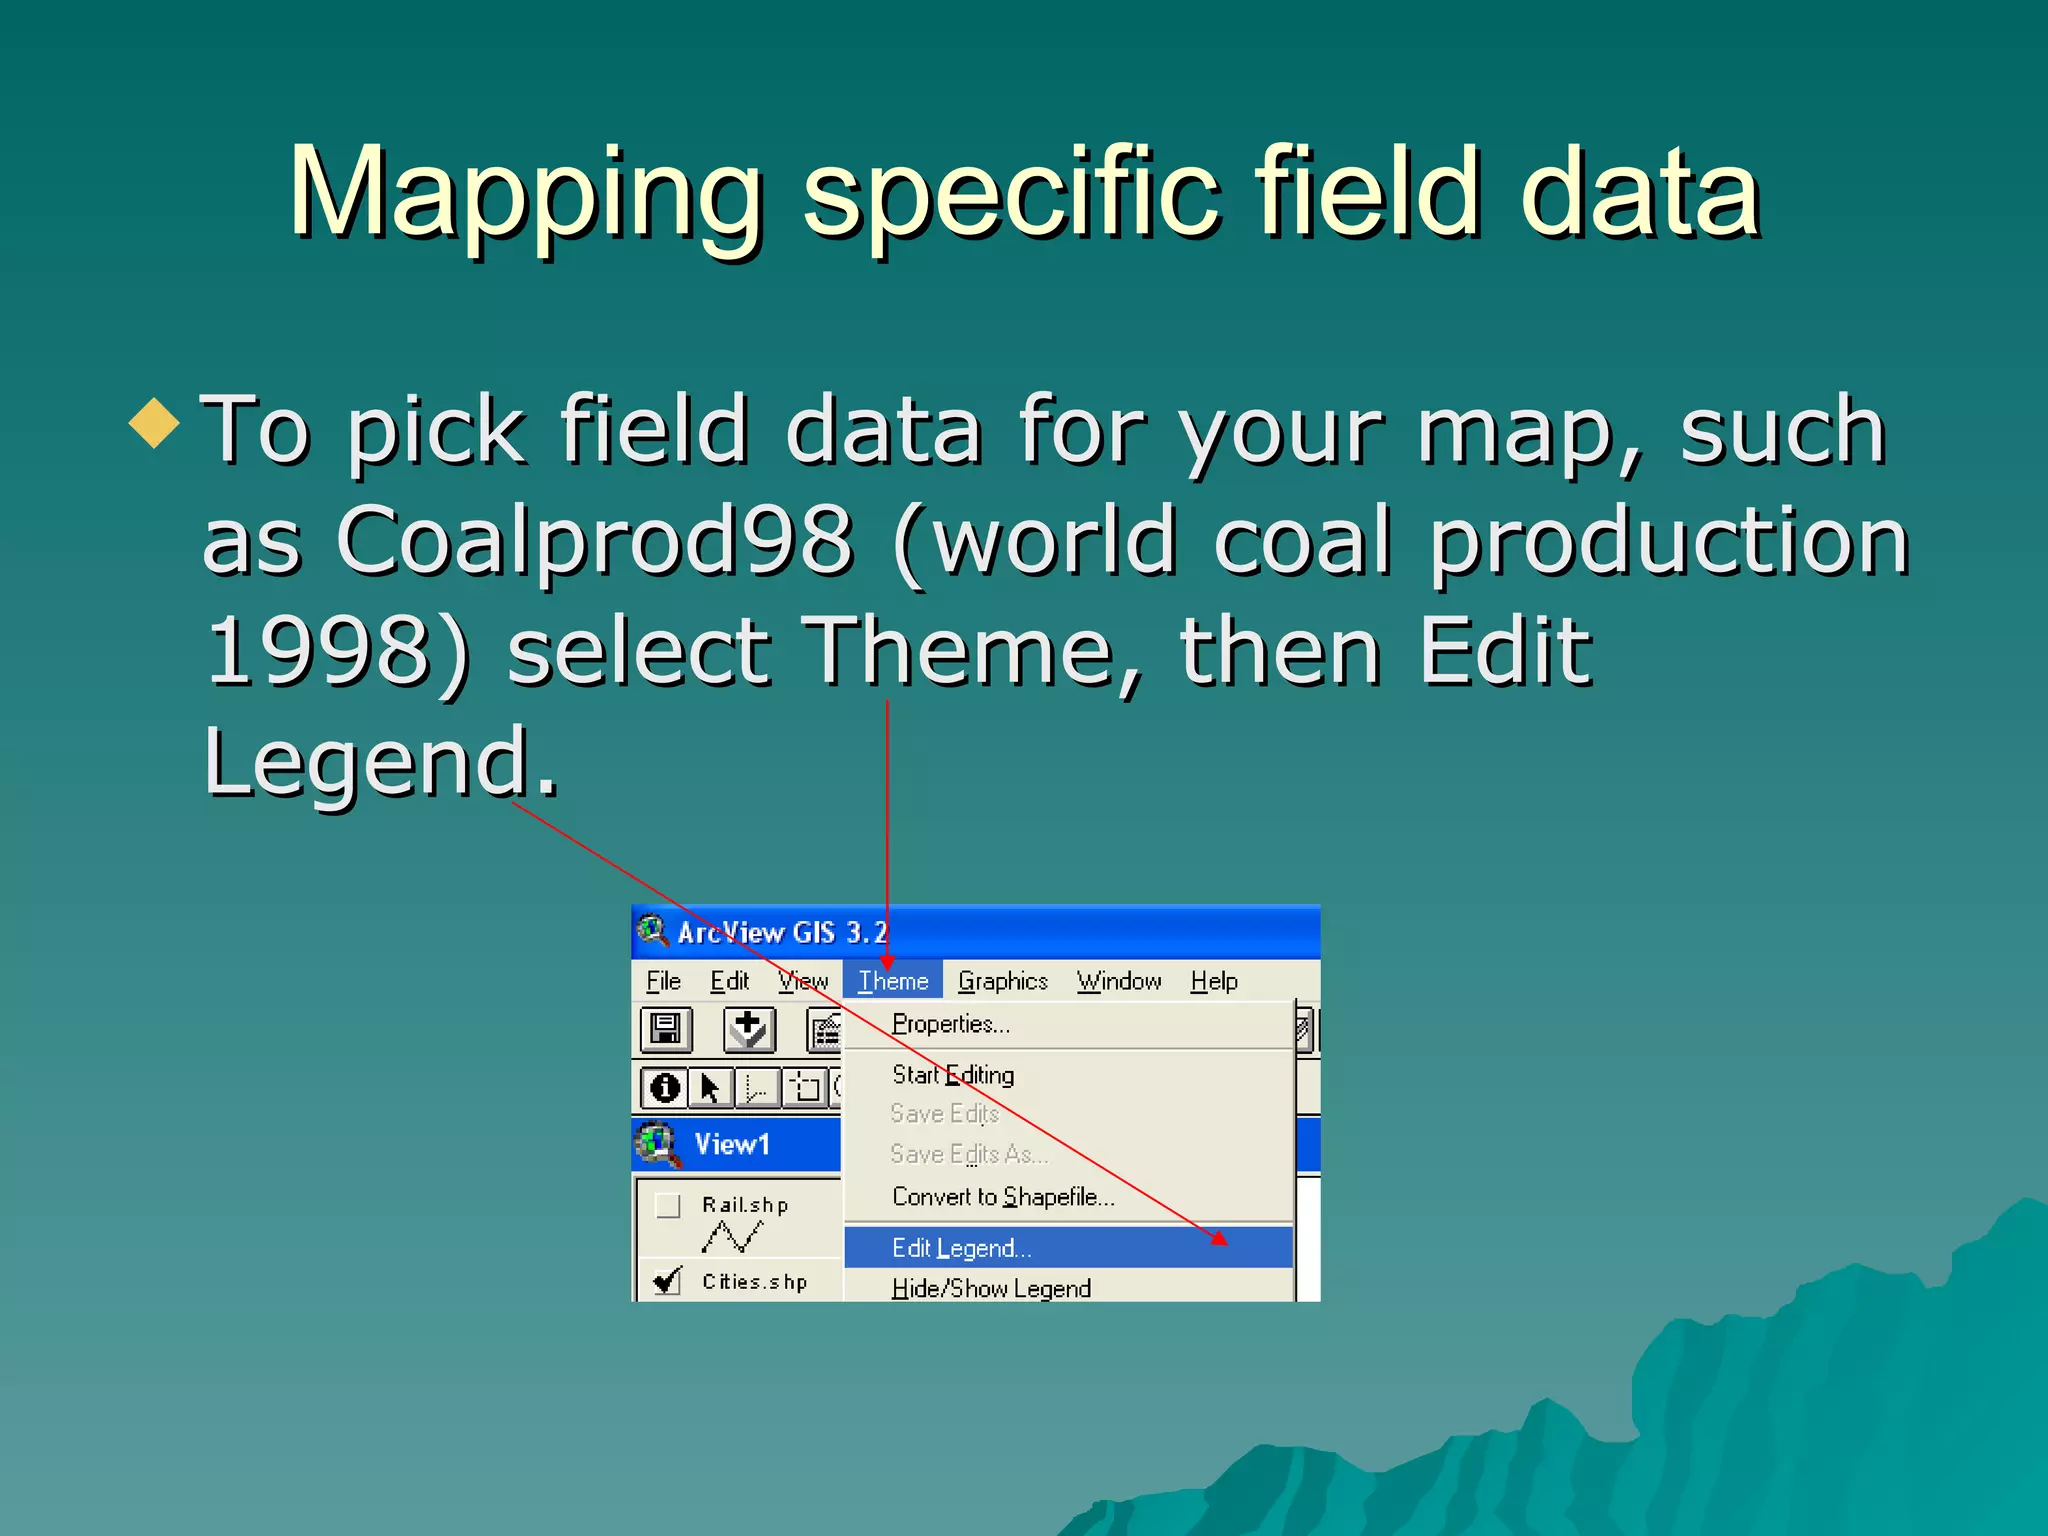
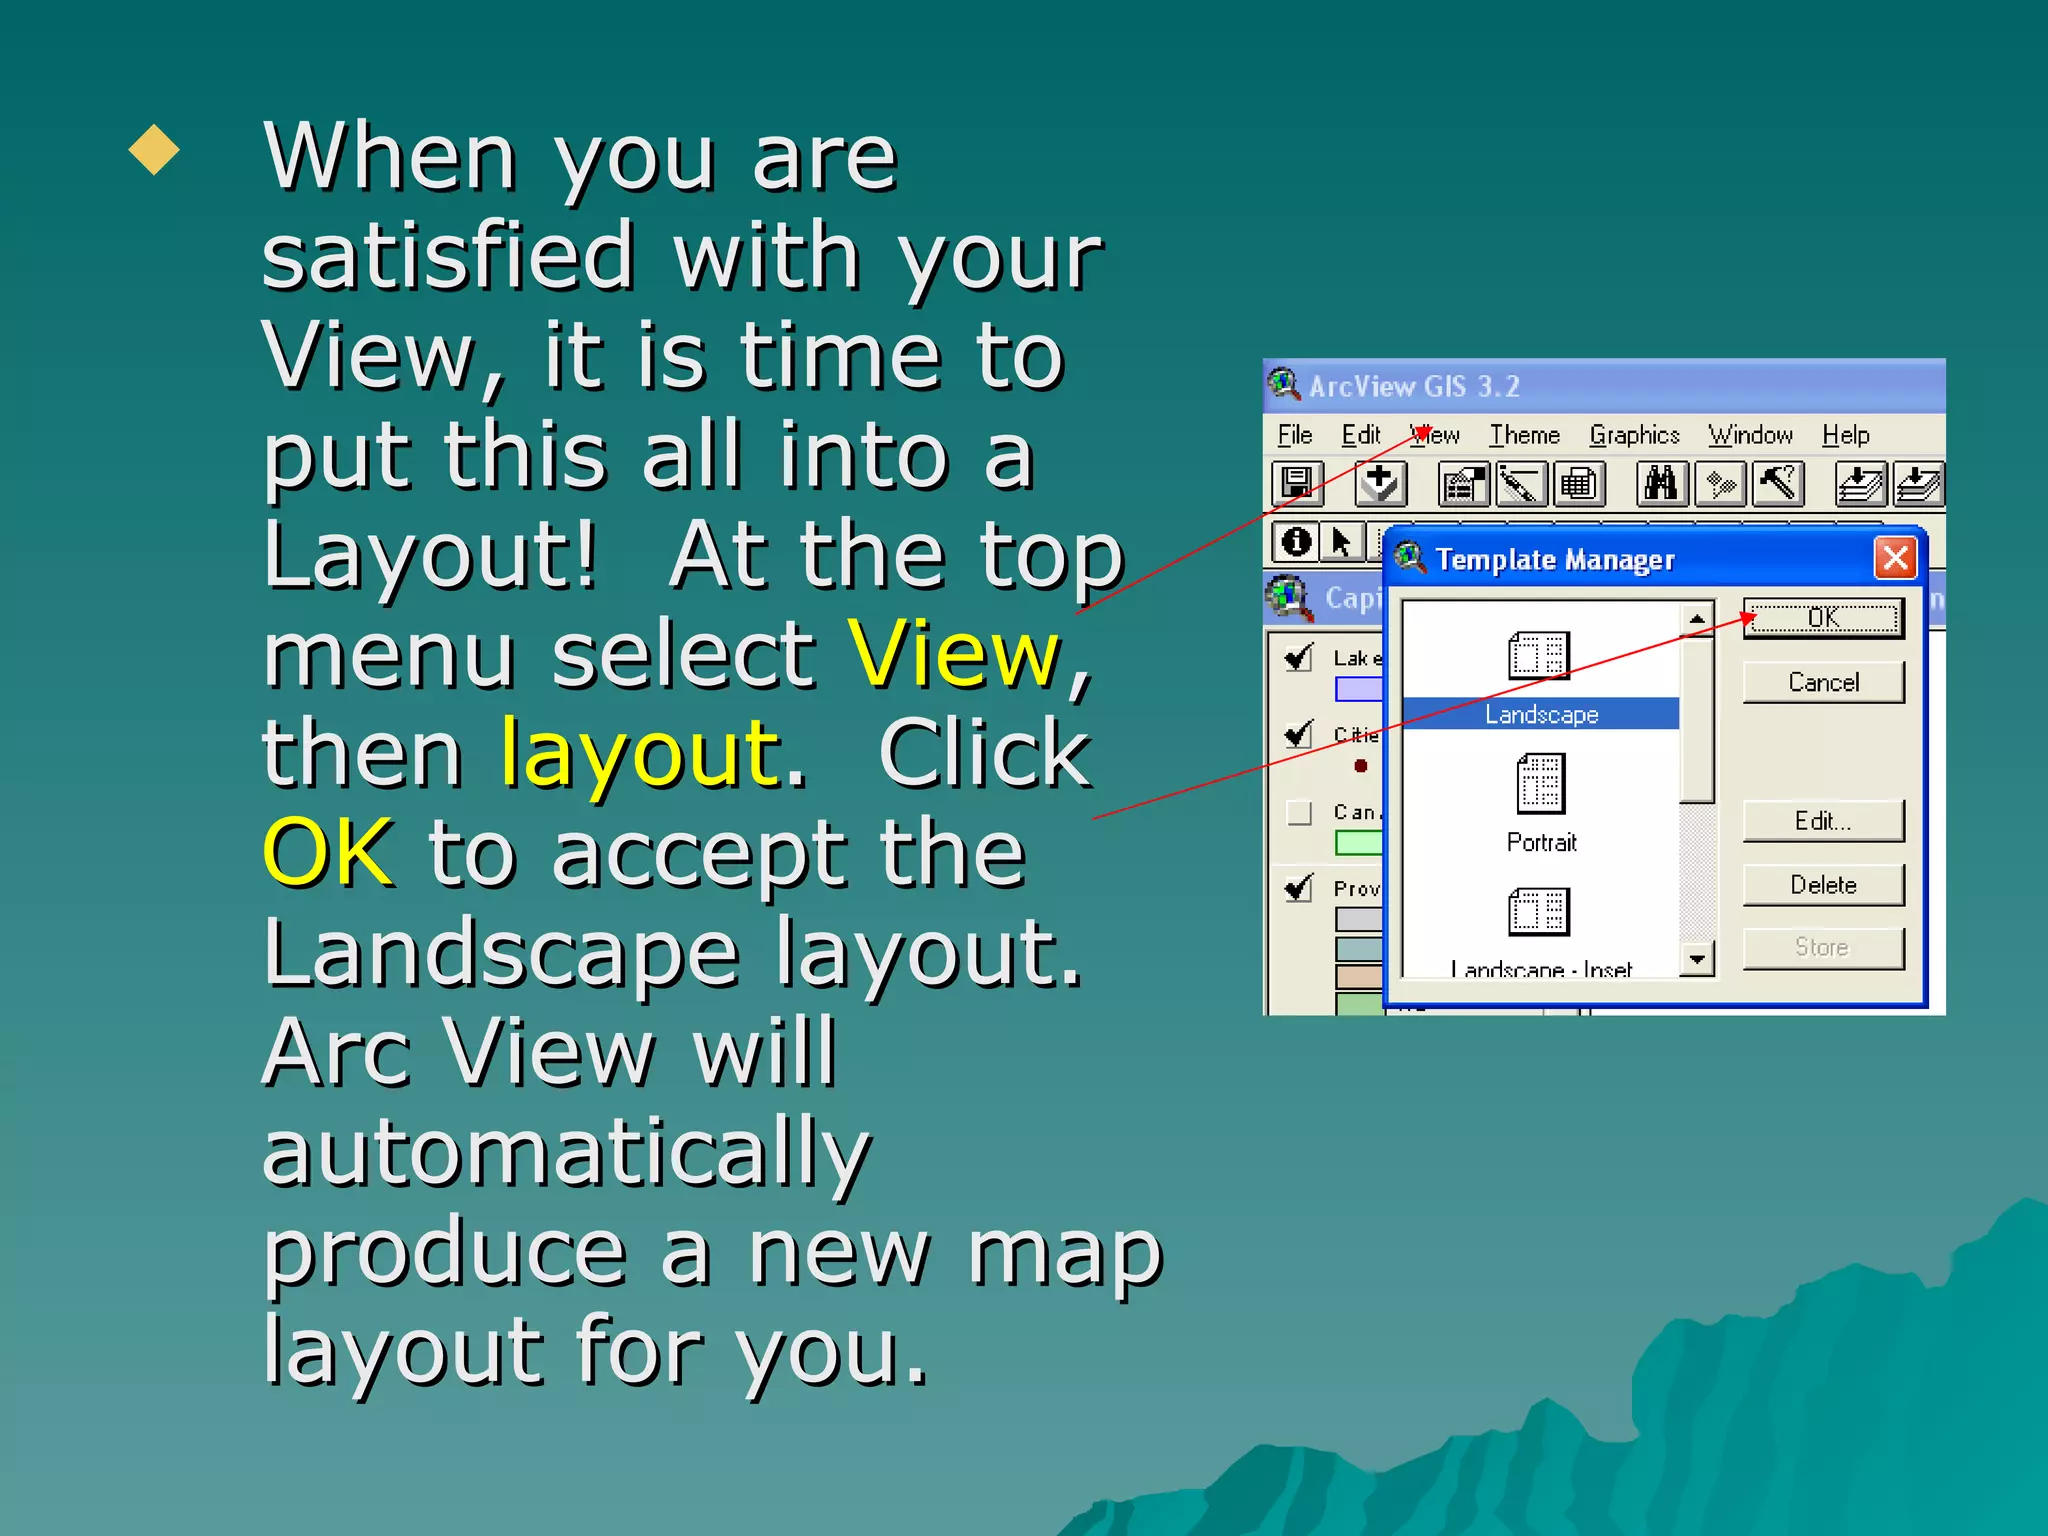
2. Customize the map properties and add additional themes.
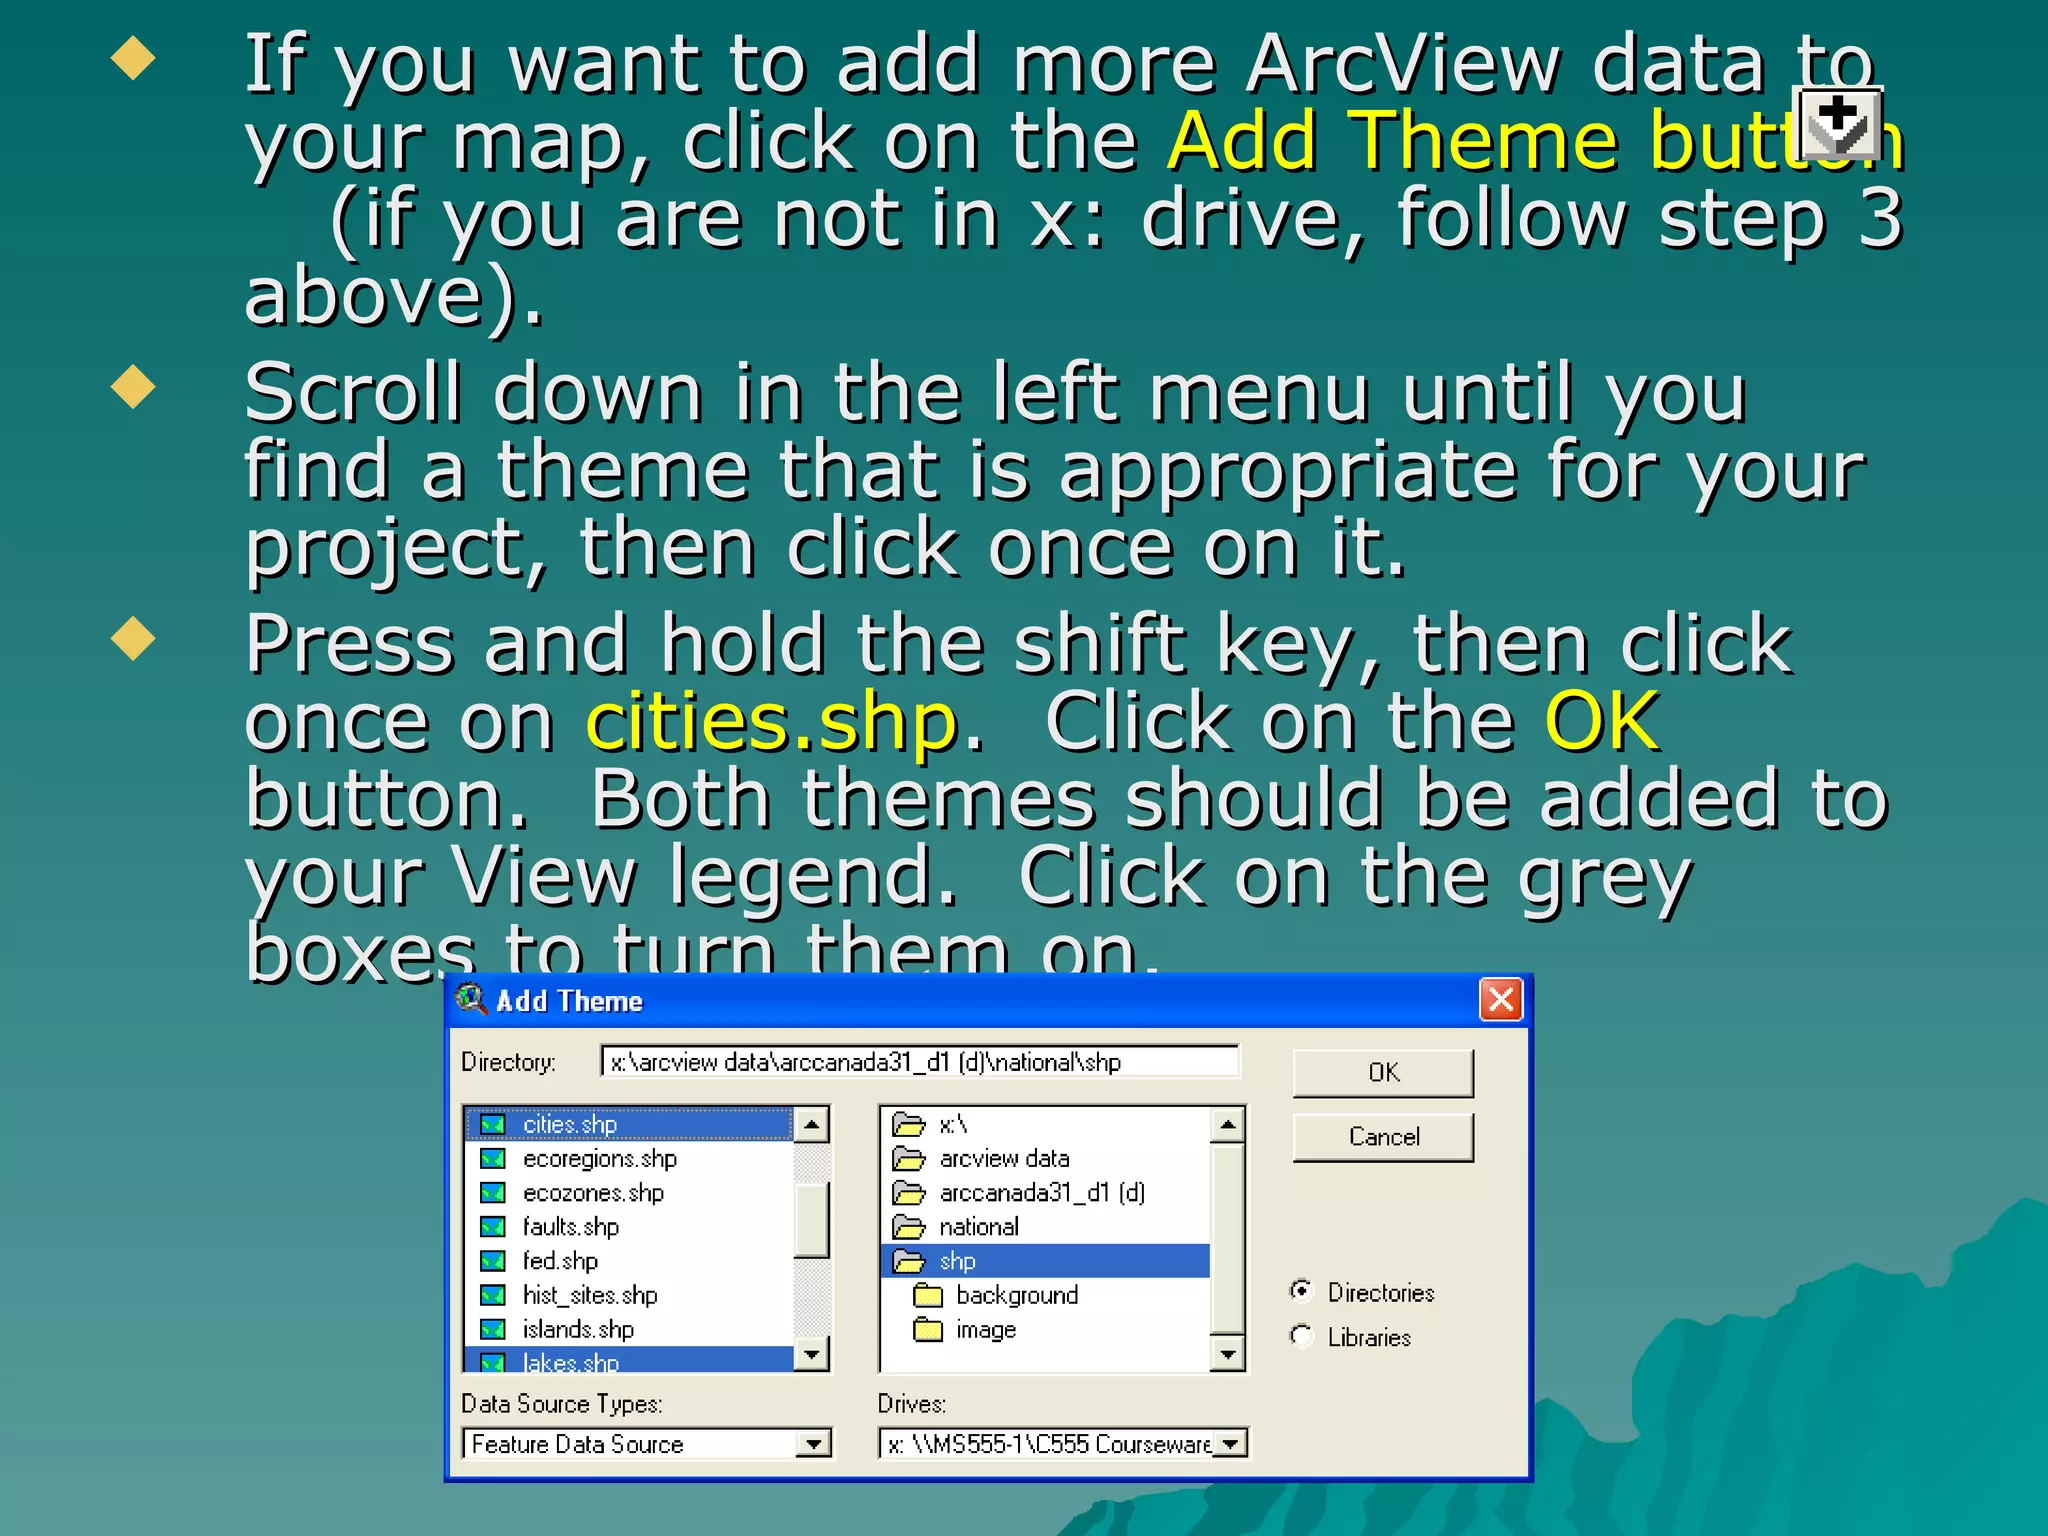
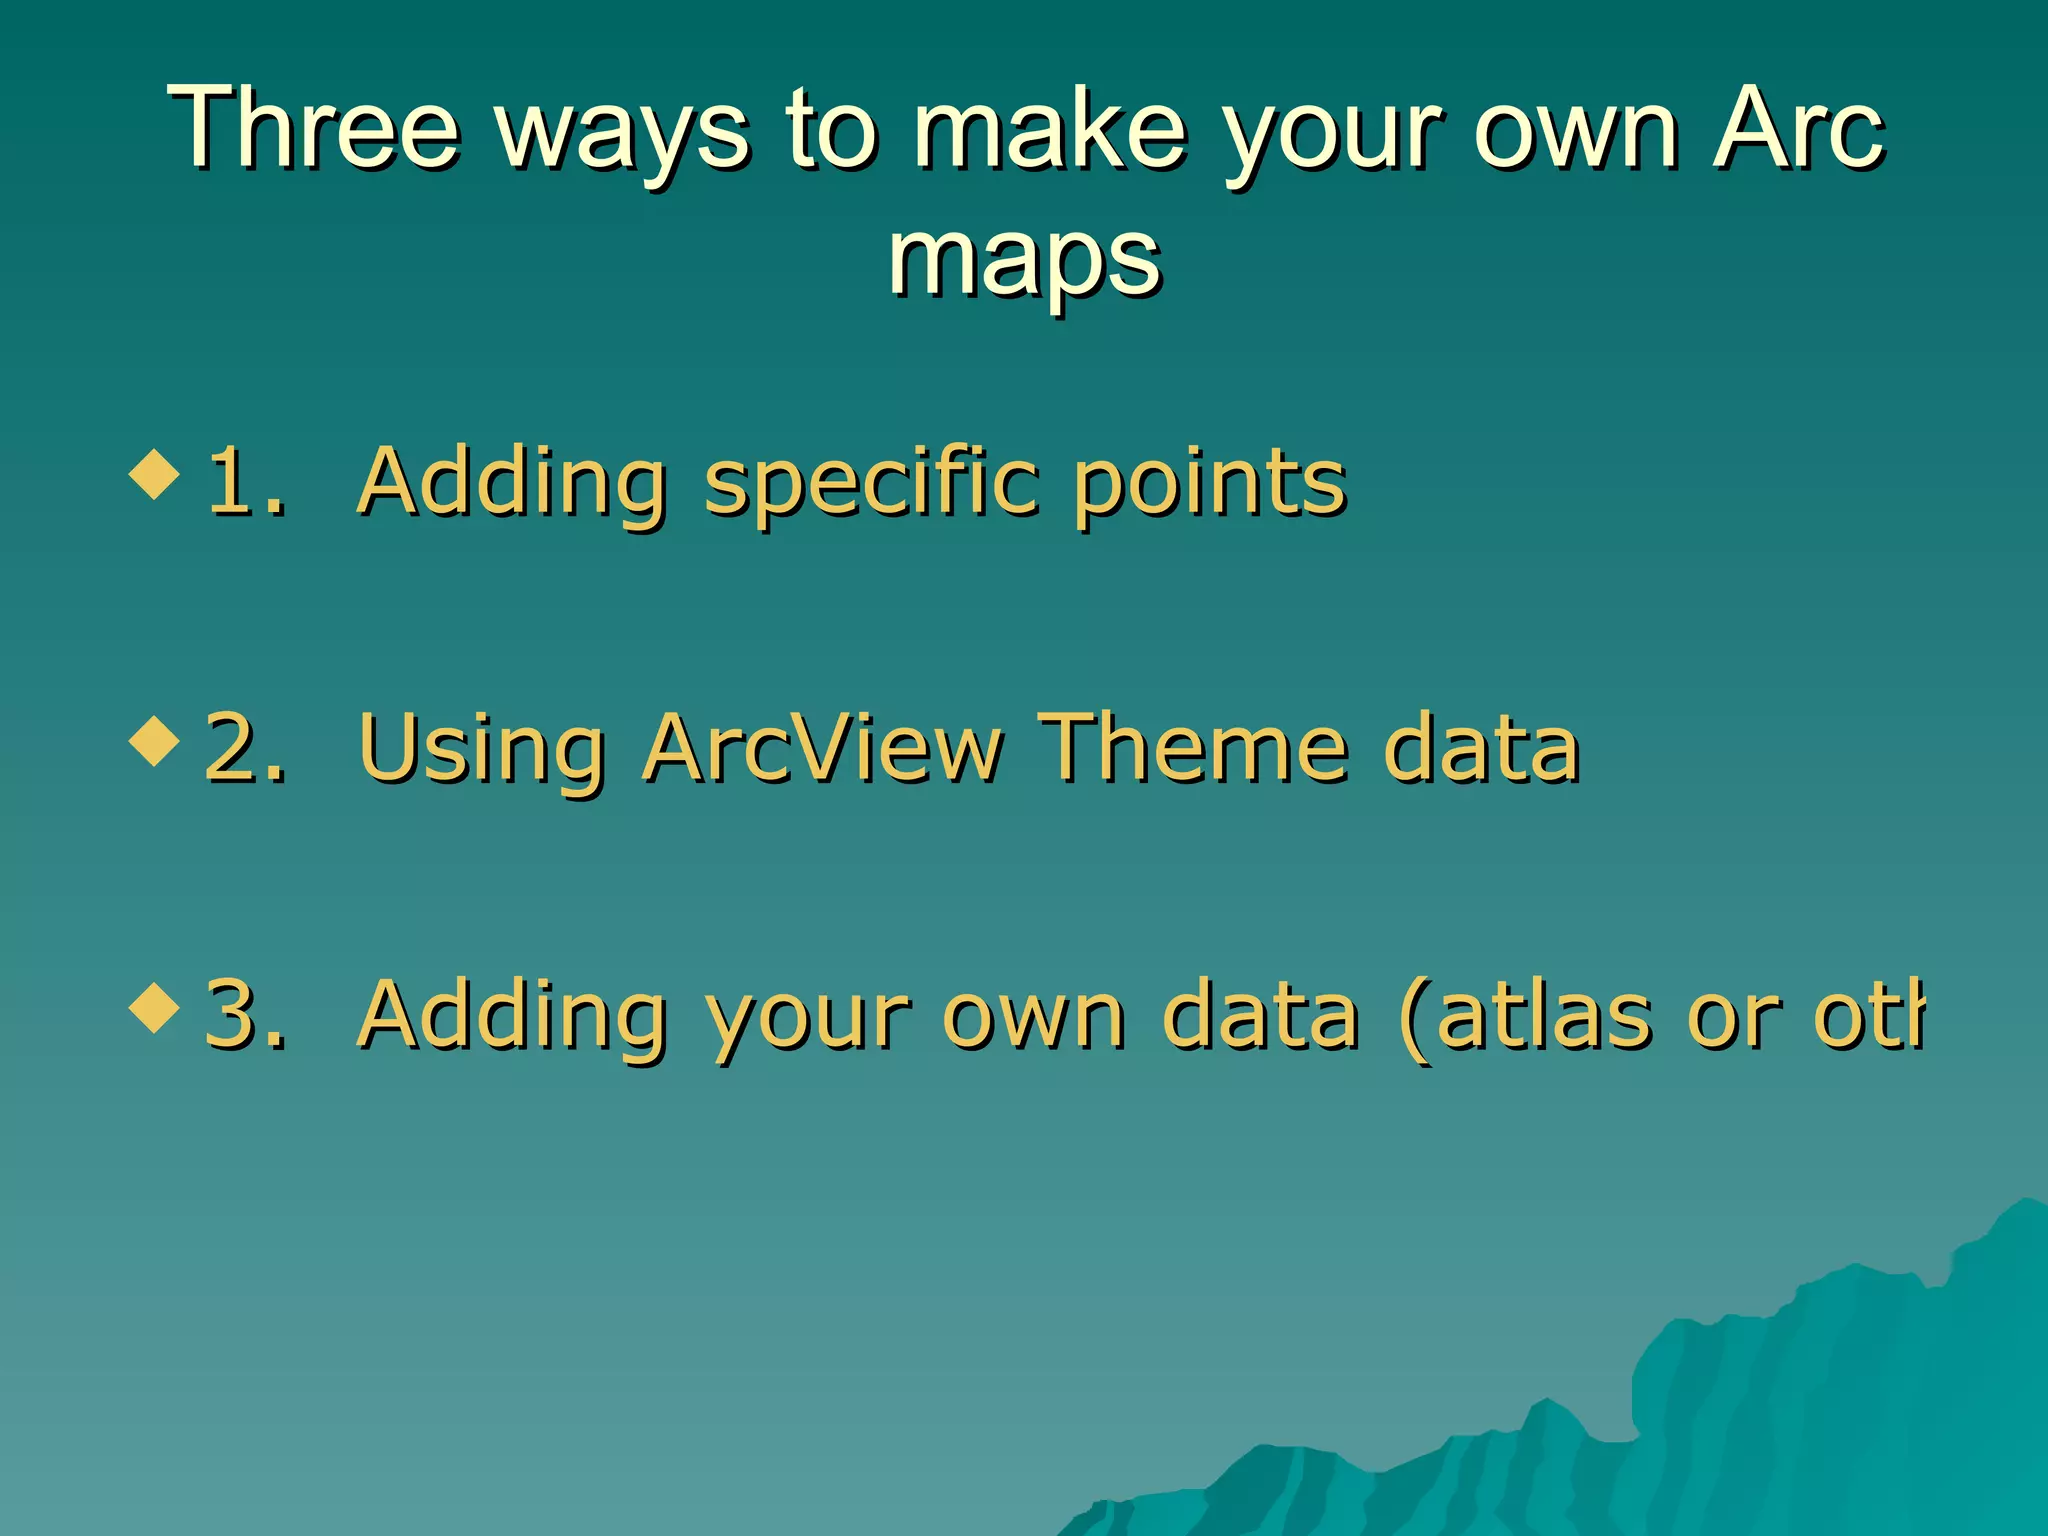
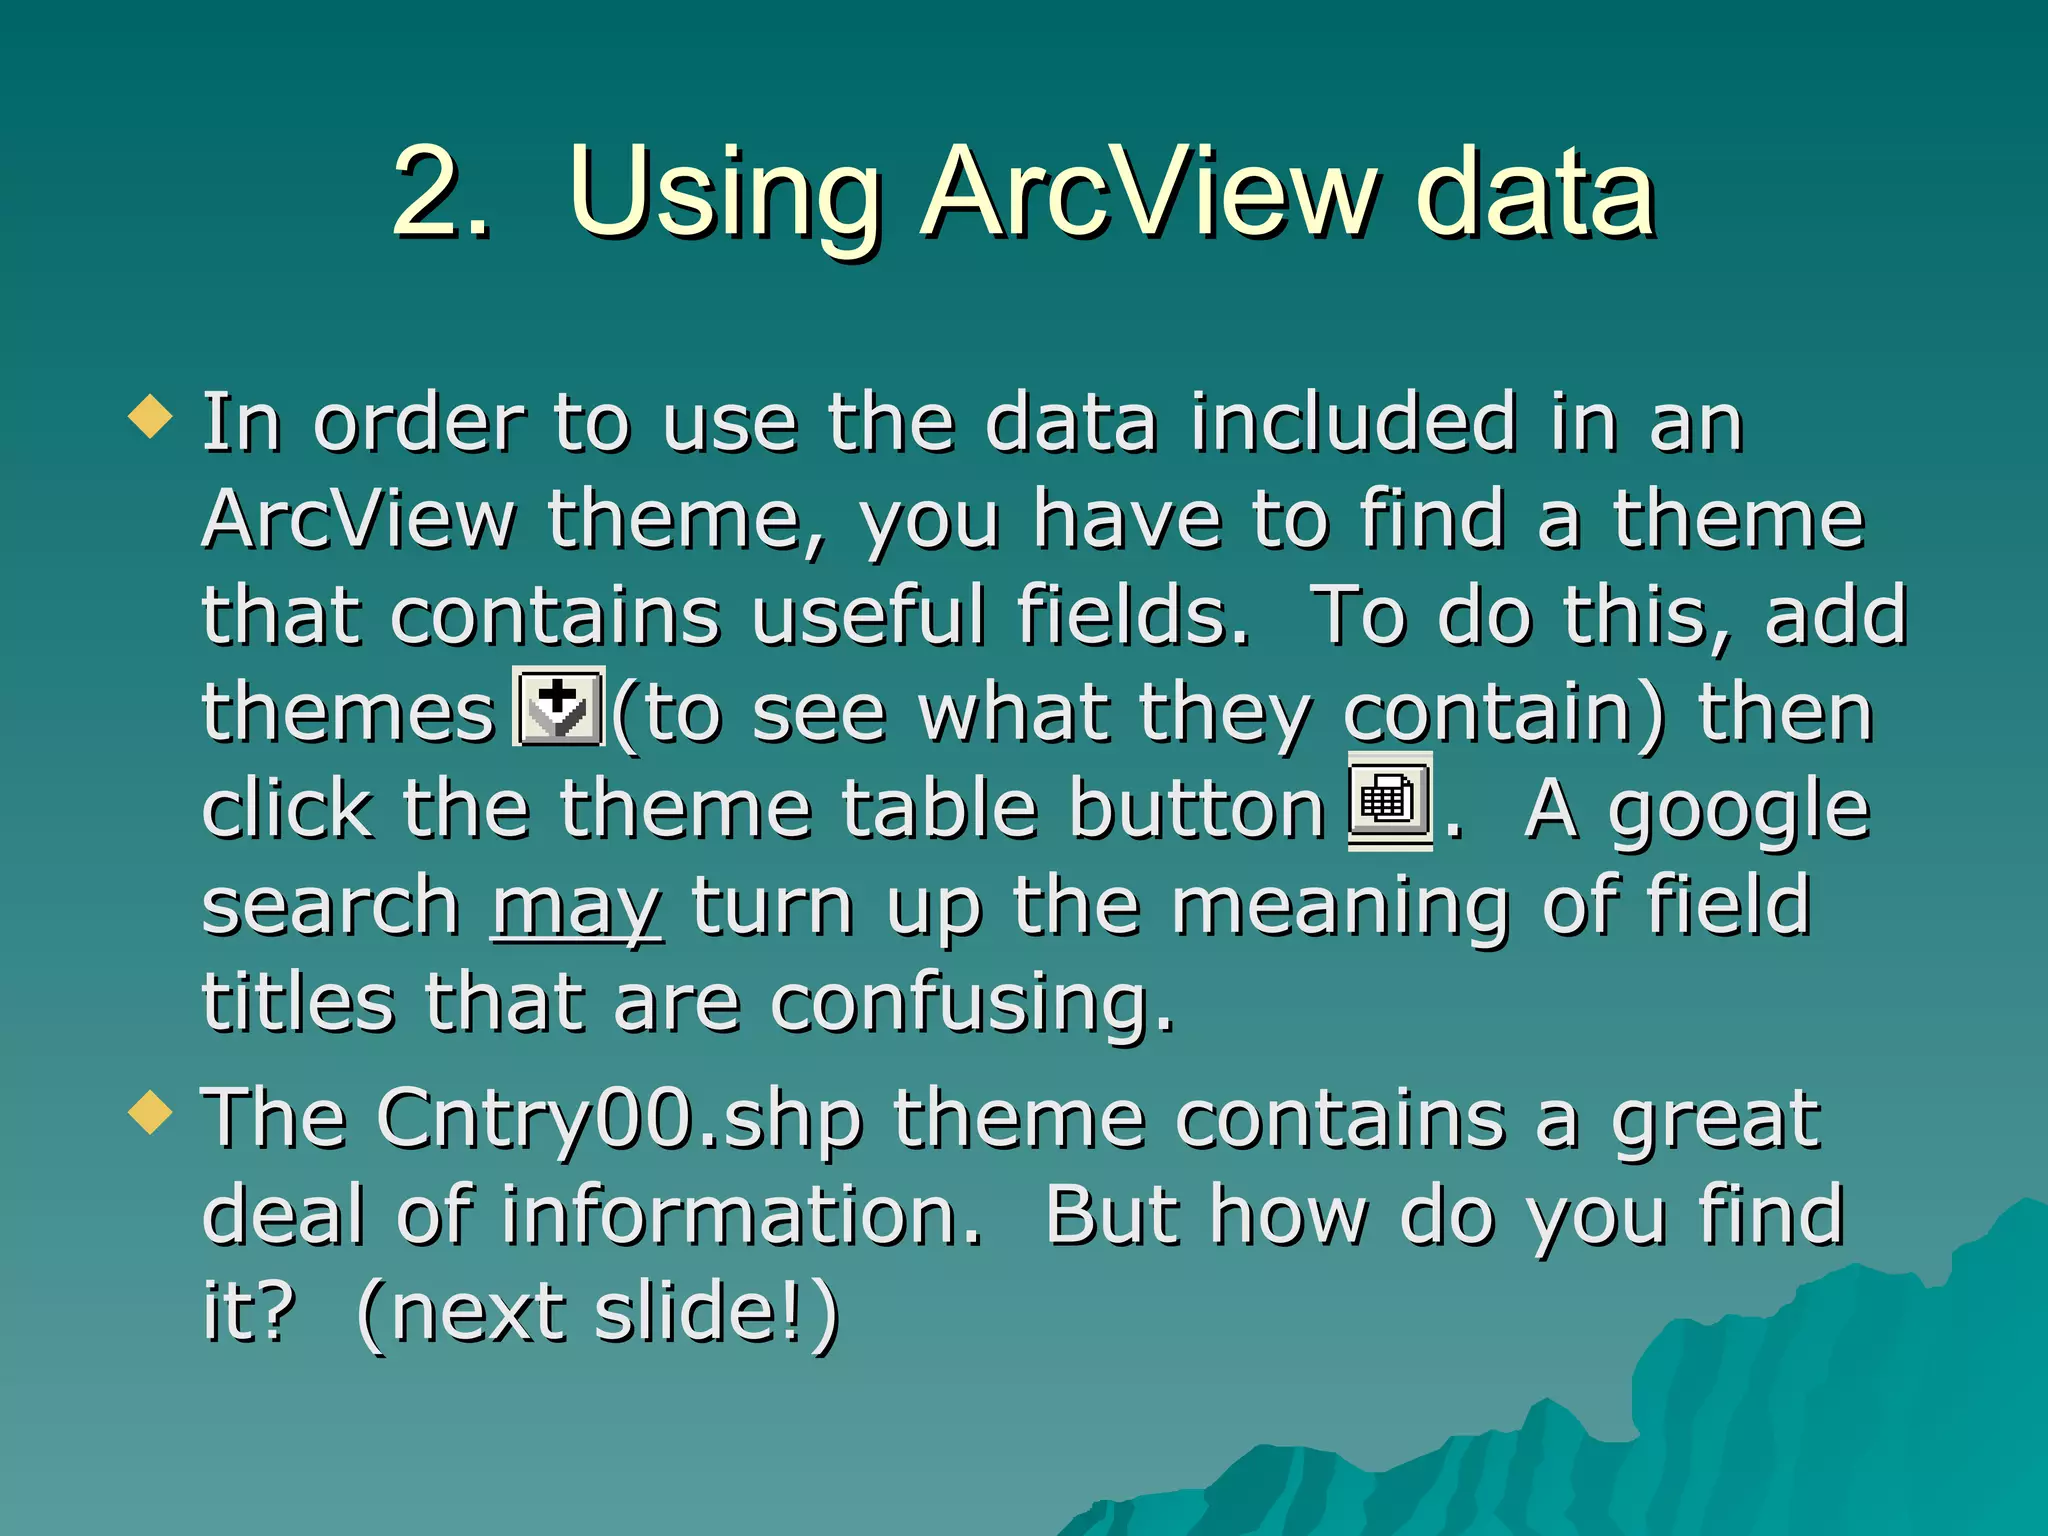
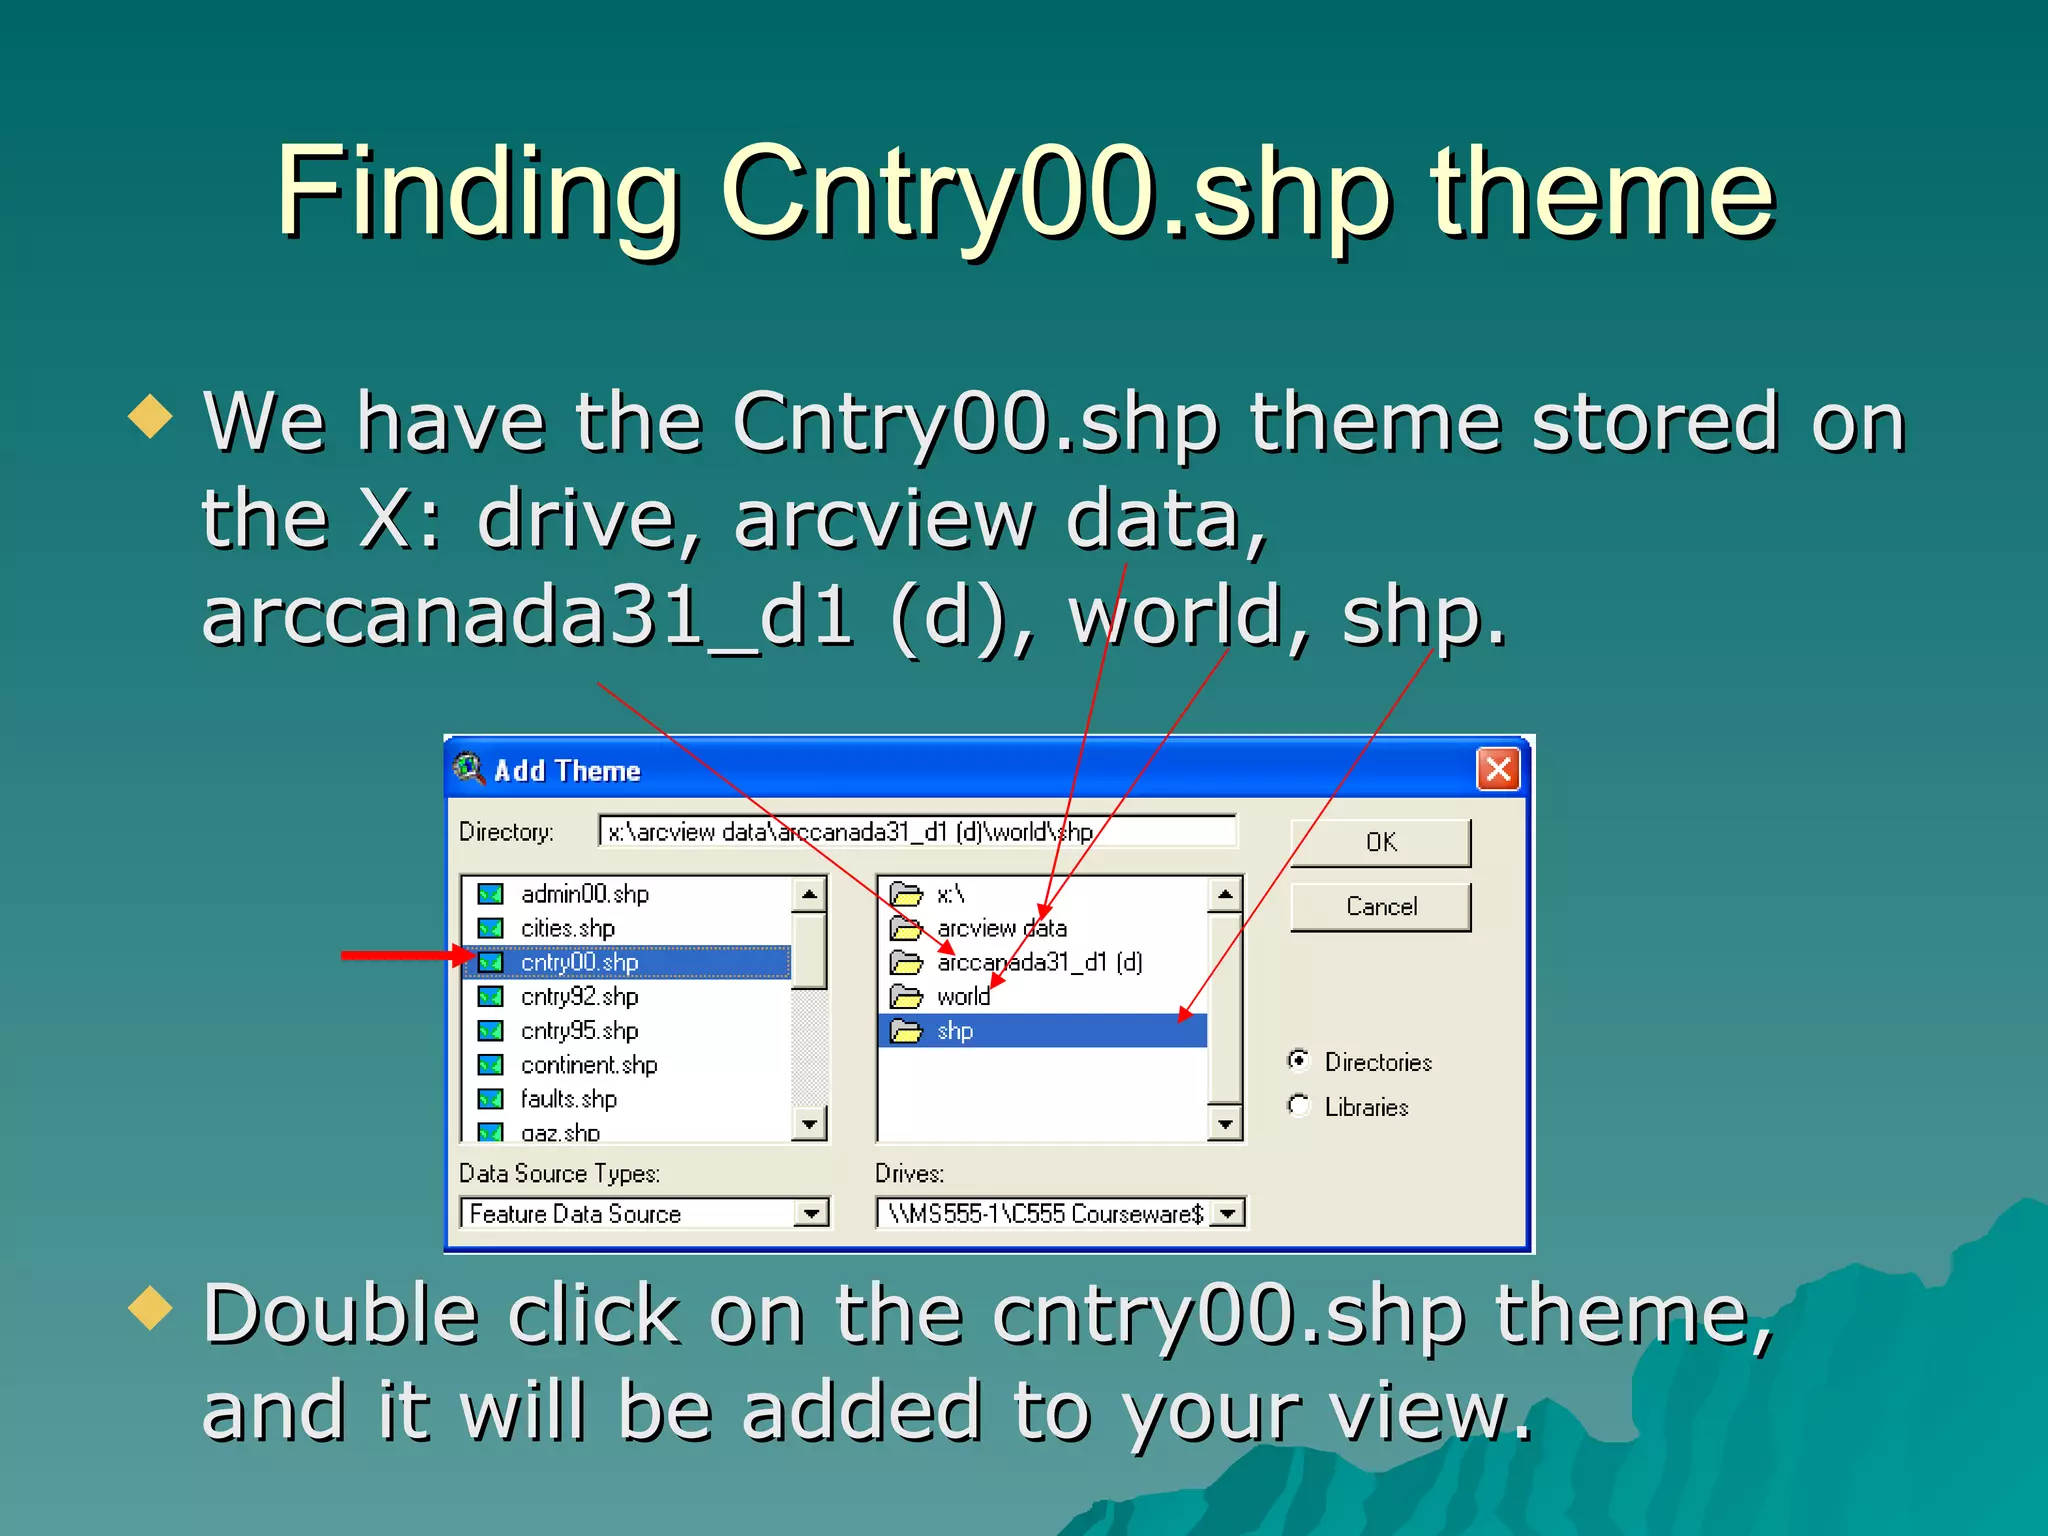
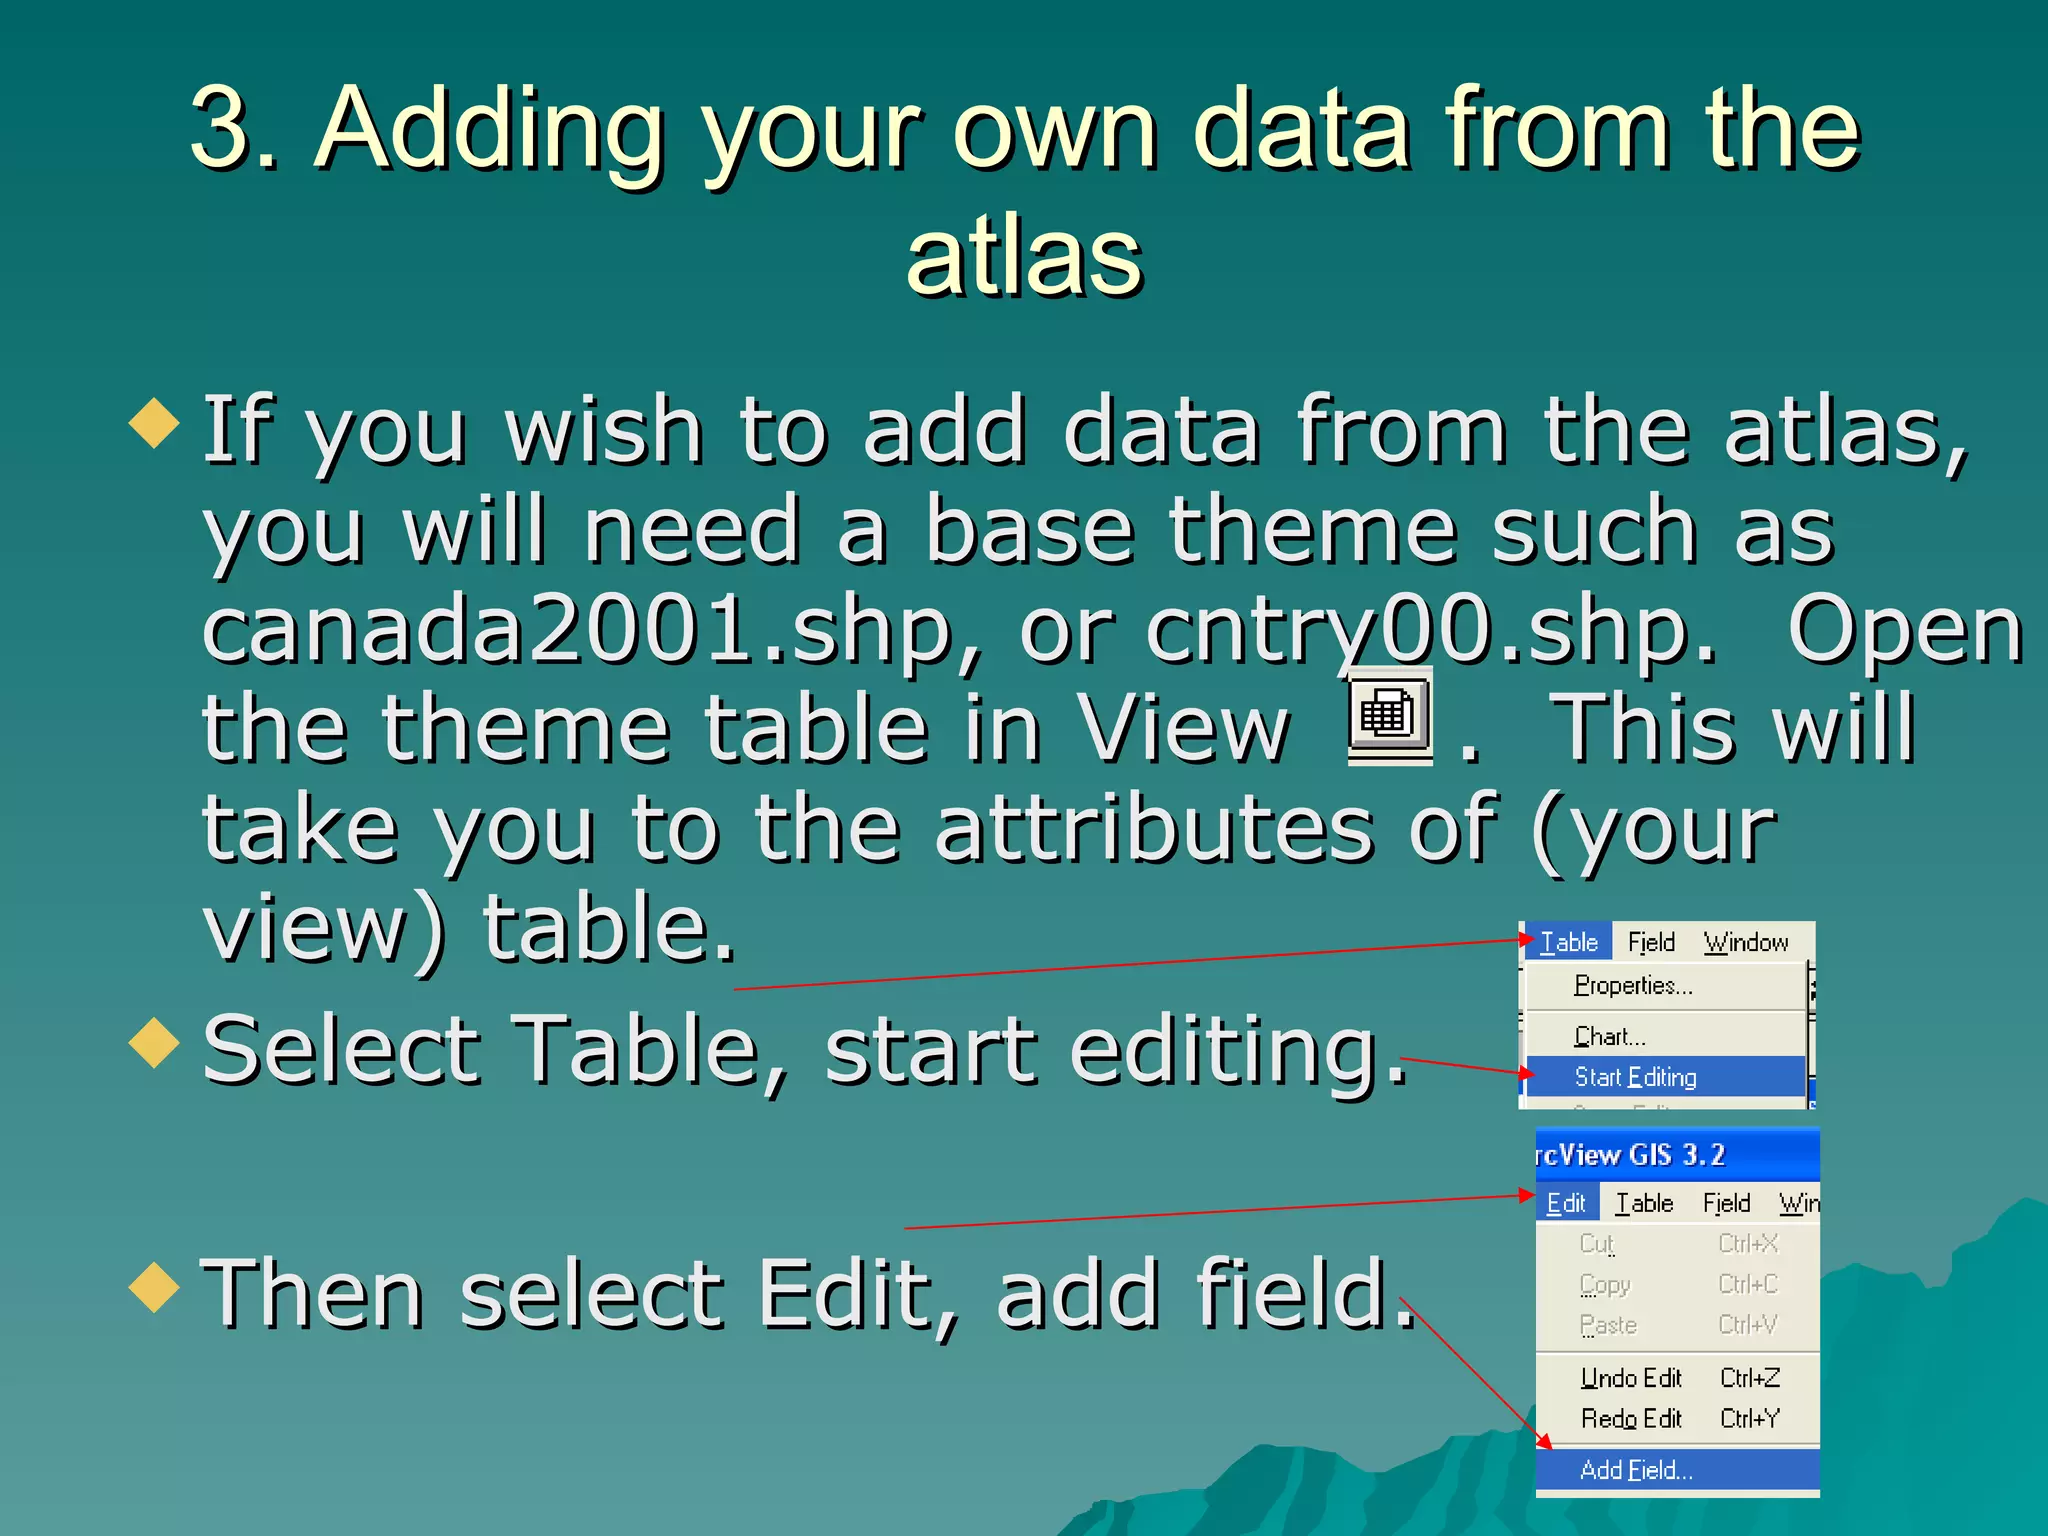
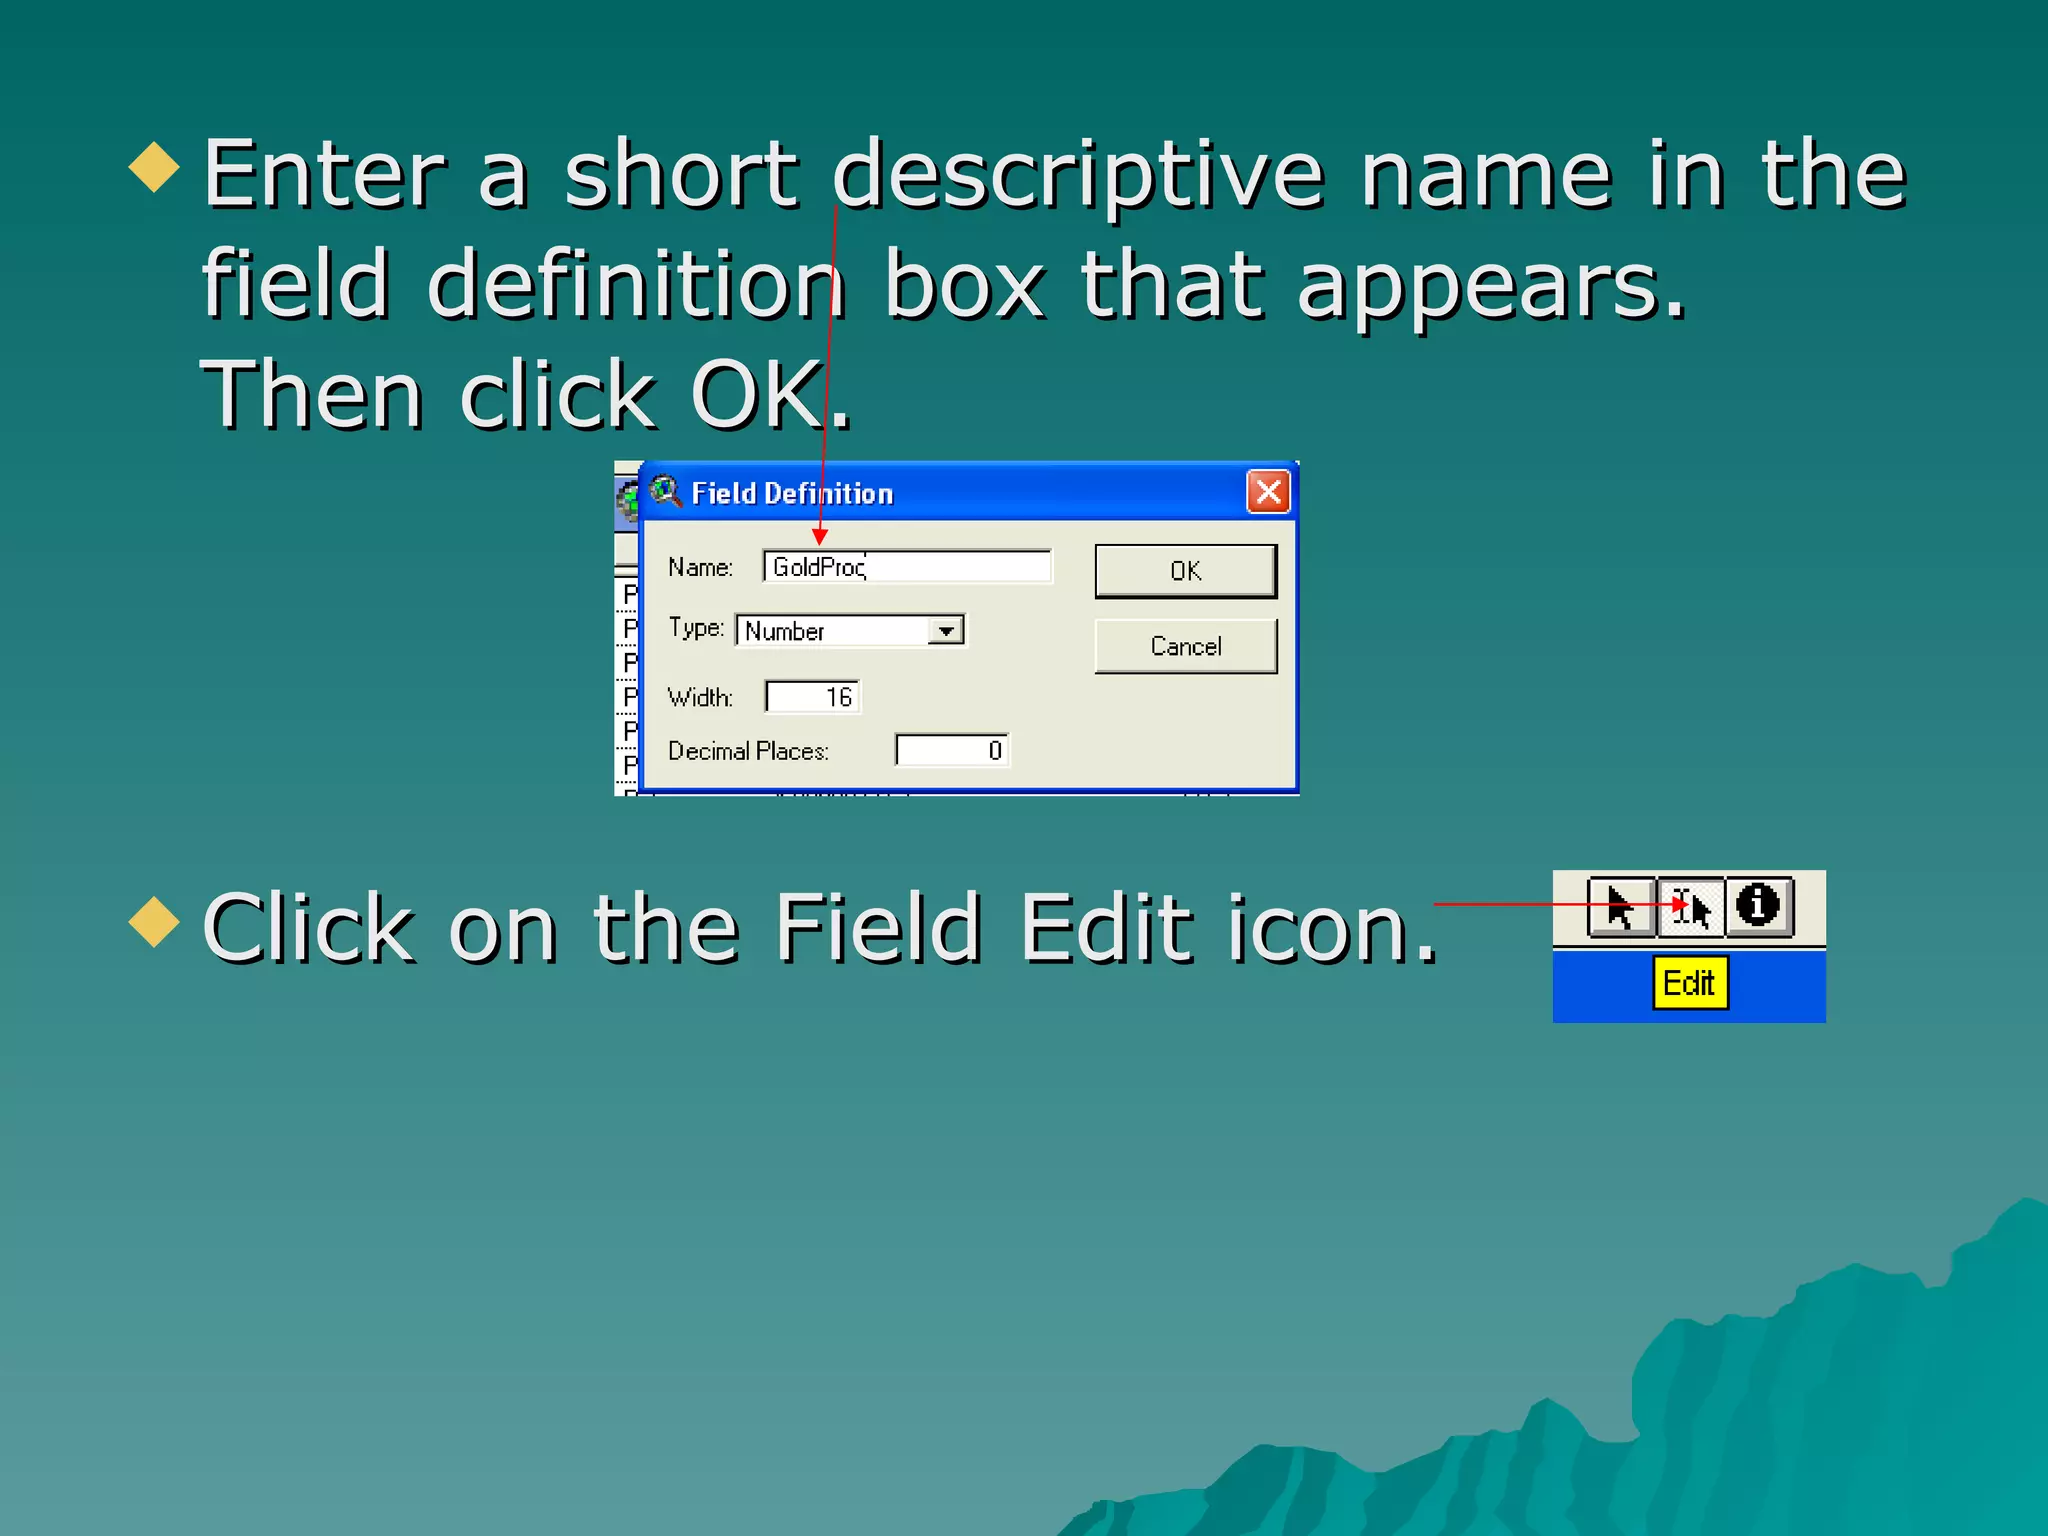
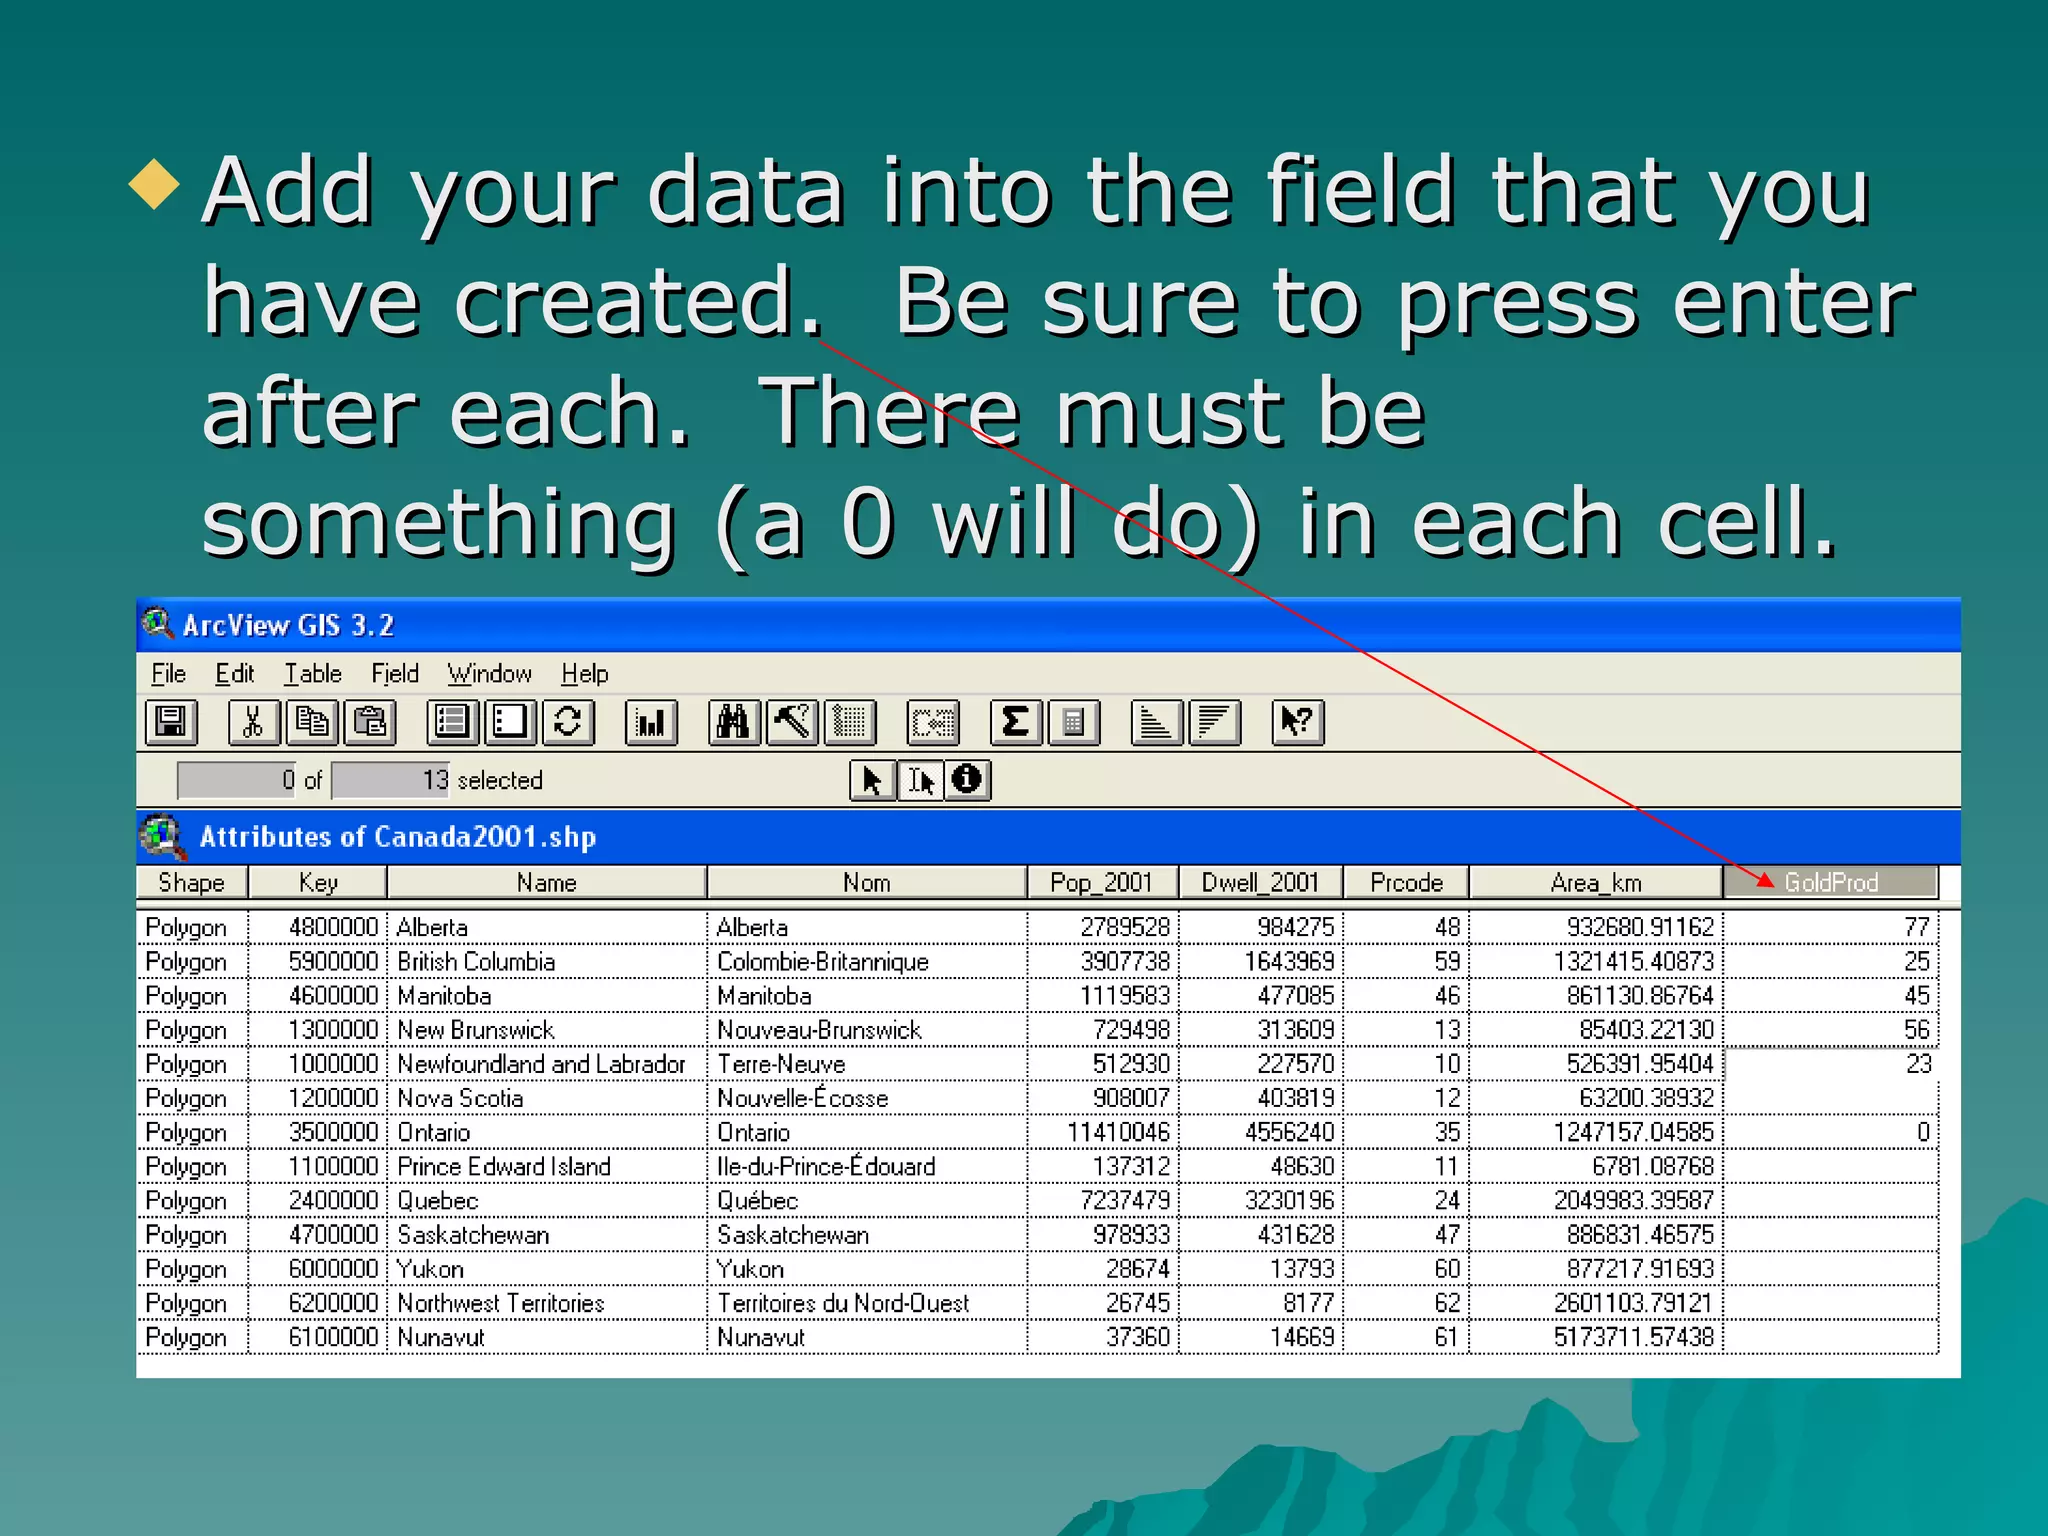
3. The document describes three ways to add additional information to the map: adding points, using existing ArcView data, and adding your own data from an atlas.
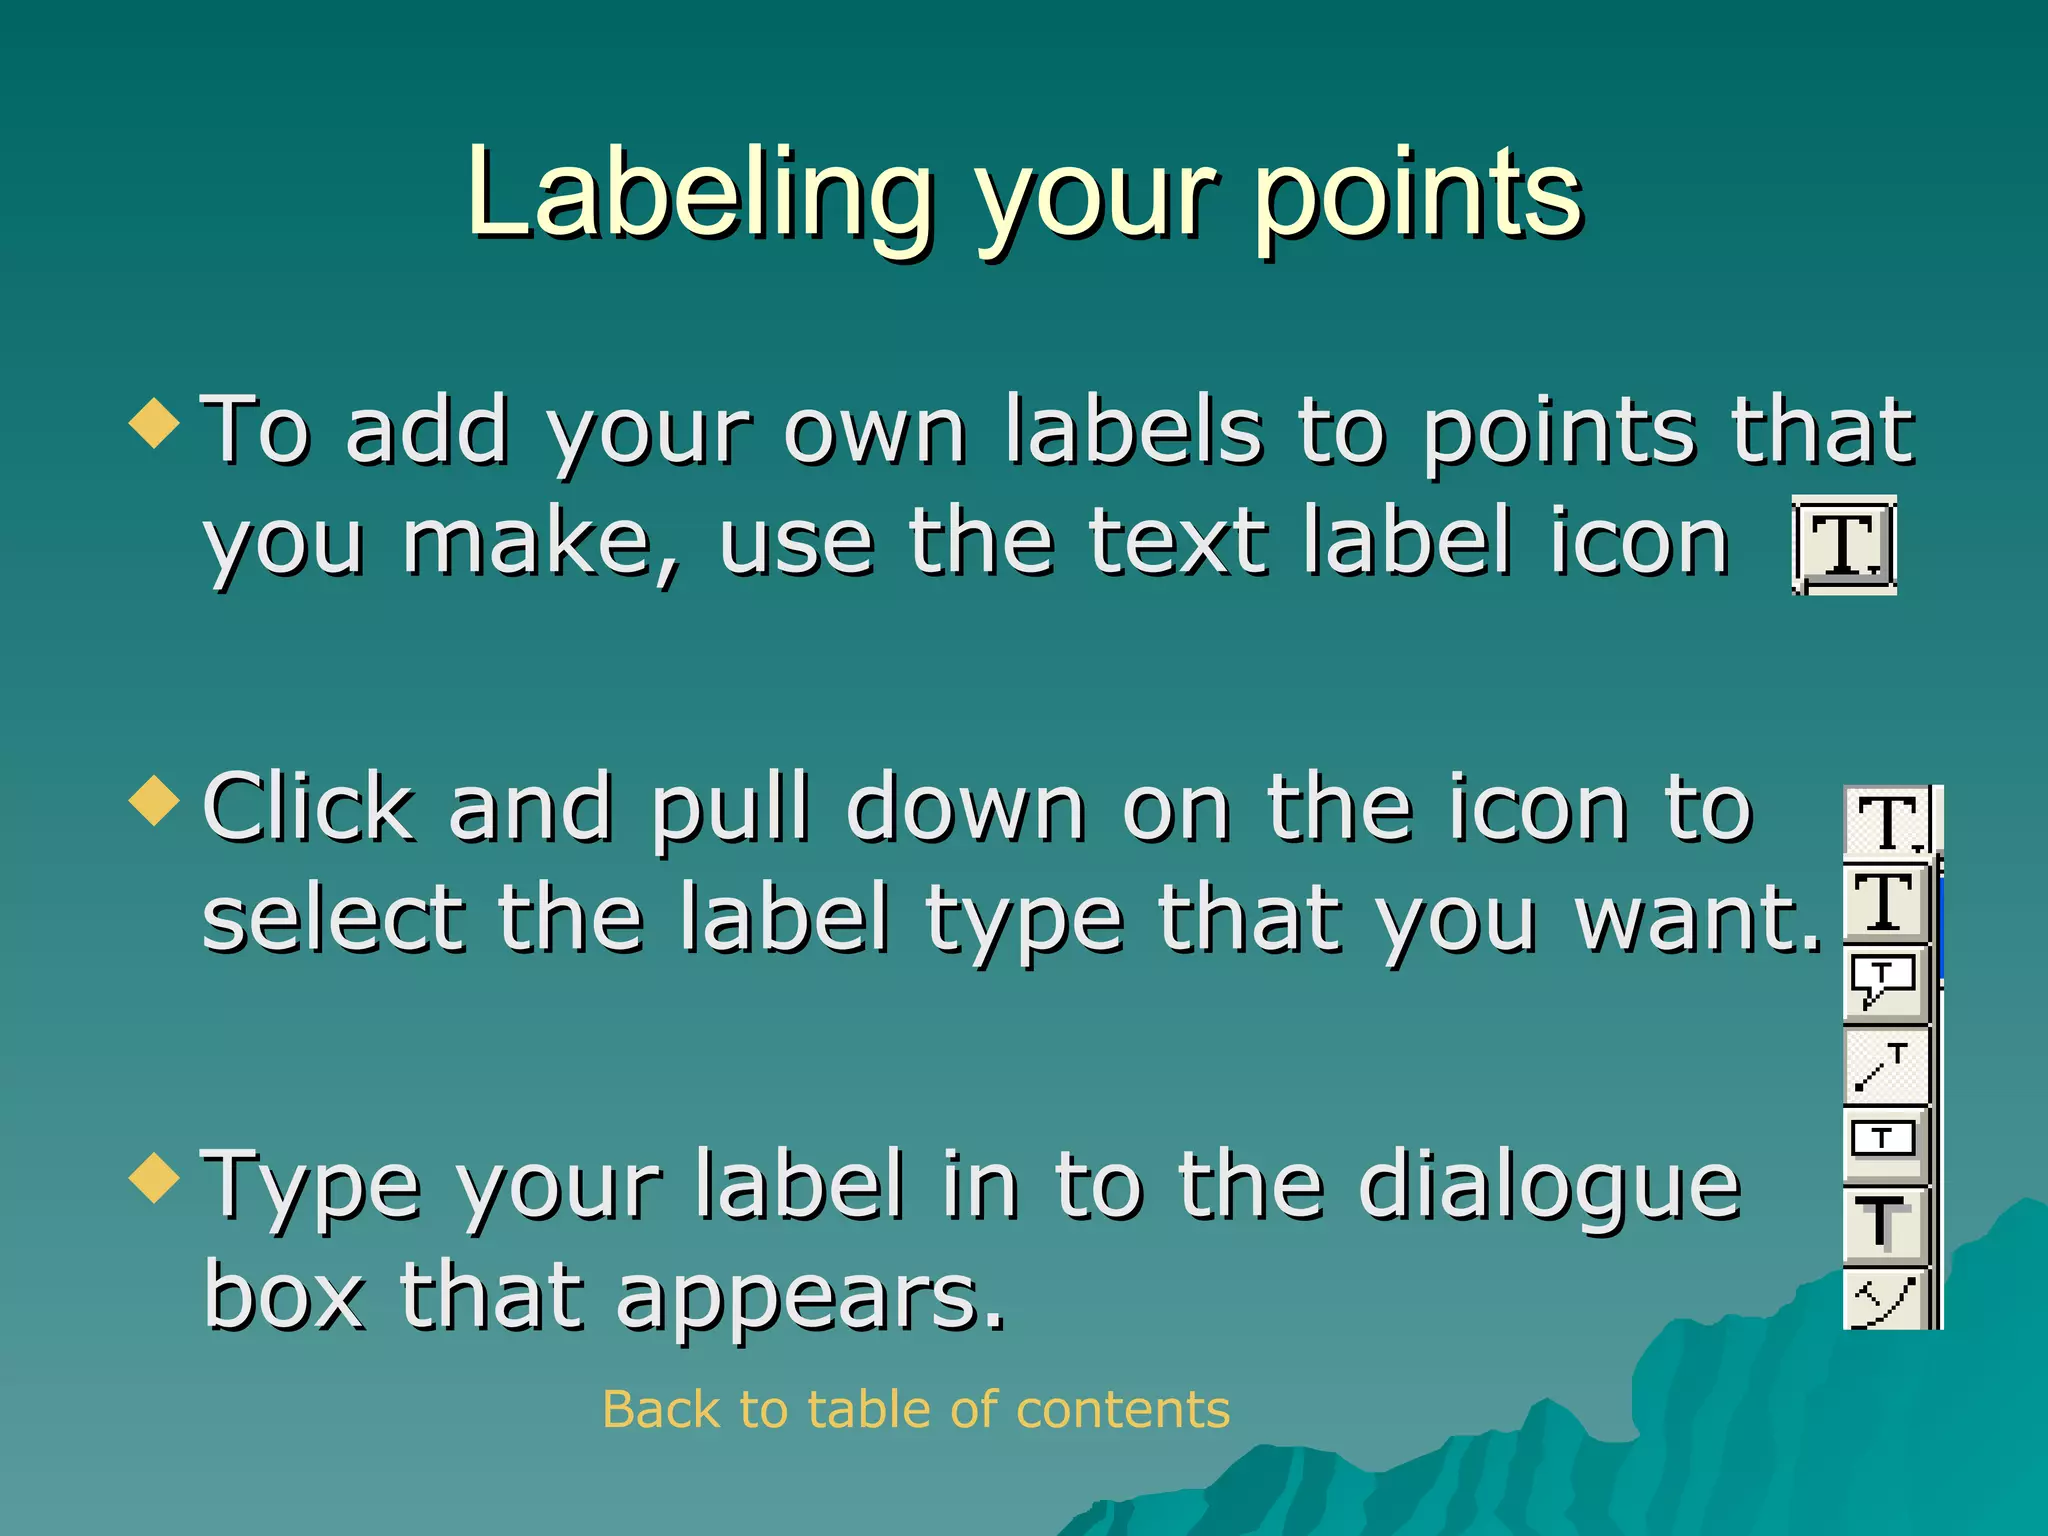
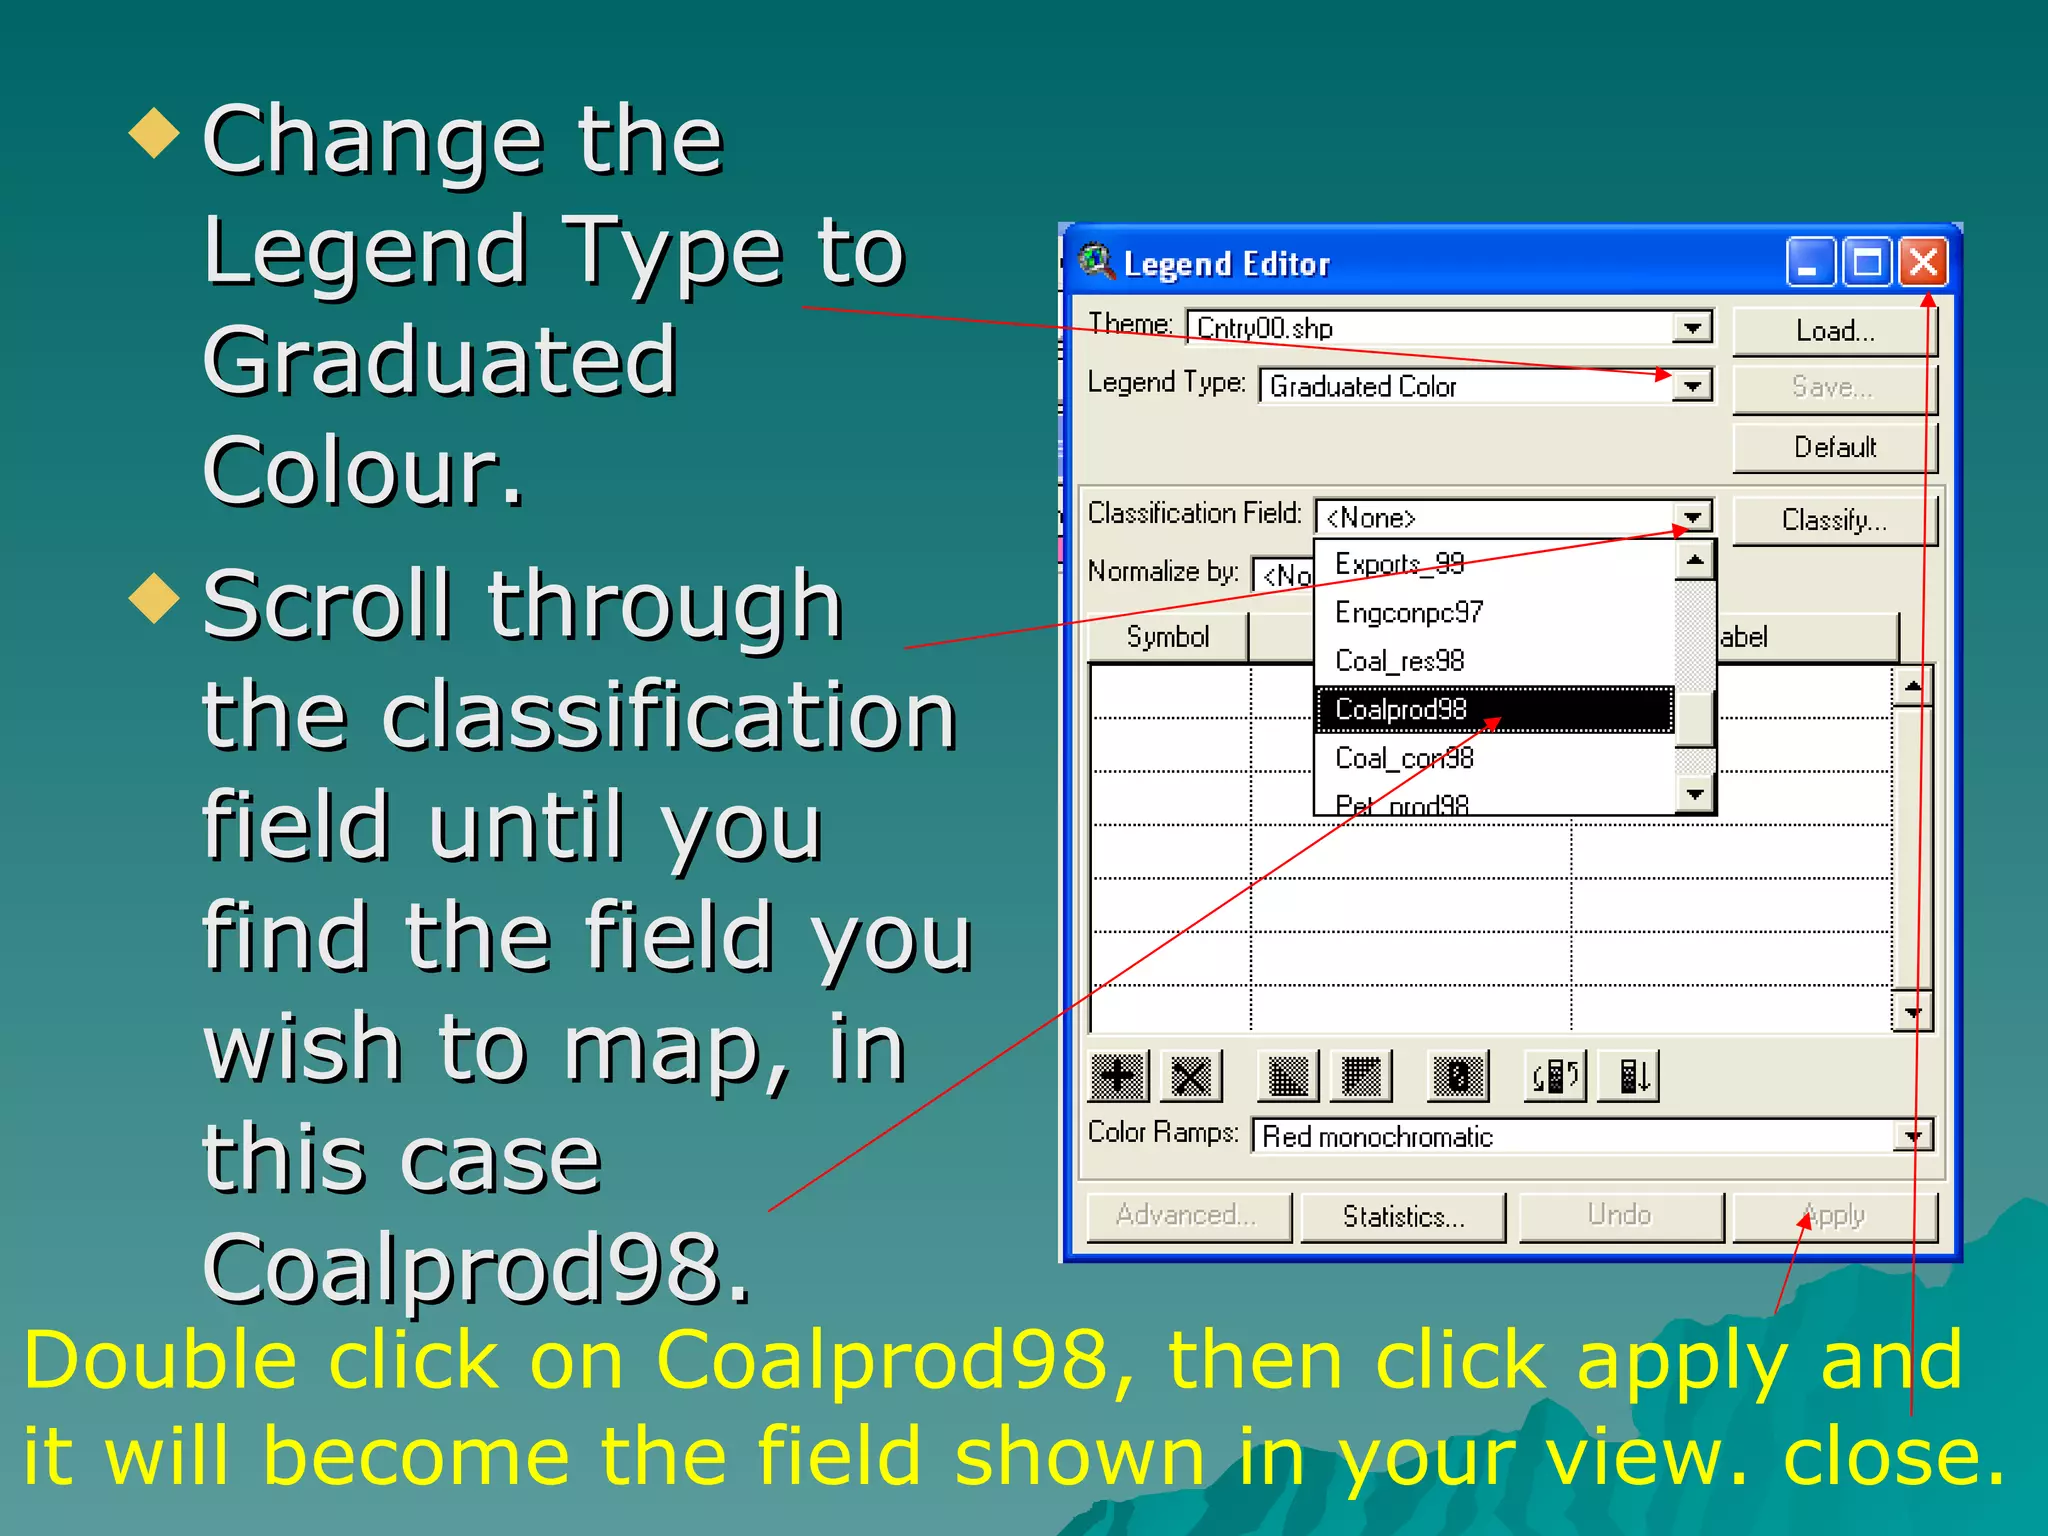
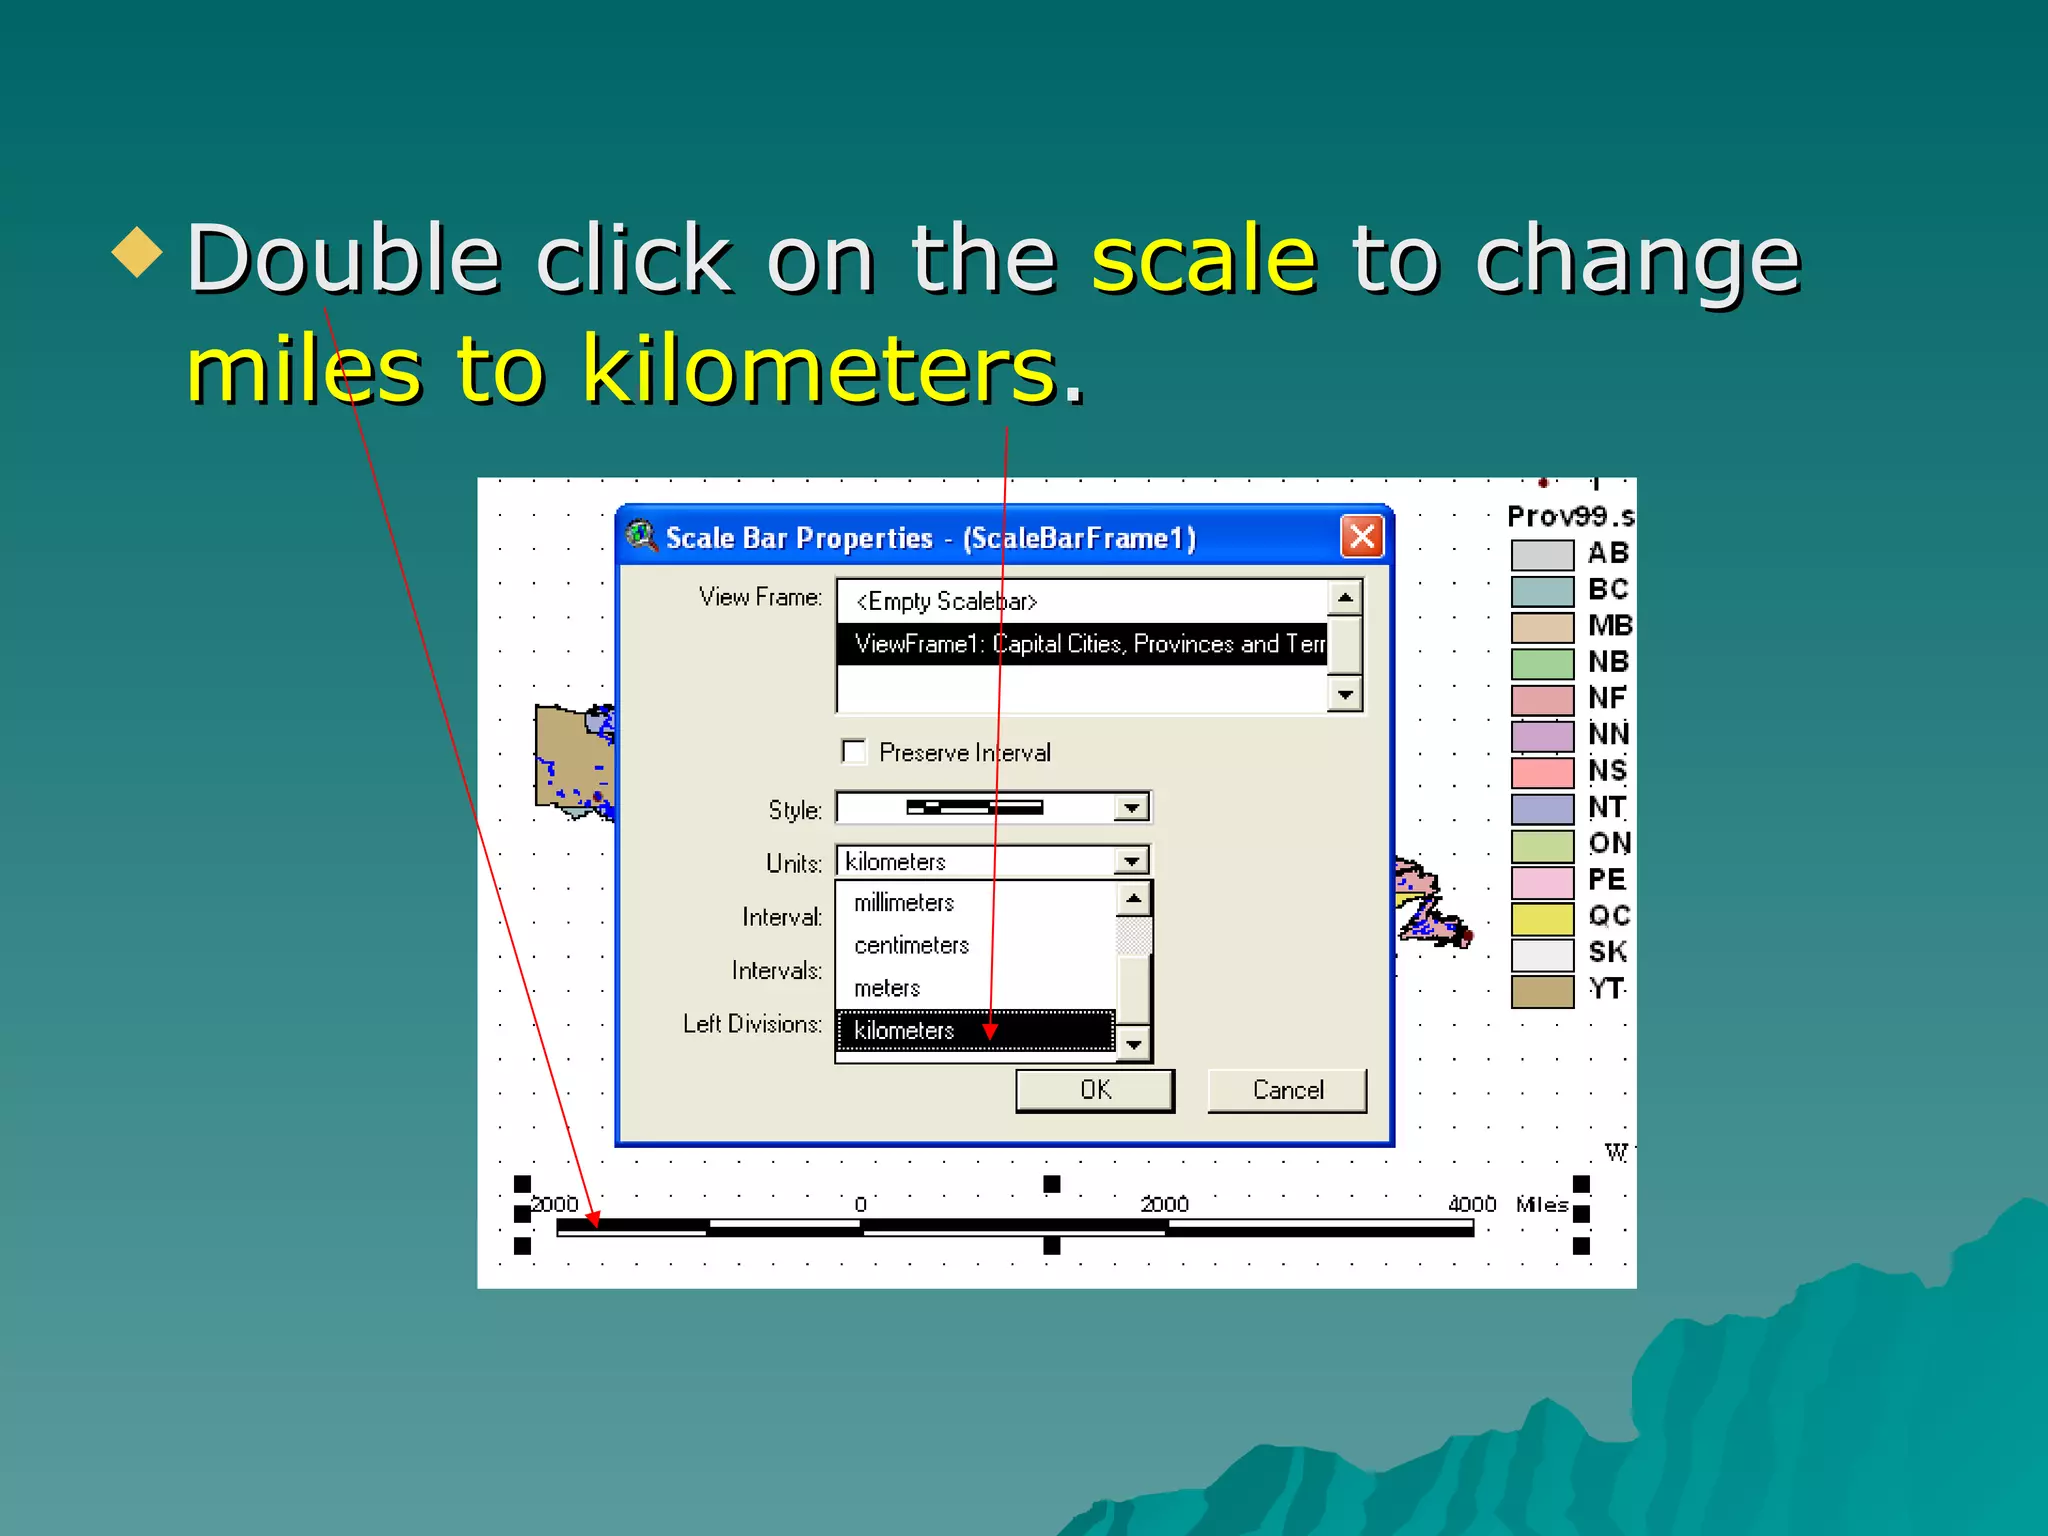
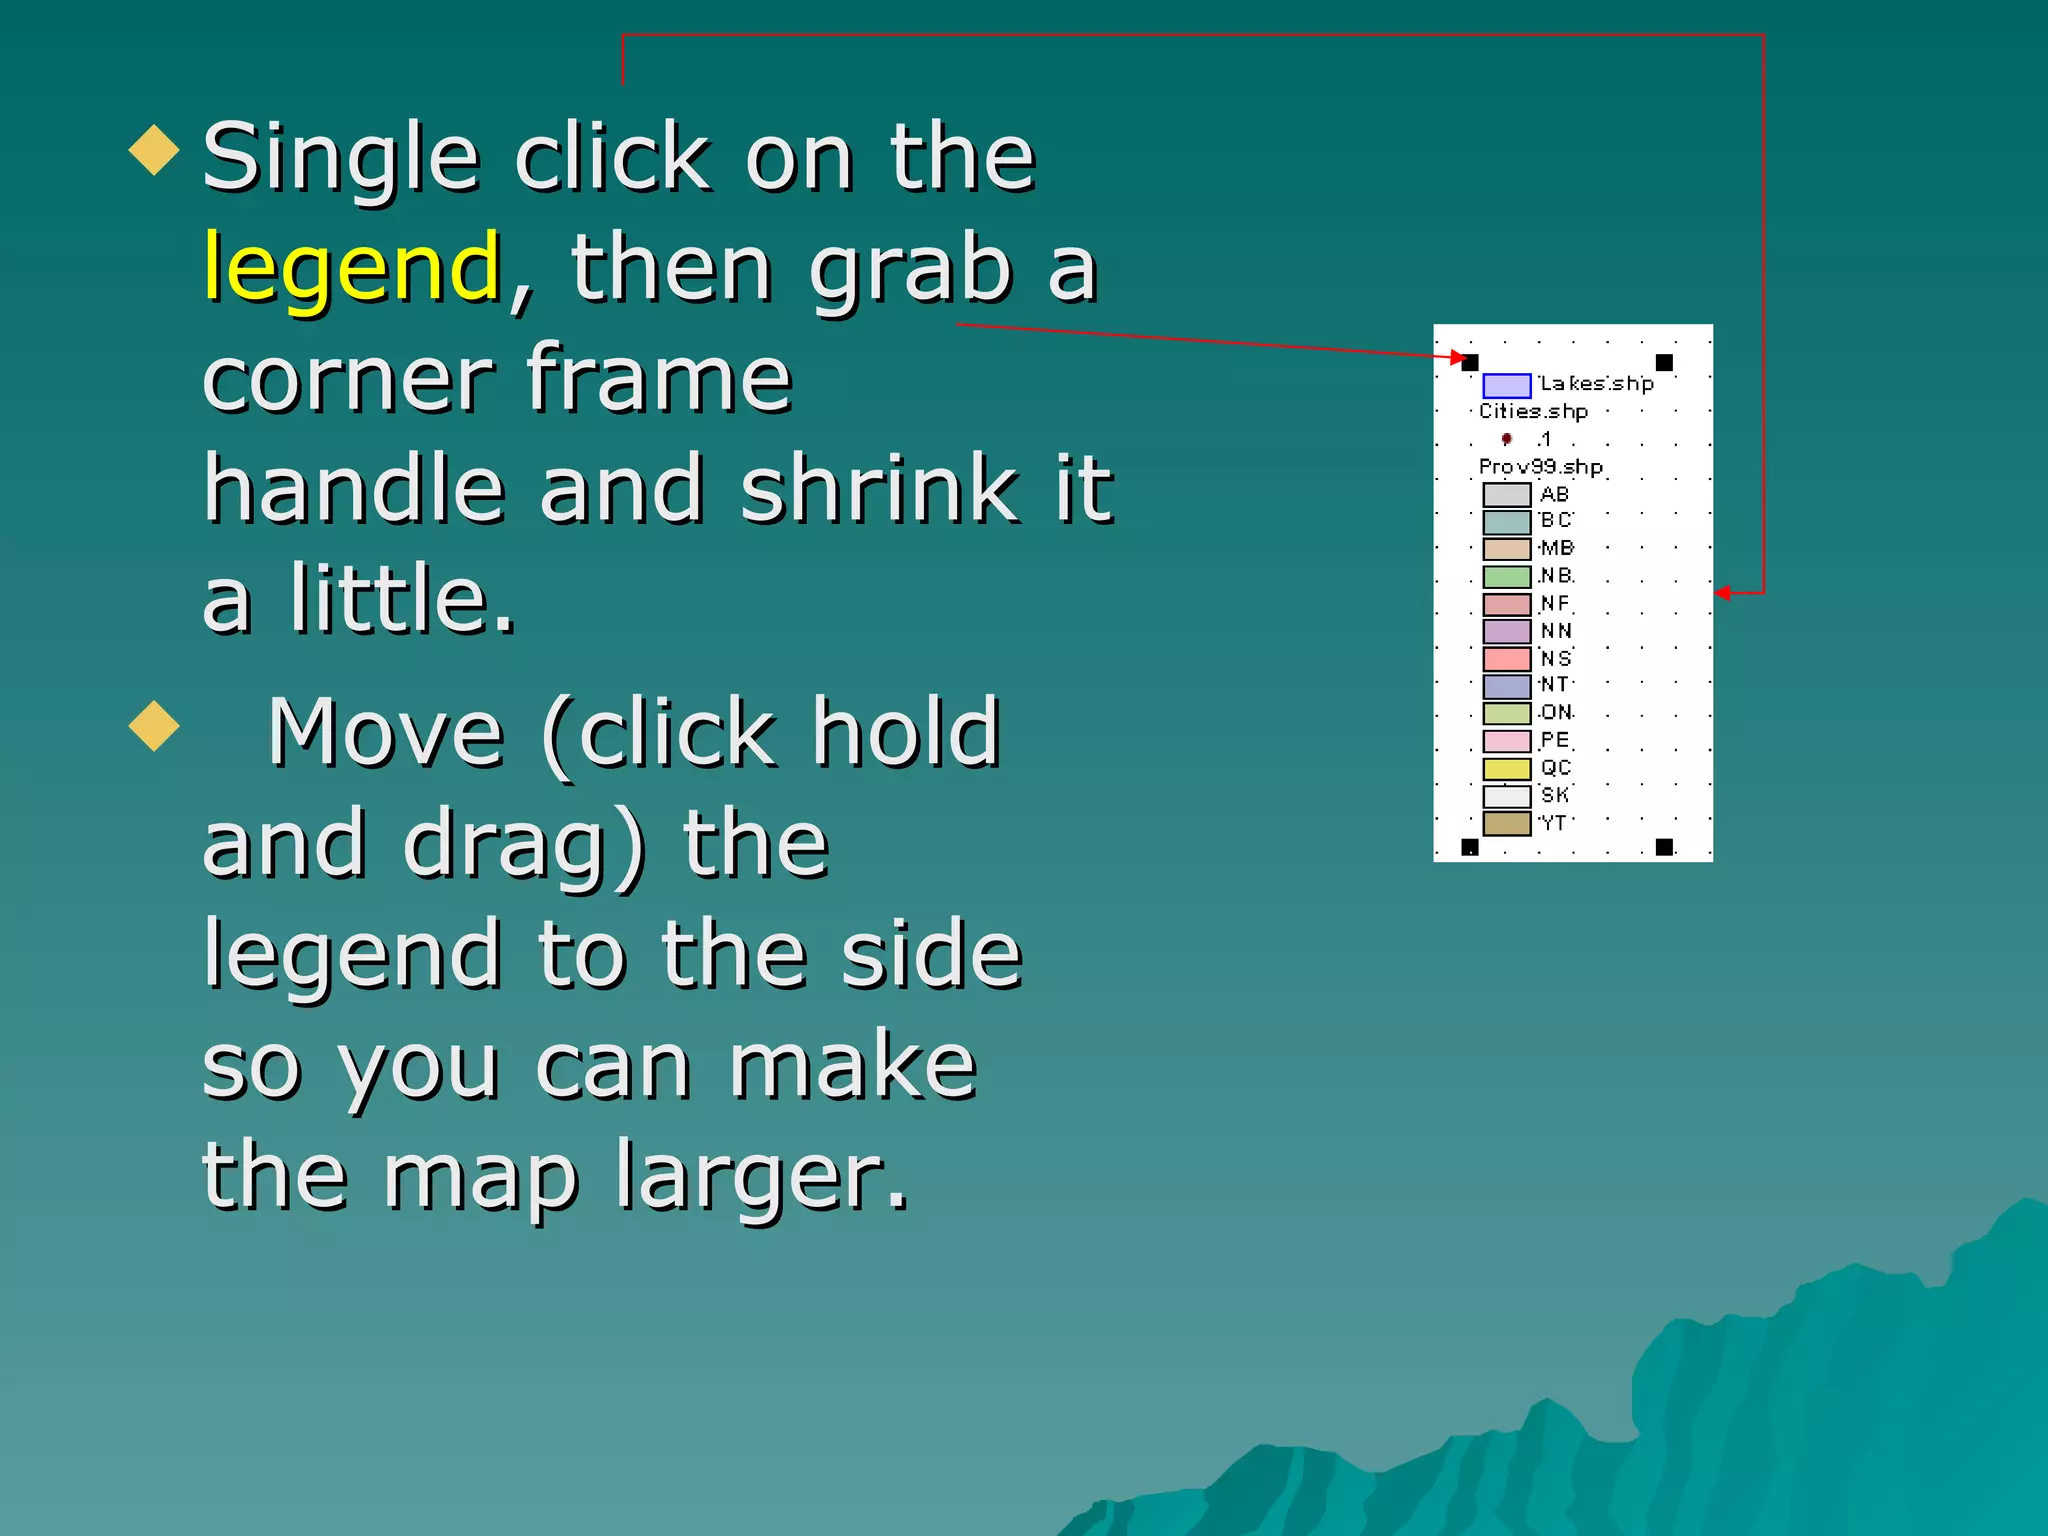
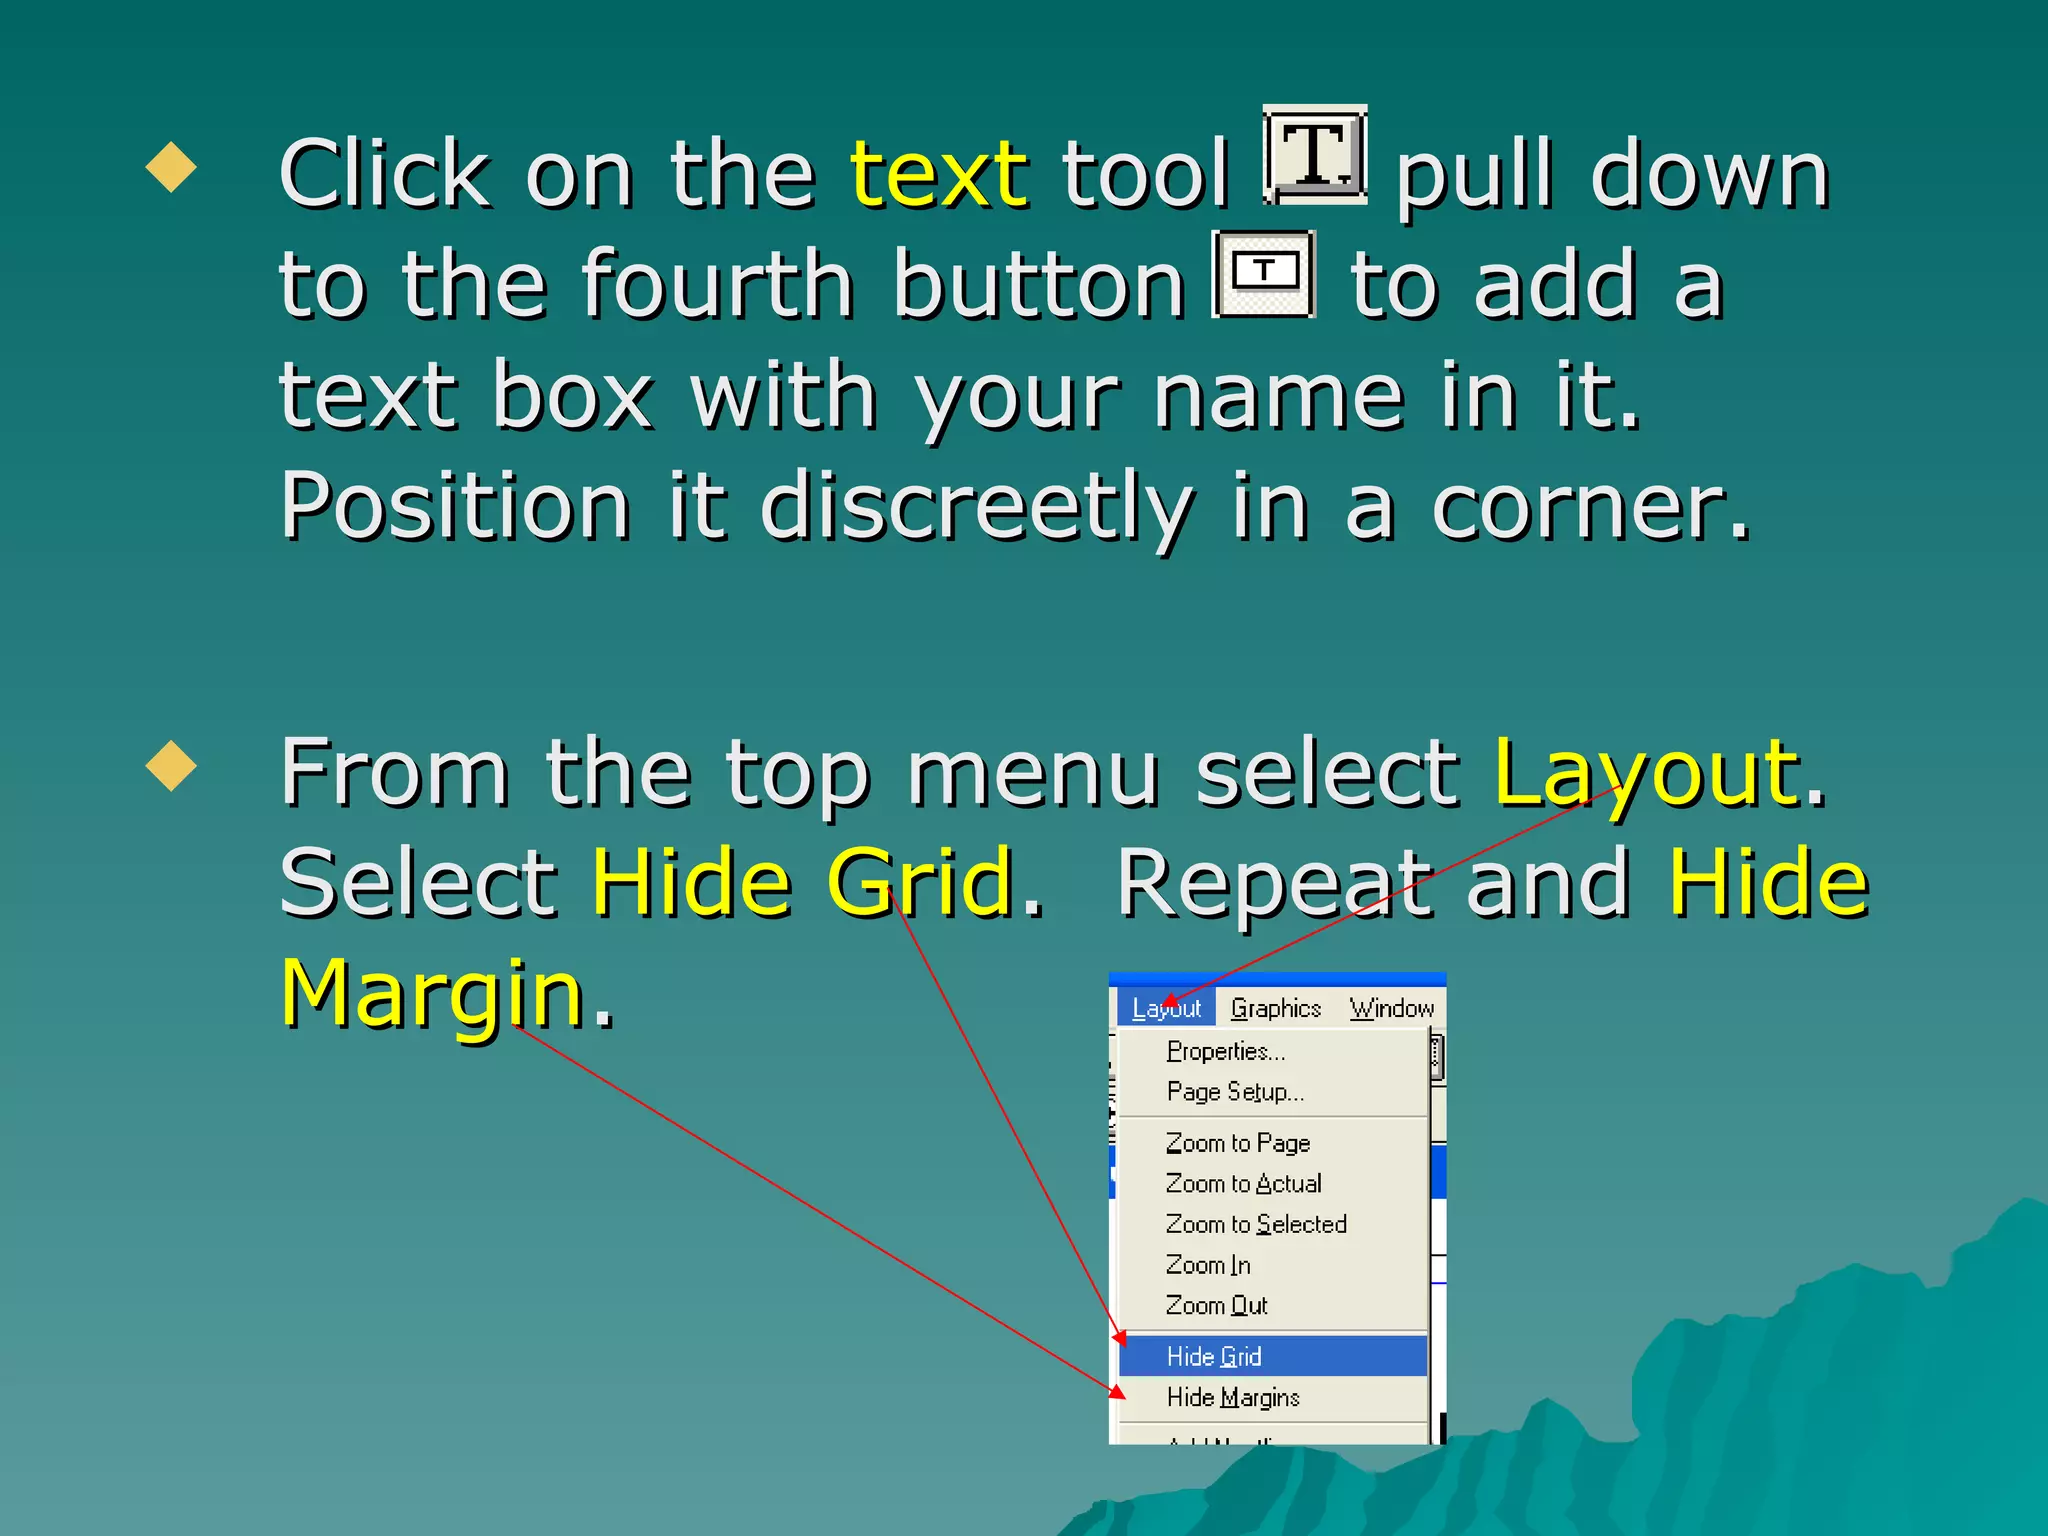
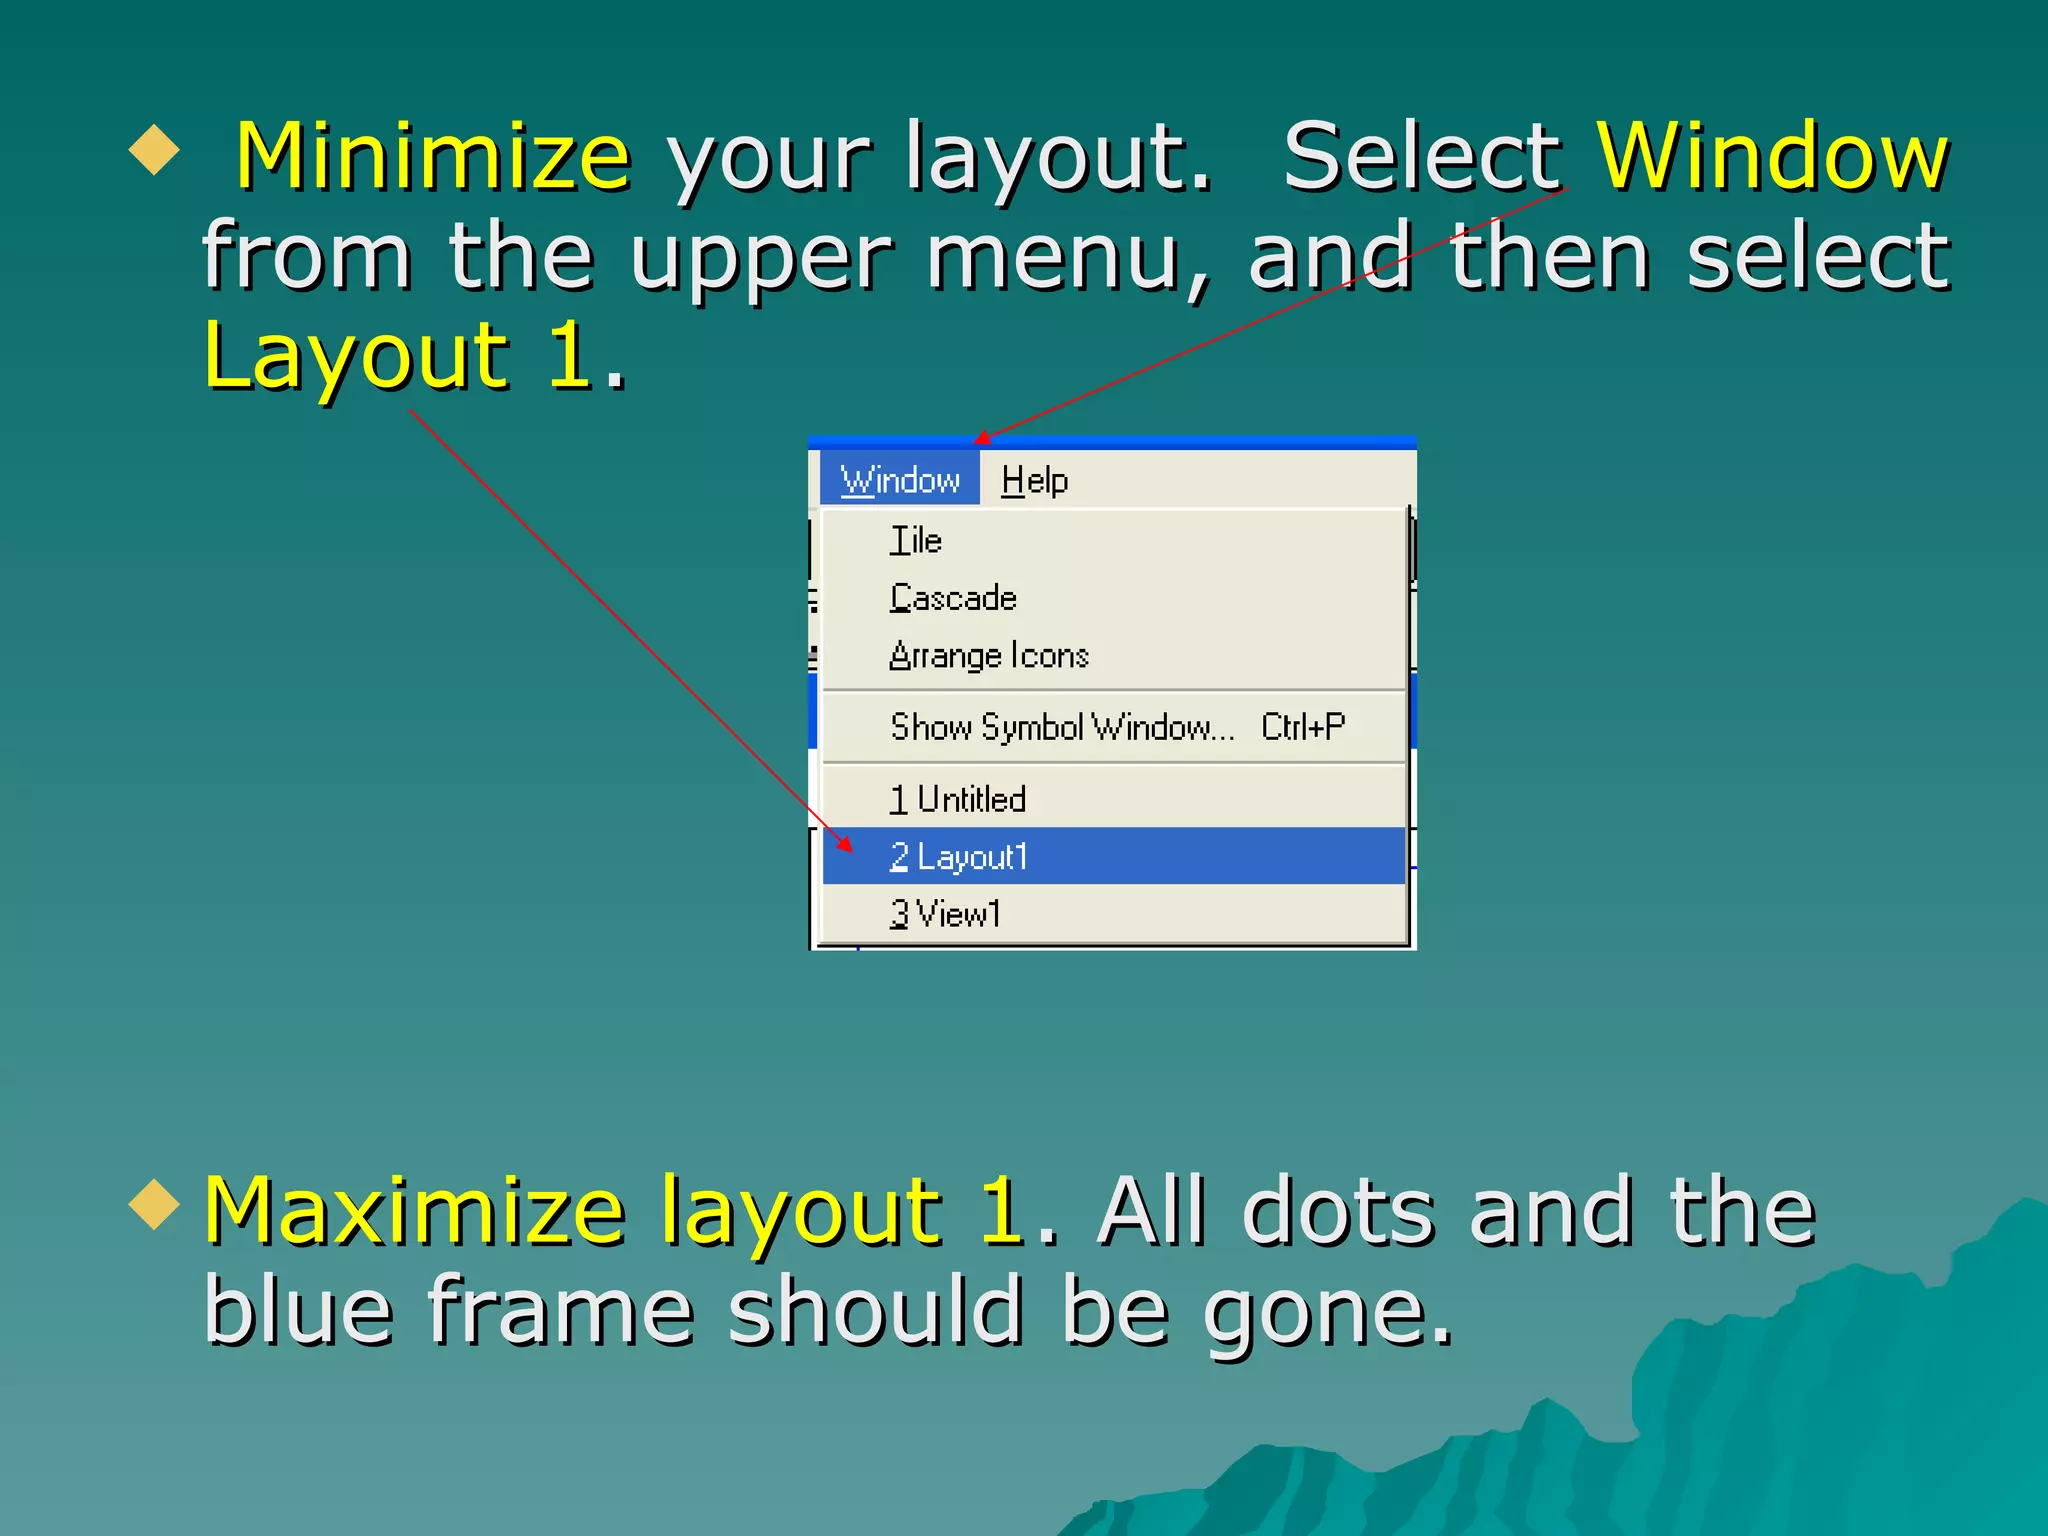
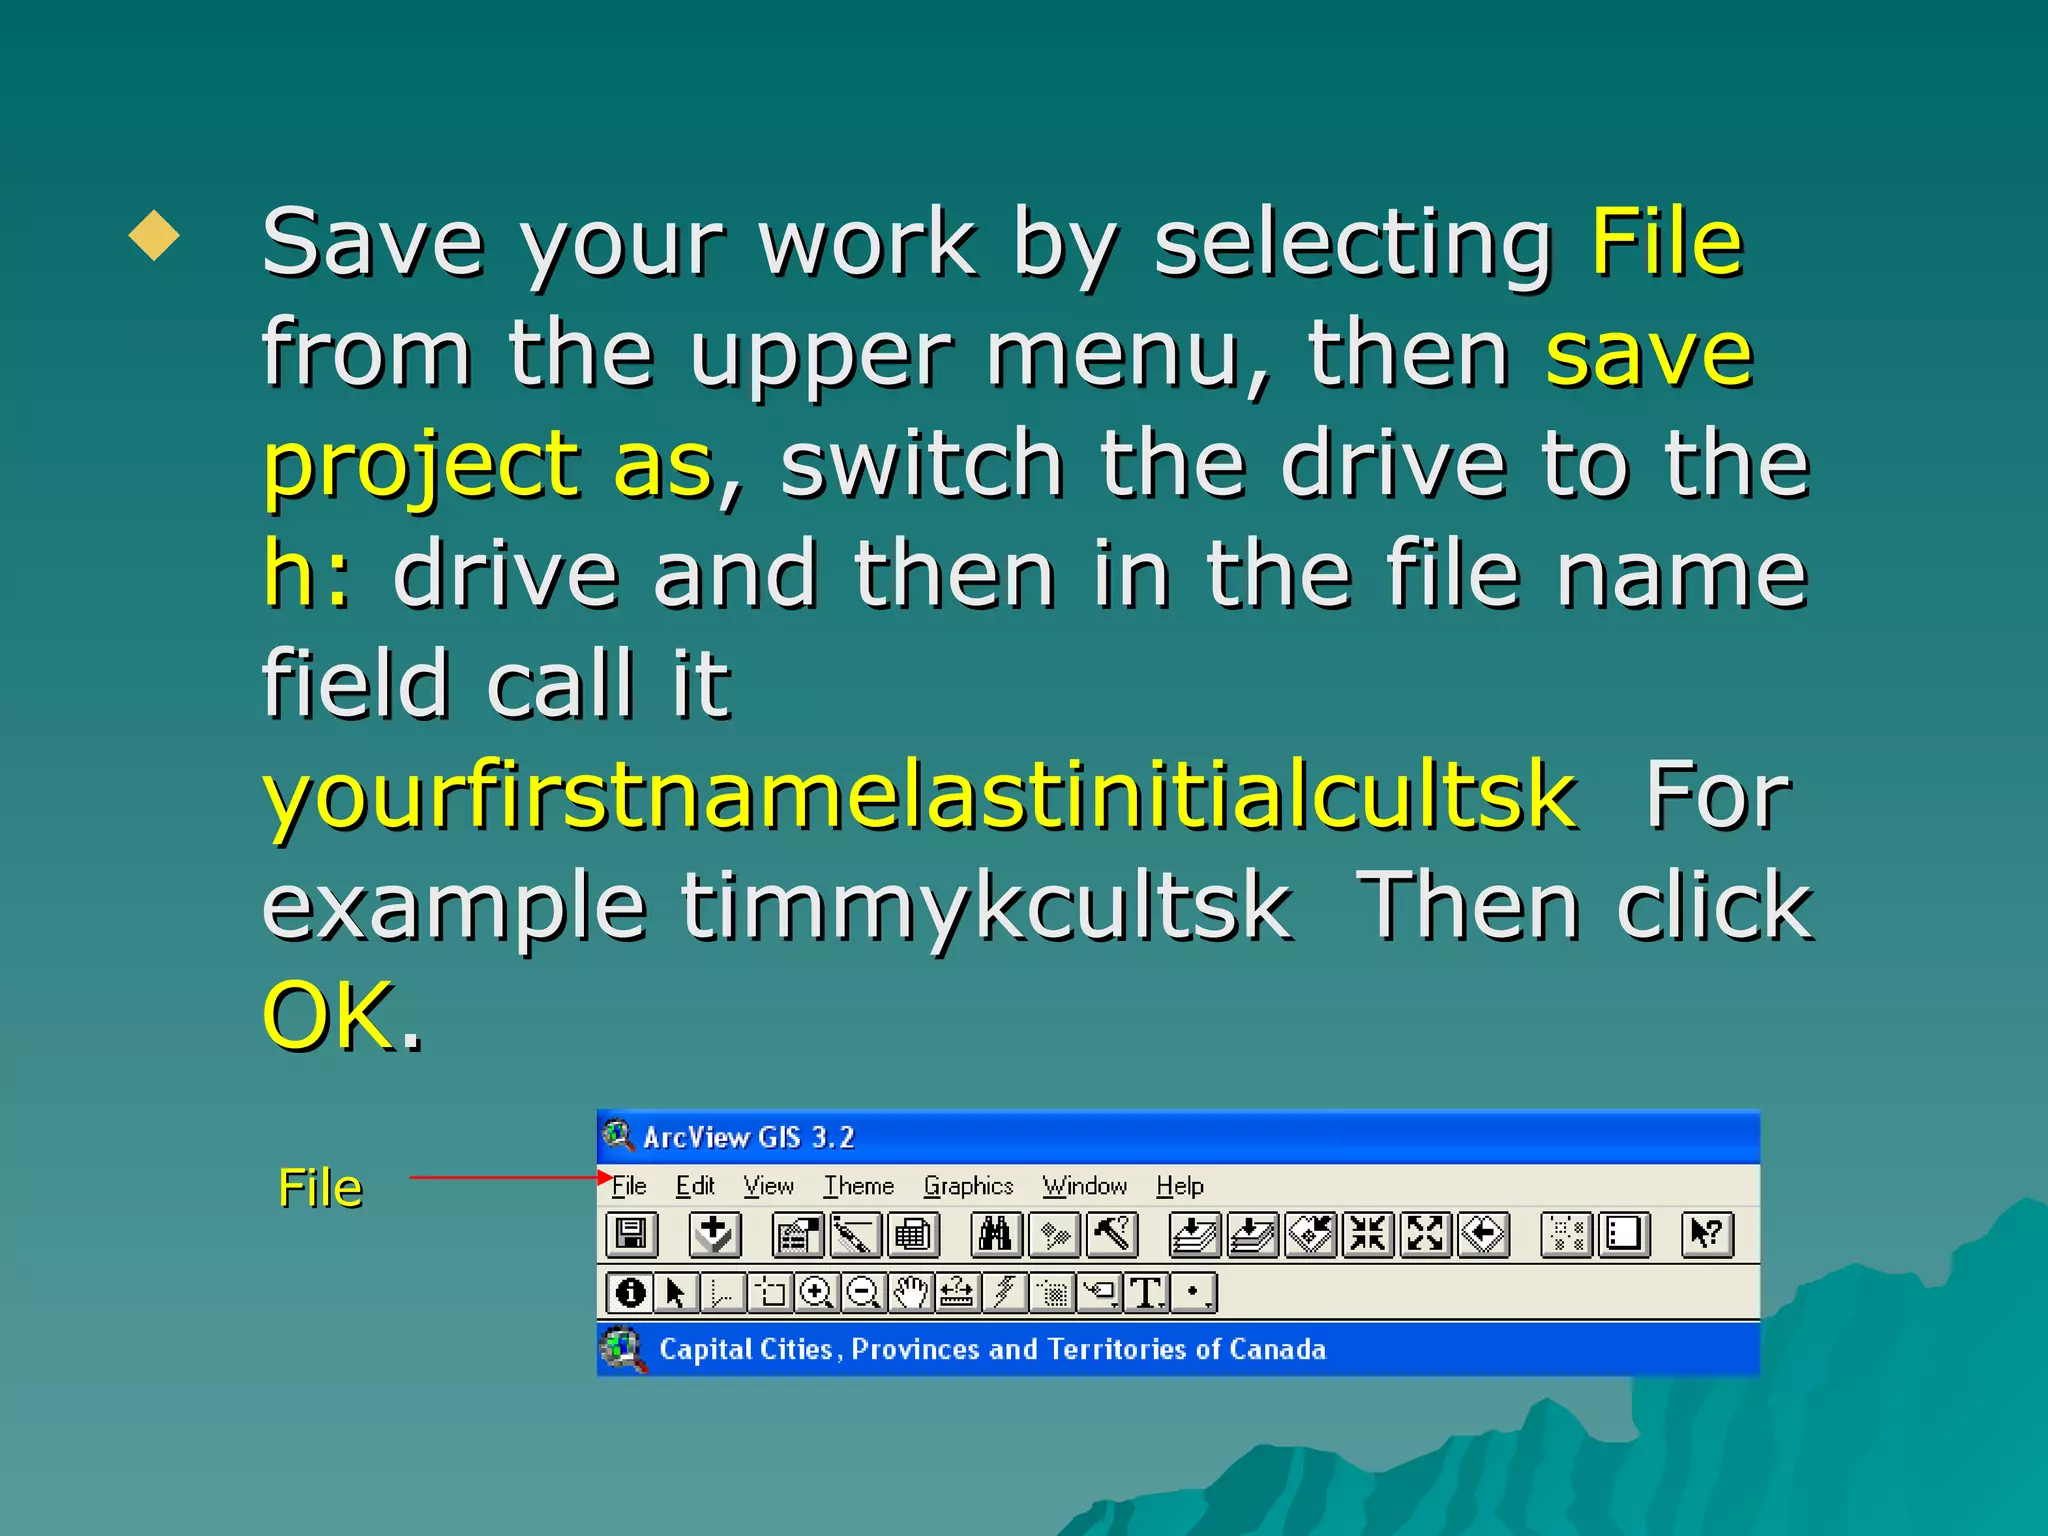
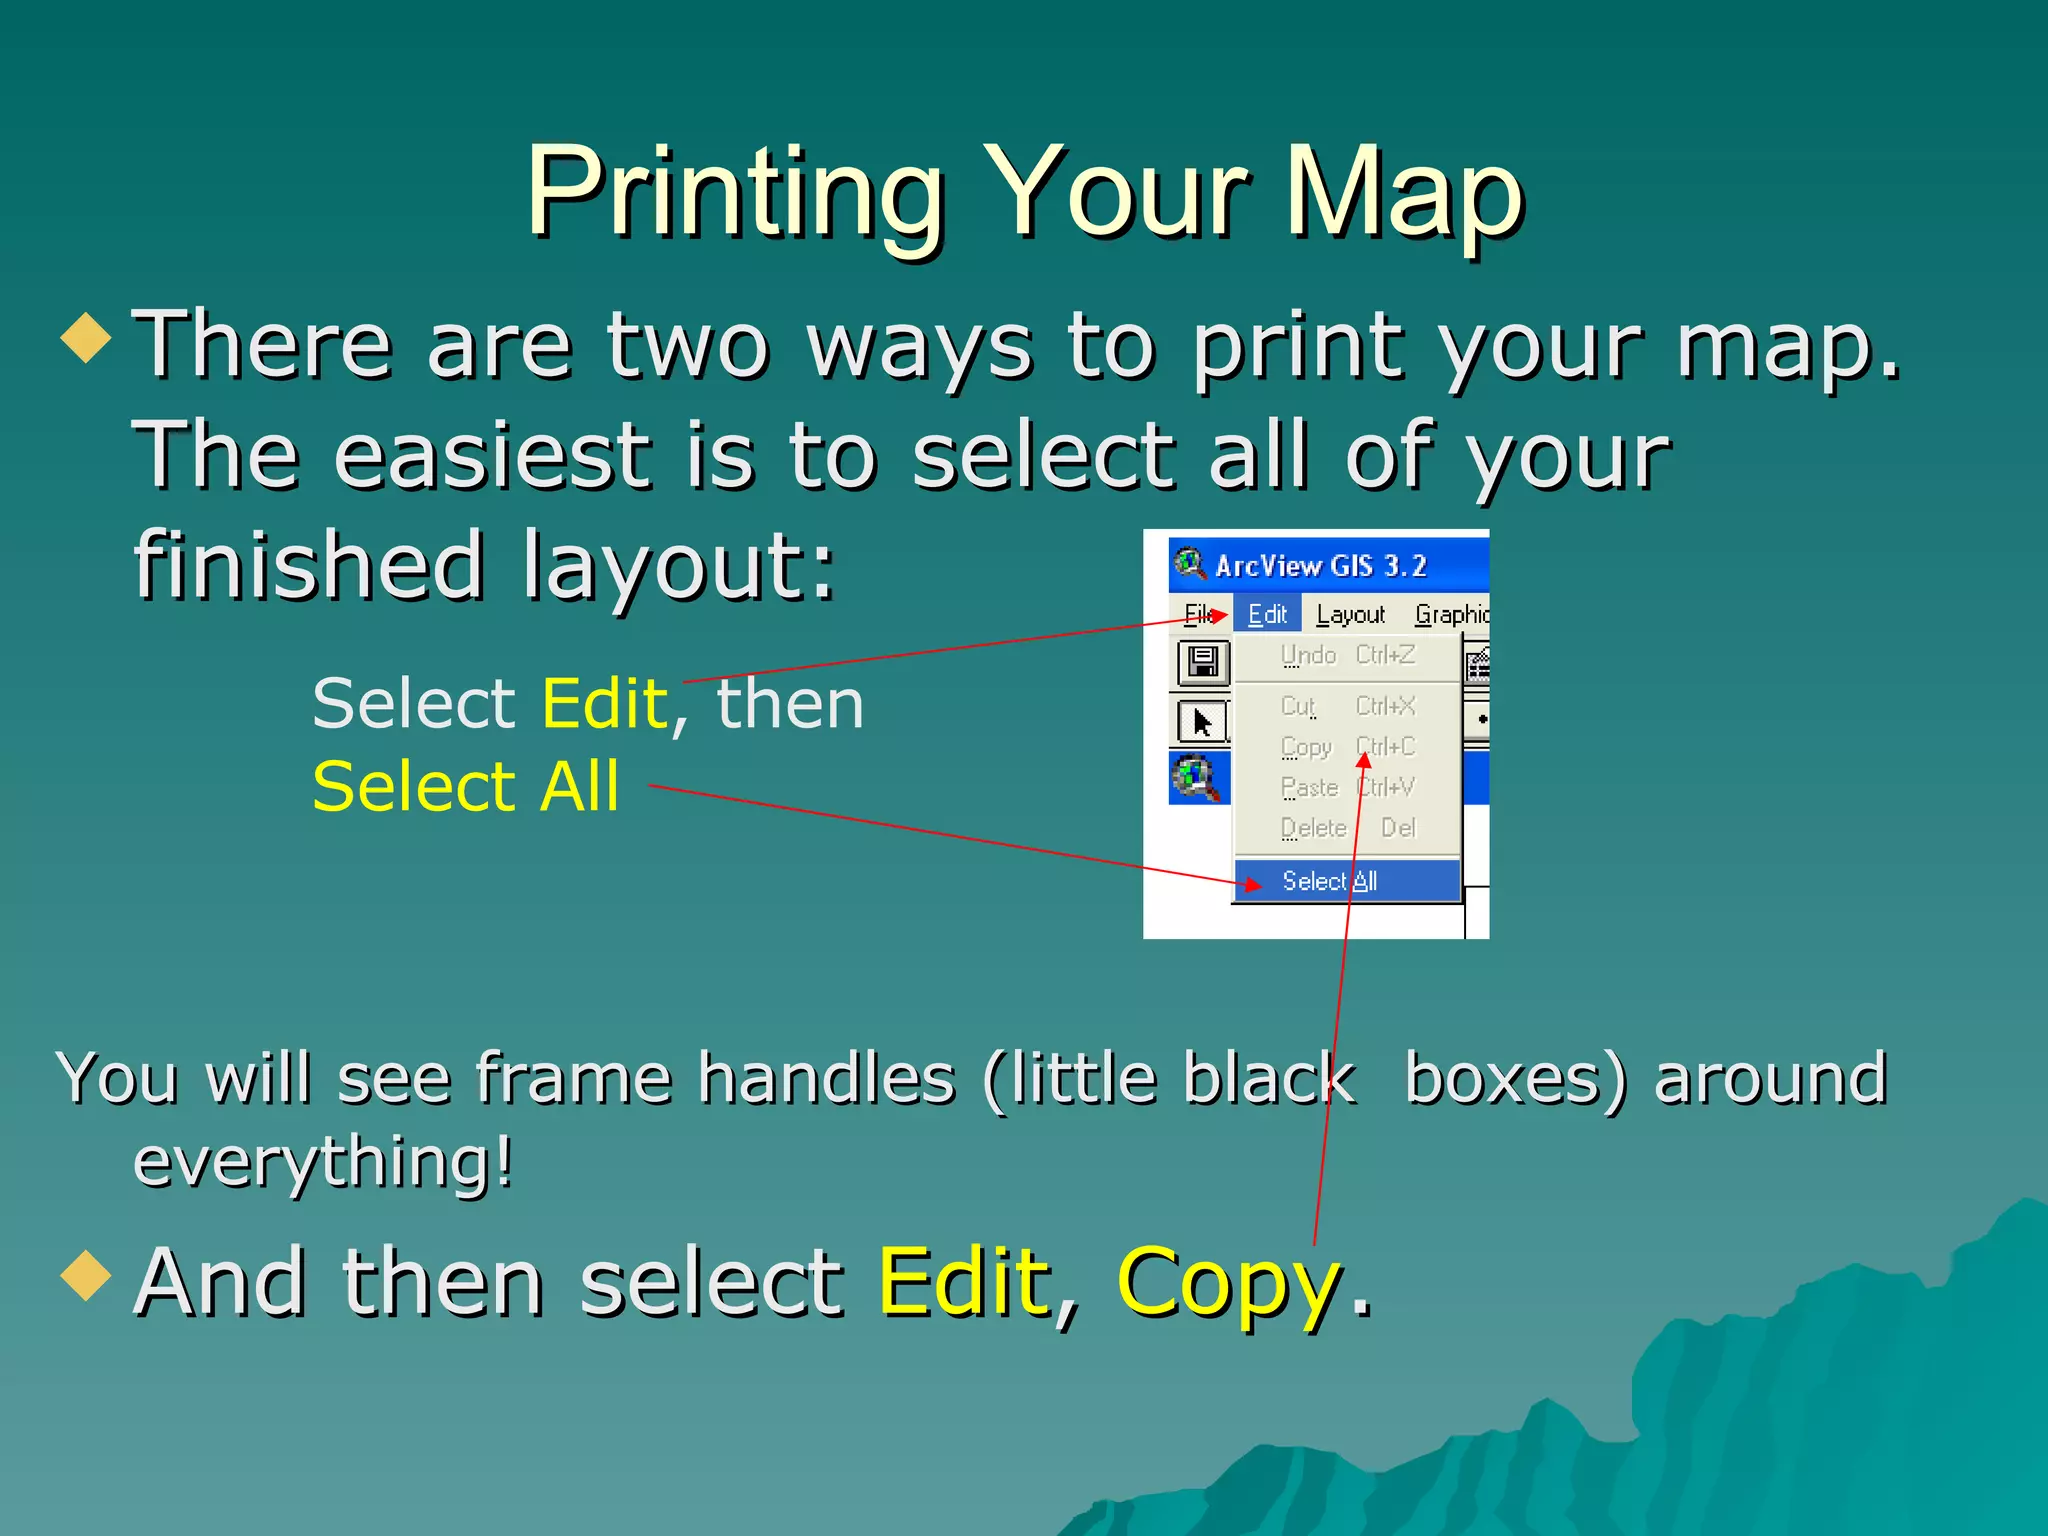
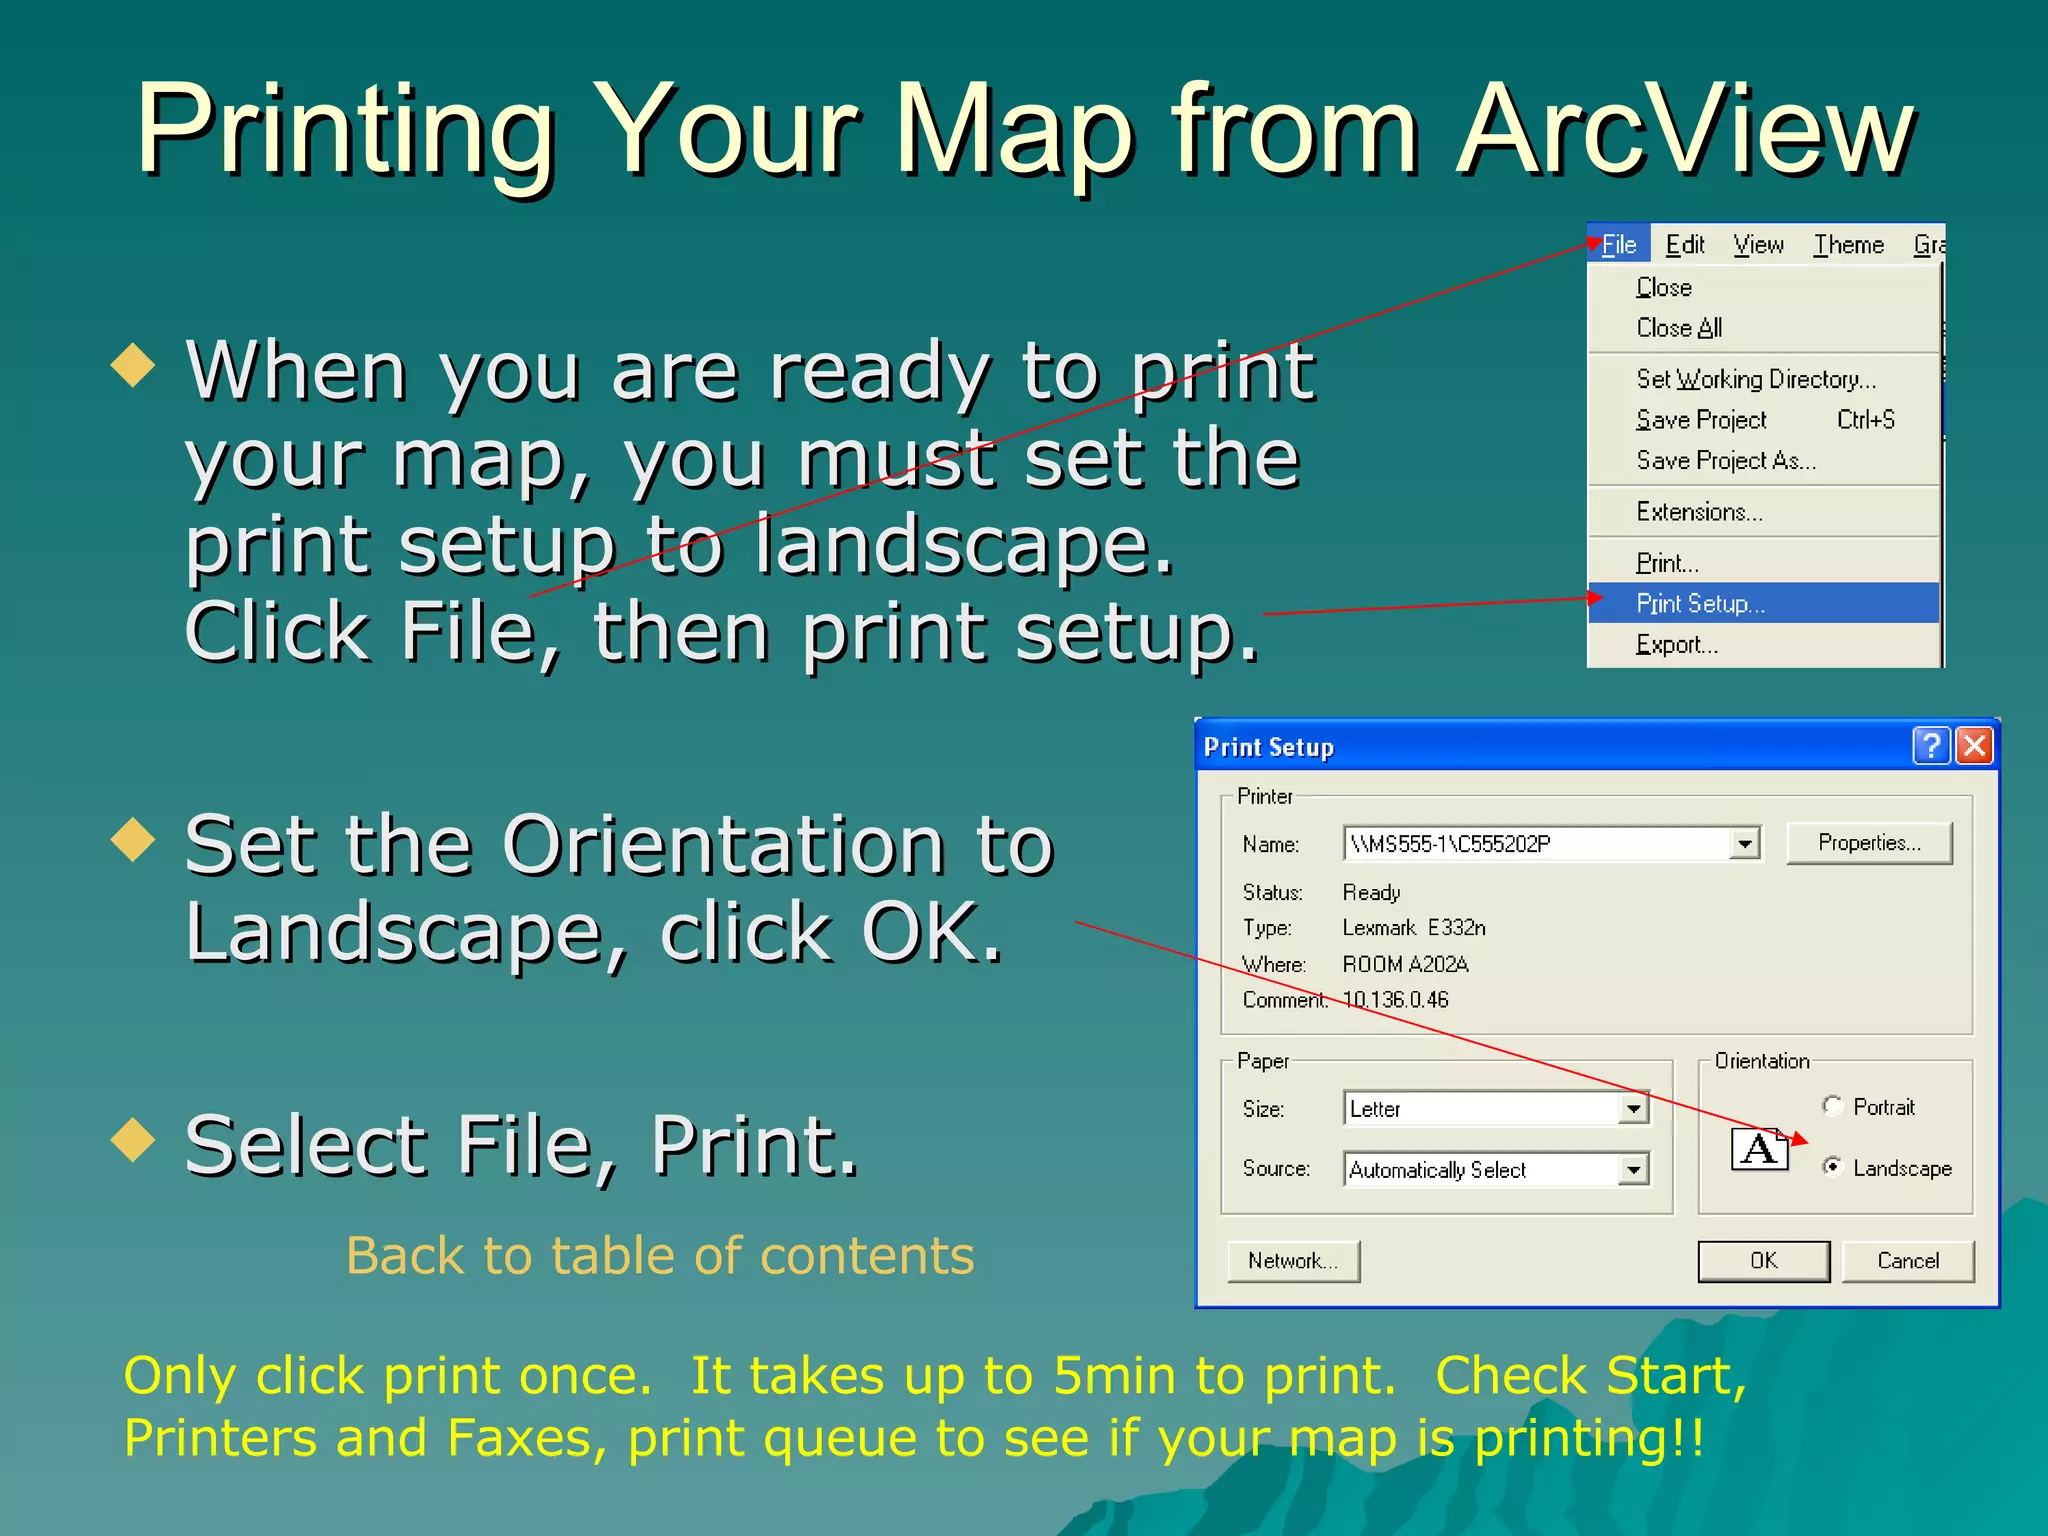
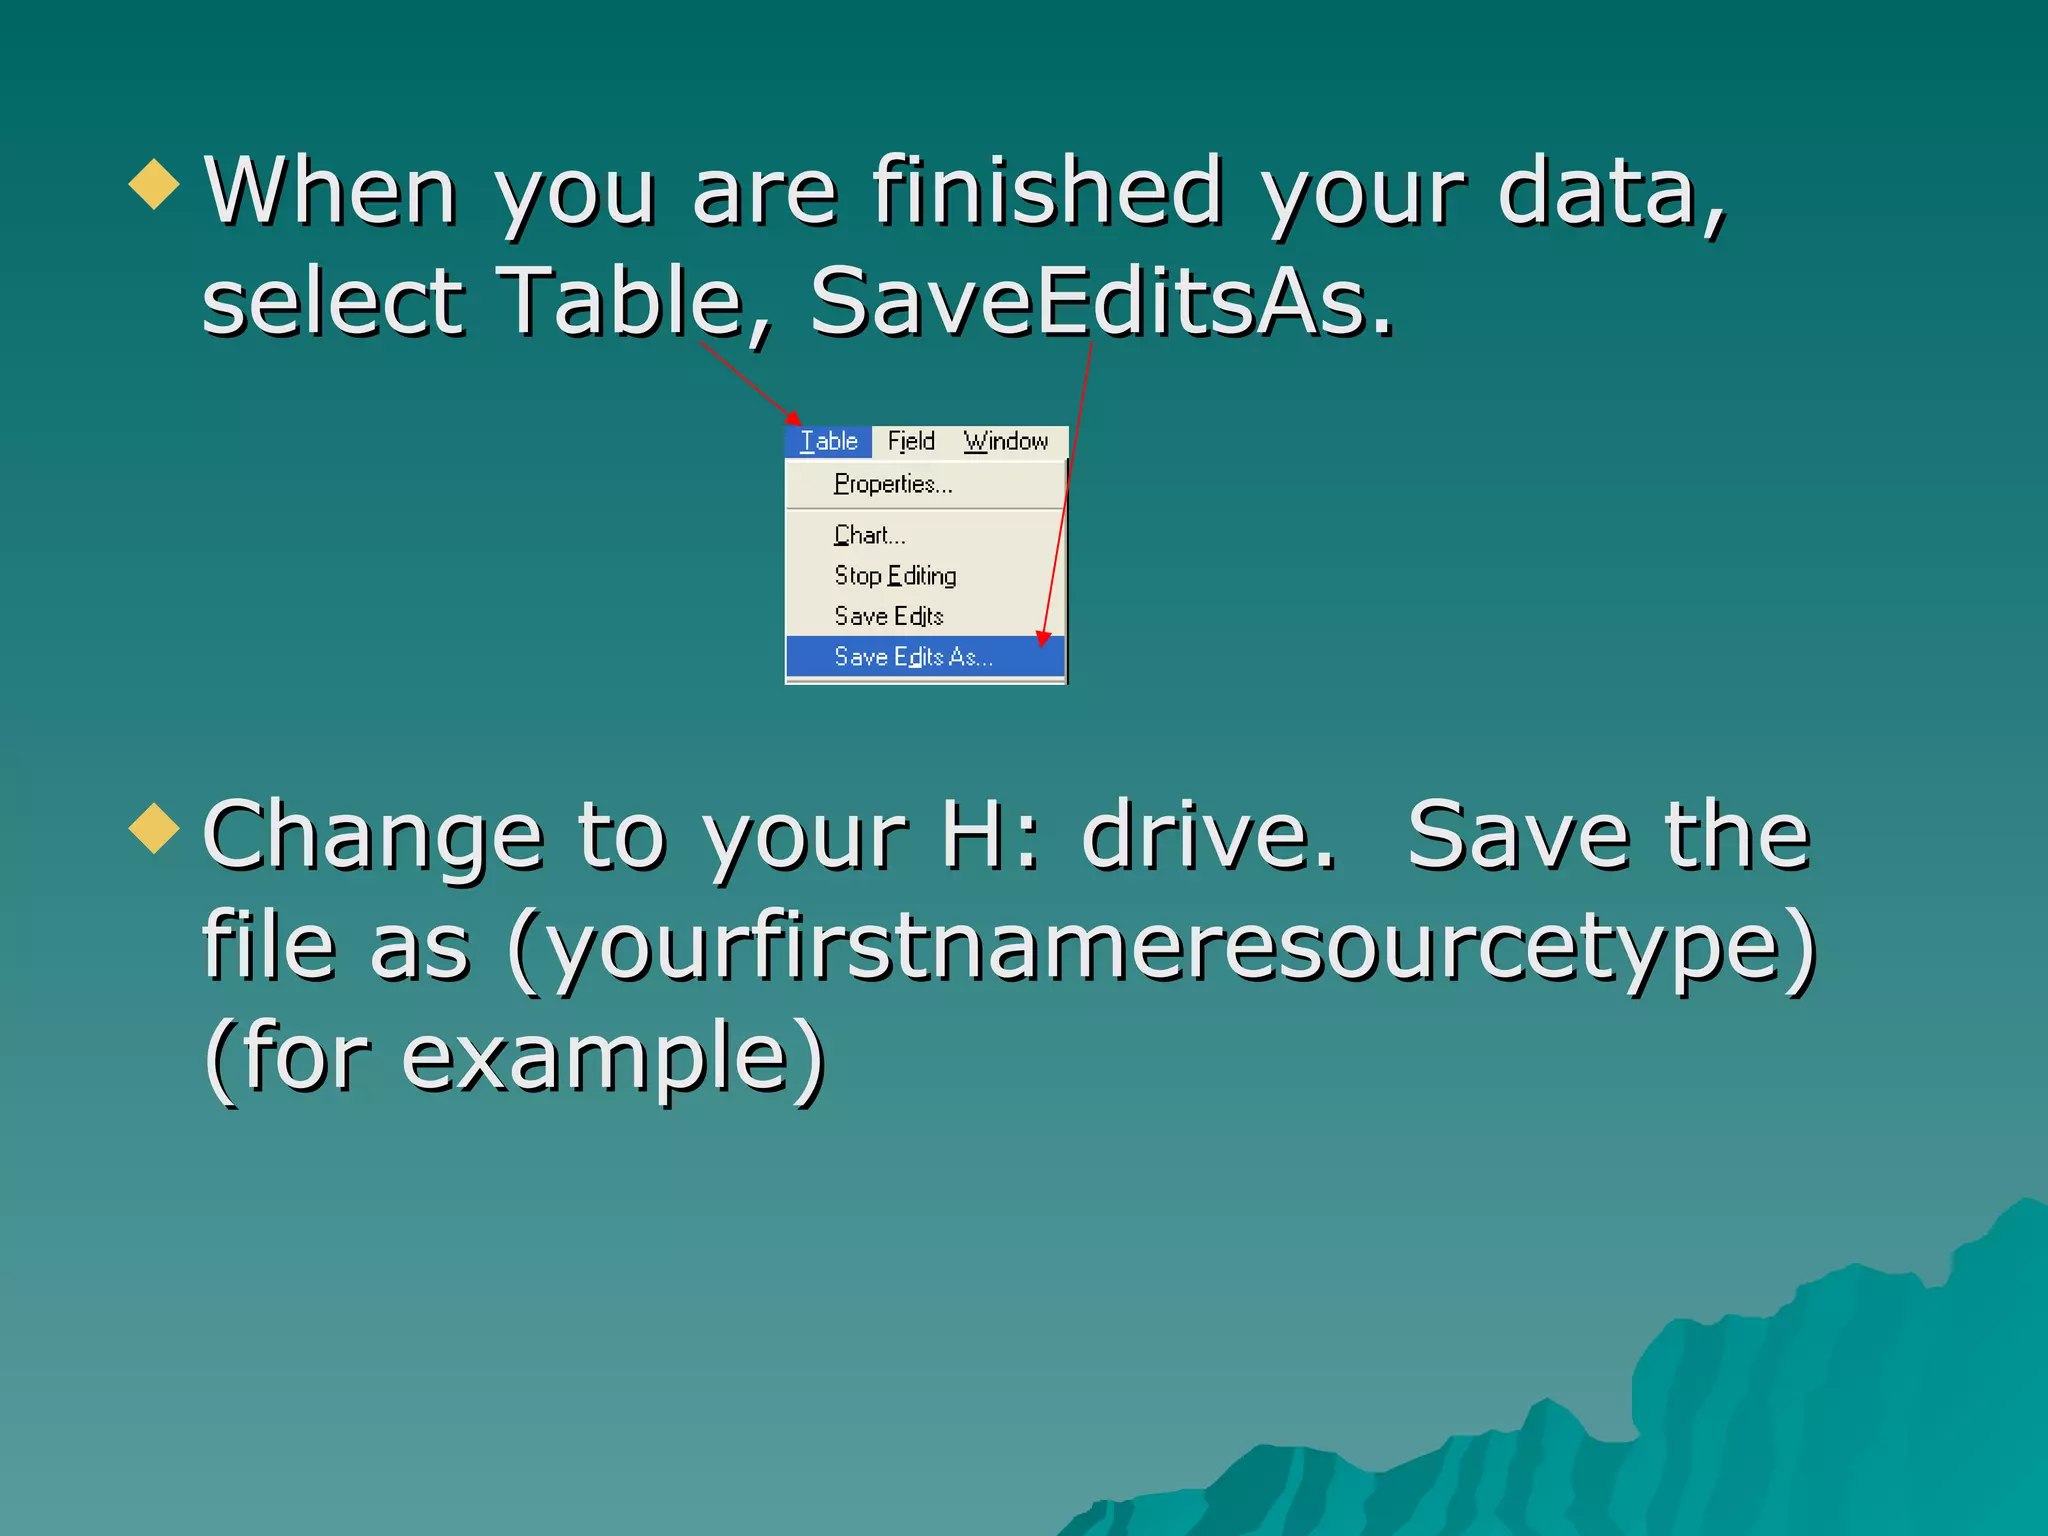
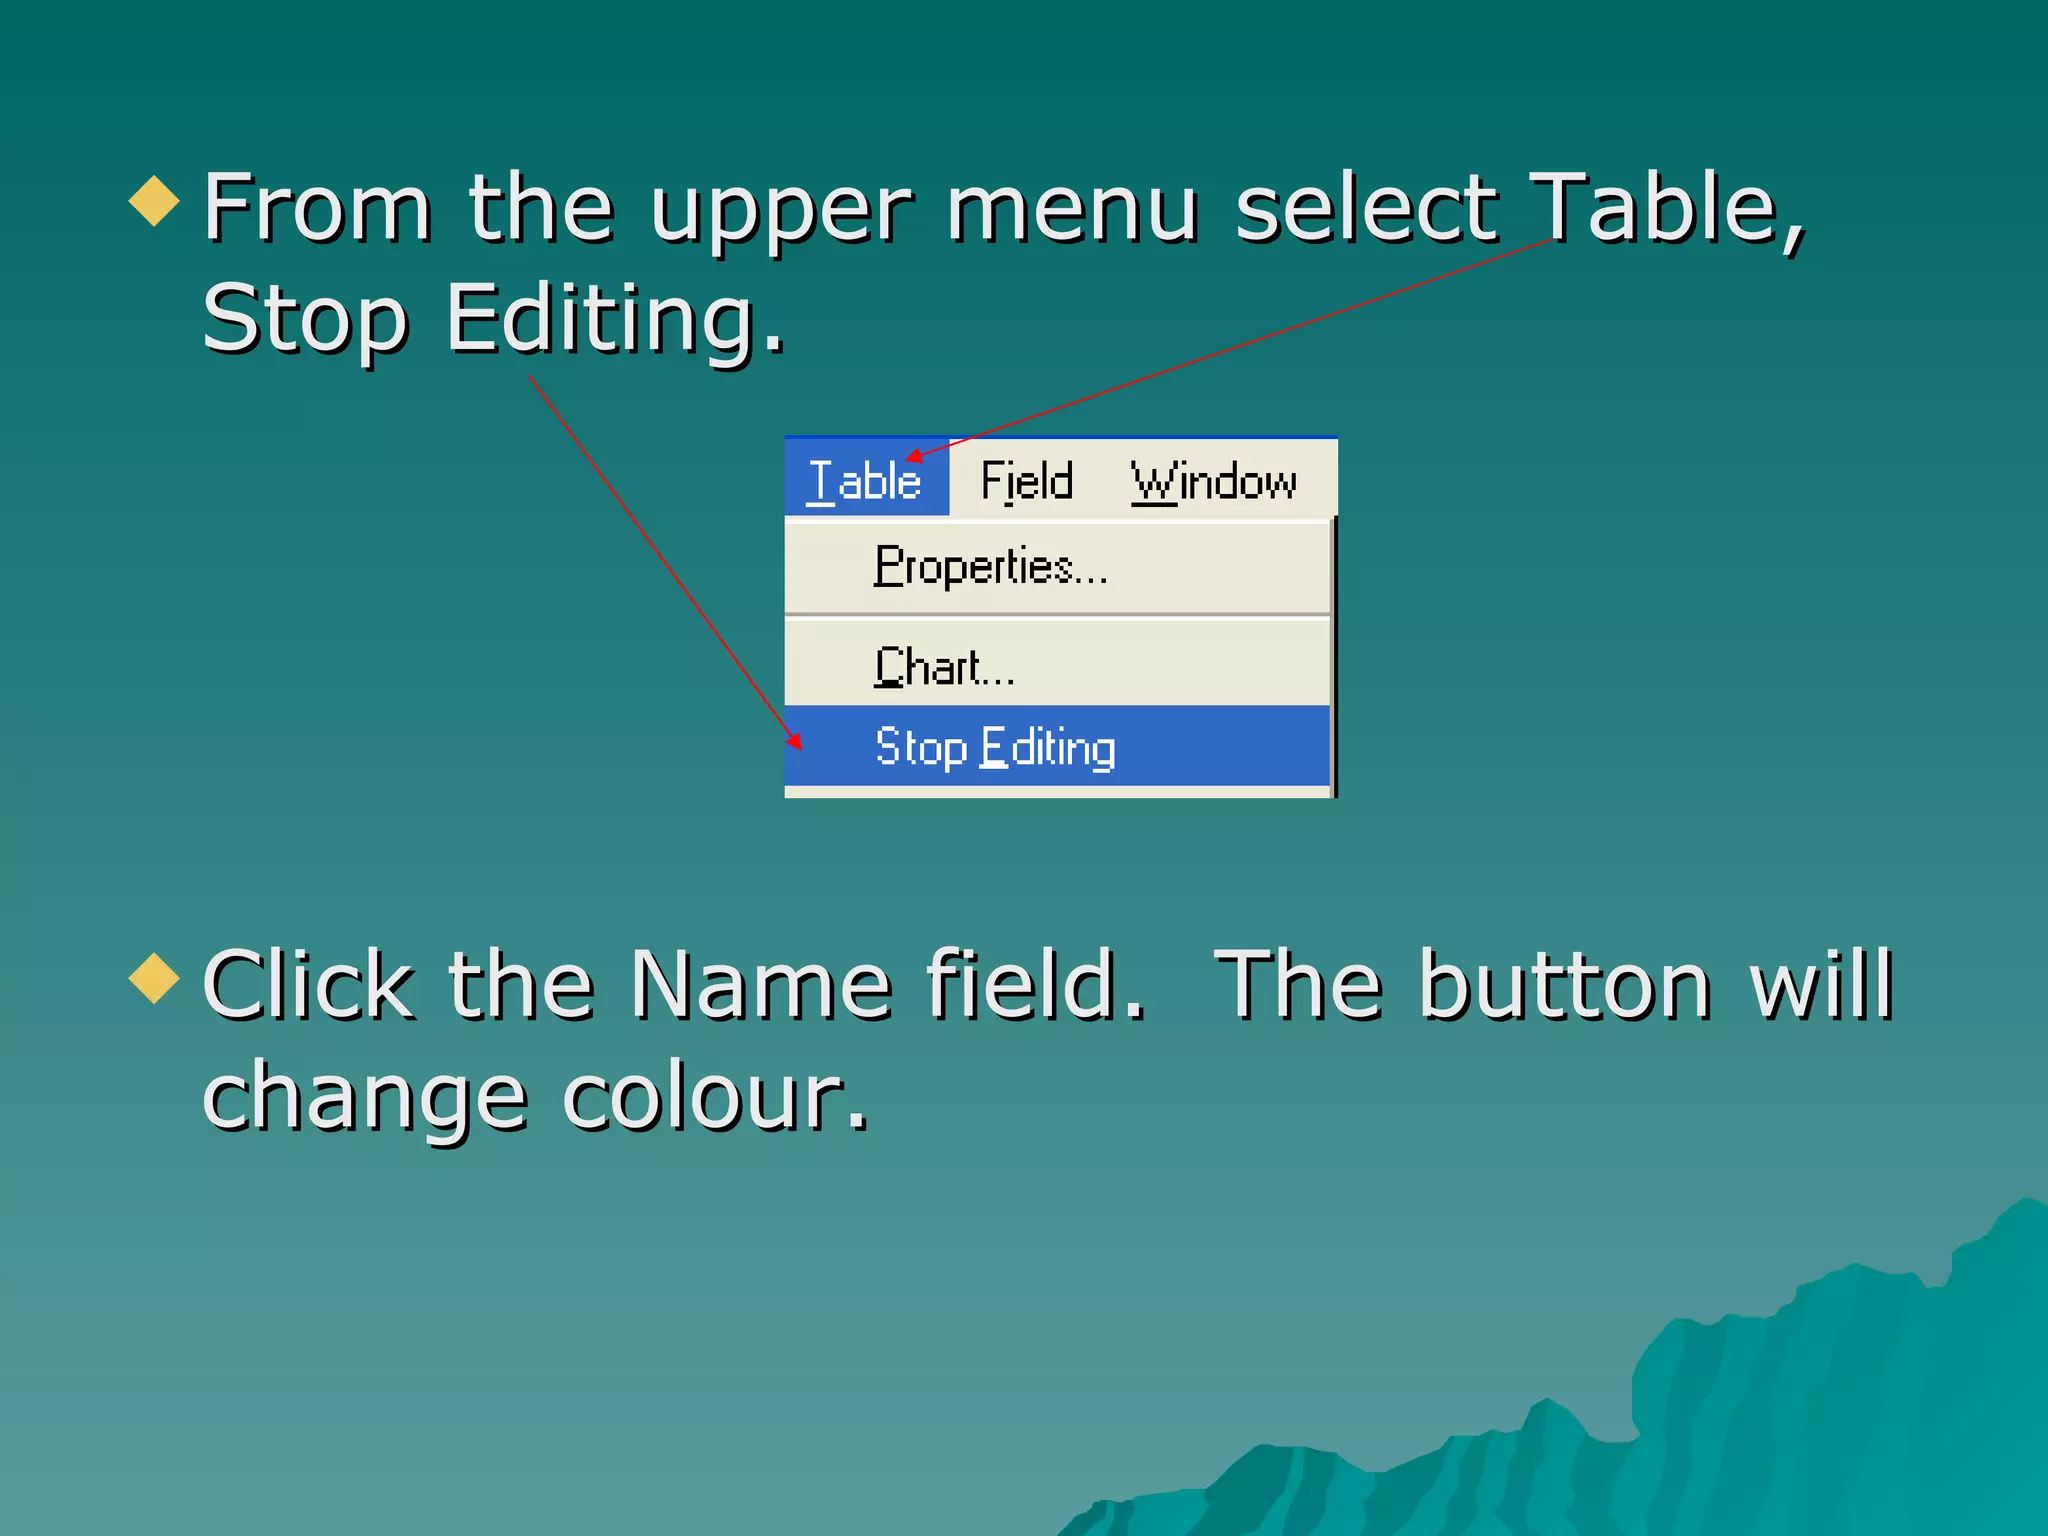
4. Instructions are provided for labeling points, changing legend properties, and saving the project.