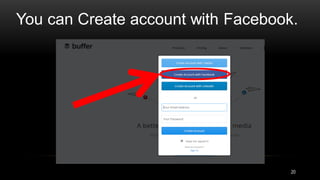
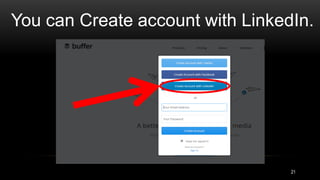
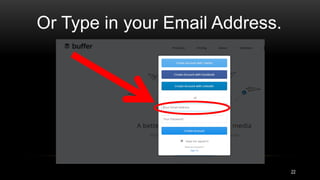
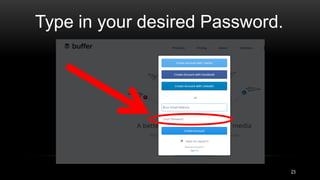
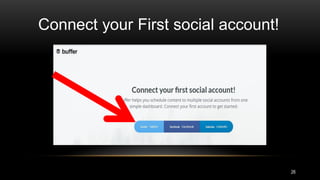
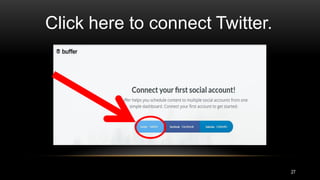
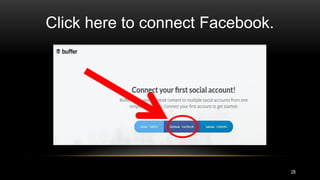
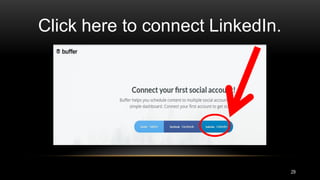
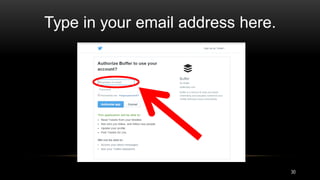
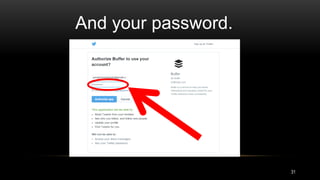
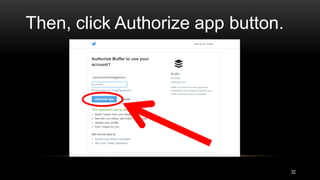
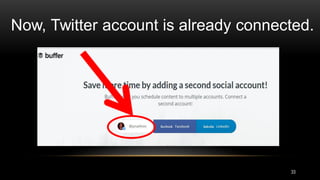
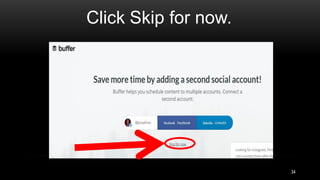
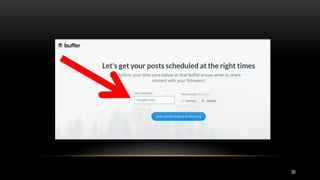
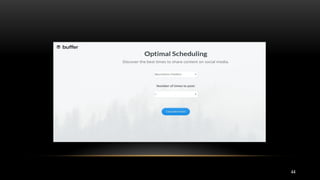
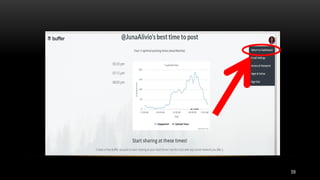
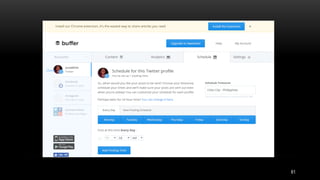
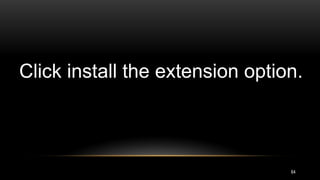
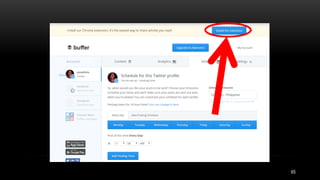
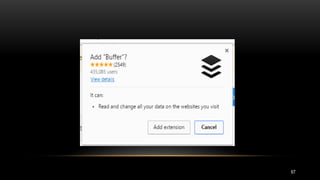
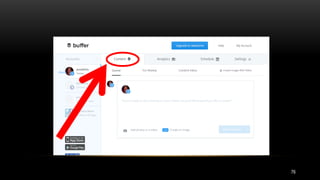
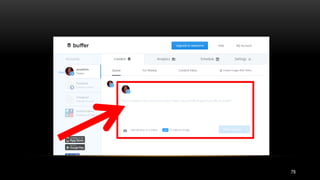
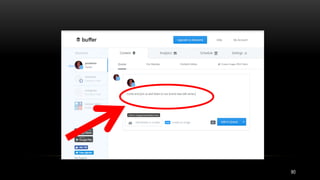
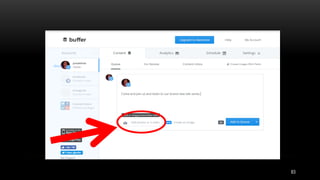
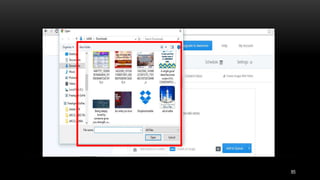
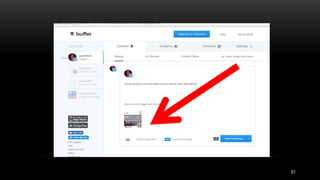
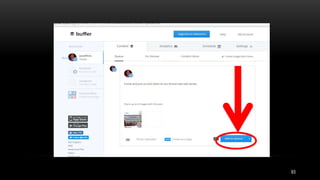
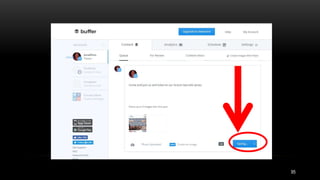
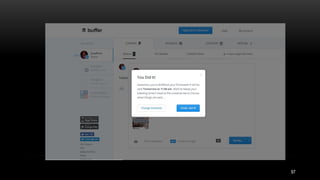
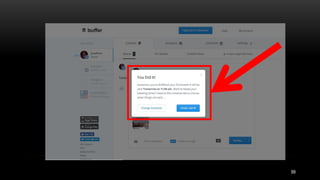
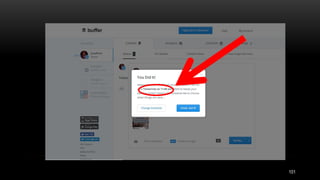
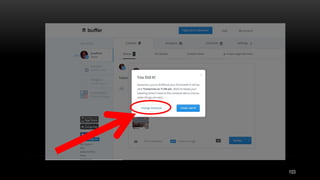
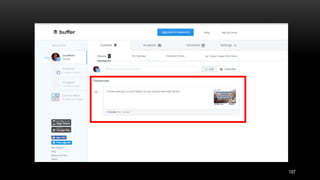
HOW TO
USE
BUFFER
1
WHAT IS BUFFER ?
2
A better way to share
on Social Media.
3
What it does is simple
4
add updates to your
Buffer queue.
5
And posted for you
over the day
6
at best times.
7
Let’s discover
what BUFFER
can do!
8
Go to your favorite
browsers.
9
On your address bar:
Type in www.buffer.com
10
BUFFER webpage will display.
11
To learn more about
BUFFER products, Click it!
12
To know all about
BUFFER click ABOUT.
13
Want to listen about BUFFER ?
Click on Webinars.
14
To know about the BUFFER prices,
Click!
15
This will display.
16
For this tutorial, let’s use FREE.
17
Click on Get Started for Free button.
18
You can Create account with Twitter.
19
You can Create account with Facebook.
20
You can Create account with LinkedIn.
21
Or Type in your Email Address.
22
Type in your desired Password.
23
24
Let’s connect one
social media account.
25
You can add another account later.
Connect your First social account!
26
Click here to connect Twitter.
27
Click here to connect Facebook.
28
Click here to connect LinkedIn.
29
Type in your email address here.
30
And your password.
31
Then, click Authorize app button.
32
Now, Twitter account is already connected.
33
34
Click Skip for now.
35
Change your time zone.
36
37
Type in your City.
38
39
Select Time format.
40
41
Click “Looks Good!
Continue to Next Step
42
43
You’ll be directed here
44
45
Change posting frequency
46
Click drop down menu
47
48
Let’s select three for
this tutorial.
49
50
Then, click Calculate Times button.
51
52
You will be directed
to this page.
53
54
You can replace
post selection.
55
…by clicking Replace Existing
Schedule button.
56
57
Now, Let’s go to
Buffer Dashboard.
58
Click Return to Dashboard.
59
60
You will be directed here.
61
62
Let’s install Chrome extension for…
63
…an easy way to share articles.
64
Click install the extension option.
65
66
This will pop out.
67
68
Click Add extension option.
69
70
This page will display.
71
72
Click return to Buffer Dashboard.
73
74
Let’s try posting.
75
Click on CONTENT option.
76
77
Write here.
78
79
This will look like.
80
81
You can add photo to your post.
82
Click on add photos/video option.
83
84
Your photo files will open.
85
86
Select the photo you want to add.
87
88
Then, Click OPEN.
89
90
Photo is now added.
91
92
Click “Add to queue”.
93
94
This will show while on process.
95
96
Then, after this will display.
97
98
You have now Buffered
your first post.
99
100
Buffer automatically schedules
your post.
101
102
You can change the schedule
103
104
…or remain to this schedule.
105
106
Let’s use this schedule.
107
108
109
110

Buffer