Setting Up A Blog 3
•Download as PPT, PDF•
0 likes•237 views

This tutorial shows you how to change your blog header

Recommended
More Related Content
What's hot
What's hot (20)
Viewers also liked
Viewers also liked (20)
Similar to Setting Up A Blog 3
Similar to Setting Up A Blog 3 (20)
More from Maggie Verster
More from Maggie Verster (20)
Recently uploaded
Recently uploaded (20)
Setting Up A Blog 3
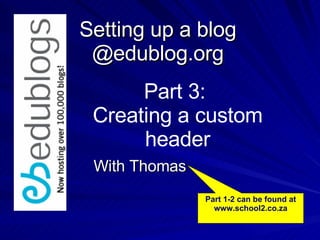
- 1. Setting up a blog @edublog.org With Thomas Part 3: Creating a custom header Part 1-2 can be found at www.school2.co.za
- 2. Open up your blog page Open up your blog page Press: Alt PrtSc At the same time on your keyboard. A snapshot of the screen is now on your clipboard ready to be pasted…
- 3. Open up Microsoft Photo Editor and choose Edit Choose: Paste as new image And zoom to 100% You will see you blogpost in the editor window
- 4. Use the crop button to drag a rectangle around the blog header Right-click and choose Crop
- 5. You are now going to use pictures on your computer, resize them and drop them on top of this picture Click on File Properties and write down the height in pixels The height is 151 pixels Save your banner: File Save as banner4thomas
- 6. Open a picture in Microsoft Photo Editor Change units to Pixels Fill in the correct height (same as blog header) Copy the picture
- 7. Open up your header window Edit Paste Move into position Repeat till banner is filled up
- 8. Add an effect to your banner picture Shall I try watercolour Save your banner…
- 9. Log back into your blog and go to ….. Navigate to where you saved your image
- 10. You can even hide the text Or change the colour of the text Save Save Save!!!! Let me go check out my blog!!! Click on ‘View Site”