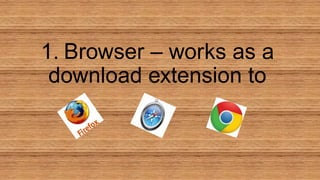
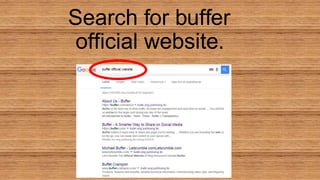
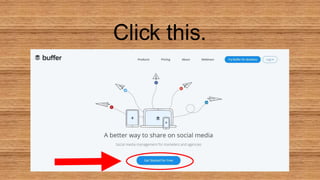
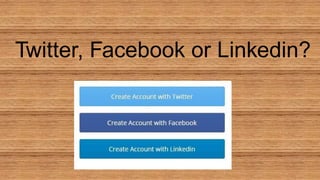
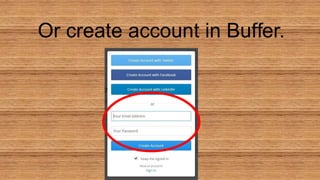
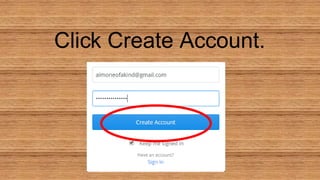
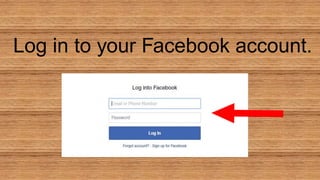
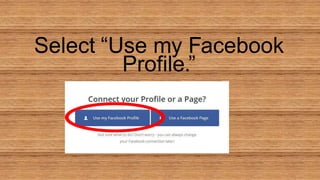
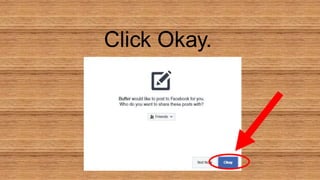
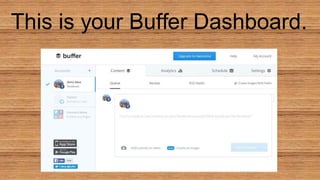
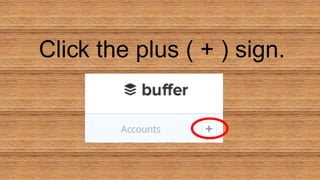
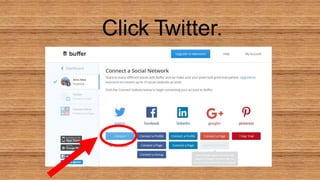
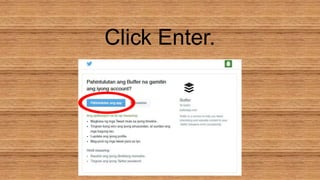
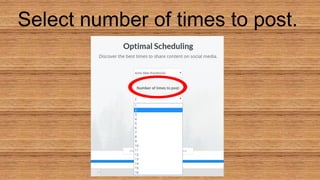
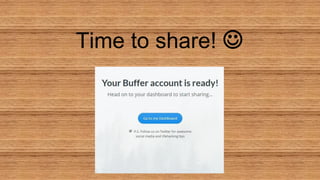
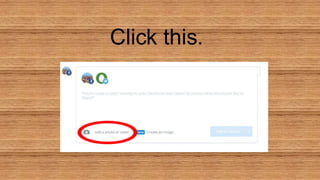
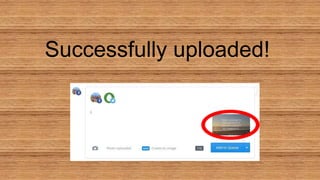
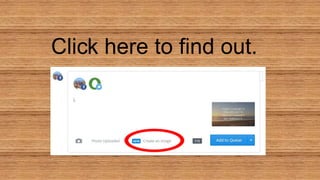
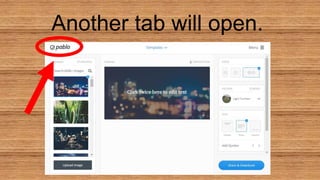
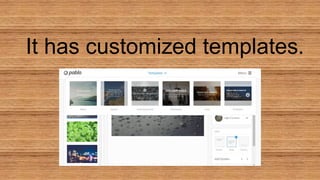
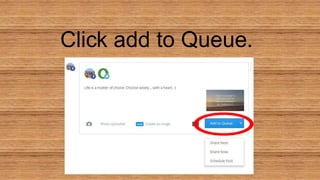
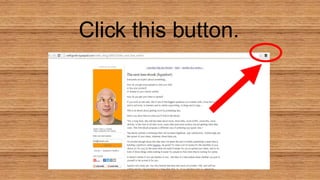
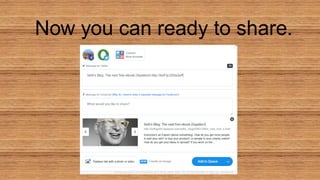
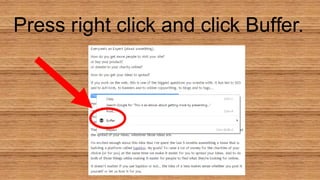
Buffer is a software application that allows scheduling of social media posts across multiple networks like Facebook, Twitter, and LinkedIn. It analyzes post performance with metrics like clicks, shares and comments. The application is compatible with browsers as an extension, and mobile devices as an app. It offers optimal scheduling of posts at times when audiences are likely to engage. Analytics features are expanded for paid plans to help evaluate post effectiveness for business users. The tutorial demonstrates how to set up an account, connect social profiles, compose and schedule posts, and use the browser extension to share content from any website.


![[Tutorial ]How to Use IFTTT Applets](https://cdn.slidesharecdn.com/ss_thumbnails/autifttt-161107080419-thumbnail.jpg?width=640&height=640&fit=bounds)


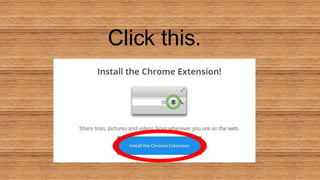
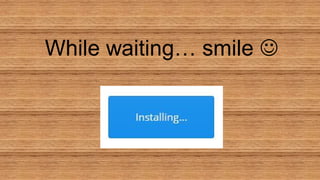
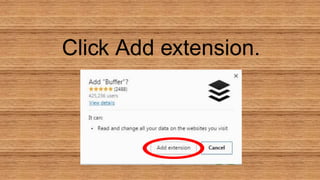
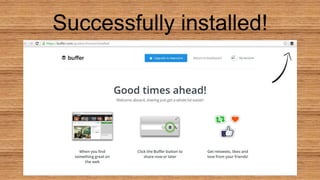
![[Made Easy] How to use Buffer - Tutorial](https://cdn.slidesharecdn.com/ss_thumbnails/howtousebuffer-170421055140-thumbnail.jpg?width=640&height=640&fit=bounds)


![[Easy] Use Buffer to Schedule Social Media Posts](https://cdn.slidesharecdn.com/ss_thumbnails/autbuffer-161018043403-thumbnail.jpg?width=640&height=640&fit=bounds)


