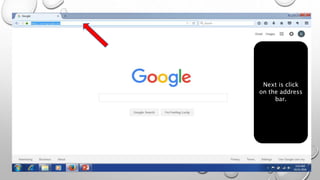
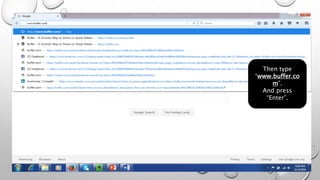
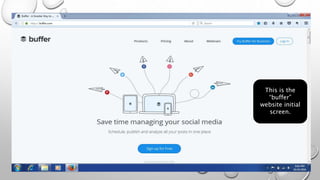
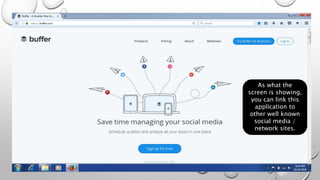
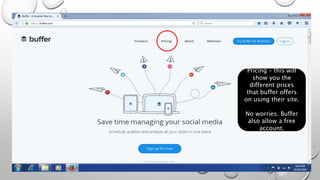
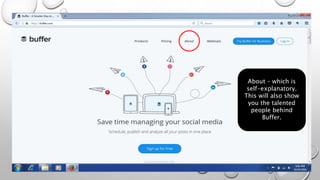
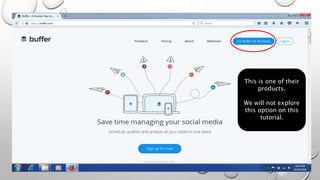
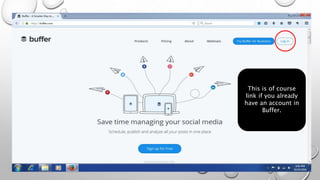
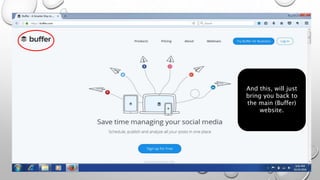
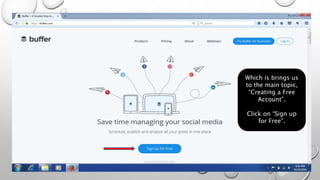
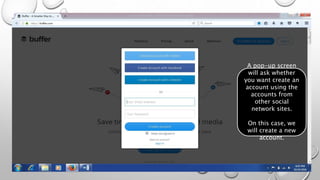
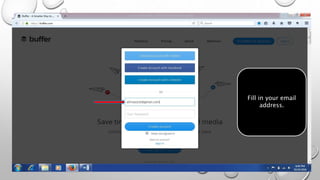
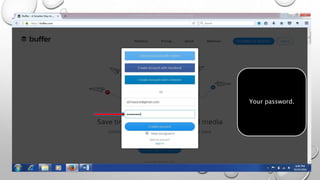
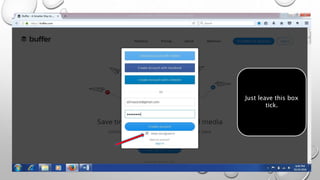
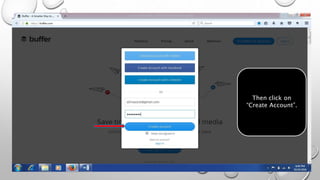
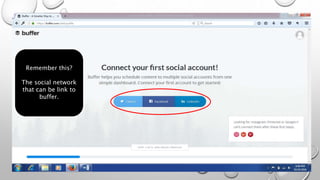
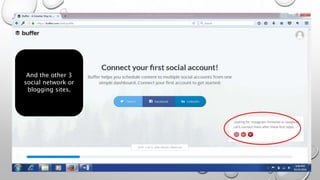
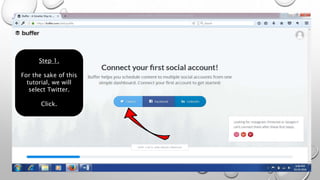
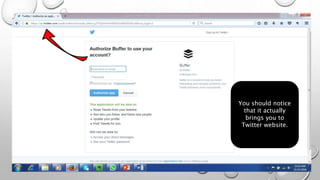
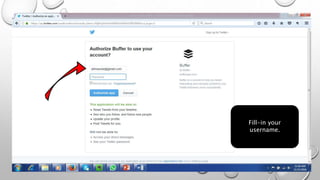
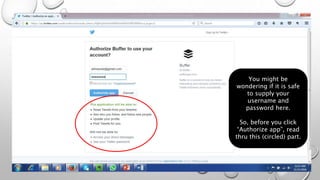
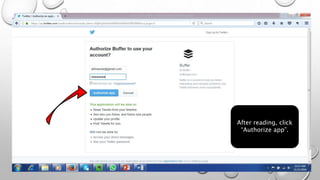
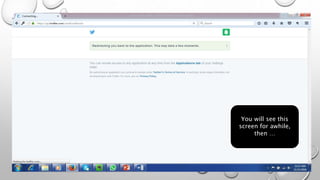
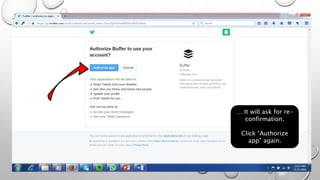
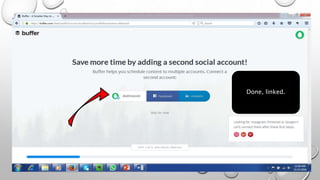
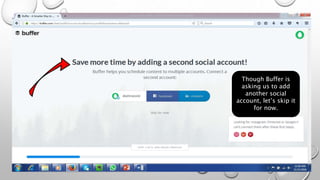
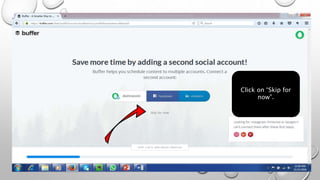
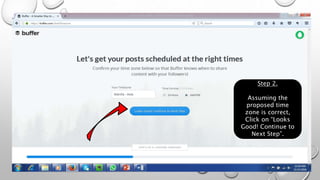
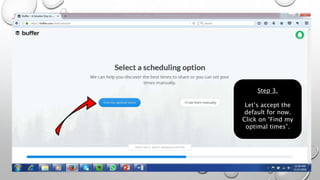
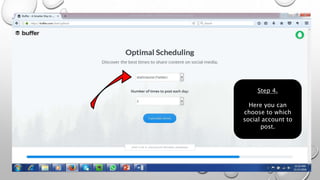
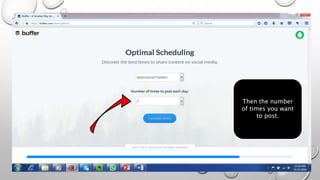
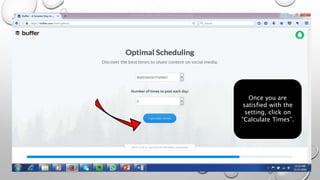
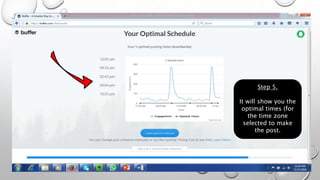
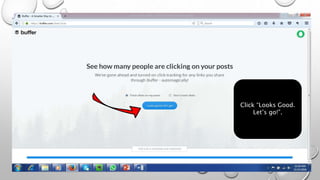
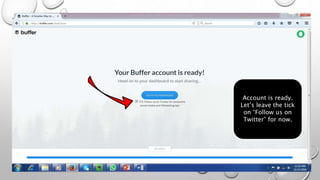
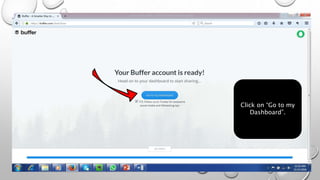
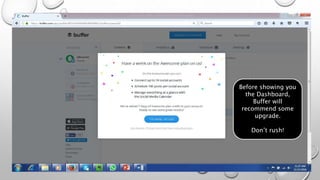
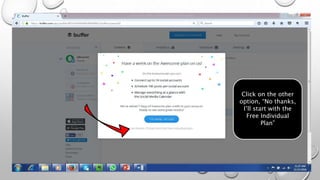
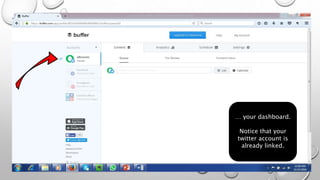
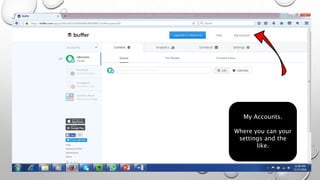
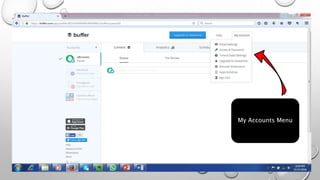
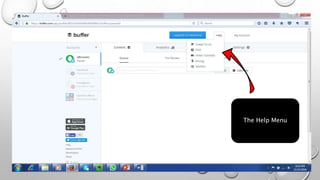
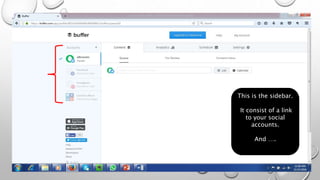
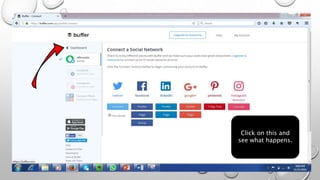
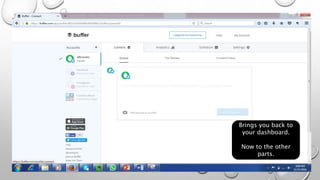
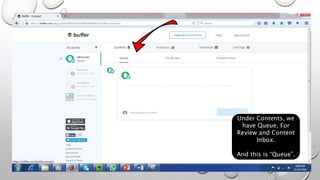
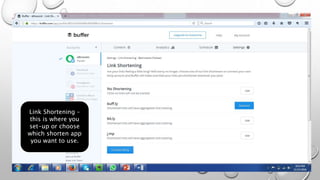
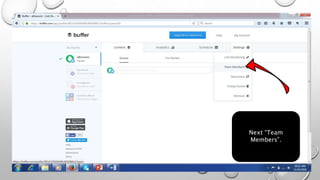
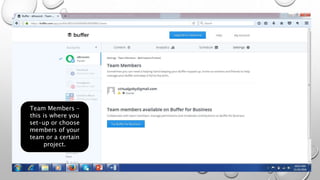
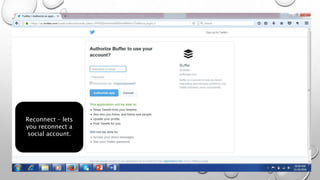
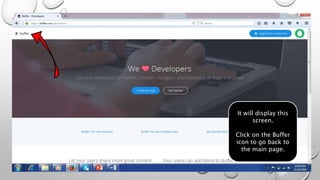
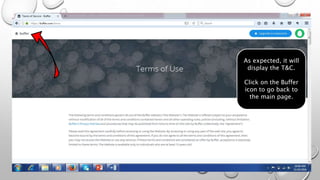
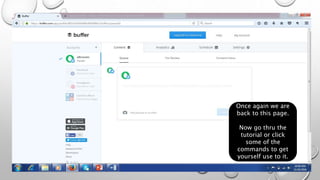
BUFFER
A VERY SIMPLE
STEP-BY- STEP GUIDE TO
CREATING AN ACCOUNT IN
(ON WINDOWS)
This is a
typical
Windows 7
Desktop.
To start …
Next click on your
internet browser.
You can use any,
either
Internet Explorer
Chrome
Firefox
The default
website will come
up, on this case
it’s Google.
Please note that
your initial screen
might be
different.
No Worries.
Next is click
on the address
bar.
Then type
“www.buffer.co
m”.
And press
“Enter”.
This is the
“buffer”
website initial
screen.
As what the
screen is showing,
you can link this
application to
other well known
social media /
network sites.
Like pinterest
…. Twitter
…. the very
famous
facebook
…. Instagram
…. google+
…. and linkedin
Before we sign-
up, let’s explore
what are these
other buttons for.
Products – of
course, these will
show you the
different products
that buffer offers.
Pricing – this will
show you the
different prices
that buffer offers
on using their site.
No worries. Buffer
also allow a free
account.
About – which is
self-explanatory.
This will also show
you the talented
people behind
Buffer.
Webminars –This
will bring to page
that offers a
webminar on their
products.
This is one of their
products.
We will not explore
this option on this
tutorial.
This is of course
link if you already
have an account in
Buffer.
And this, will just
bring you back to
the main (Buffer)
website.
Which is brings us
to the main topic,
“Creating a Free
Account”.
Click on “Sign up
for Free”.
A pop-up screen
will ask whether
you want create an
account using the
accounts from
other social
network sites.
On this case, we
will create a new
account.
Fill in your email
address.
Your password.
Just leave this box
tick.
Then click on
“Create Account”.
And voila, you now
have an account in
Buffer.
CONGRATULATION
S!!
NOW LET’S START
CONNECTING TO YOUR
SOCIAL ACCOUNT
Remember this?
The social network
that can be link to
buffer.
And the other 3
social network or
blogging sites.
So let’s start as the
(almost not visible)
instruction says.
So let’s start as the
(almost not visible)
instruction says.
Step 1.
For the sake of this
tutorial, we will
select Twitter.
Click.
You should notice
that it actually
brings you to
Twitter website.
Fill-in your
username.
Fill-in your
password.
You might be
wondering if it is safe
to supply your
username and
password here.
So, before you click
“Authorize app”, read
thru this (circled) part.
After reading, click
“Authorize app”.
You will see this
screen for awhile,
then …
… It will ask for re-
confirmation.
Click “Authorize
app” again.
Done, linked.
Though Buffer is
asking us to add
another social
account, let’s skip it
for now.
Click on “Skip for
now”.
Step 2.
Assuming the
proposed time
zone is correct,
Click on “Looks
Good! Continue to
Next Step”.
Step 3.
Let’s accept the
default for now.
Click on “Find my
optimal times”.
Step 4.
Here you can
choose to which
social account to
post.
Then the number
of times you want
to post.
Once you are
satisfied with the
setting, click on
“Calculate Times”.
Step 5.
It will show you the
optimal times (for
the time zone
selected to make
the post.
And as mentioned
earlier, you can
change the
schedule if you feel
the recommended
time is not optimal
enough.
But for now, let’s
accept it and click
on “Looks Good:
Continue”.
Step 6.
By default, it turned
on the click-rating
option.
Click “Looks Good.
Let’s go!”.
Account is ready.
Let’s leave the tick
on “Follow us on
Twitter” for now.
Click on “Go to my
Dashboard”.
Before showing you
the Dashboard,
Buffer will
recommend some
upgrade.
Don’t rush!
Click on the other
option, “No thanks,
I’ll start with the
Free Individual
Plan”
… your dashboard.
Notice that your
twitter account is
already linked.
CONGRATULATION
S!!
YOU HAVE COMPLETED ANOTHER
LEVEL
NOW LET’S EXPLORE THE
DASHBOARD.
My Accounts.
Where you can your
settings and the
like.
My Accounts Menu
Help. This is very
sefl-explanatory.
The Help Menu
This is for
upgrading your
buffer account,
from free to a paid
account.
If you click on it ….
This screen will be
displayed.
Let’s leave this for
now.
Click the buffer
icon on the top-
left corner.
When you see this,
it will (almost)
always bring you
back to your
dashboard.
This is the sidebar.
It consist of a link
to your social
accounts.
And ….
… the other links
e.g. App Store, T&C,
etc.
When you click on
any part of the
Account sidebar …
The connect to a
social network
menu is displayed.
Click on this and
see what happens.
Brings you back to
your dashboard.
Now to the other
parts.
Under Contents, we
have Queue, For
Review and Content
Inbox.
And this is “Queue”.
This is “For Review”.
And “Content
Inbox”.
Under Contents, we
have Posts, Analysis
and Insights.
And this is “Posts”.
This is “Analysis”.
And “Analysis”.
The Schedule tab.
This is where you
set-up the schedule
of your post from
different social
account.
The Settings tab.
We will explore the
items in this menu
in the next few
slides.
Let’s start with
“Link Shortening”.
Link Shortening –
this is where you
set-up or choose
which shorten app
you want to use.
Next “Team
Members”.
Team Members –
this is where you
set-up or choose
members of your
team or a certain
project.
Next “Reconnect”.
Reconnect – lets
you reconnect a
social account.
Next “Empty
Queue”.
It is as what it says
… so it will ask for
a reconfirmation.
Be careful when
using this
command since it
will delete all the
queued post.
And “Remove”.
This is the tool to
remove a social
account.
So be careful when
using this command
since it will delete all
the analytics and
history of the account
that will be removed.
Now let’s explore
this a bit.
FAQ or Frequently
Ask Questions.
It will open another
tab to show the
different categories
of FAQs.
Developers.
Well, if you are one,
this is where you
want concentrate.
It will display this
screen.
Click on the Buffer
icon to go back to
the main page.
Terms of Use
We will skip the
rest and come to
one the important
link.
As expected, it will
display the T&C.
Click on the Buffer
icon to go back to
the main page.
Once again we are
back to this page.
Now go thru the
tutorial or click
some of the
commands to get
yourself use to it.
THANK YOU
CHECK-OUT THE OTHER
TUTORIAL(S)

Guide to Buffer