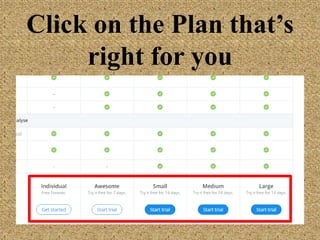
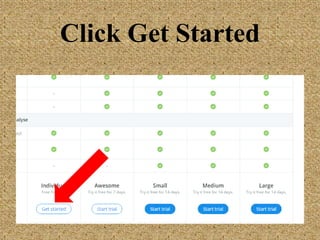
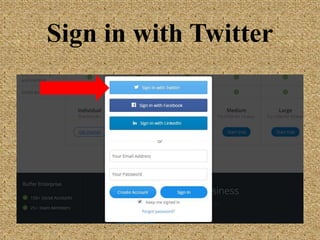
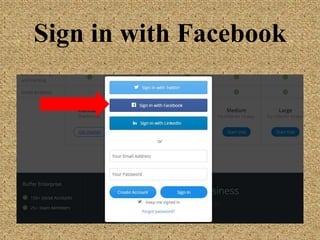
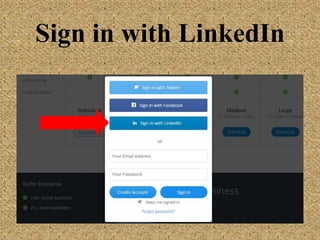
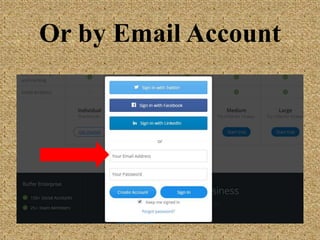
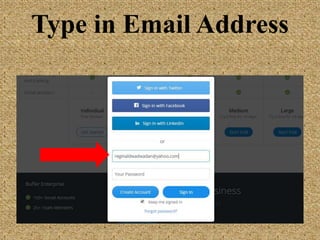
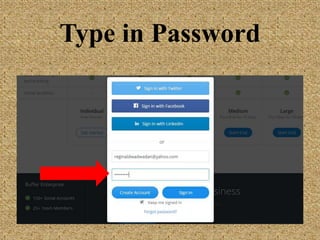
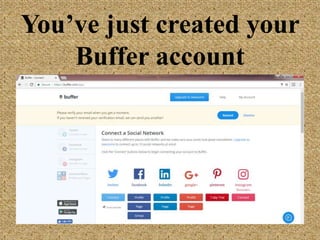
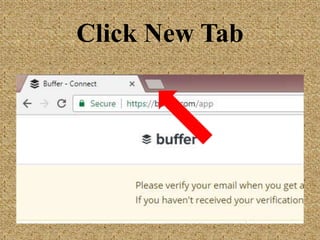
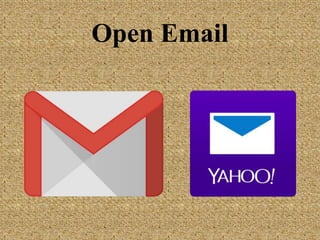
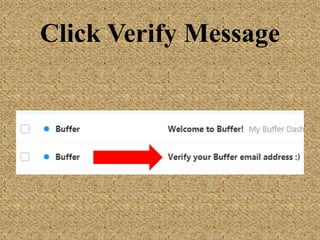
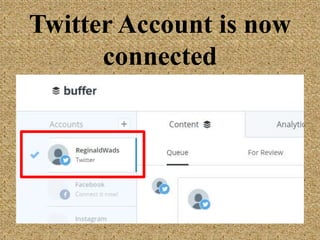
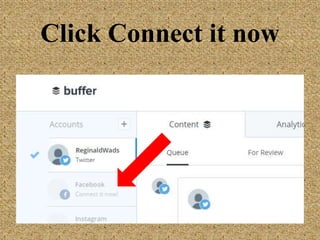
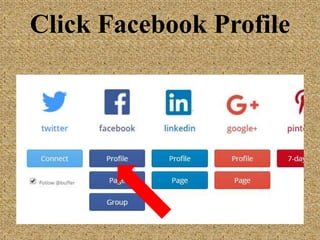
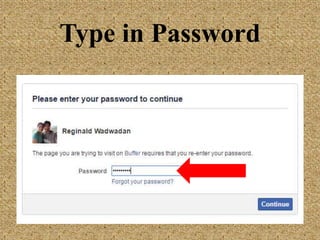
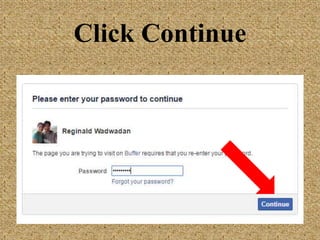
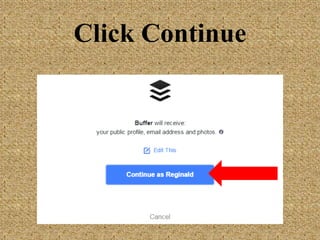
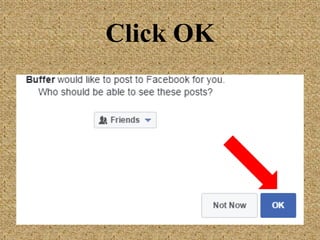
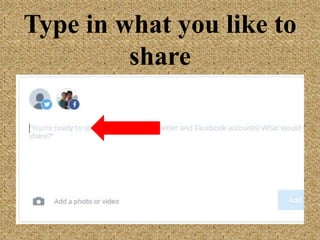
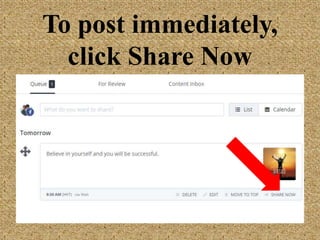
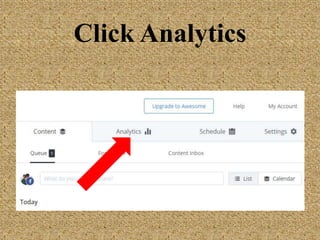
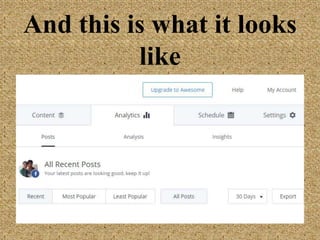
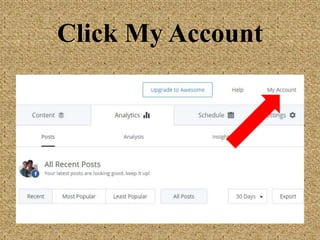
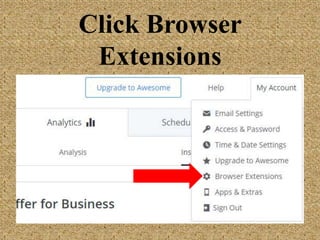
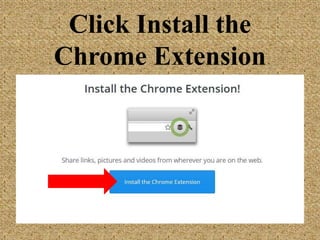
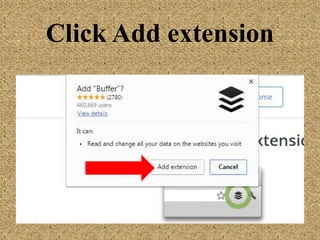
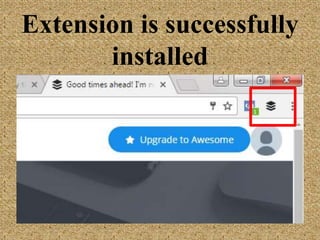
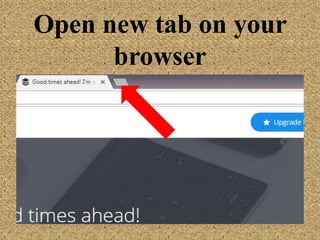
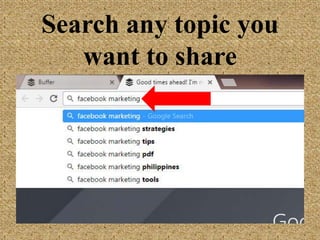
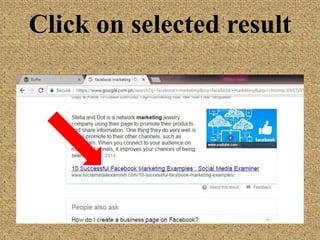
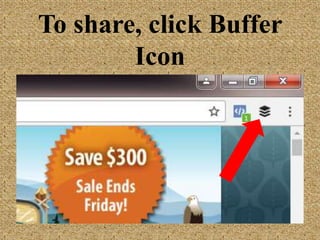
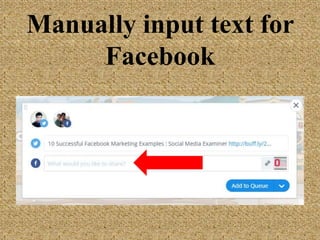
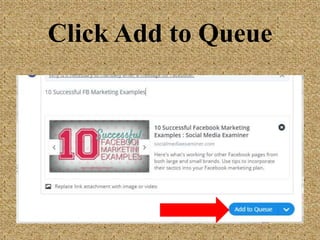
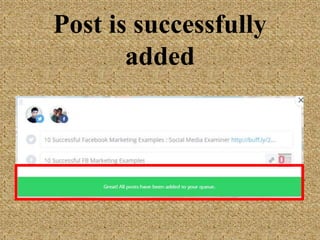
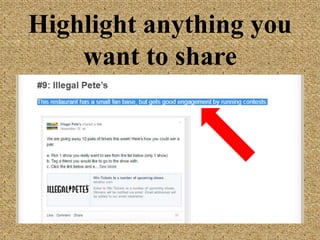
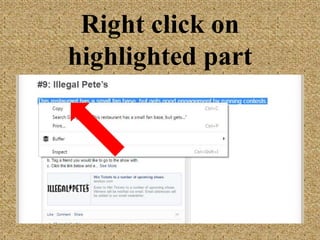
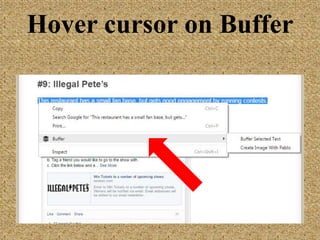
The document provides step-by-step instructions for creating a Buffer account and connecting social media accounts like Twitter and Facebook. It then explains how to use Buffer to schedule posts on social networks, edit scheduled posts, and view analytics. The document also covers installing the Buffer browser extension to easily share content from the web to social media.


![[Tutorial ]How to Use IFTTT Applets](https://cdn.slidesharecdn.com/ss_thumbnails/autifttt-161107080419-thumbnail.jpg?width=640&height=640&fit=bounds)


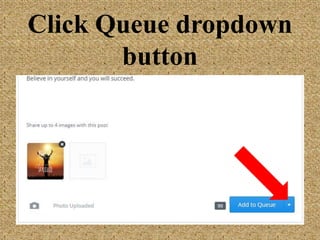
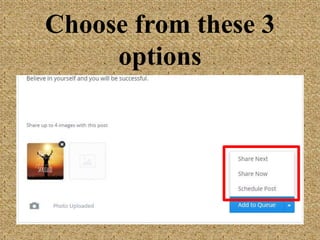
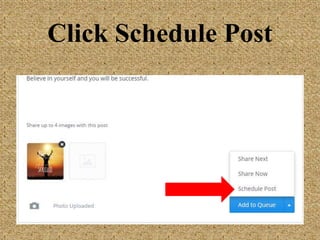
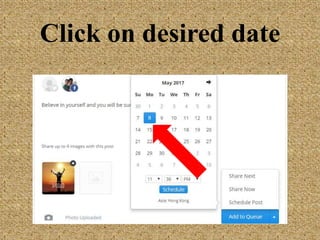
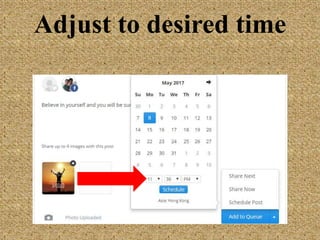
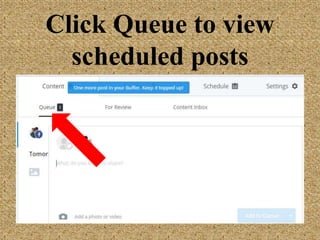
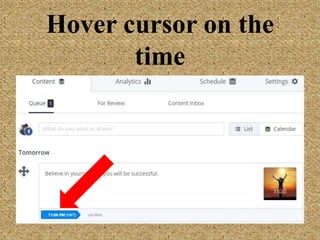
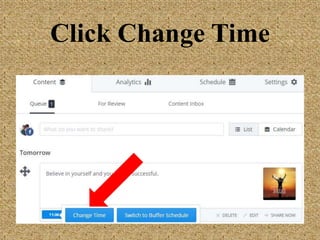
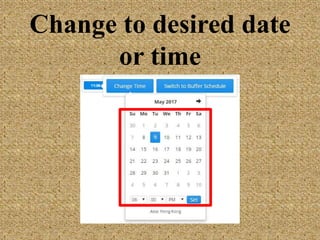
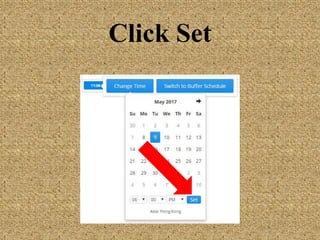
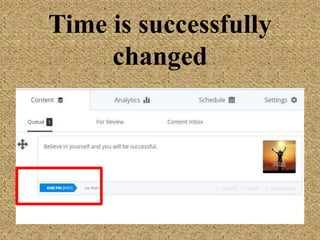
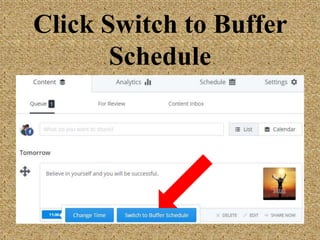
![[Made Easy] How to use Buffer - Tutorial](https://cdn.slidesharecdn.com/ss_thumbnails/howtousebuffer-170421055140-thumbnail.jpg?width=640&height=640&fit=bounds)


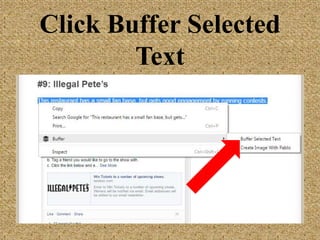
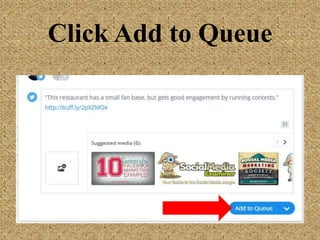
![[Easy] Use Buffer to Schedule Social Media Posts](https://cdn.slidesharecdn.com/ss_thumbnails/autbuffer-161018043403-thumbnail.jpg?width=640&height=640&fit=bounds)


