


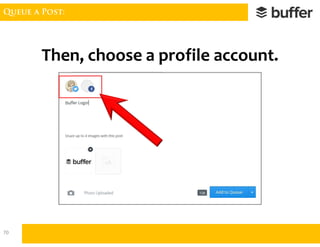
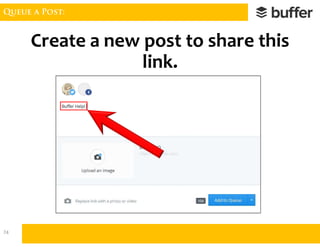
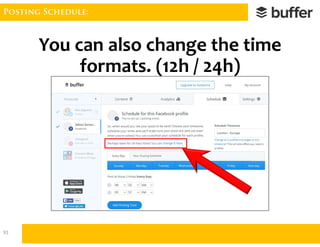
![Queue a Post:
Then, press [Ctrl] + [C] to copy
the URL address.
76](https://image.slidesharecdn.com/howtousebuffer-170421055140/85/Made-Easy-How-to-use-Buffer-Tutorial-76-320.jpg)
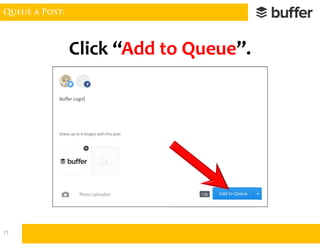
![Queue a Post:
Then, press [Ctrl] + [V] to paste
the link.
77](https://image.slidesharecdn.com/howtousebuffer-170421055140/85/Made-Easy-How-to-use-Buffer-Tutorial-77-320.jpg)


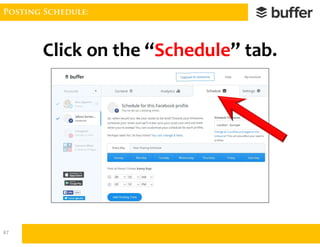
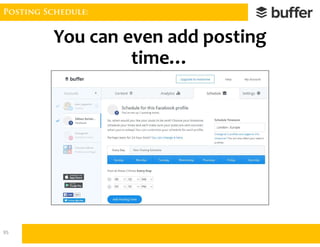
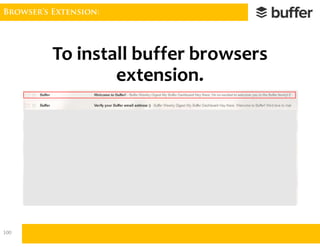

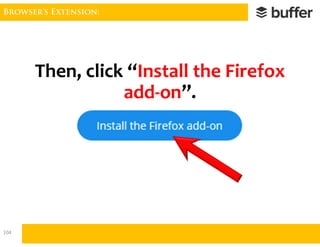
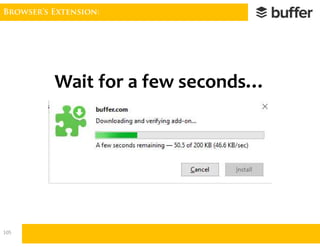
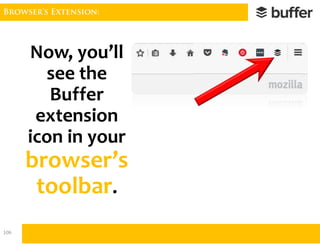
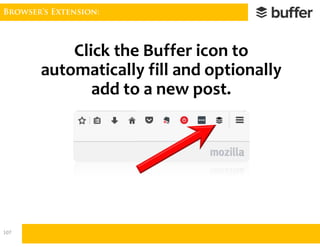
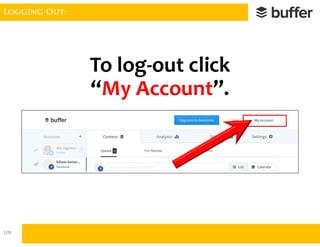
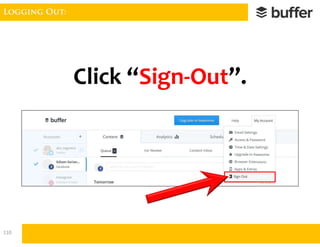

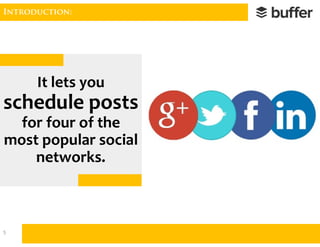
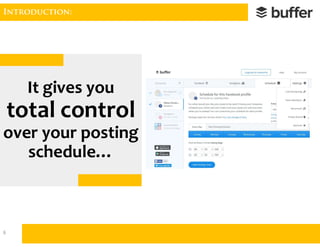
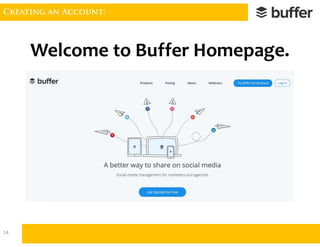
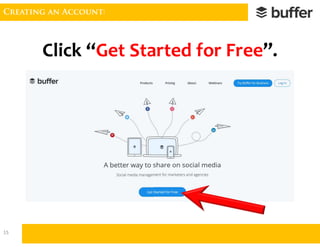
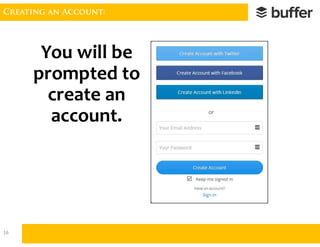
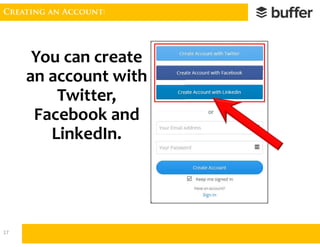
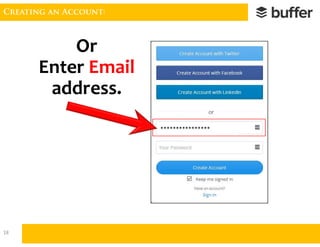
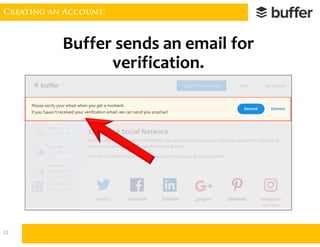
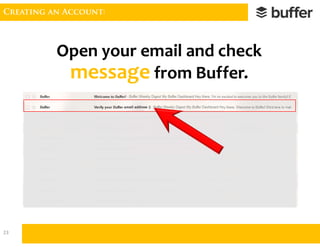
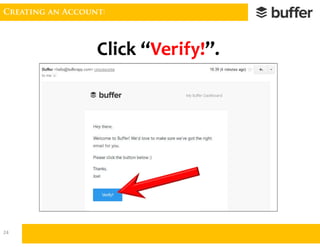
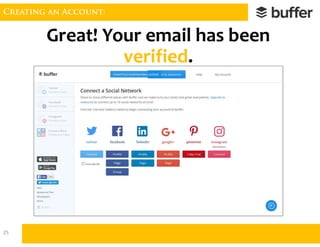
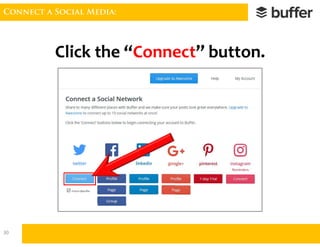
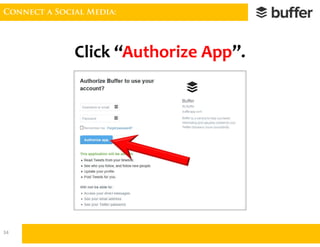
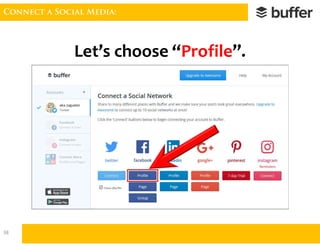
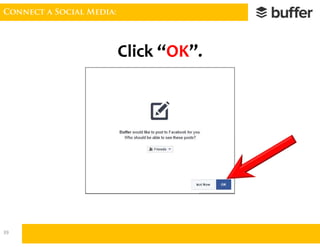
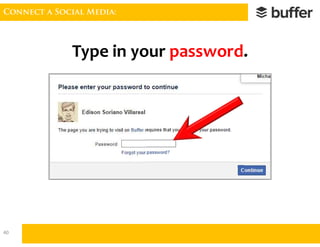
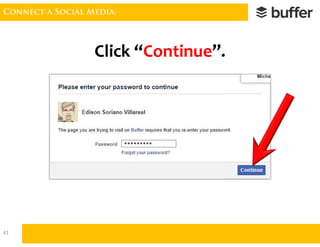
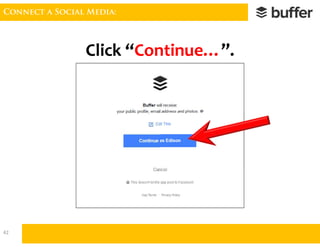
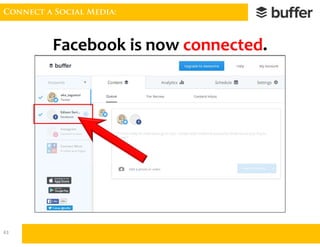
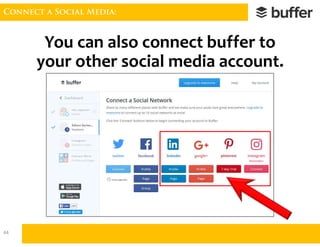
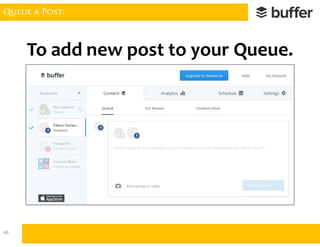
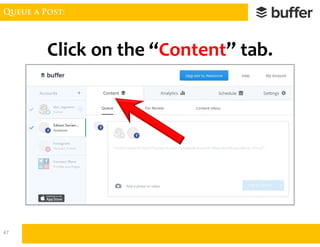
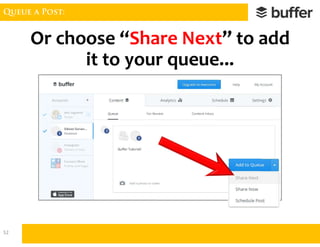
The document provides a comprehensive guide for using Buffer, a social media posting scheduler that supports platforms like Facebook, Twitter, and LinkedIn. It covers the steps to create an account, connect social media profiles, queue posts, analyze engagement, and set up a posting schedule. Additionally, it includes instructions for installing a browser extension and logging out of the service.


![[Easy] Use Buffer to Schedule Social Media Posts](https://cdn.slidesharecdn.com/ss_thumbnails/autbuffer-161018043403-thumbnail.jpg?width=640&height=640&fit=bounds)


![[Made Easy] How to use Toggl - Tutorial](https://cdn.slidesharecdn.com/ss_thumbnails/howtousetoggl-170421133845-thumbnail.jpg?width=640&height=640&fit=bounds)
![[Made Easy] How to use Dropbox - Tutorial](https://cdn.slidesharecdn.com/ss_thumbnails/howtousedropbox-170421133255-thumbnail.jpg?width=640&height=640&fit=bounds)
![[Made Easy] How to use LastPass - Tutorial](https://cdn.slidesharecdn.com/ss_thumbnails/howtouselastpass-170421132328-thumbnail.jpg?width=640&height=640&fit=bounds)
![[Made Easy] How to use Jing - Tutorial](https://cdn.slidesharecdn.com/ss_thumbnails/howtousejing-170421064102-thumbnail.jpg?width=640&height=640&fit=bounds)
![[Made Easy] How to use PicMonkey - Tutorial](https://cdn.slidesharecdn.com/ss_thumbnails/howtousepicmonkey-170421063050-thumbnail.jpg?width=640&height=640&fit=bounds)
![[Made Easy] How to use Evernote - Tutorial](https://cdn.slidesharecdn.com/ss_thumbnails/howtouseevernote-170421062508-thumbnail.jpg?width=640&height=640&fit=bounds)
![[Made Easy] How to use Canva - Tutorial](https://cdn.slidesharecdn.com/ss_thumbnails/howtousecanva-170421060625-thumbnail.jpg?width=640&height=640&fit=bounds)
![[Made Easy] How to use IFTT - Tutorial](https://cdn.slidesharecdn.com/ss_thumbnails/howtouseifttt-170421052744-thumbnail.jpg?width=640&height=640&fit=bounds)
![[Made Easy] How to use Trello - Tutorial](https://cdn.slidesharecdn.com/ss_thumbnails/howtousetrello-170421051522-thumbnail.jpg?width=640&height=640&fit=bounds)


