Download to read offline
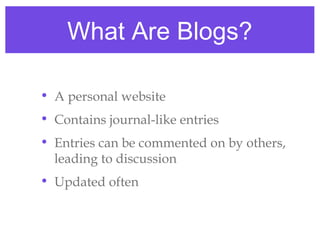
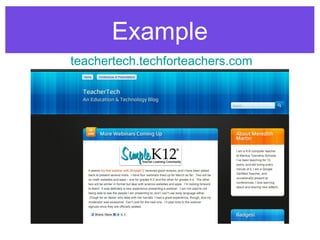
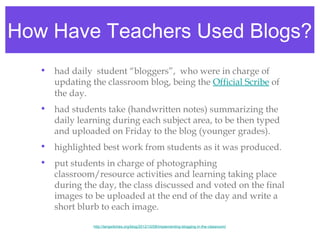
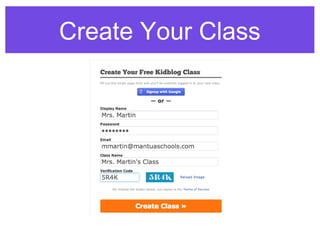
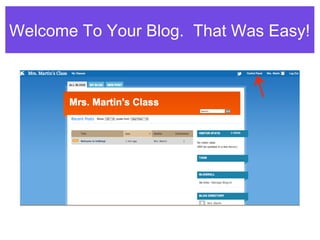
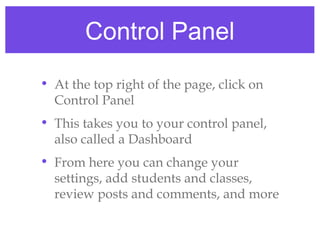
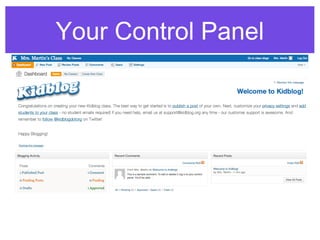
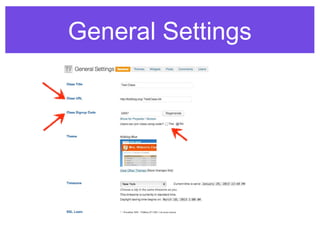
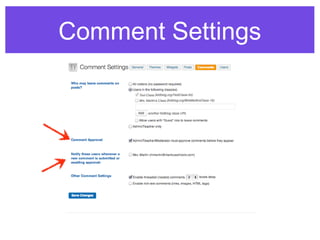
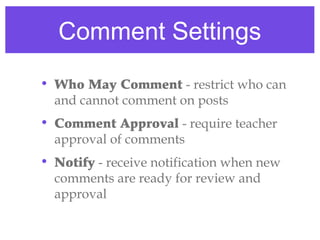
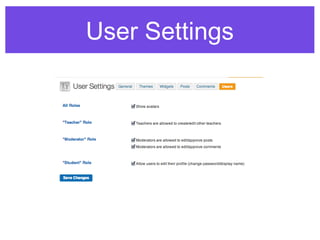
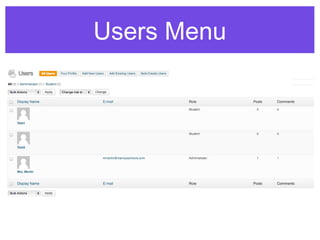
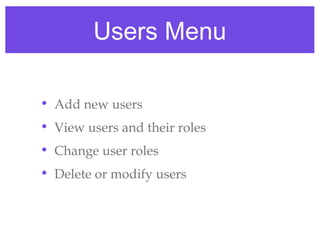
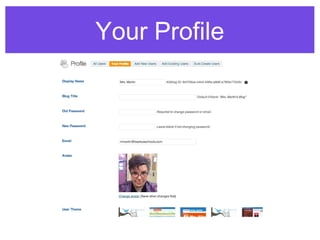
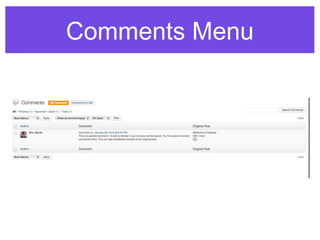
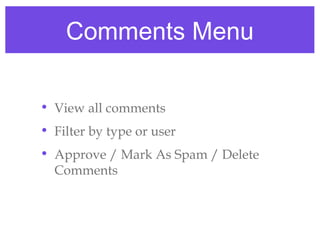
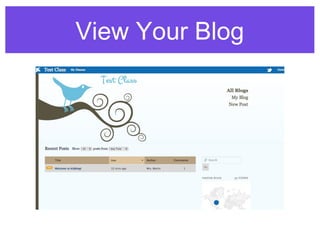

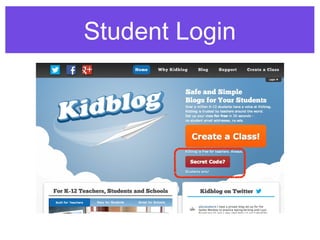
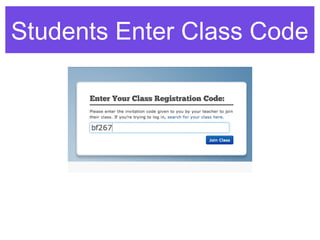
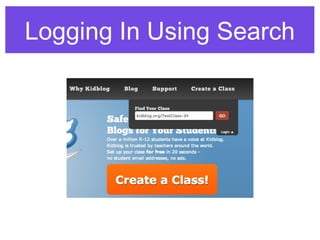

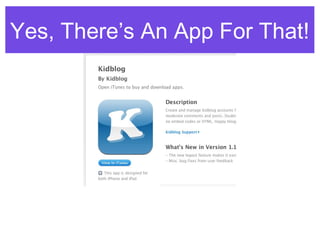

The document discusses using blogs in the classroom. It describes blogs as personal websites with journal-like entries that can be commented on. It provides examples of how teachers have used blogs for daily student entries, highlighting student work, and having students document class activities. Setting up blogs through Kidblog.org is described as simple and free. Key settings for teacher control and student privacy are outlined.


