Downloaded 406 times
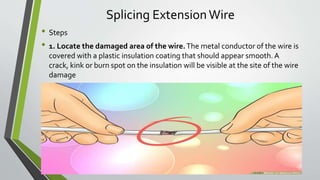
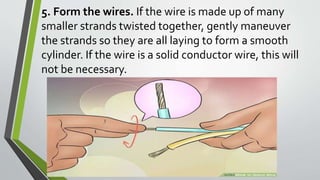
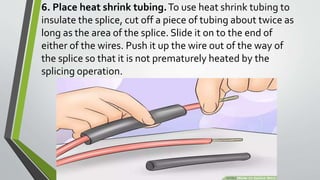
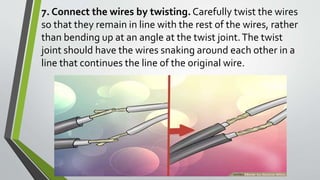
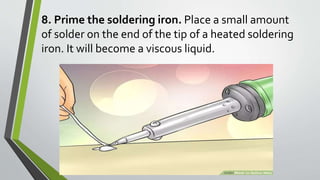

1. The document provides instructions for splicing electrical wires, which involves removing damaged sections of wire and connecting the cut ends. 2. Key steps include stripping insulation from cut wire ends, twisting the bare wire strands together, applying solder to coat the twisted wires, and insulating the spliced connection with heat shrink tubing or electrical tape. 3. Proper splicing restores electrical continuity safely by joining wire ends in a way that prevents short-circuiting and protects the connection from external damage or shorting over time.