Downloaded 16 times
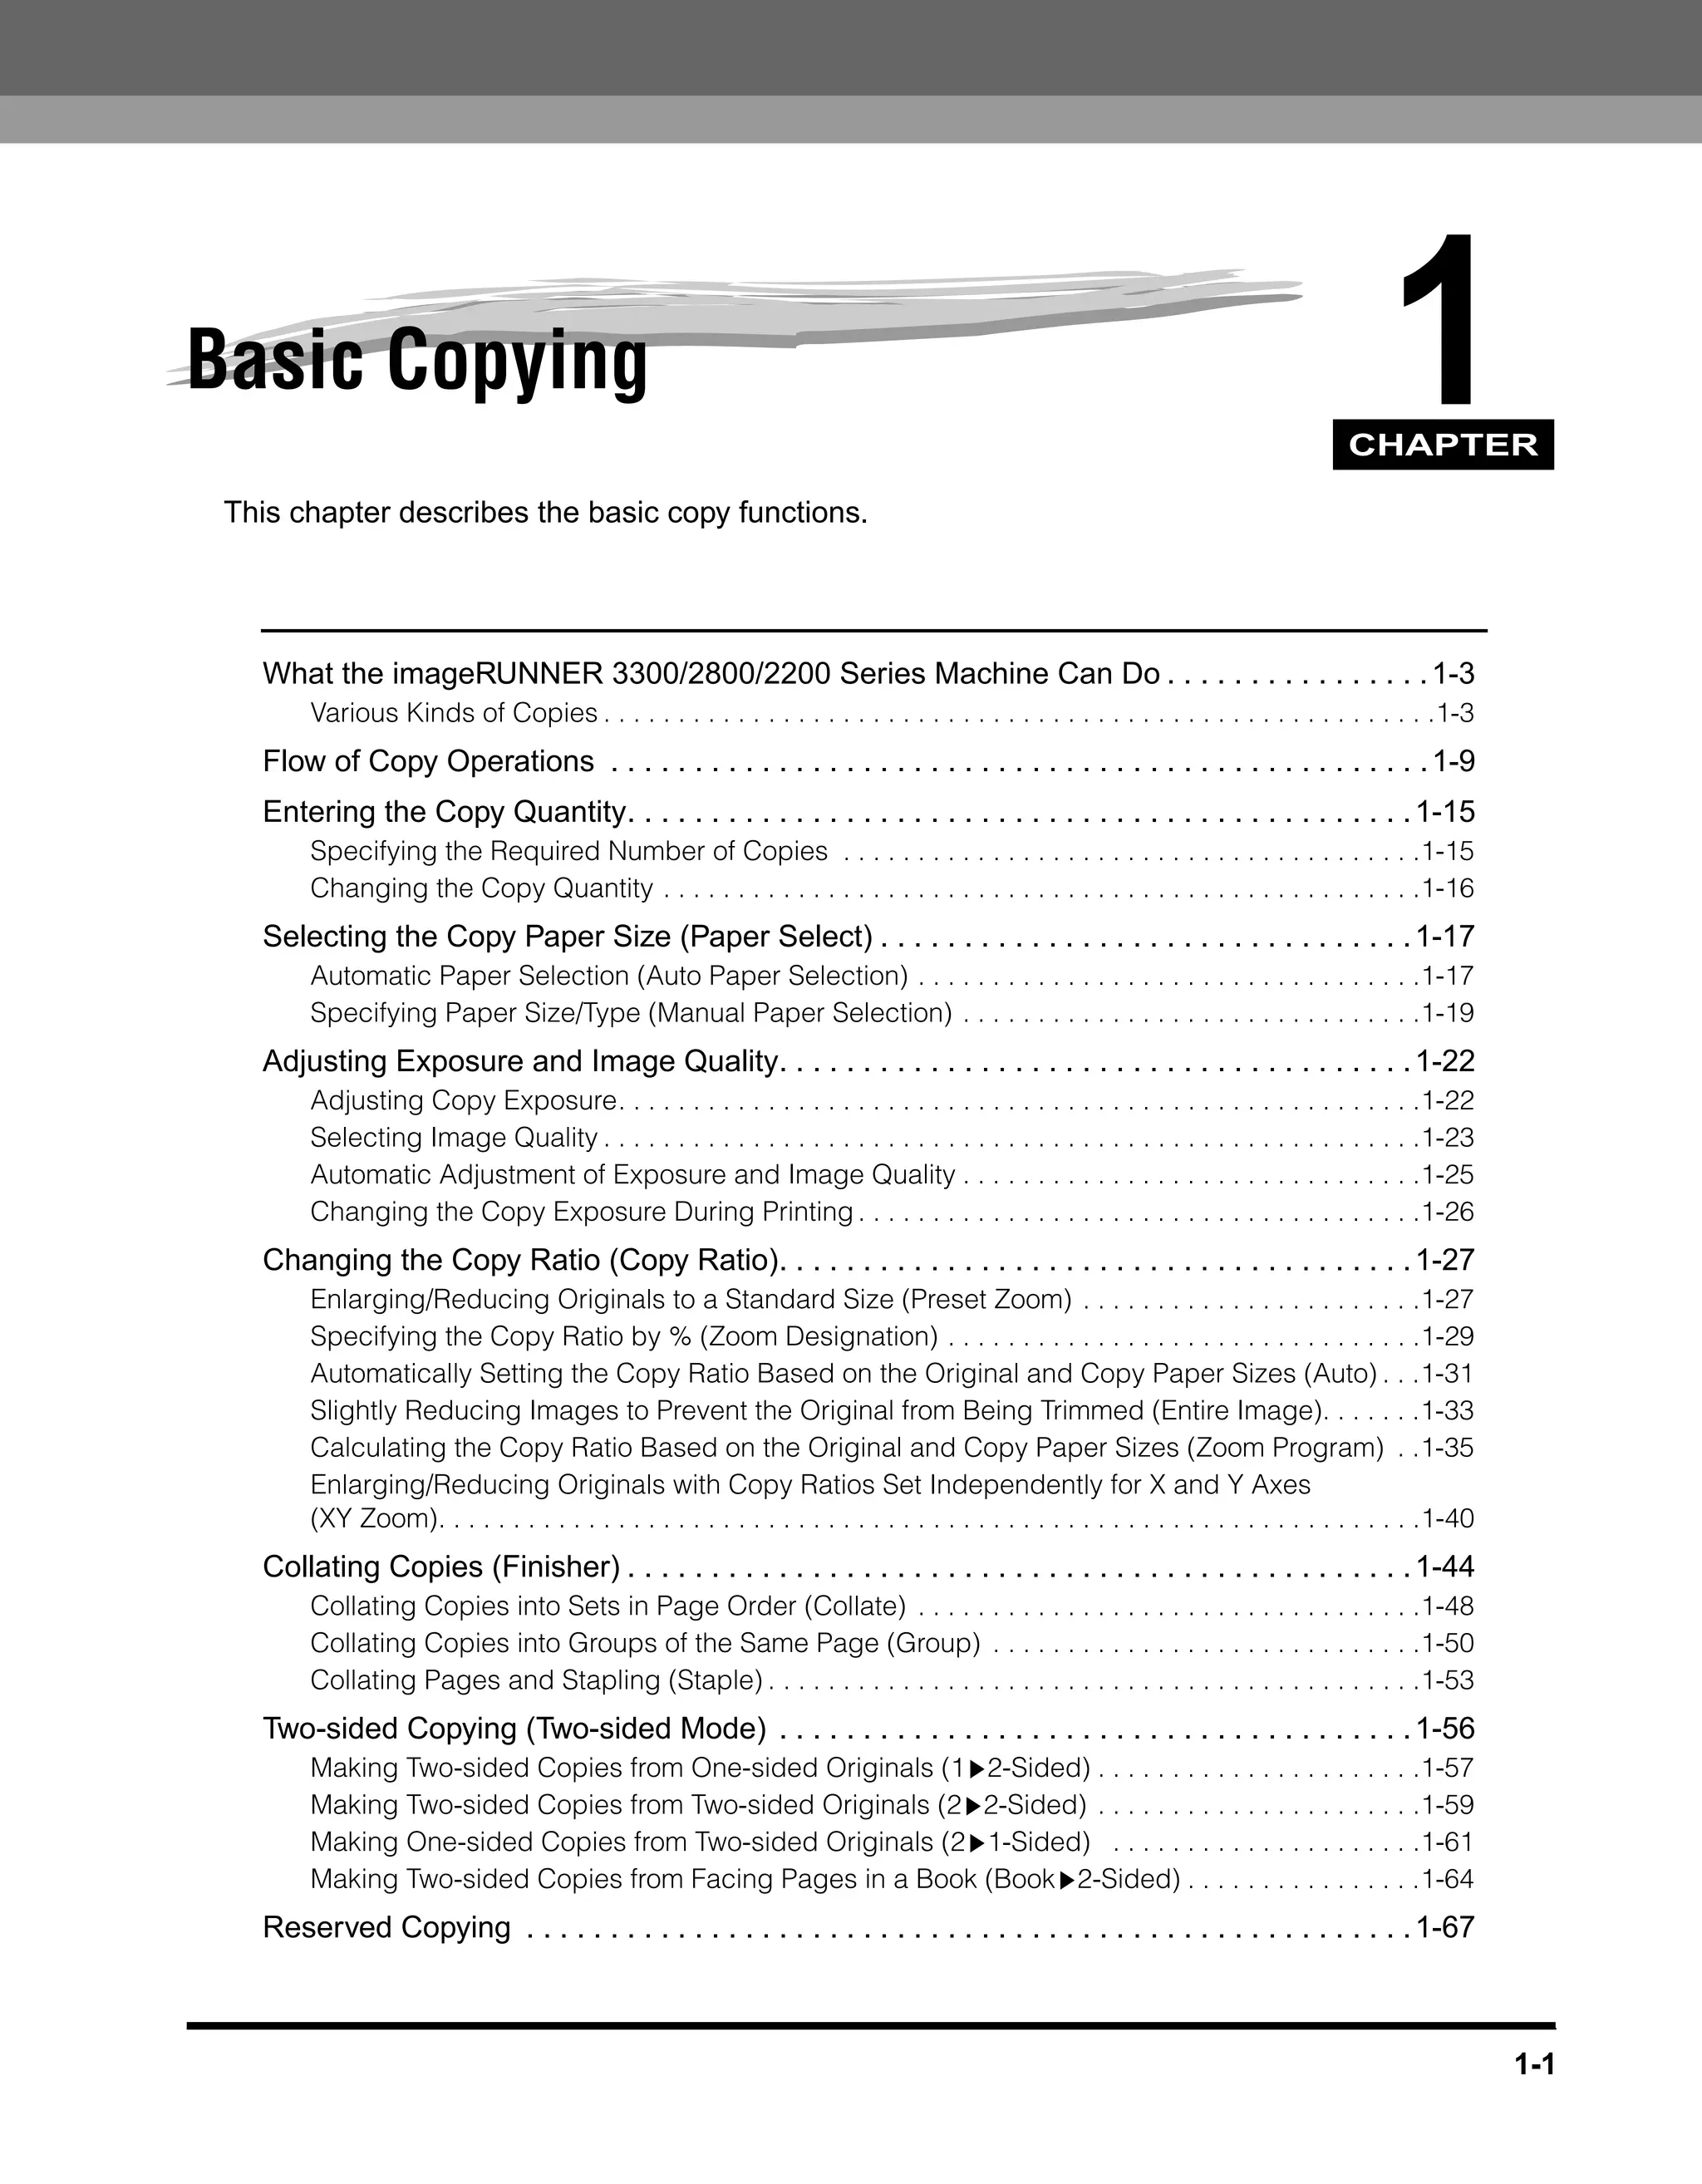
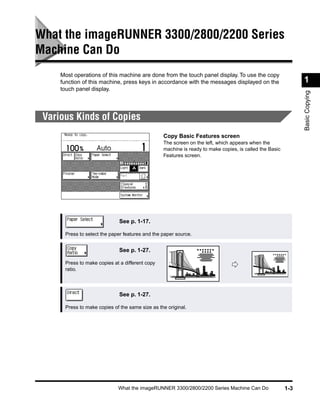
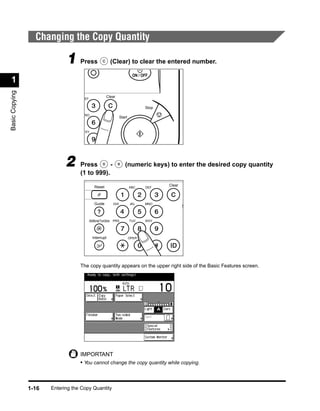
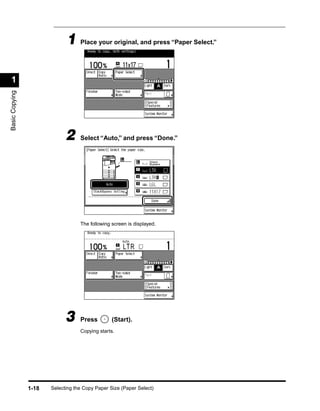
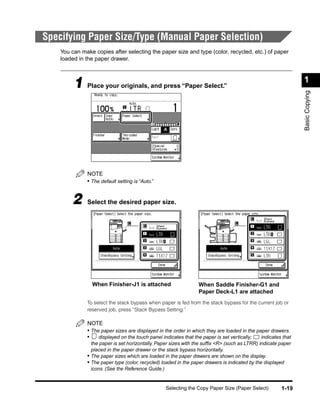


This chapter describes the basic copy functions of the Canon imageRUNNER 3300/2800/2200 series machines, including making single or multiple copies, adjusting copy settings like exposure and paper size, and special copy features like collating, two-sided copying, and reserved copying. The document outlines the basic flow of making a copy, which involves pressing the COPY button, placing the original, and selecting copy settings before pressing the START button to print copies. Special copy features and their functions are described in more detail.

![Cimco edit 5 user guide[1]](https://cdn.slidesharecdn.com/ss_thumbnails/cimcoedit5userguide1-110305112440-phpapp01-thumbnail.jpg?width=640&height=640&fit=bounds)


