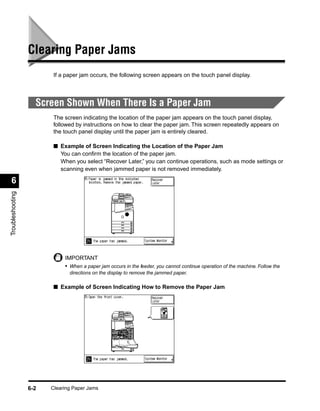
Download to read offline
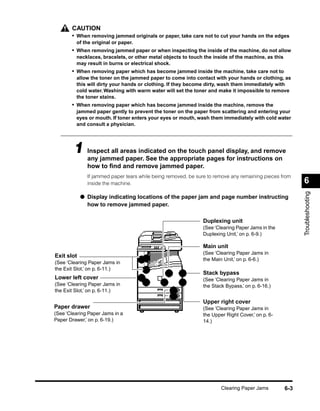
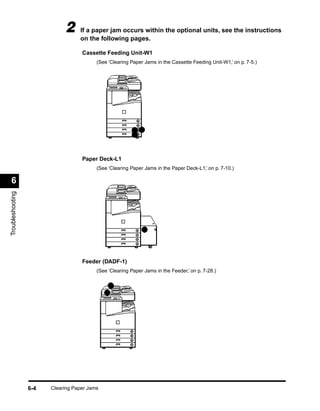
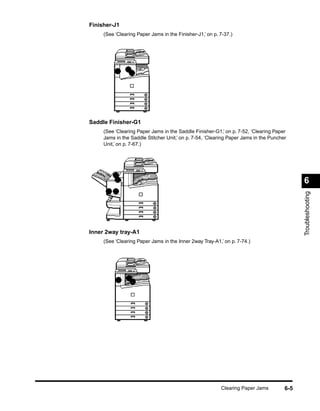
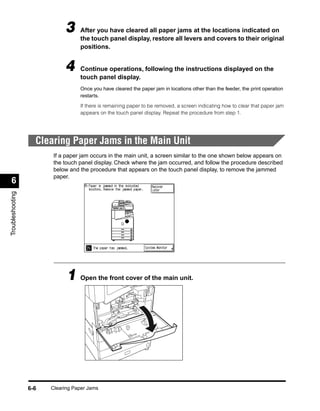
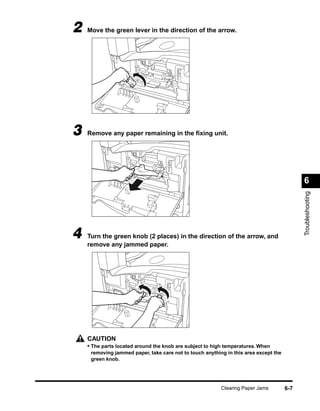
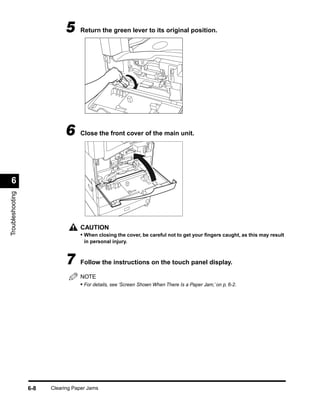
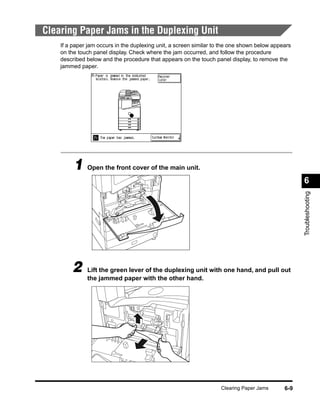
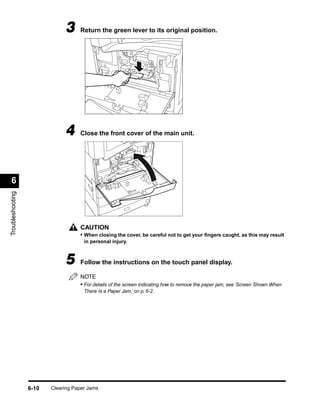
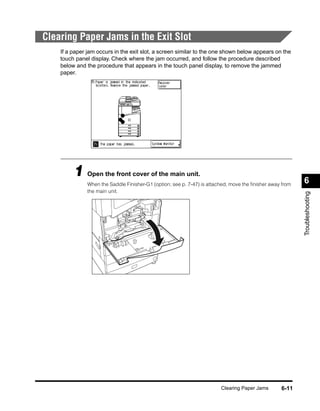
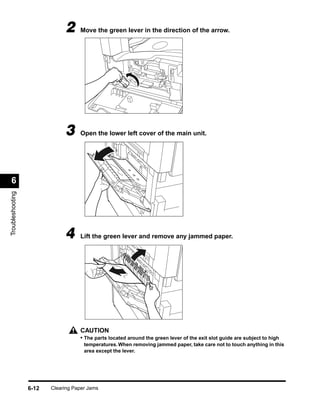
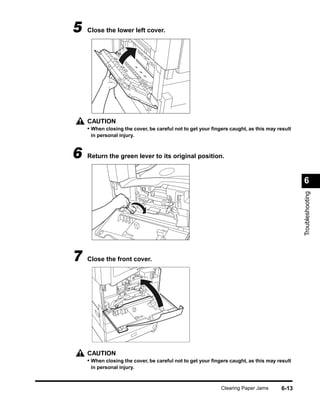
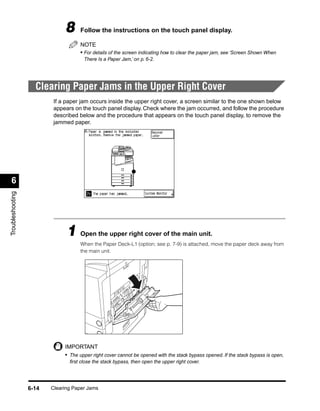
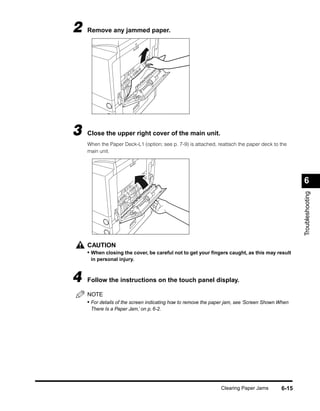

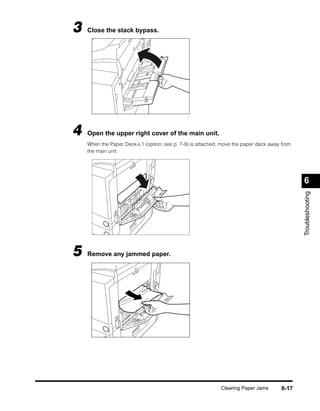
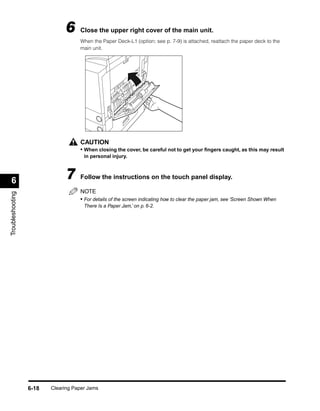
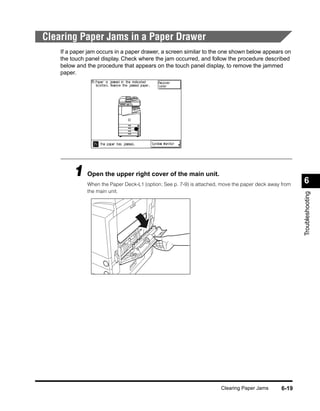
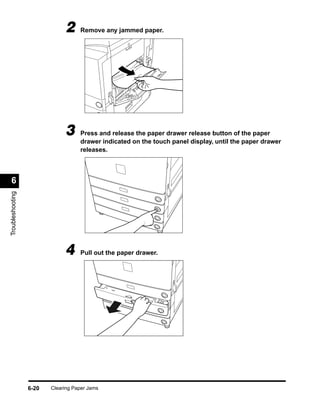
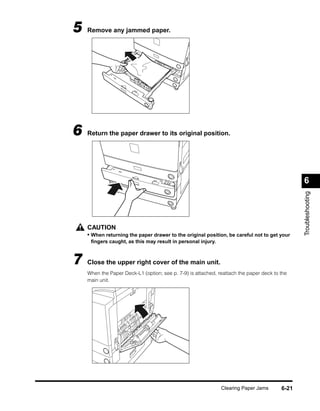

When a paper jam occurs, the touch panel display shows where the jam is located and instructions to clear it. The document provides step-by-step instructions for clearing jams in various parts of the machine, including the main unit, duplexing unit, exit slot, upper right cover, stack bypass, and paper drawers. It emphasizes removing any remaining jammed paper completely and returning levers and covers to their original positions after clearing each jam.


