Downloaded 362 times

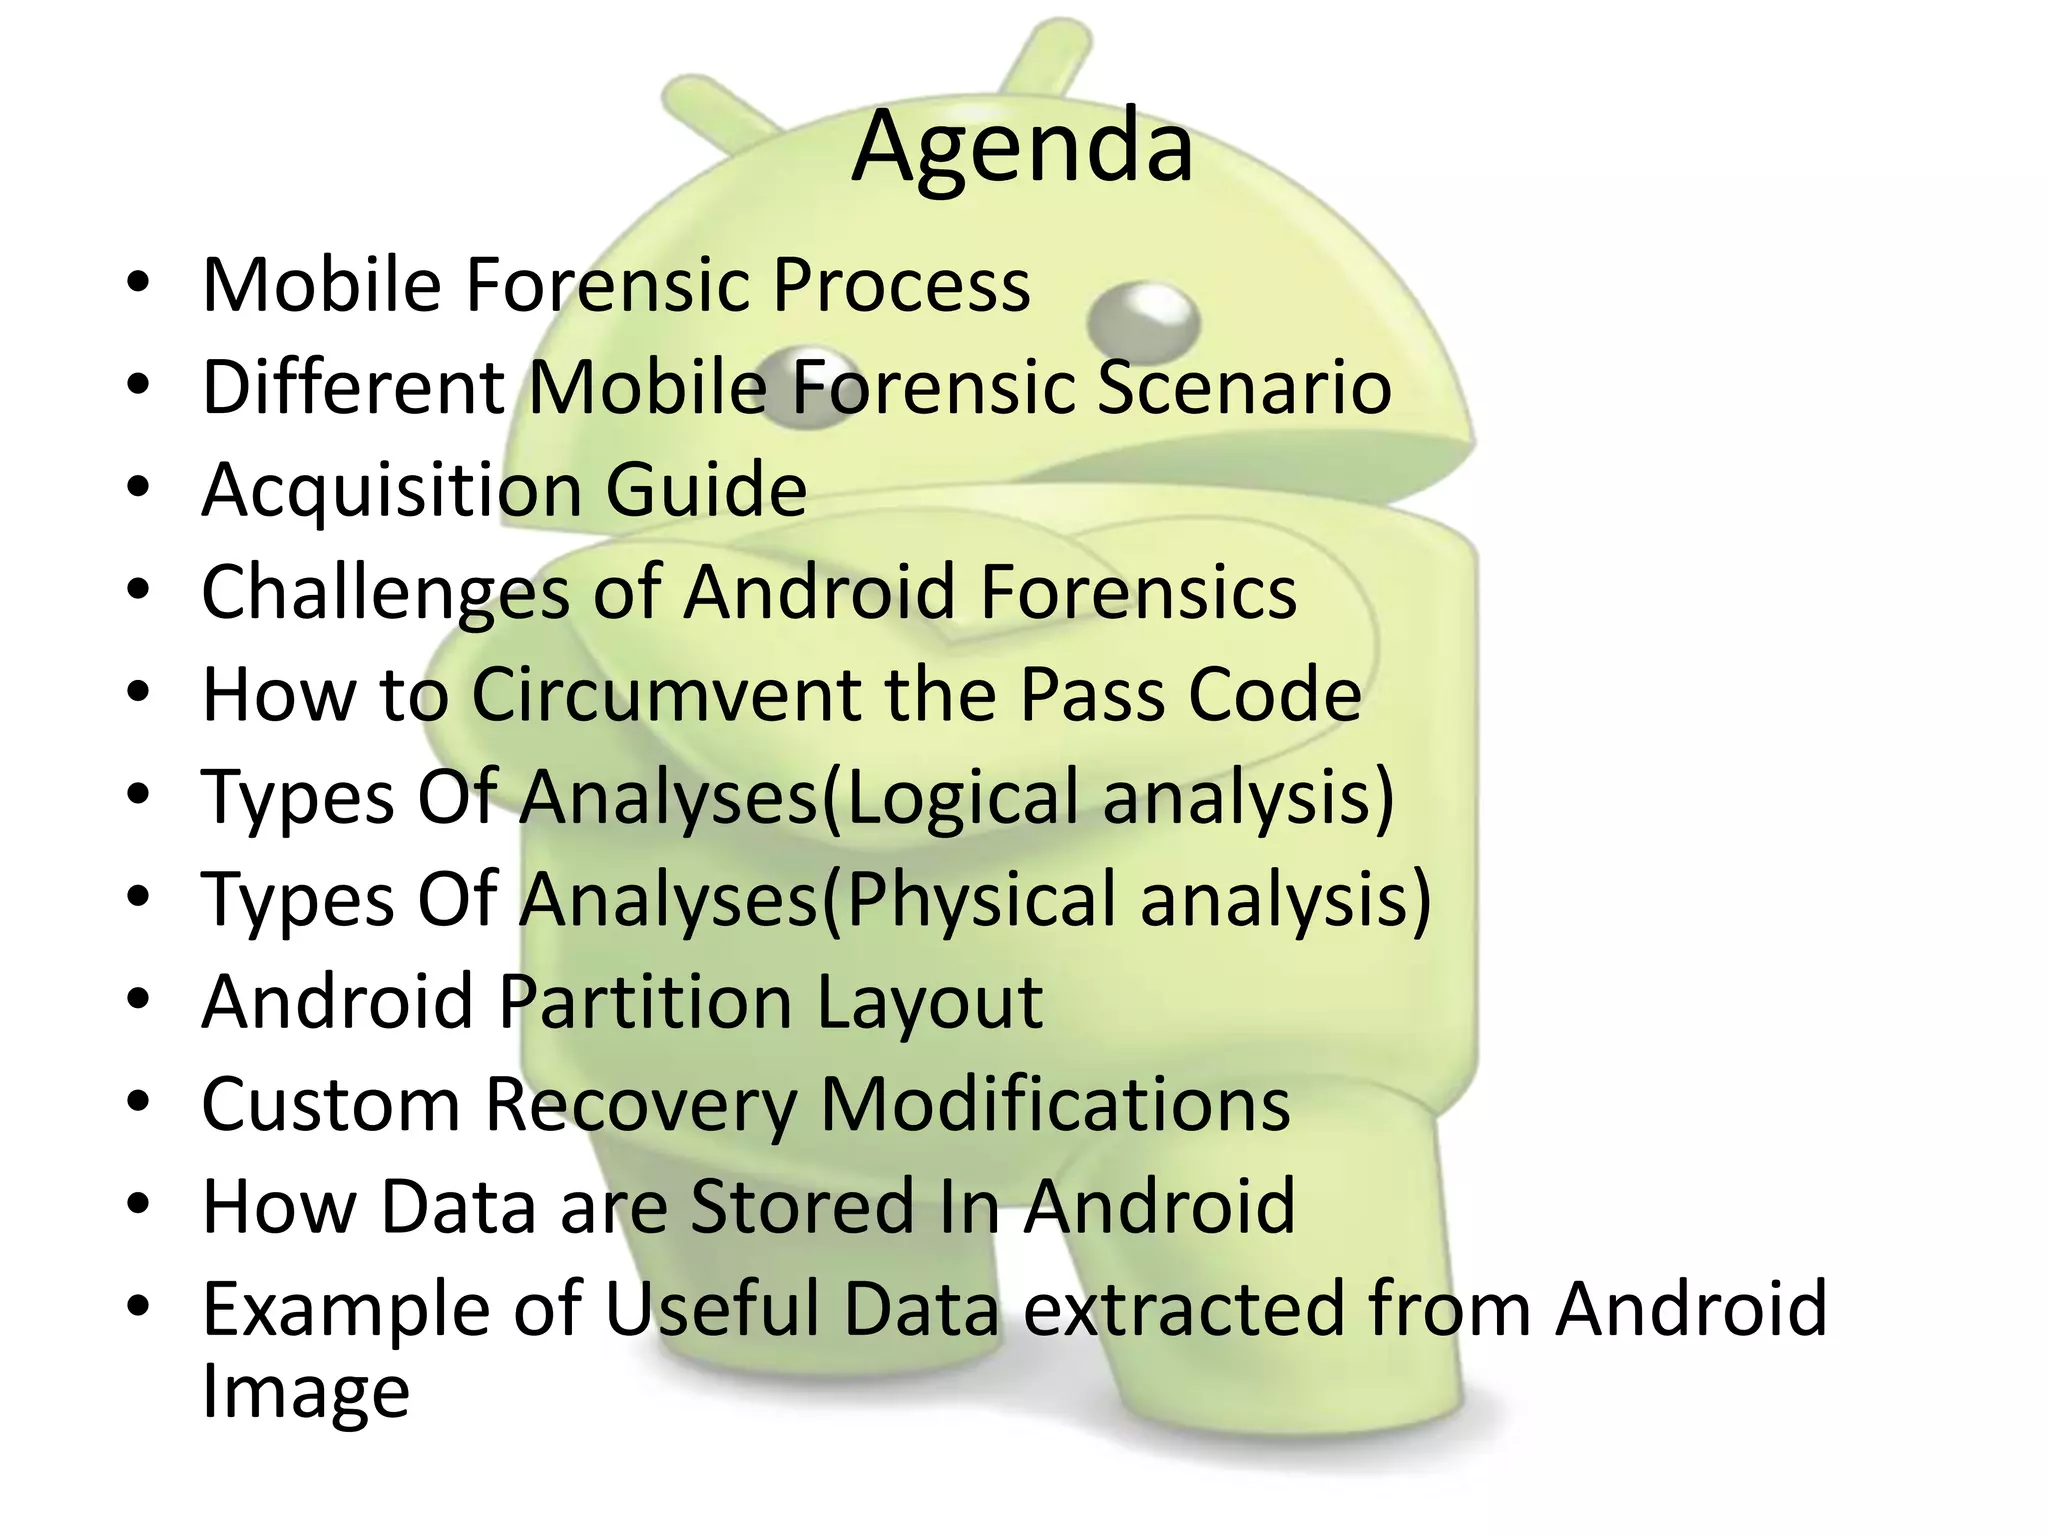
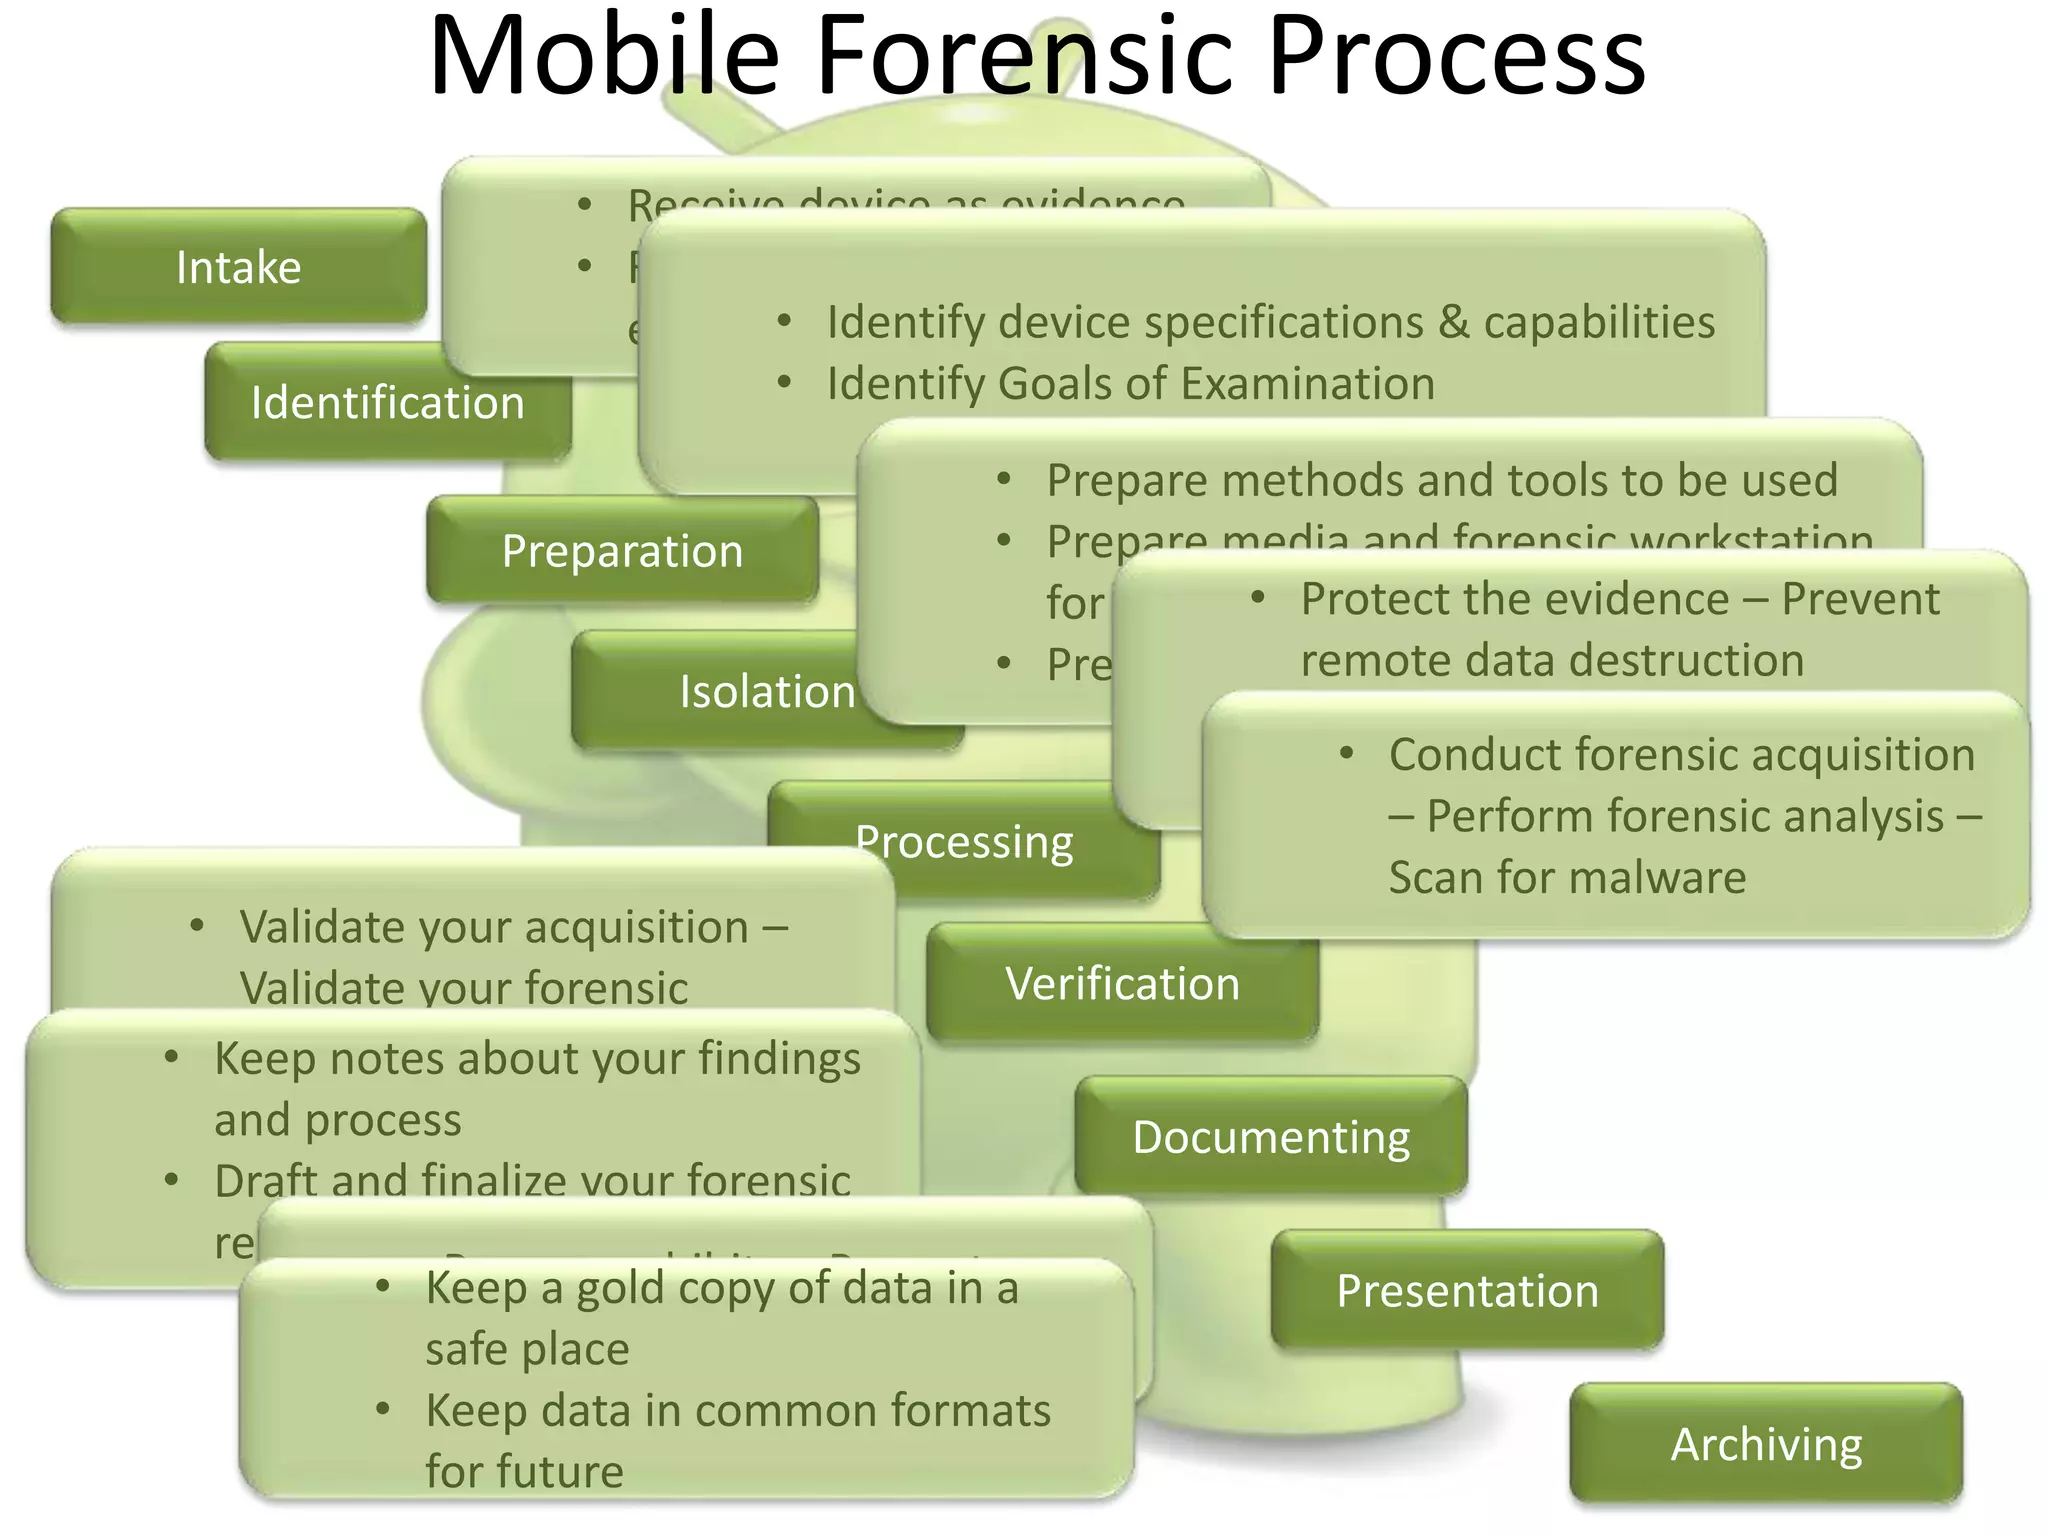
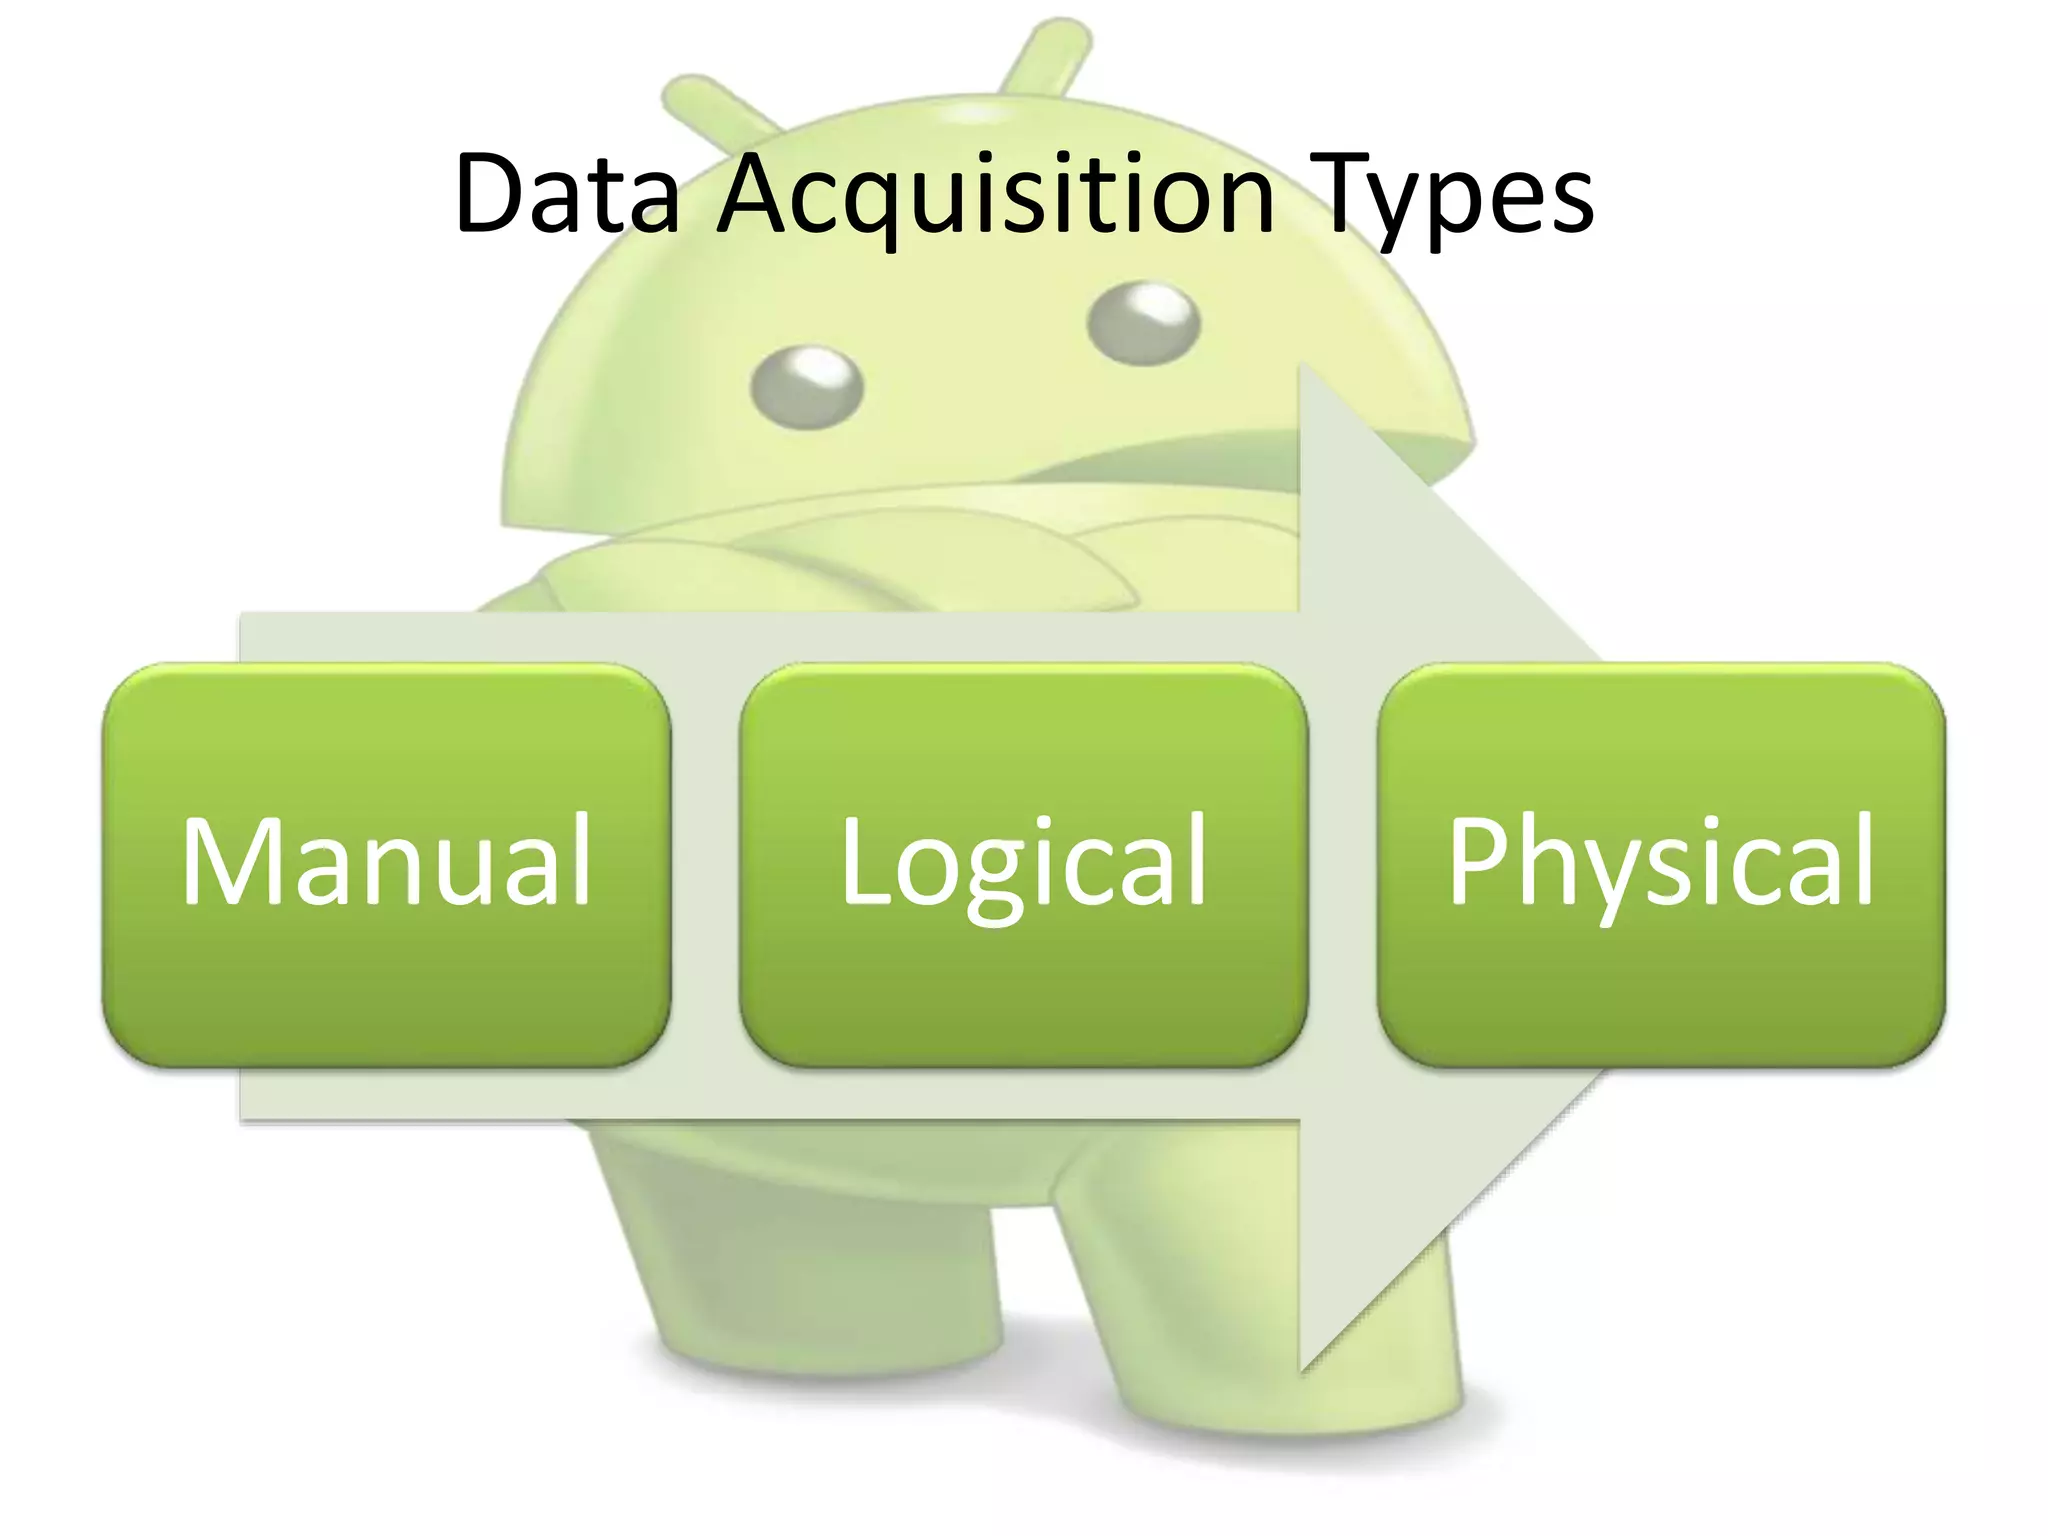
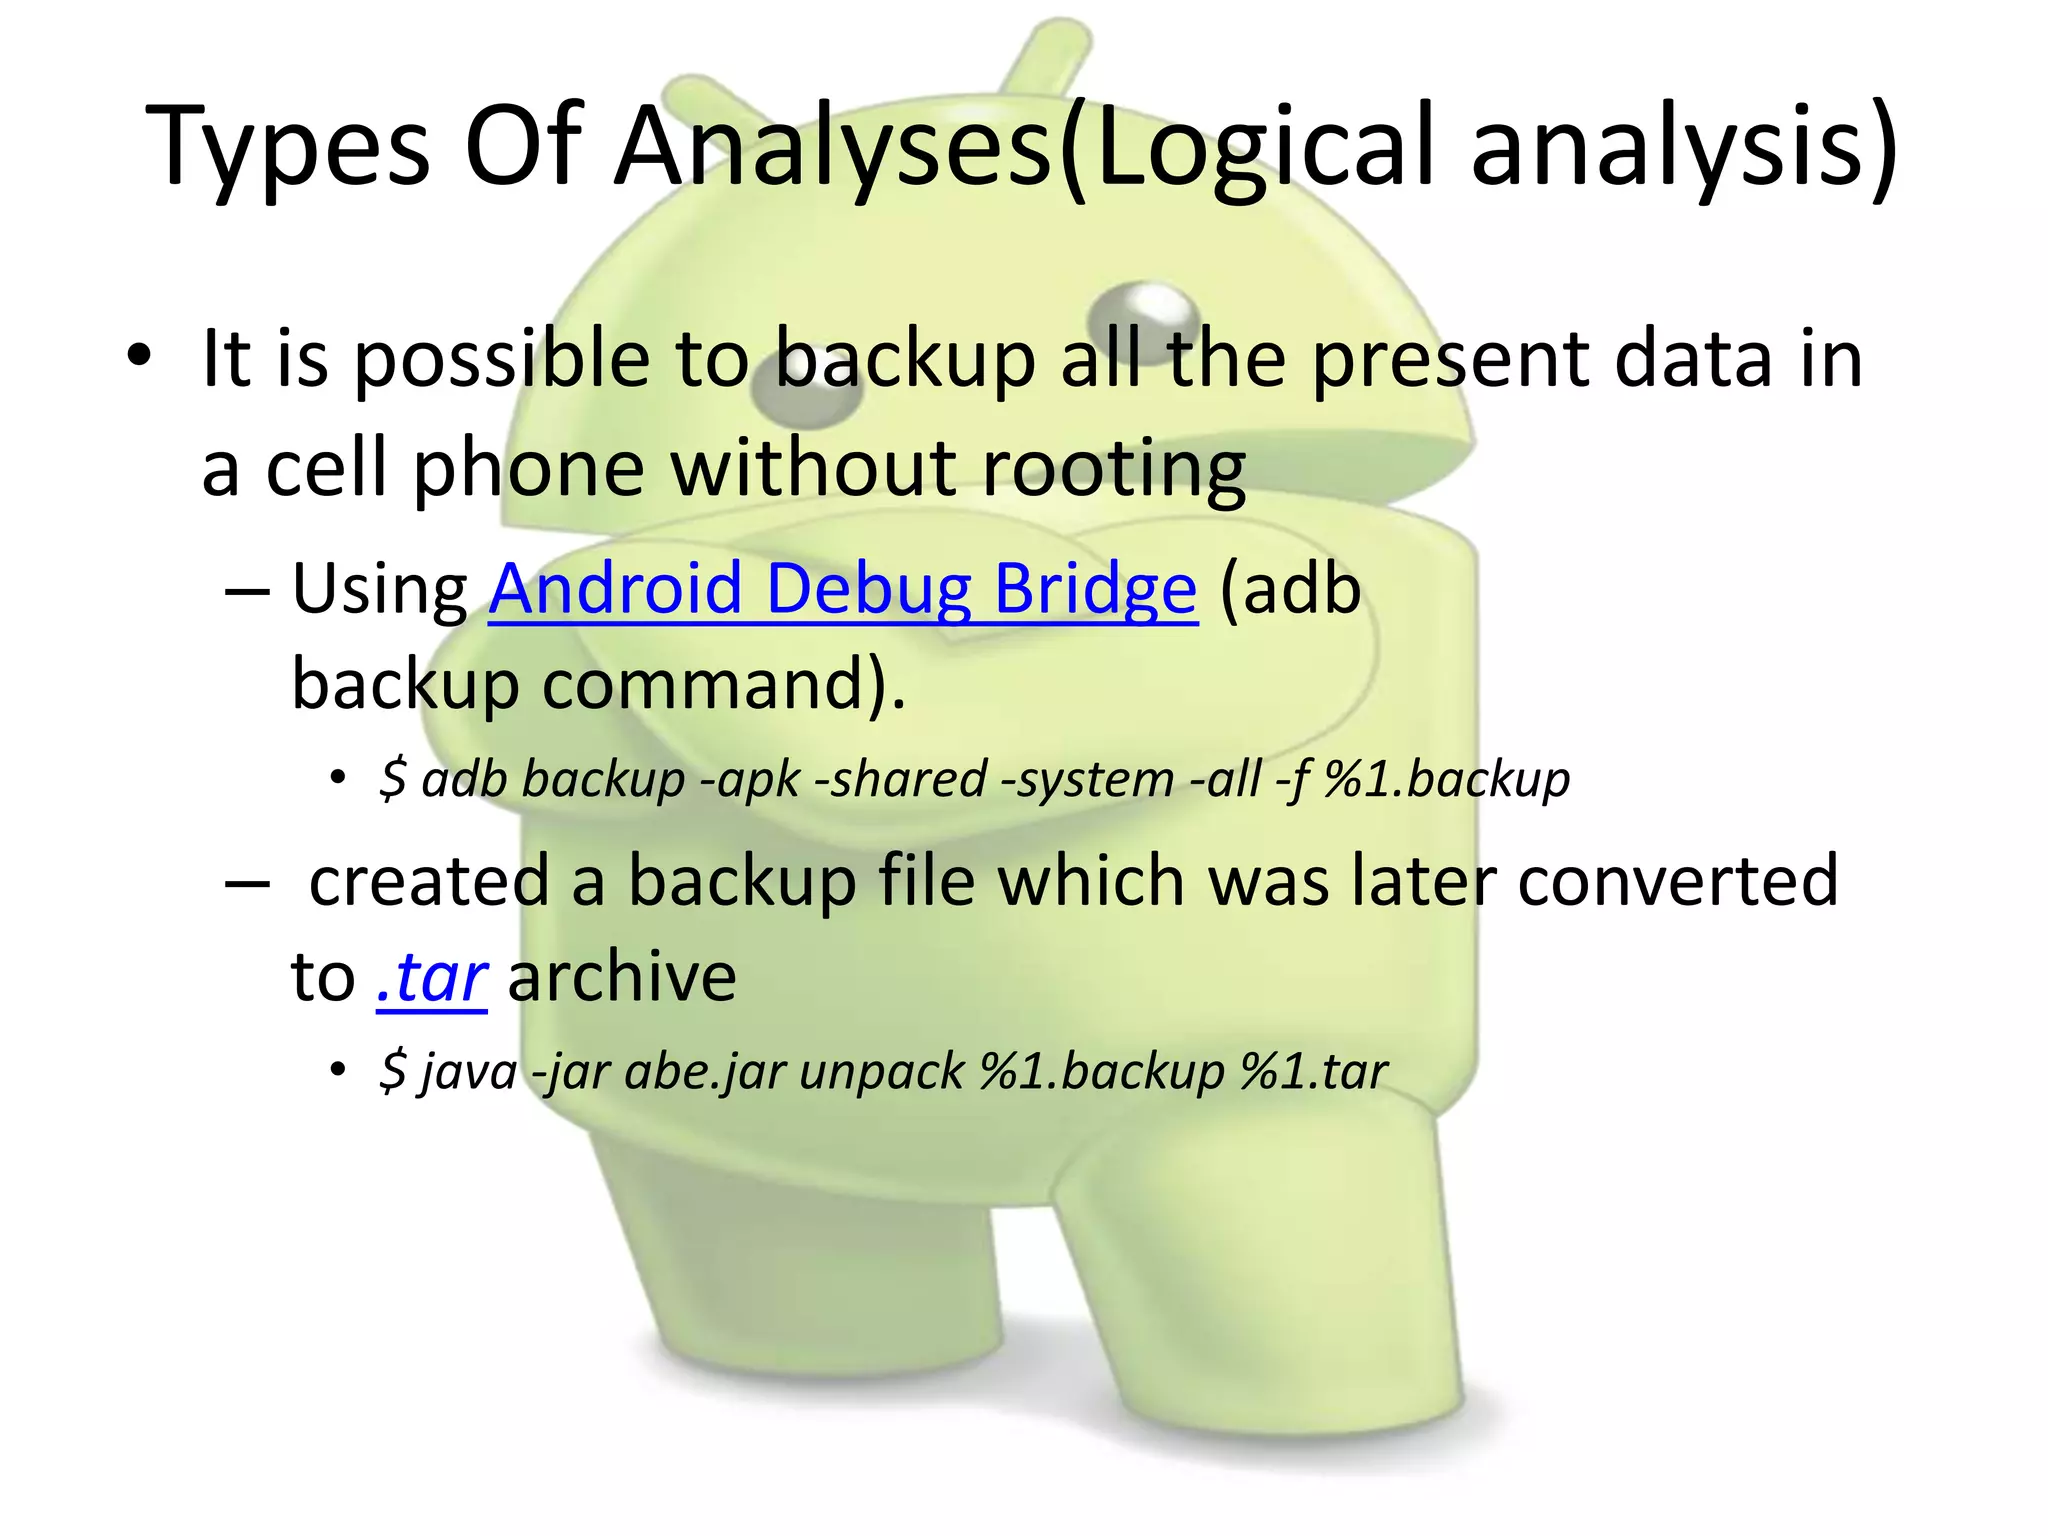
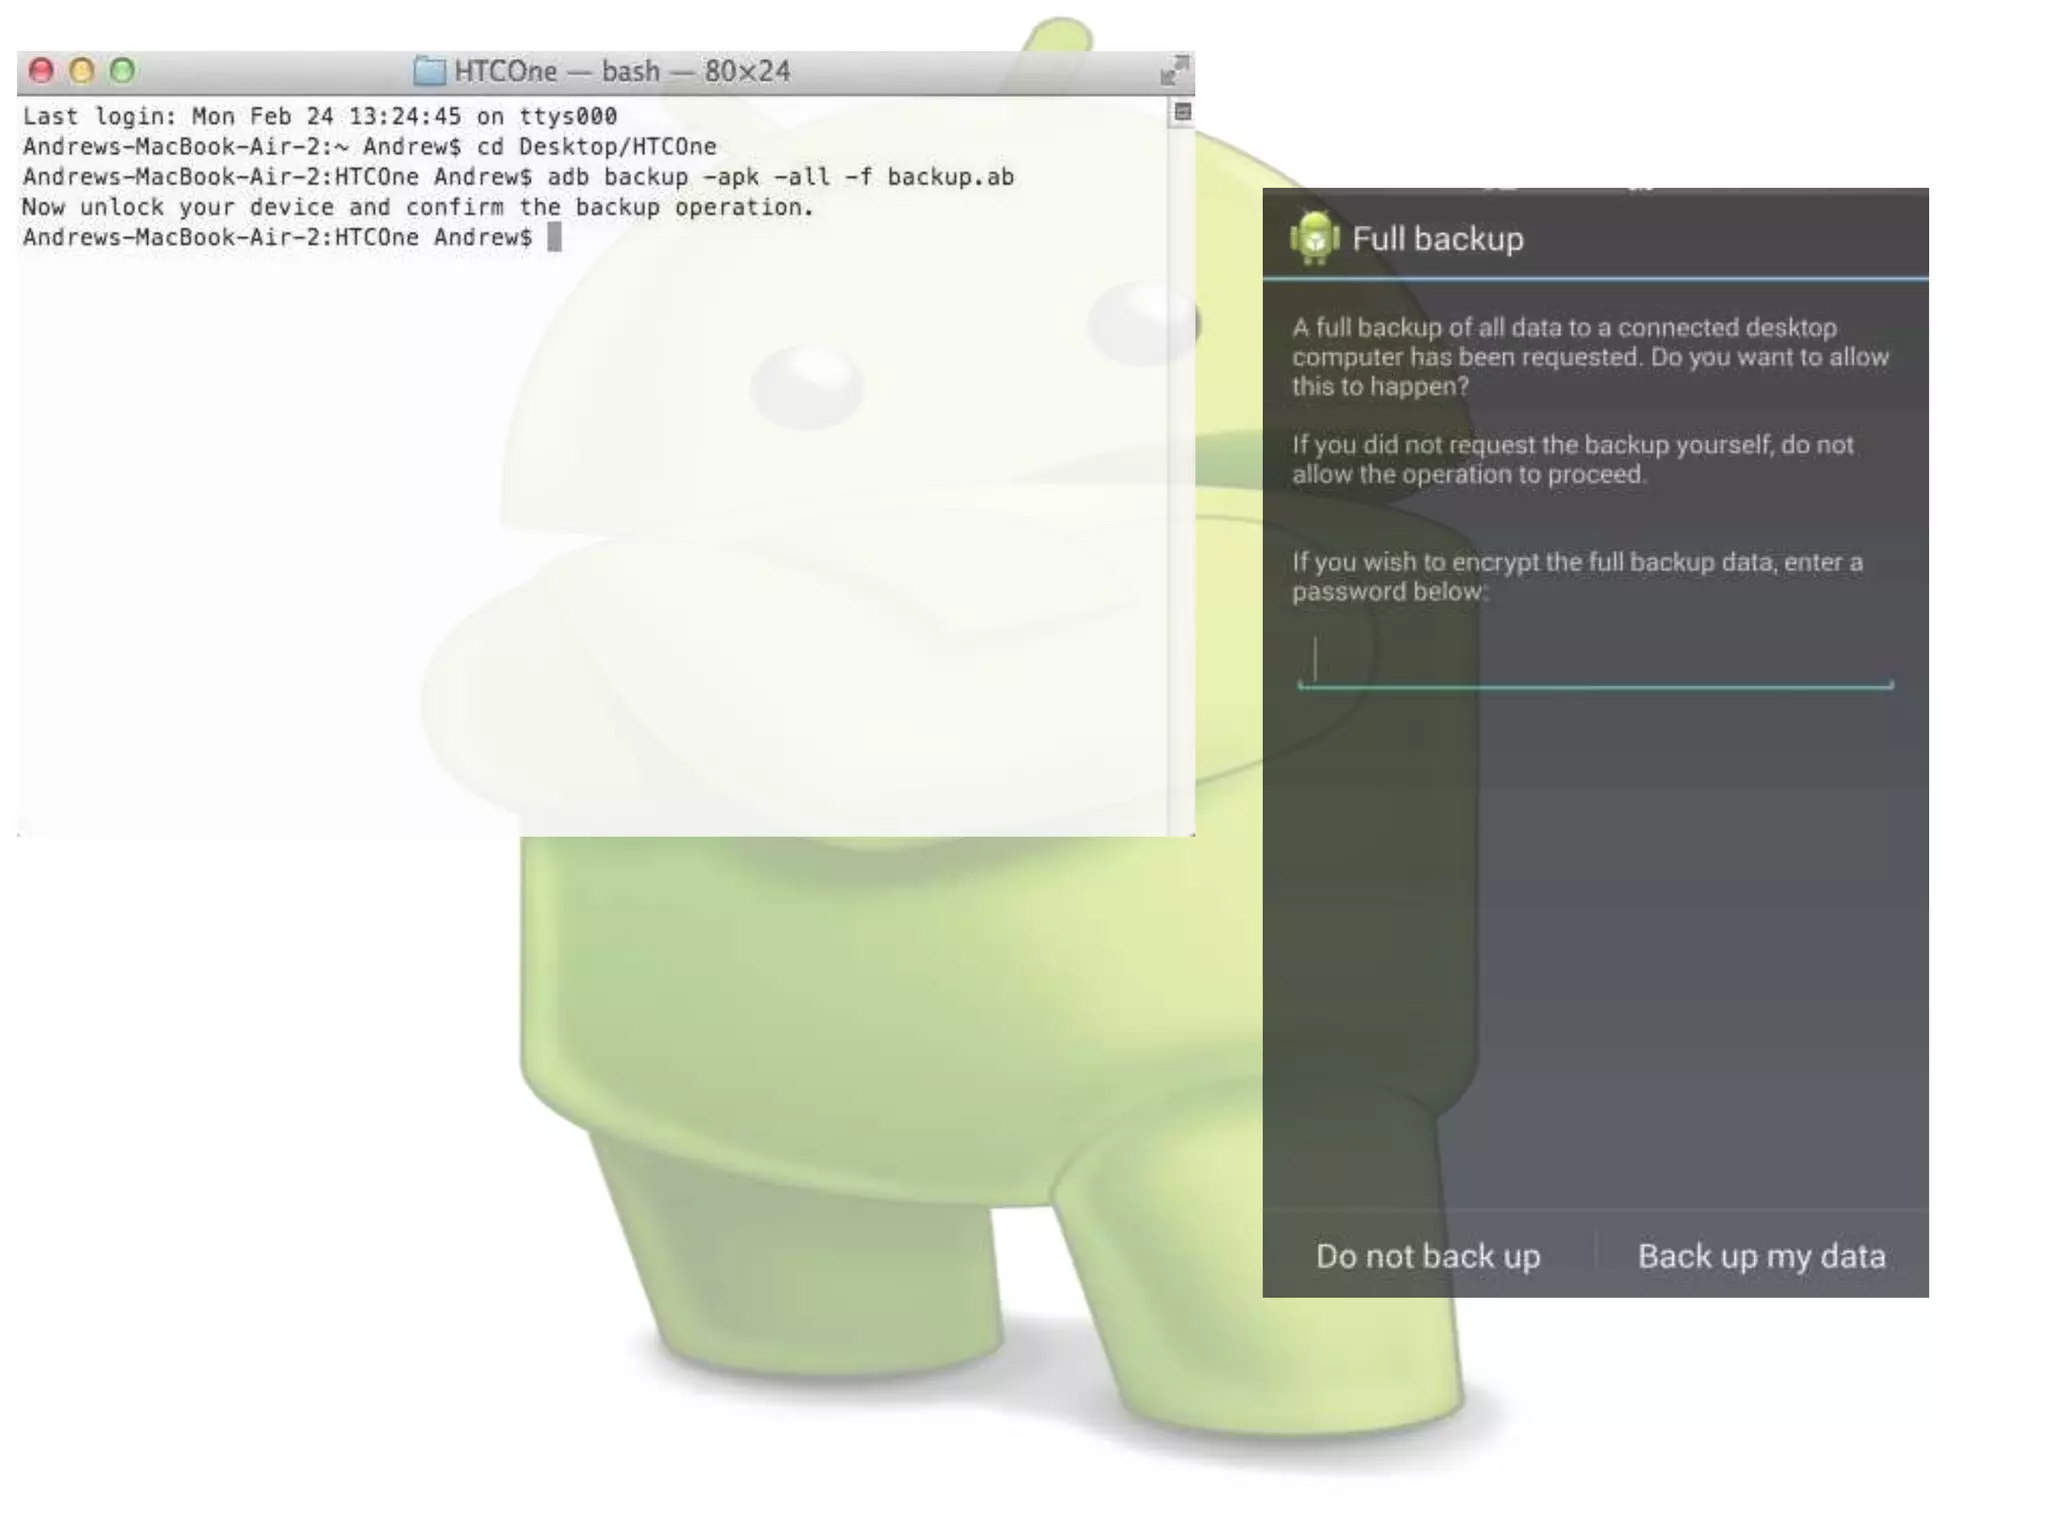

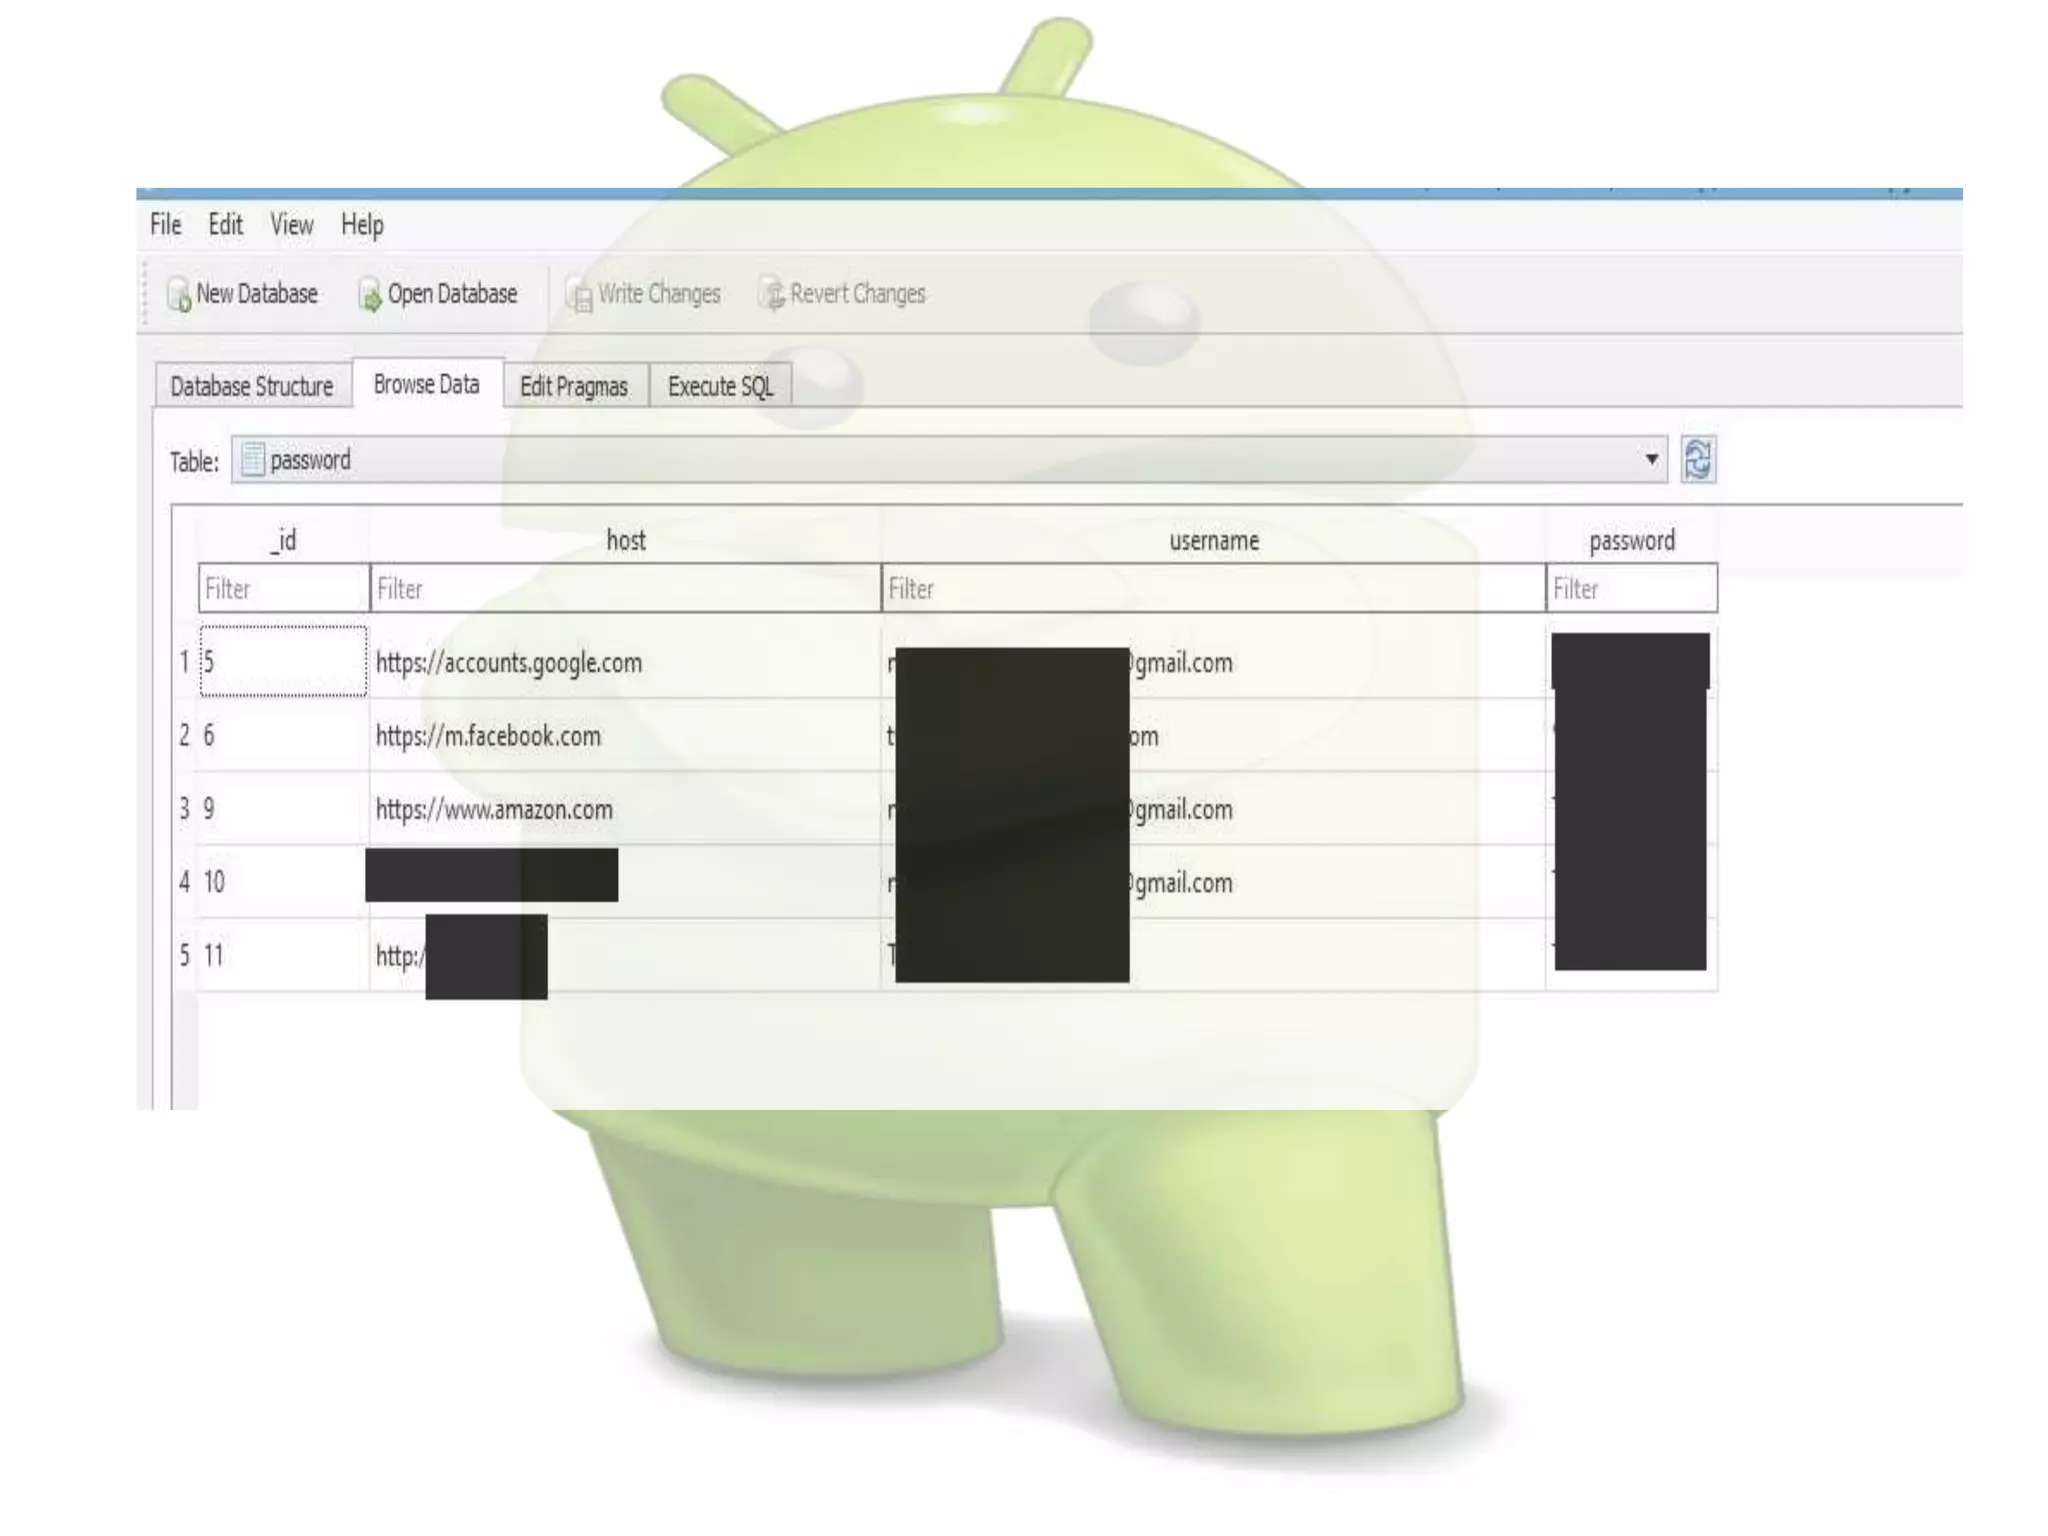
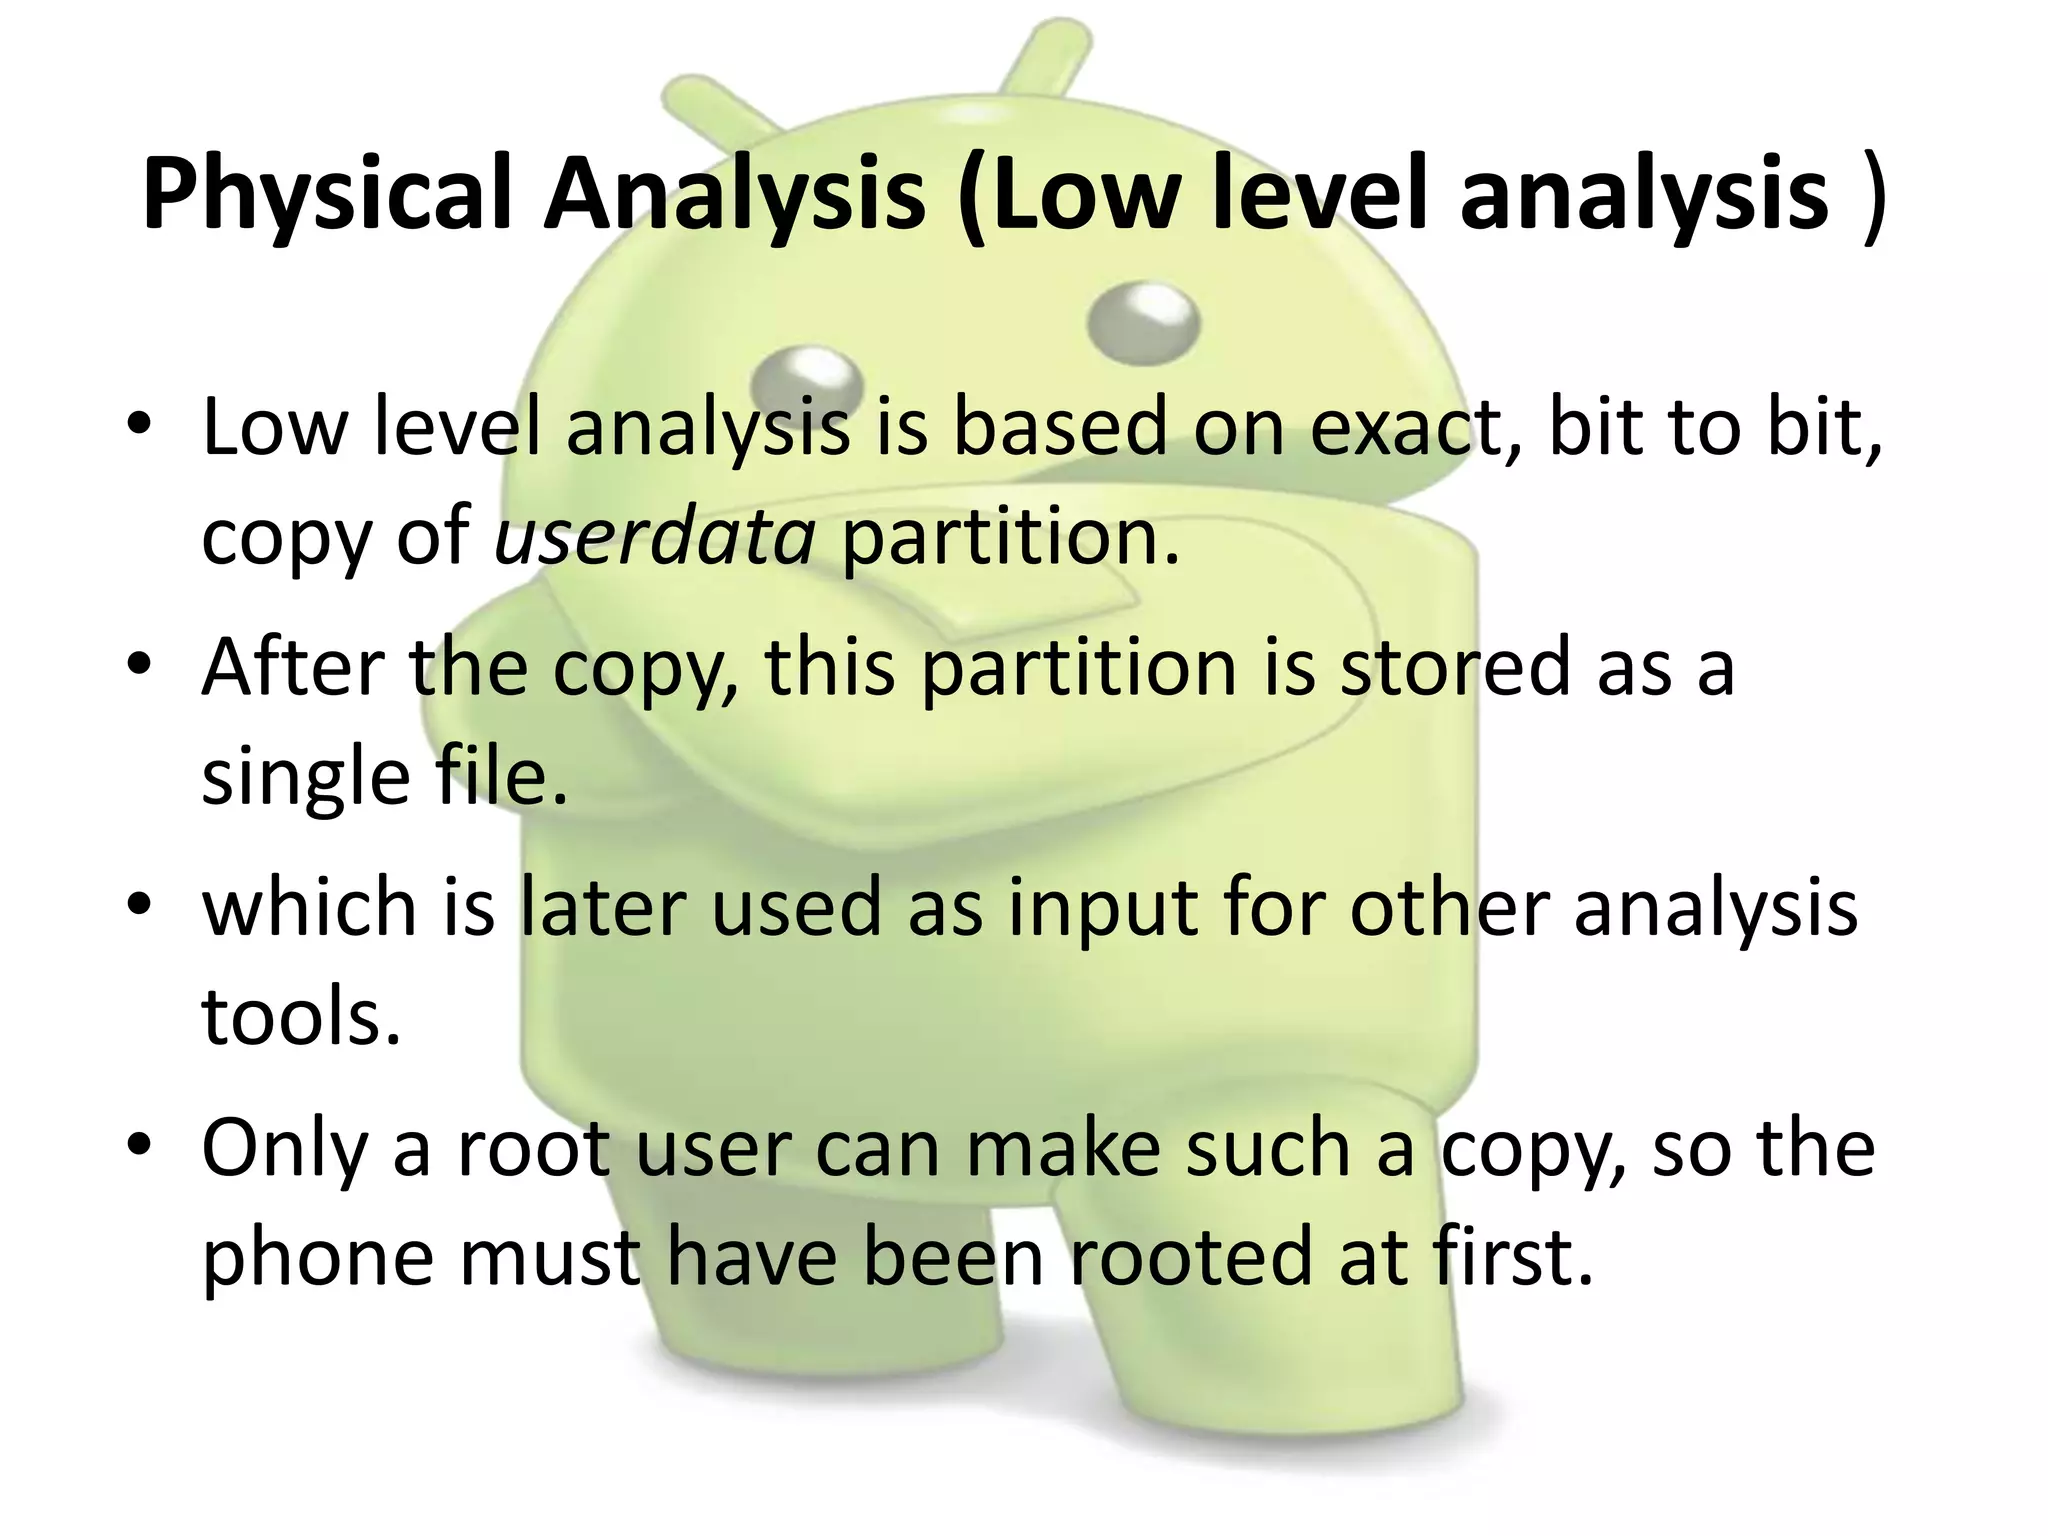

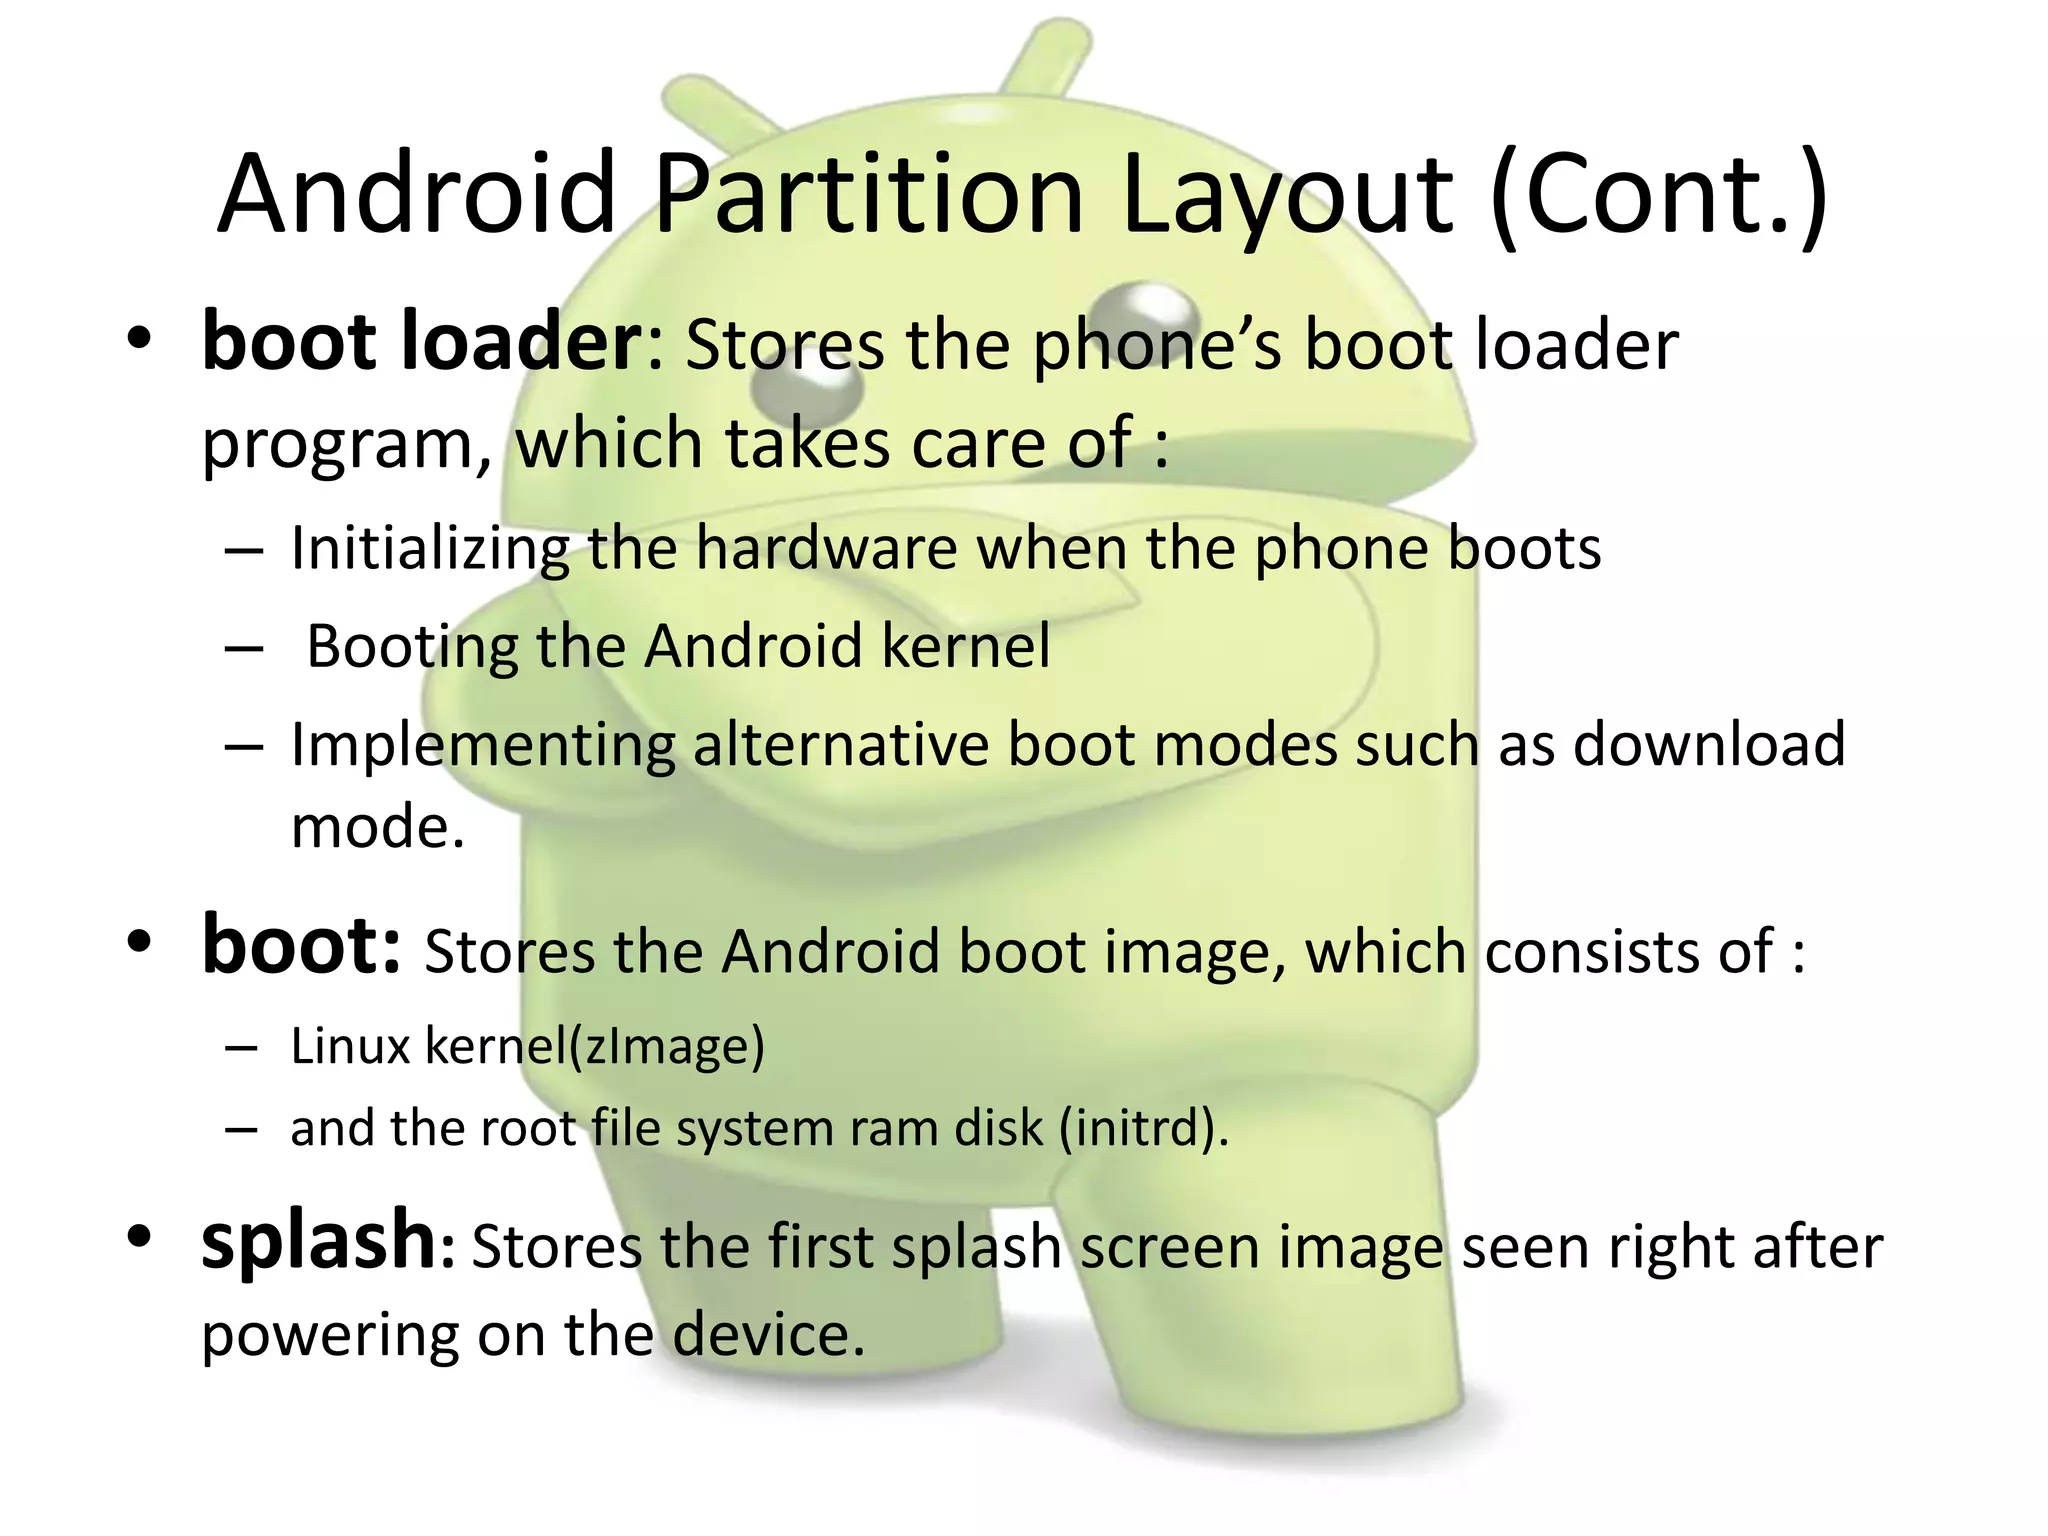
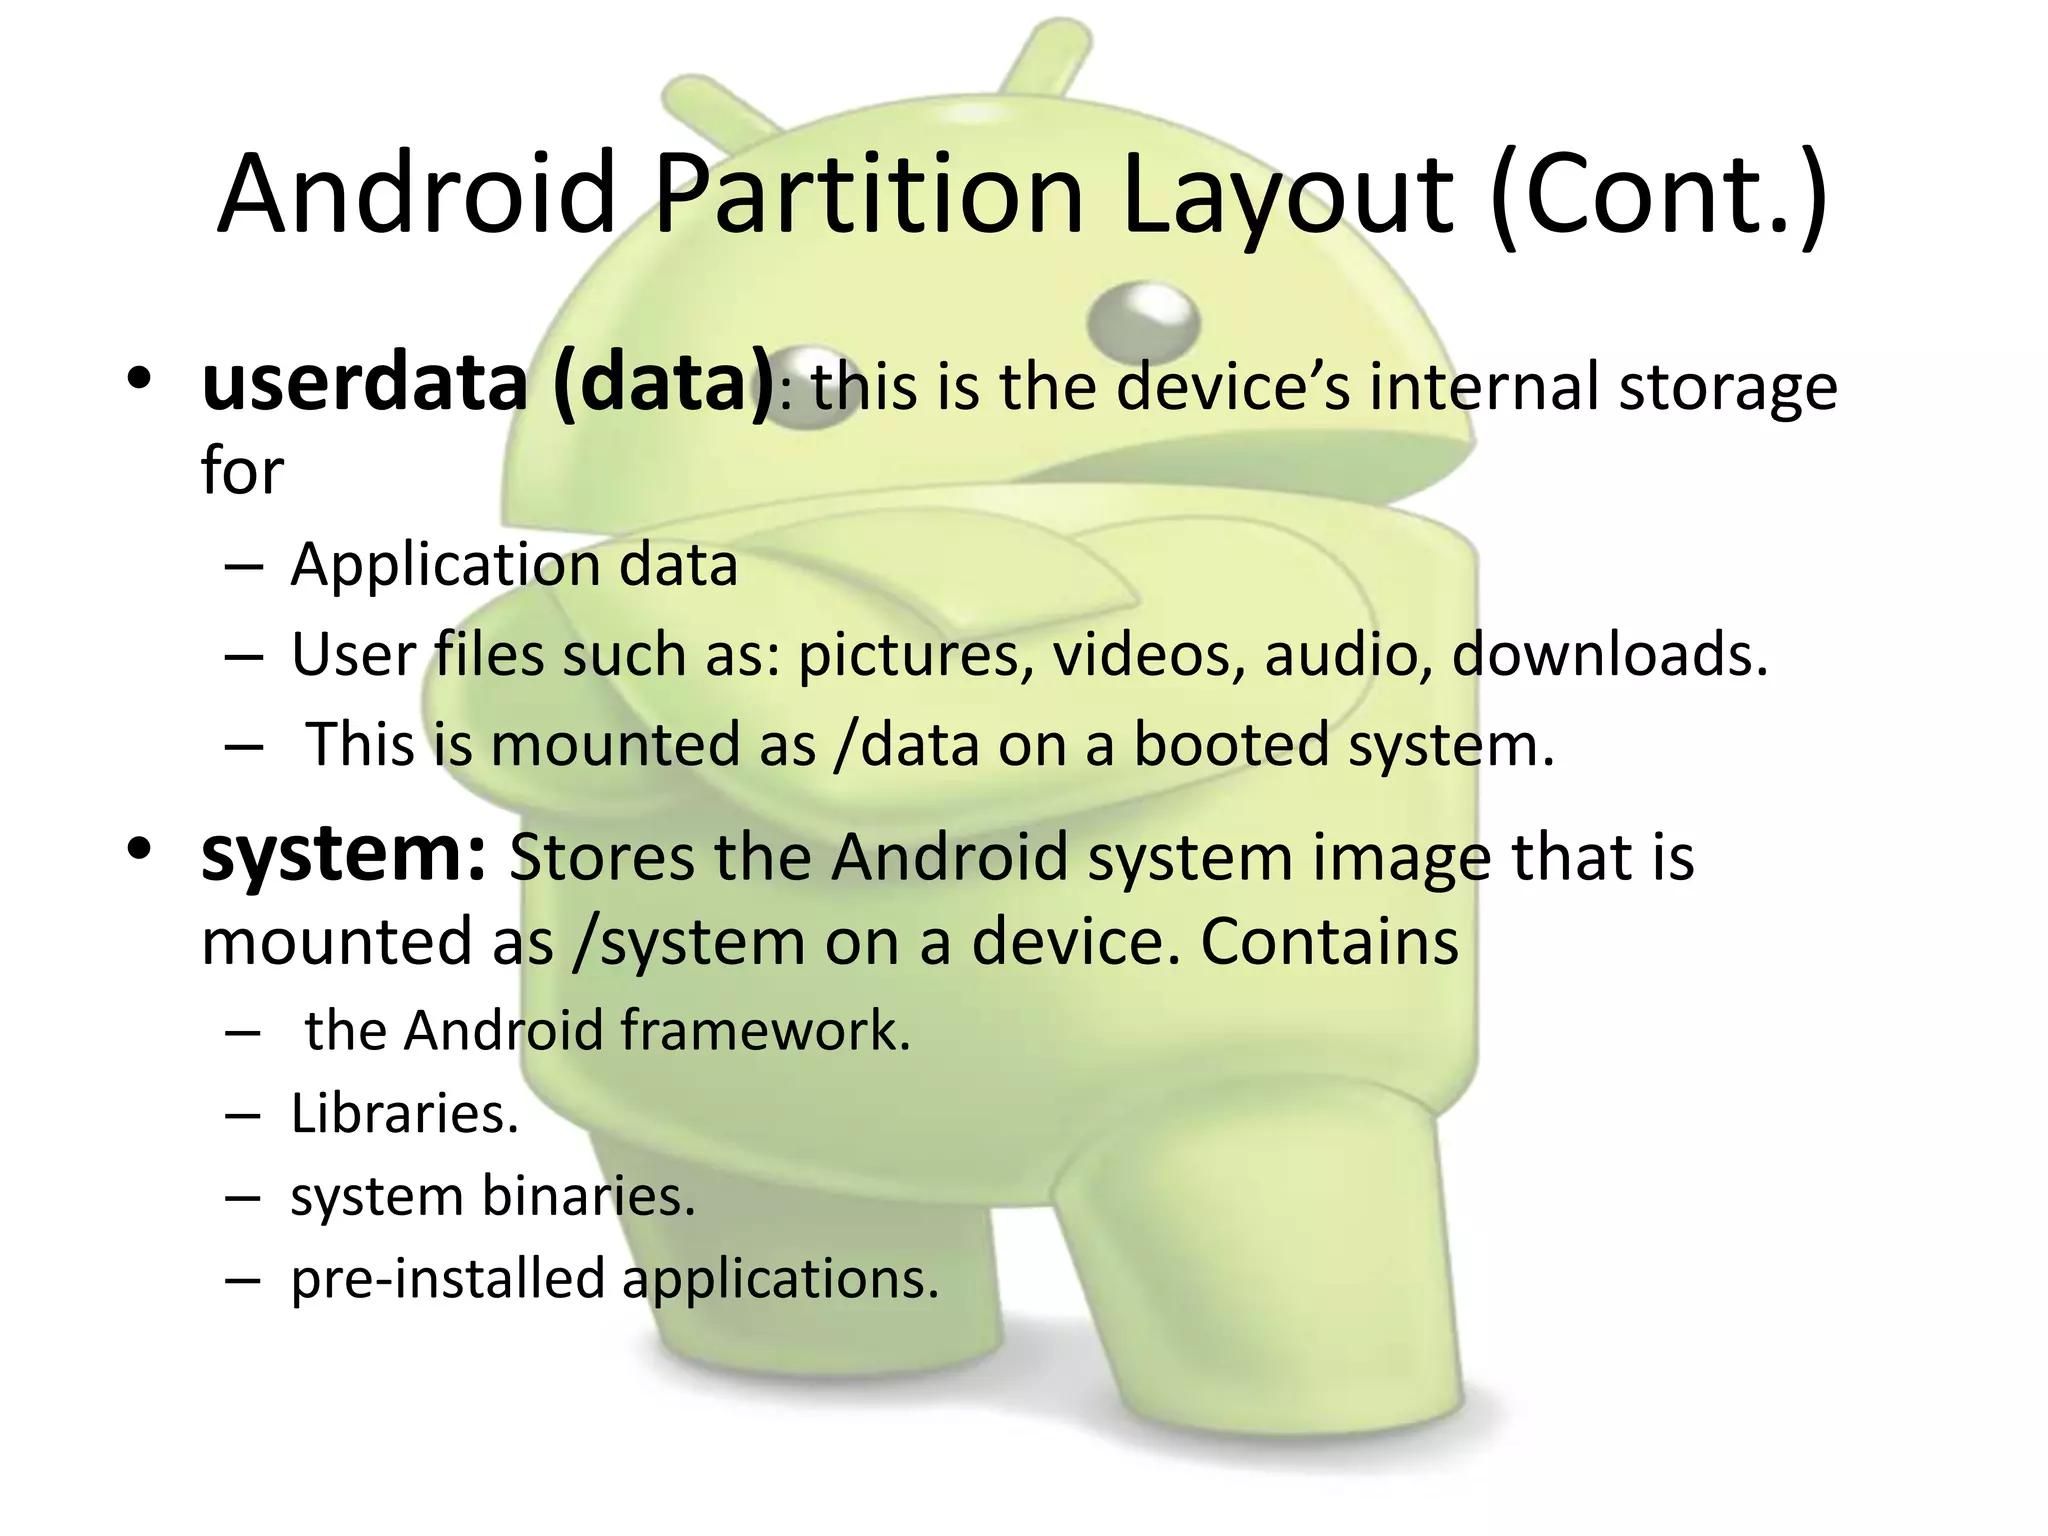


The document discusses various aspects of Android forensics, including the mobile forensic process, challenges, types of analyses, and data storage methods. It outlines how to acquire data from Android devices, including handling locked devices, as well as the importance of proper documentation and validation in forensic investigations. Additionally, it details the Android partition layout and various modifications that can be employed for physical analysis.