Download to read offline

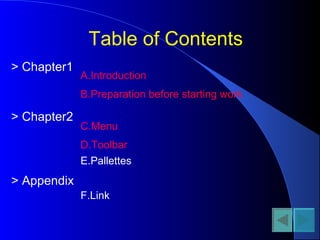
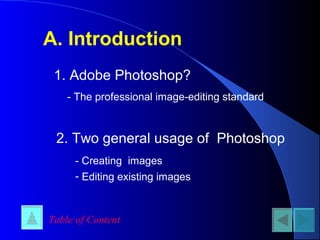
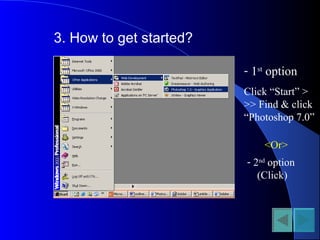
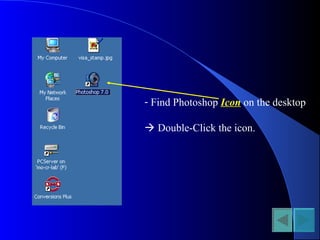
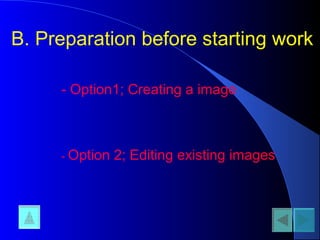
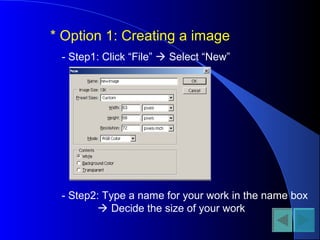
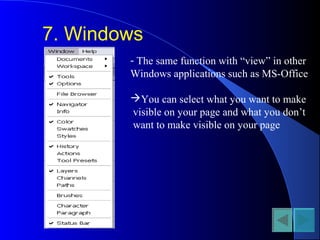
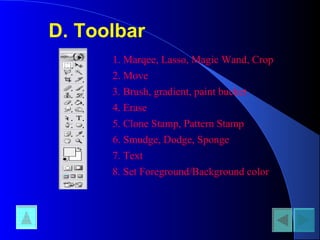
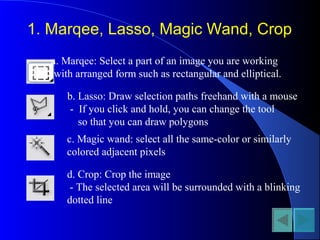
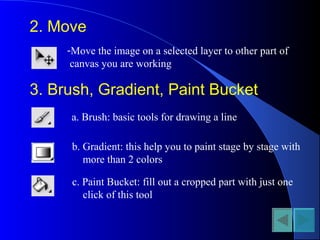


The document provides a tutorial for using Photoshop. It includes the following sections: 1. An introduction to Photoshop and its general uses for creating and editing images. 2. Instructions on getting started with Photoshop and preparing to open or create an image. 3. Descriptions of the Photoshop menu options including File, Edit, Image, Layer, Filter, View and Windows. 4. Explanations of the toolbar tools including selection tools, drawing and editing tools, and tools for adjusting colors. 5. An overview of the palettes for adjusting colors, viewing editing history and layers. 6. Suggestions for additional online resources for learning Phot