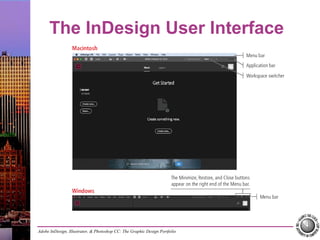
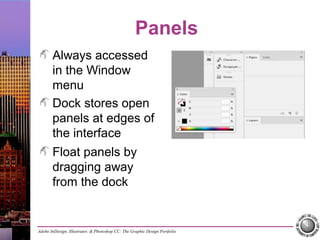
The document discusses the user interfaces of Adobe InDesign, Illustrator, and Photoshop CC. It describes the panels, tools, document views, and screen modes available in each program. These include panels like Tools and Pages, navigation tools like Hand and Zoom, viewing files through tabs and percentages, and full screen versus standard screen modes. The interfaces are customizable through workspaces and shortcuts to optimize workflows.