Downloaded 736 times


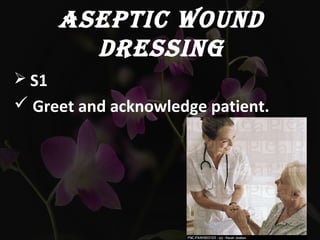


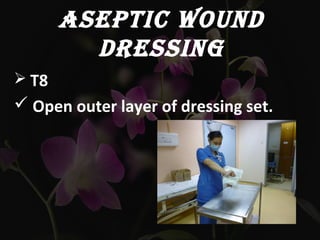


This document provides guidelines for nurses on performing wound dressings using aseptic technique. It outlines the objectives, standards, purposes and types of dressings used. It then describes the step-by-step procedure for aseptic wound dressing, which involves preparing the necessary items, maintaining sterile technique, applying the appropriate dressing, and documenting wound findings. The overall aim is to promote wound healing through proper dressing while preventing infection.


