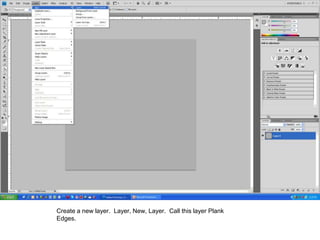
1) The document provides instructions for creating a wood fence texture in 512 x 512 pixels using various tools in an image editing program.
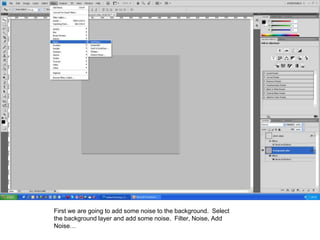
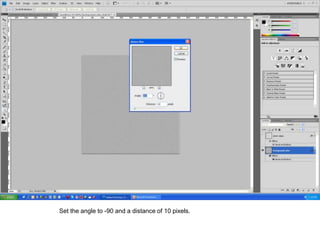
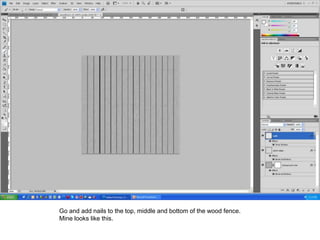
2) Key steps include creating layers for the plank edges, background, nails, dark areas, and imperfections. Effects like bevel and emboss, noise, and motion blur are added.
3) Colors, brushes and the liquify tool are used to add grain, nails, dark spots, imperfections, grass stains and dirt to make the texture look realistic.


![Christine rose nd. tipones [gr. 11 abm, caritas]](https://cdn.slidesharecdn.com/ss_thumbnails/christinerosend-190129074921-thumbnail.jpg?width=640&height=640&fit=bounds)