Downloaded 115 times
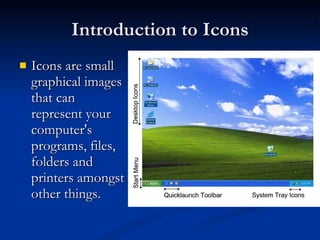
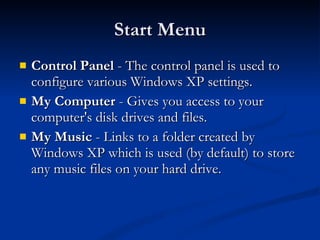
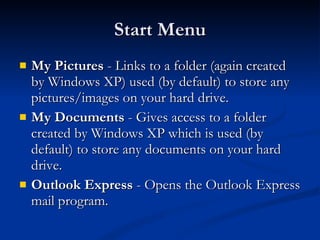
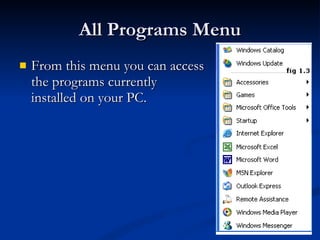
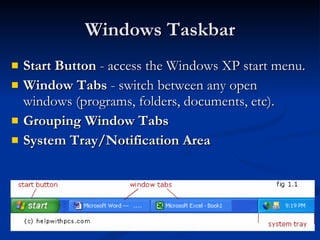
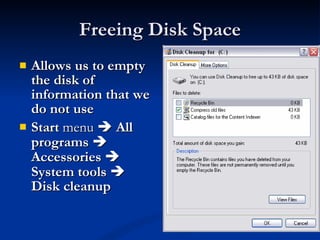
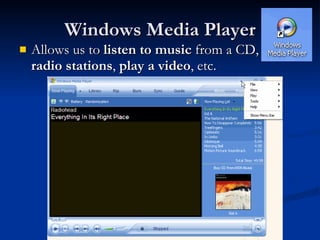


The document provides an overview of basic Windows functions and components, including icons, the start menu, windows explorer, desktop configuration, and system tools. It describes how to perform tasks like arranging folders, searching files, configuring display settings like wallpaper and themes, adding/removing programs, and optimizing disk space. Common windows like dialog boxes and shortcuts are also explained.


