Downloaded 11 times


![Get 24x7 Technical Support : 1.866.350.4978 (US & Canada) [email_address] brought to you by the Office of Learning Technology](https://image.slidesharecdn.com/wcorientationforfacilitators-100629162725-phpapp01/85/Wimba-Classroom-Facilitators-18-320.jpg)

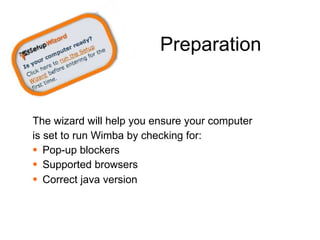
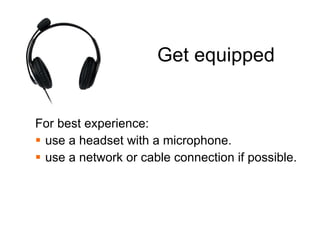
Wimba Live Classroom is an online platform that allows real-time connections between facilitators and participants. It features include an interactive whiteboard, screen sharing, file uploads, video/voice, and breakout rooms. Facilitators can use it for meetings, presentations, tutorials and training. Preparation includes ensuring the computer meets system requirements and checking for pop-up blockers and correct browser and Java versions. Facilitators should practice with colleagues, add interactive polls, and familiarize themselves with Wimba features before sessions. During sessions, facilitators should welcome participants, establish rules, and manage interactions and communication tools.


