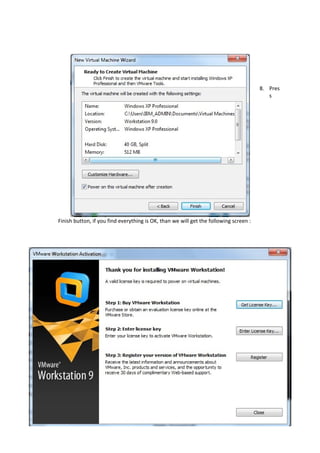
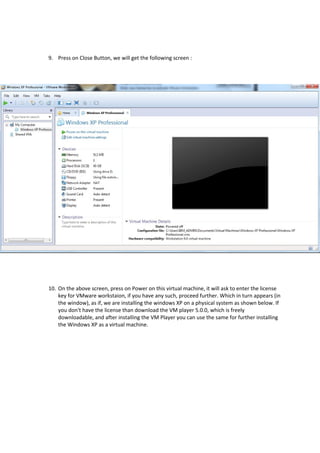
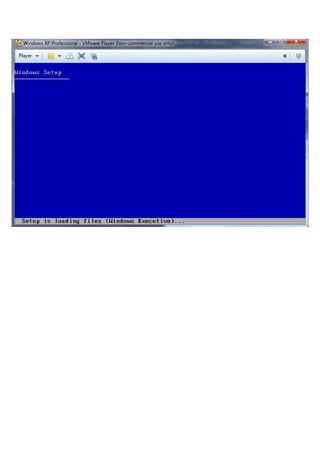
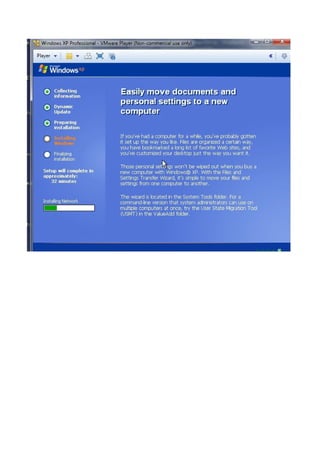
The document provides a step-by-step guide for installing VMware Workstation, creating virtual machines (VMs) including a Windows XP image, and managing VMs on Ubuntu 12.10 using QEMU and KVM. It outlines the installation process for various software components and how to create and configure virtual machines. Additionally, it includes commands for essential tasks such as setting up a network bridge, managing VM images, and installing necessary packages.
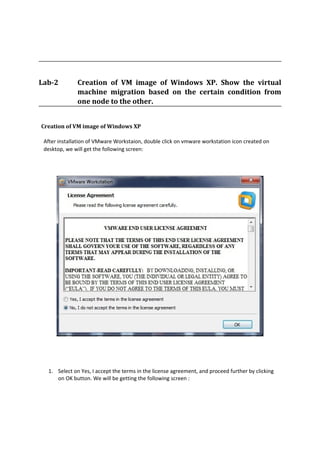
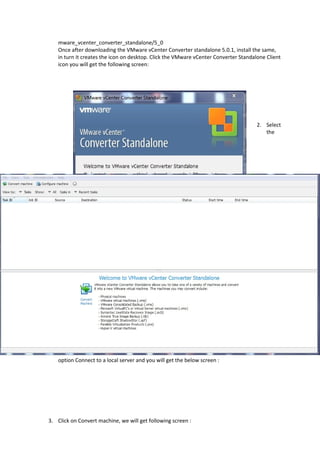
![Virtual Machine Using QEMU
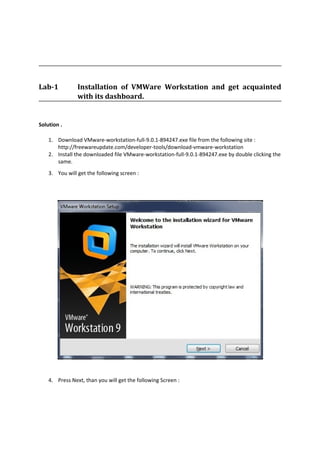
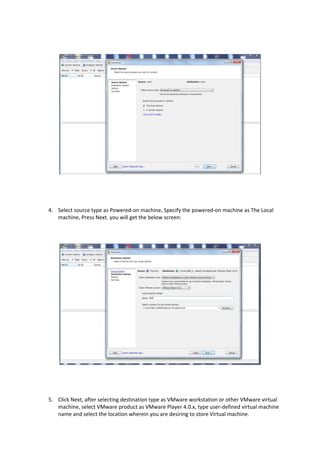
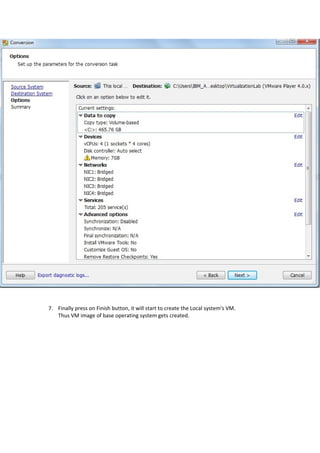
Lab-4 Installation of QEMU on Ubuntu 12.10
Installation of QEMU on Ubuntu 12.10
Type sudo apt-get install qemu-kvm
$ sudo apt-get install qemu-kvm
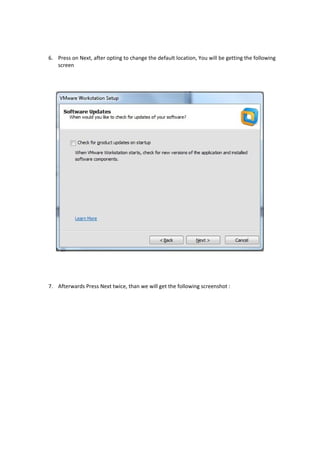
[sudo] password for UserID :
Enter the password of the user who has the root privileges. This will start to download the qemu-
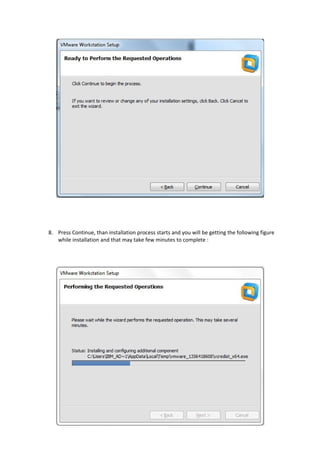
kvm from internet.
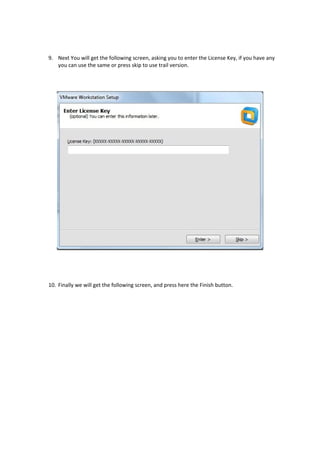
After downloading, it will install qemu. Also make sure the gnome GUI is installed, if gnome is not
installed, you can download and install the same by typing the following command
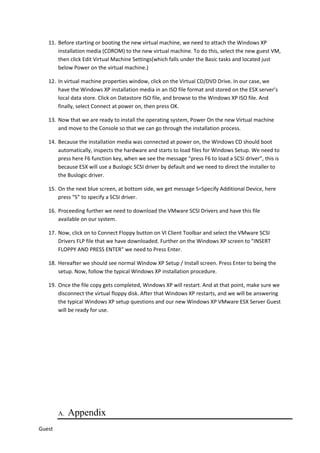
h$ sudo aptitude install gnome
After downloading and installation of gnome, we need to reboot the system, by typing the command
as follows :
$ sudo reboot](https://image.slidesharecdn.com/virtualization-170806124522/85/Virtualization-pdf-22-320.jpg)
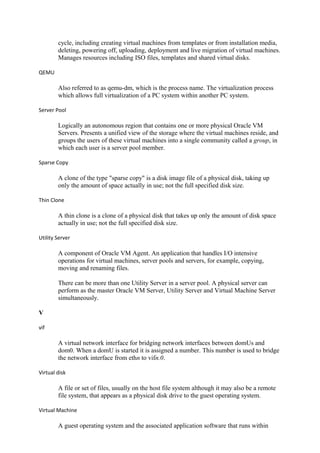
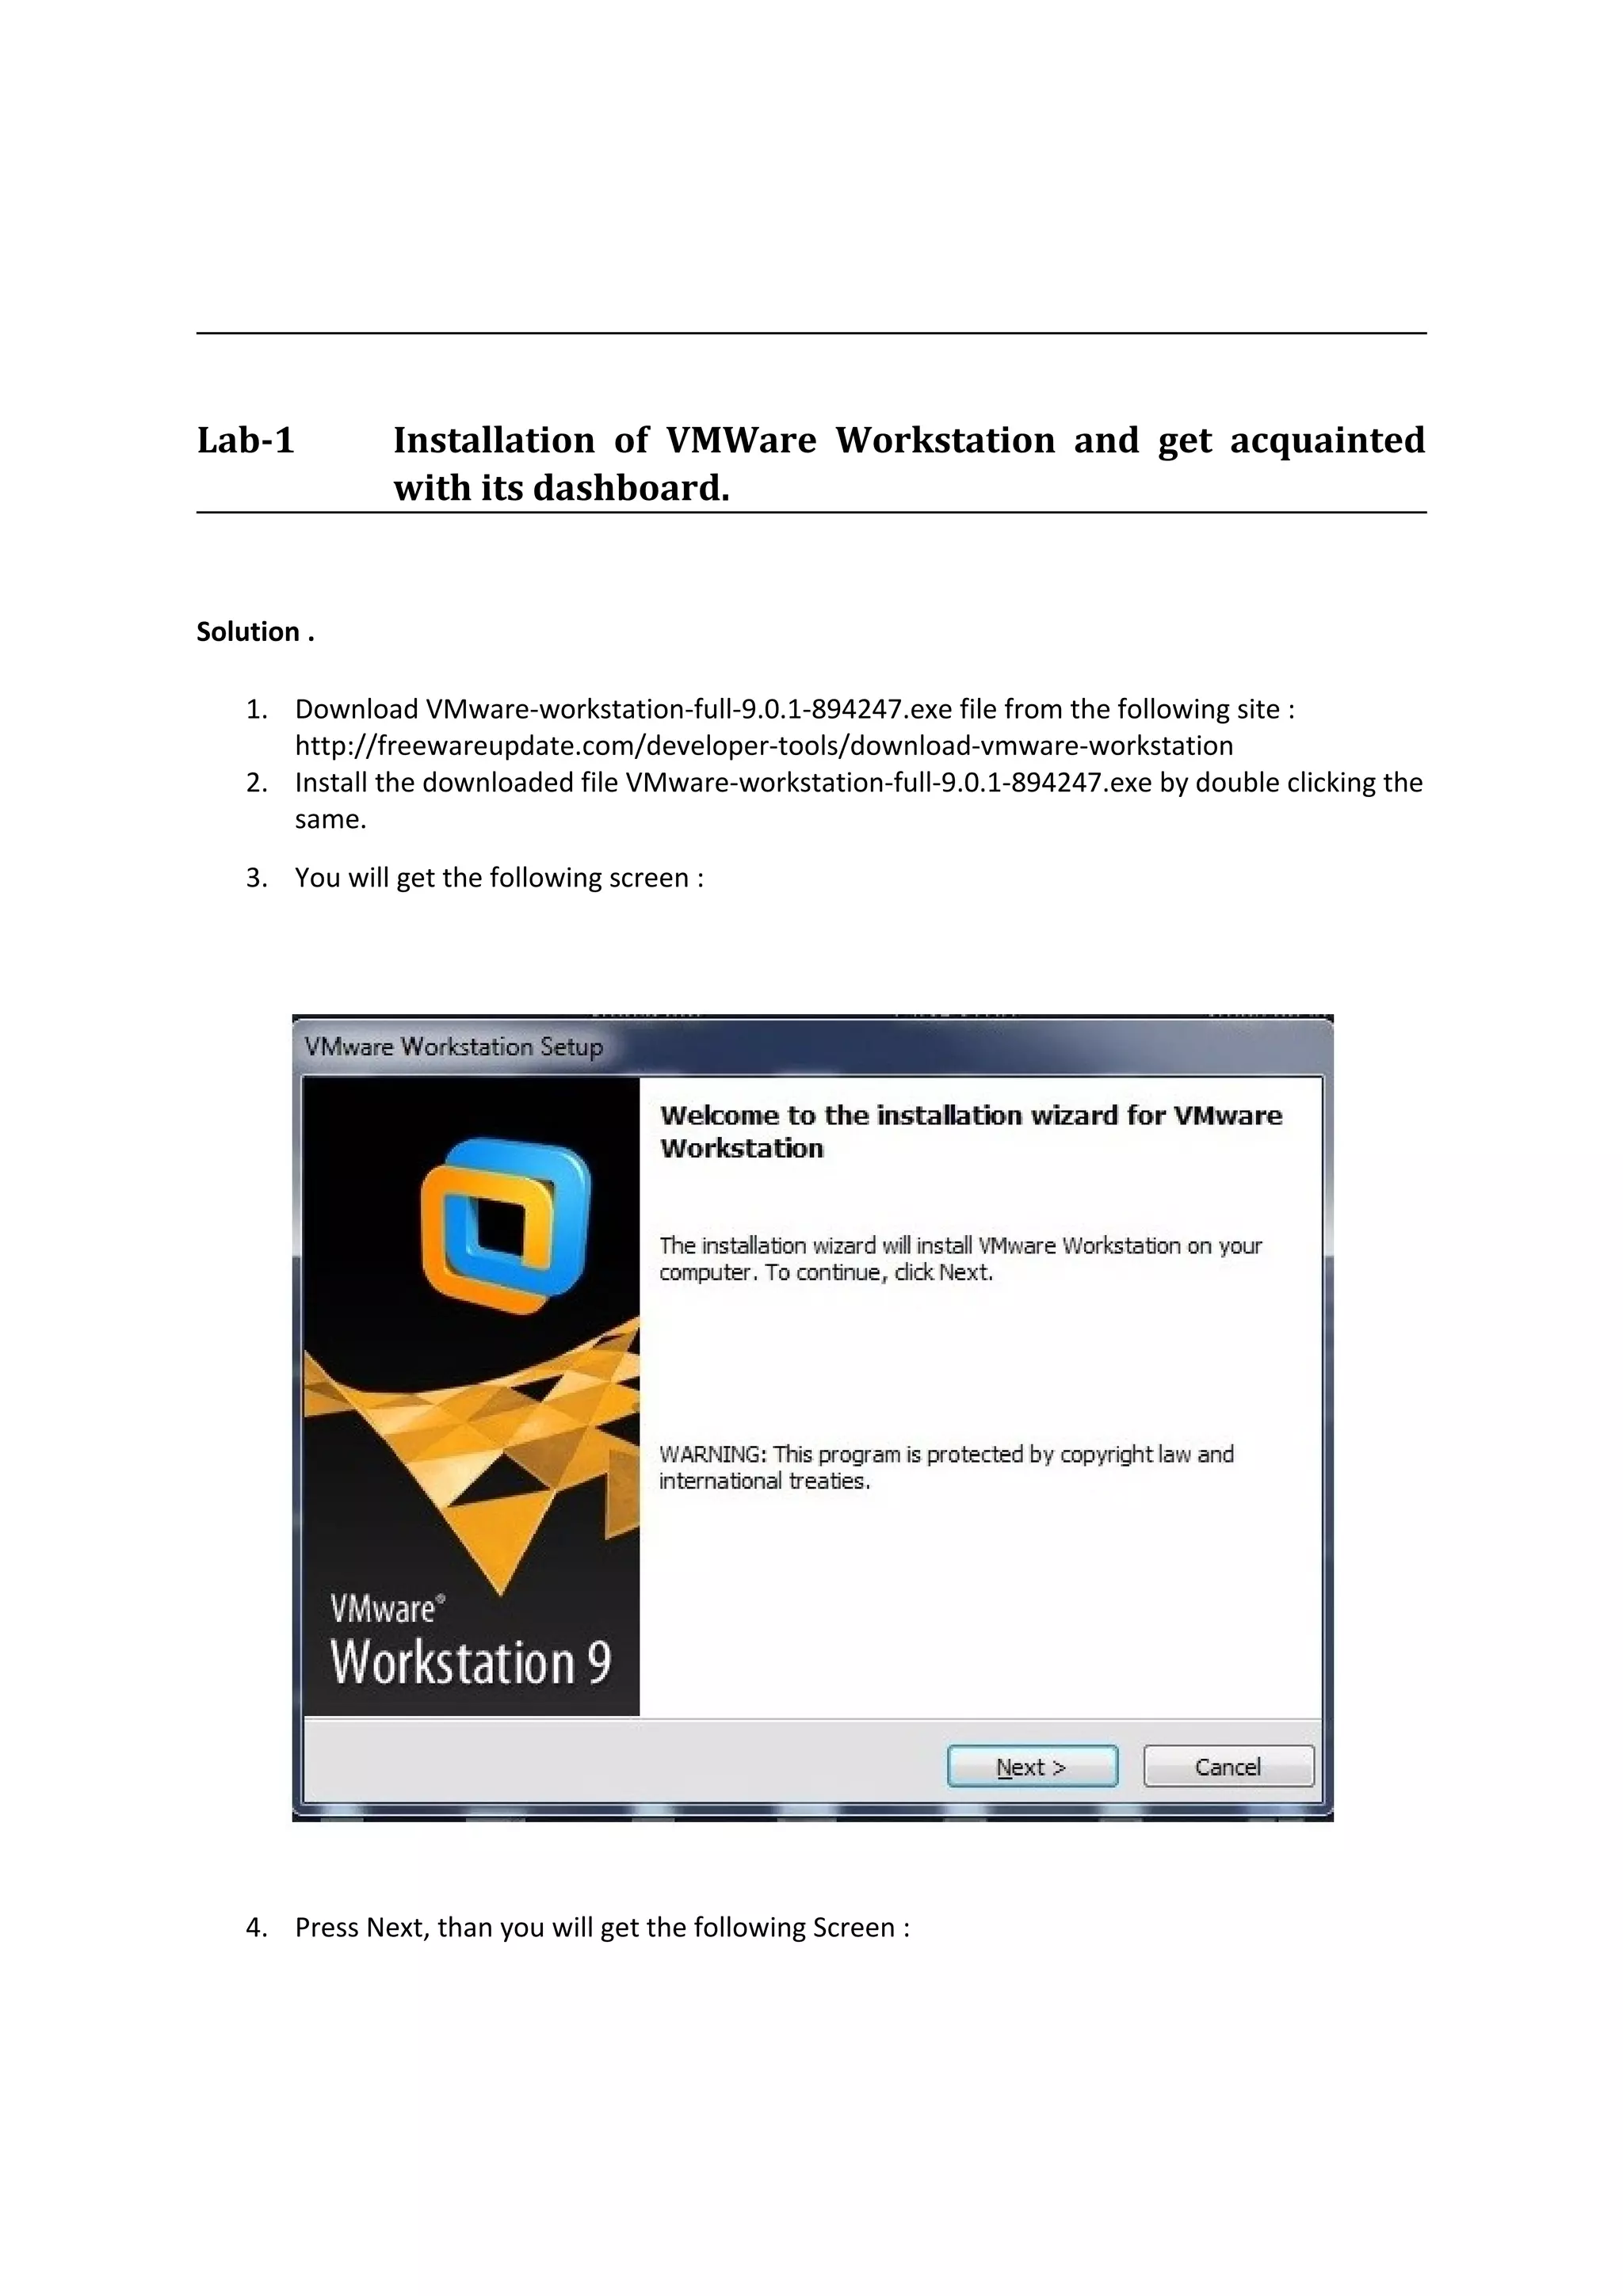
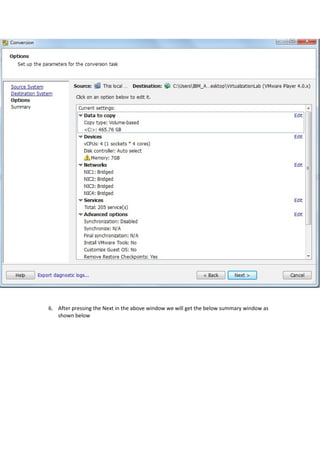
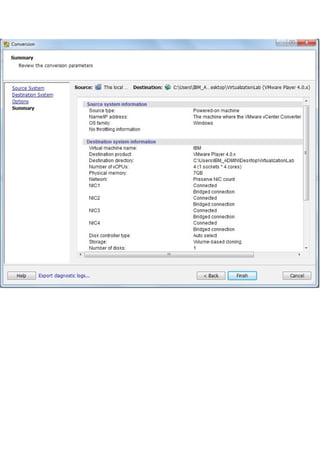
![Lab-5 Creating and UsingVirtual Machine Using QEMU
Creating Virtual Machine on Ubuntu 12.10 platform
Type qemu-system-x86_64 -hdawinxp -cdromcd.iso -m 192 -boot d
Herewinxp is a virtual disk which is needed for the virtual machine. A virtual disk is made by creating
a file of a size appropriately large to contain the full guest OS.
You can create the virtual disk by using the command qemu-img create winxp 3G, which in turn
creates the winxp virtual disk with 3 GB disk space.
Here cd.iso is a iso image of guest operating system, you can use the iso image file if it was already
created, it it is not created, you can create the iso image file by using the command dd
if=/dev/cdrom of=cd.iso for cdrom image or dd if=/dev/dvd of=dvd.iso for dvd image.
Suppose if you have the WindowsXP CD in a CD/DVD tray and want to create the Windows XP virtual
machine, you have to proceed as below :
1. Create the Windows XP iso image as cd.iso file by typing the command as follows :
$ dd if=/dev/cdrom of=cd.iso
2. Being in the same directory, create the virtual disk of size 3GB disk space as winxp, by typing
the command as follows :
$ qemu-img create winxp 3G
3. Being in the same directory execute the following command :
$ qemu-system-x86_64 -hdawinxp -cdromcd.iso -m 192 -boot d
4. This command instructs QEMU to use hda as the empty disk file. It uses cd.iso file as if
installing from the CDROM, and sets the amount of memory to use in the virtual machine to
be 192Mb. It then instructs to boot from the CDROM.
As the installer boots and goes through options, choose the defaults at each step. The
installer should detect the virtual network properly and install without diificulties.
This completes the Creating Virtual Machine using QEMU on Ubuntu 12.10
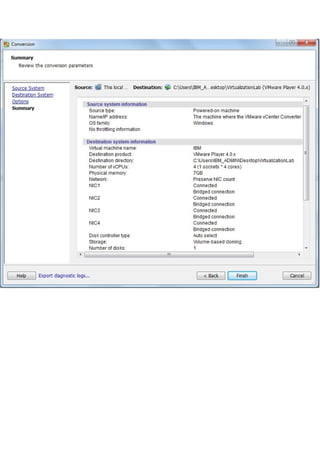
Using the Virtual Machine on Ubuntu 12.10 platform
Being in the same directory, run the following command
$ qemu-system-x86_64 –hdawinxp
[Note : If you have Ubuntu 32 bit version you need to use qemu-system-i386]
Lab-6 KVM on Ubuntu 12.10 and managing a VM on it.](https://image.slidesharecdn.com/virtualization-170806124522/85/Virtualization-pdf-23-320.jpg)